
Tea Light Village - Grocery Store Tutorial
Project Description:
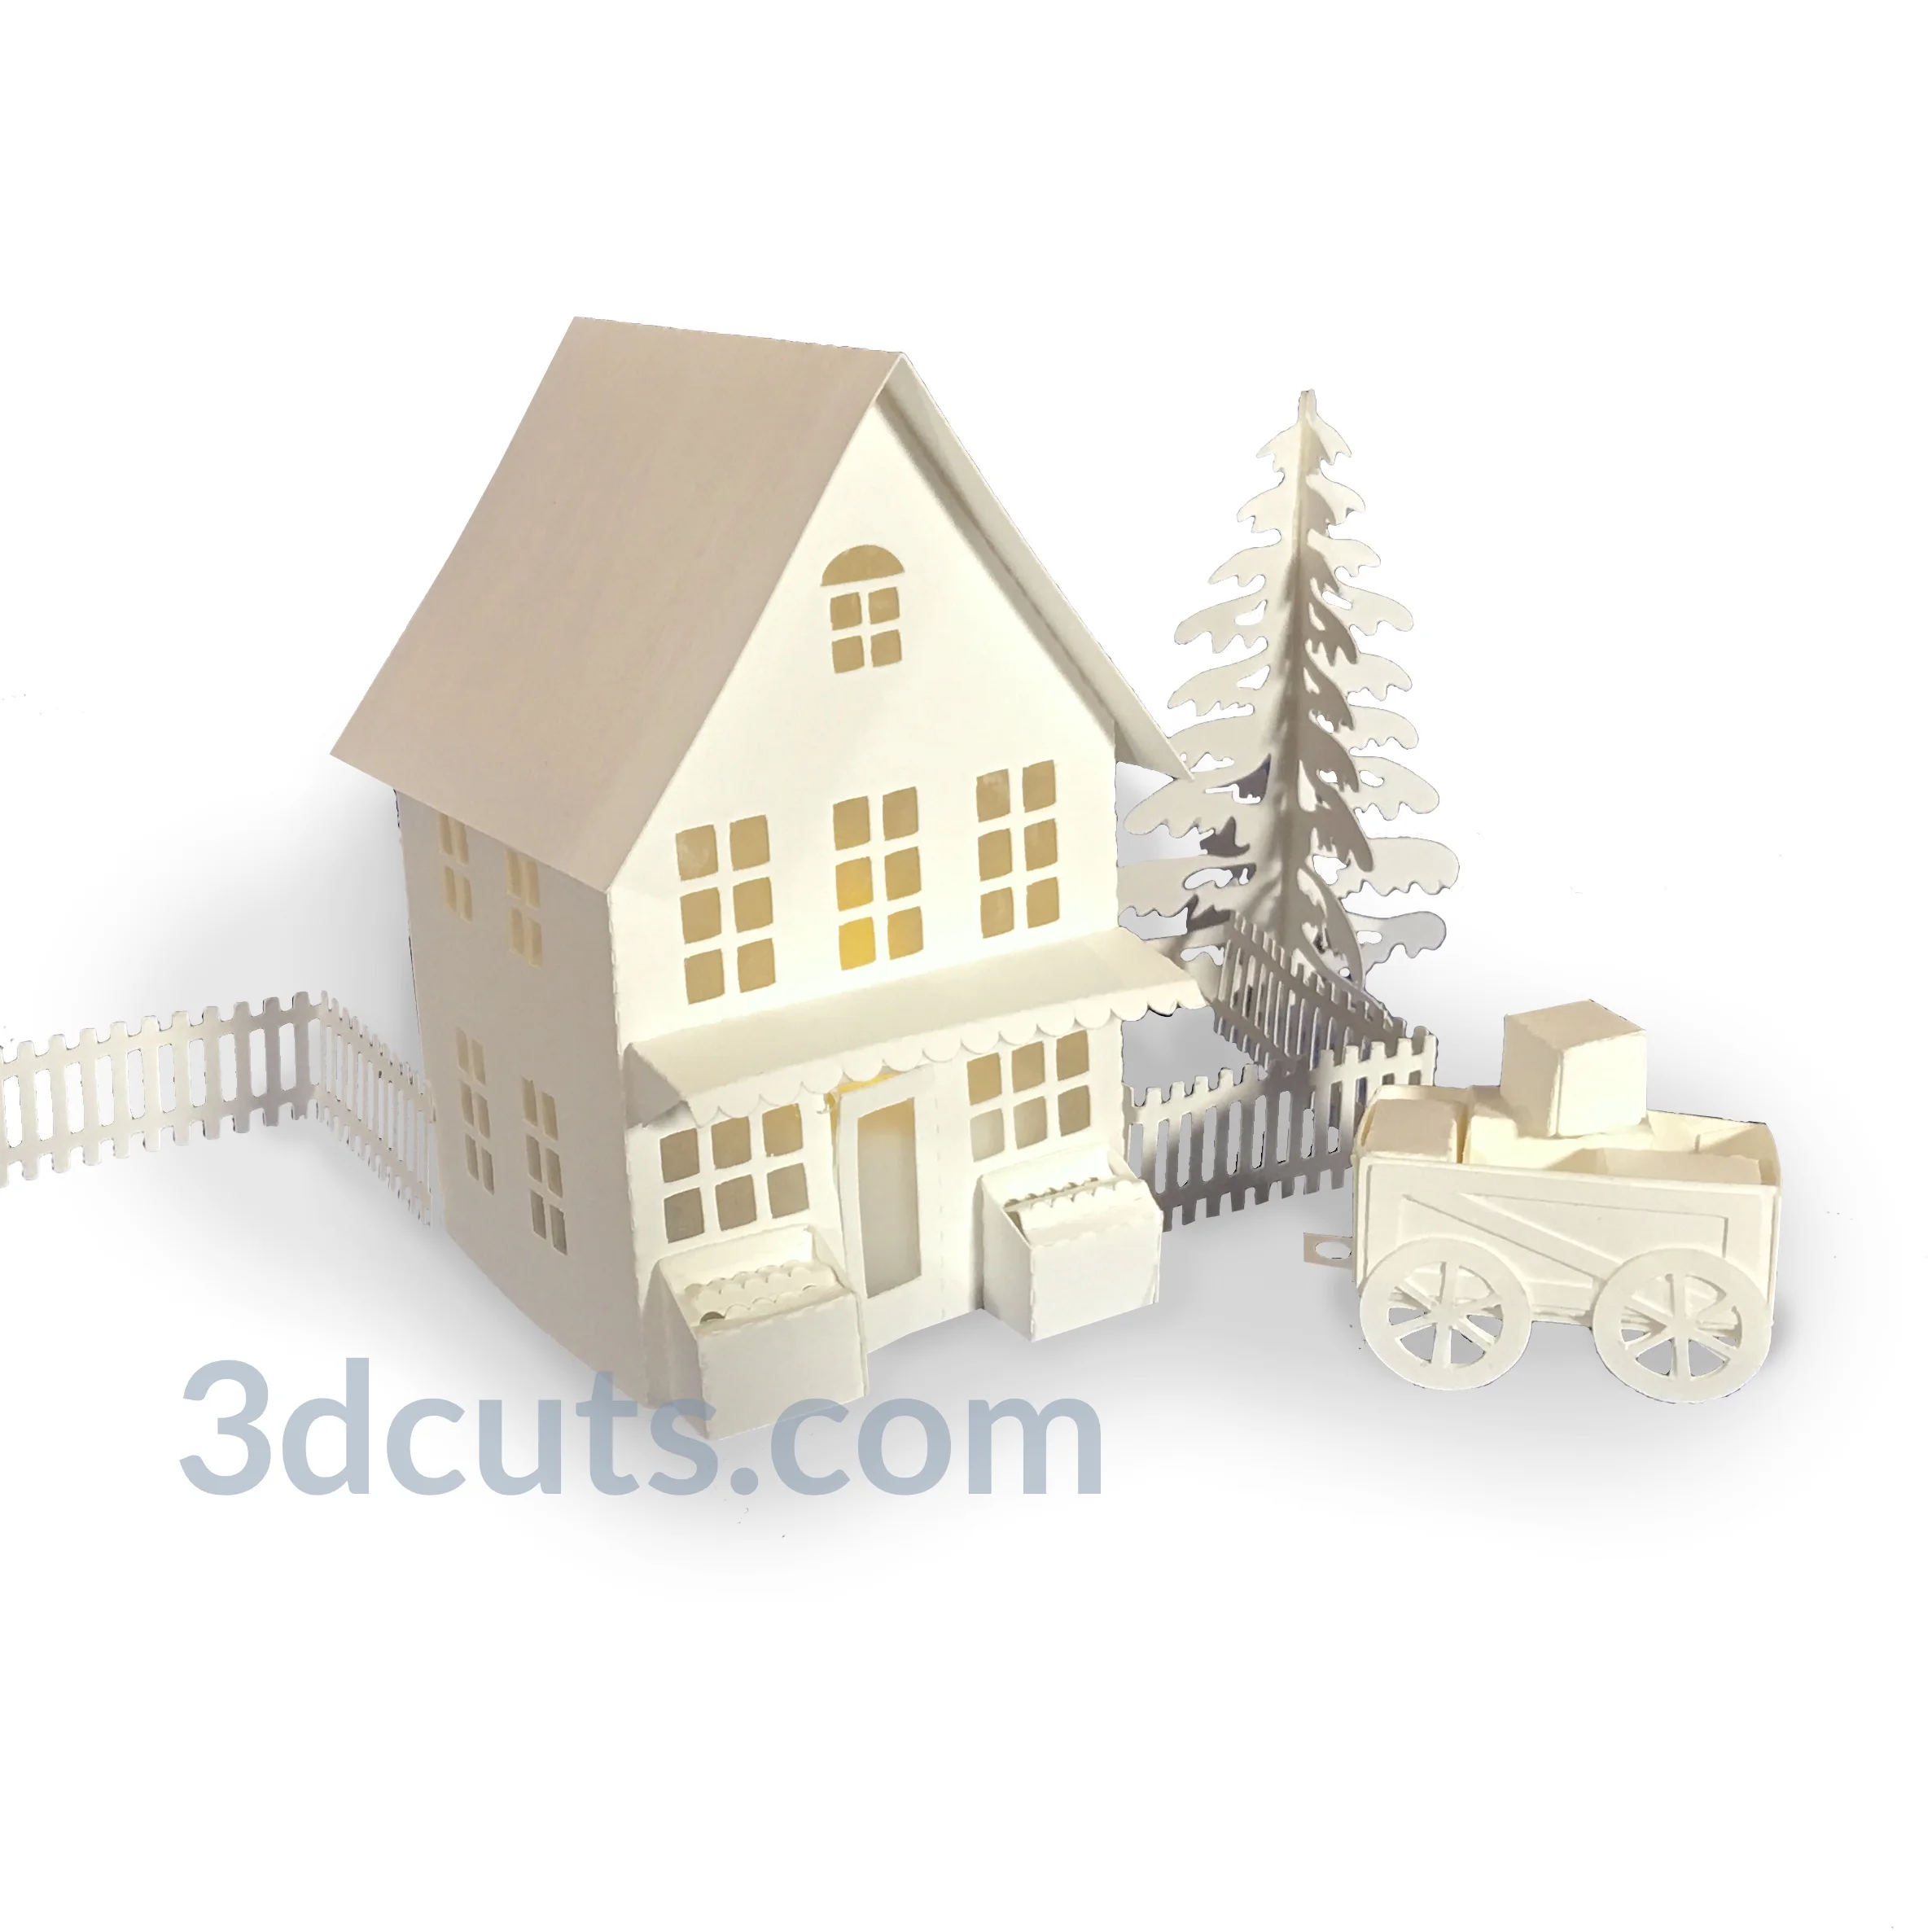
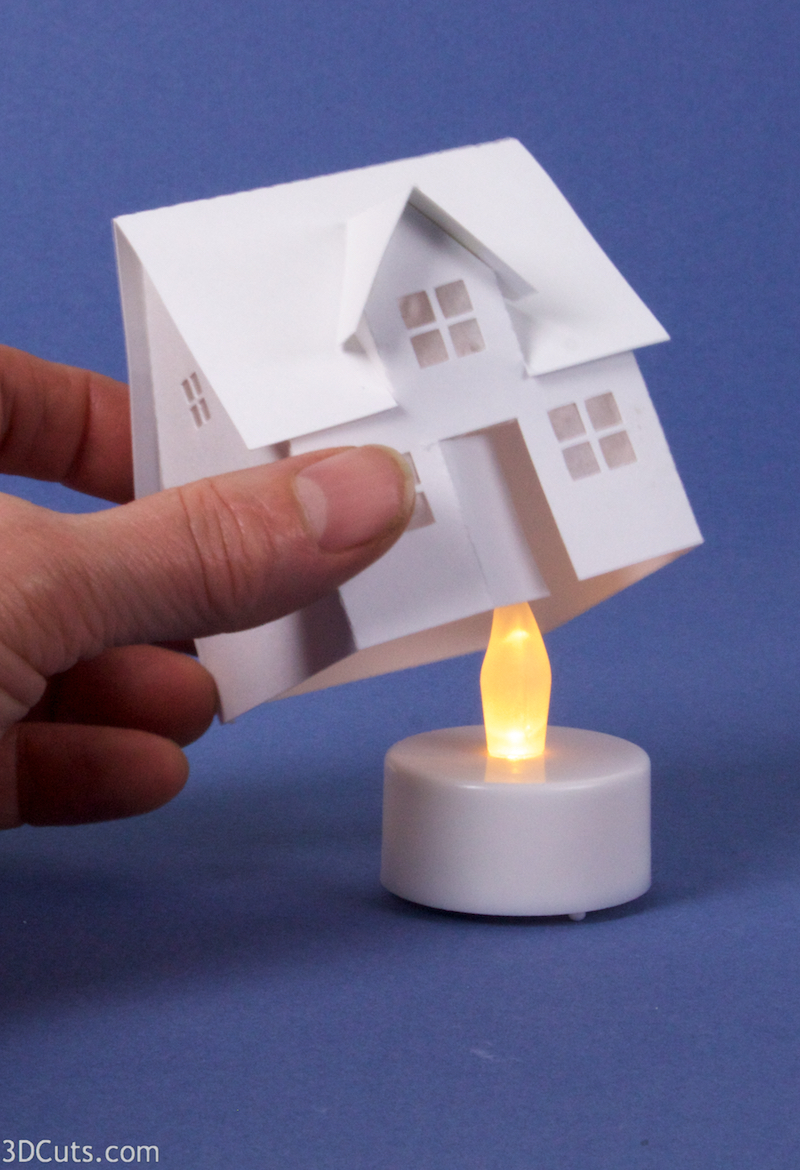
Tea Light Village is a series of tiny buildings designed specifically to fit over small LED Tea Lights so readily available these days. The lights provide a warm glow which brings life to the village display. You can also use string fairy lights.
This tutorial is for the Grocery Store with produce stands and apple cart which were added to the collection in 2019.
There is also a base system for tea light village so they can be adapted to string fairy lights. Go here for more information on the hexagon base system.
Link for this cutting file is here.
Warning: Only use LED Lights. DO NOT use regular candle tea lights.

This specific tutorial is for the assembly of Grocery Store and Apple Cart
There are many tutorials for the Tea Light series including:
Tea Light Village Hexagon and Pentagon Bases 2017- updated 2020
Supplies Needed:
Cutting Files here - Available at http://3dcuts.com/tea-light-village/2019-additions
Art Glitter Glue or ScorTape 1/8" and 1/4"
Card Stock - 1-12 x 12” or 2 - 8.5 x11”
Wax paper - Tracing paper works as well.
Scissors
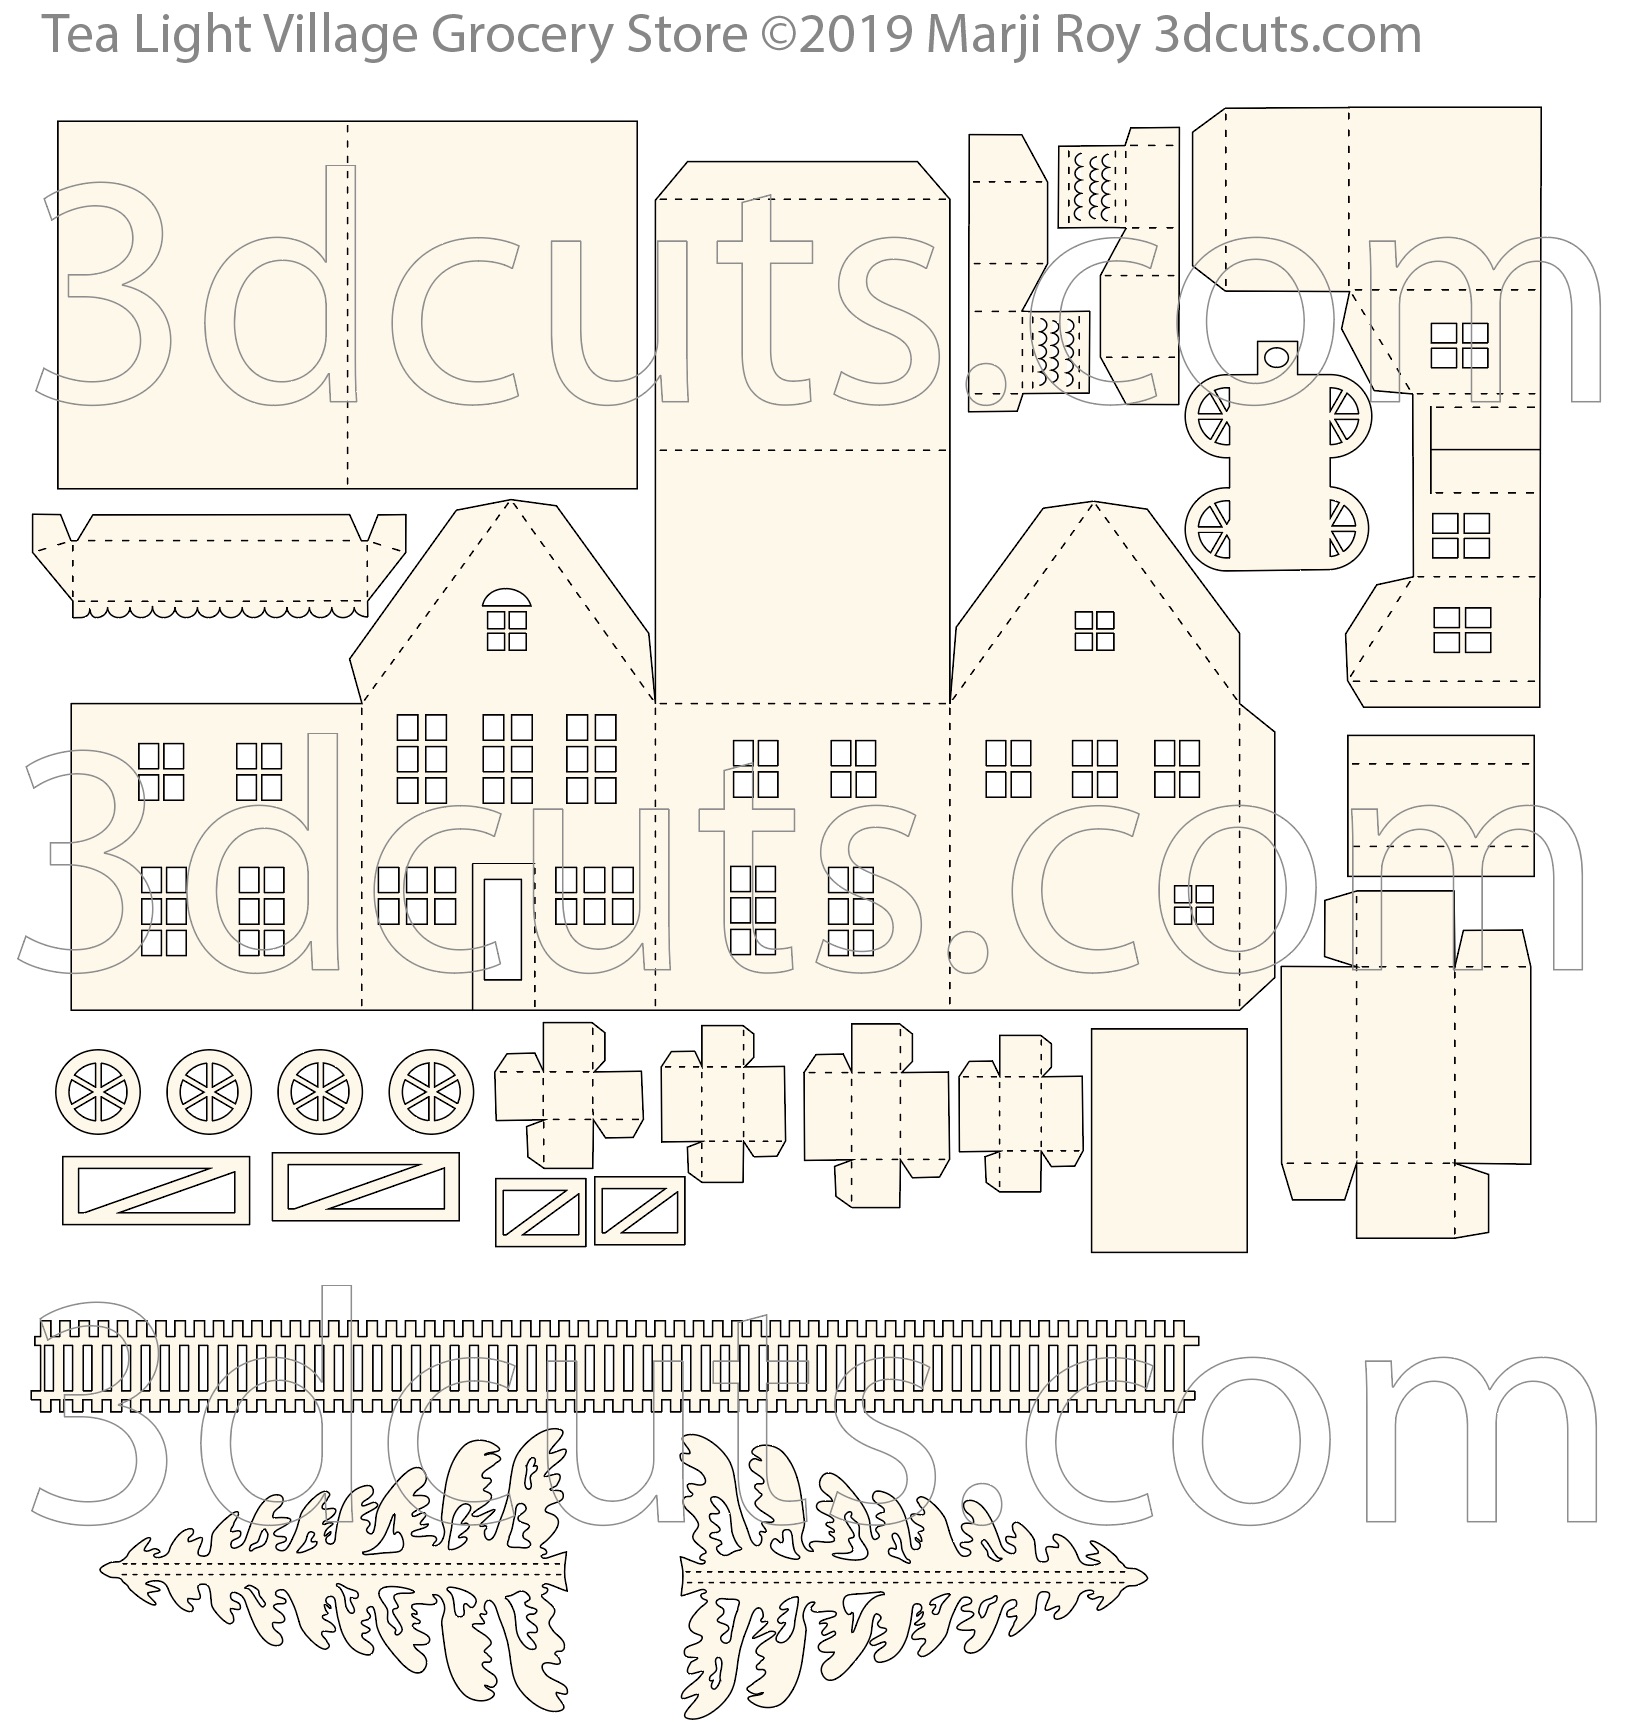
Parts Sizes- See orientation in diagram to right.
All Pieces Grouped - 10.486” w x 11.1936” h
There are many tiny pieces. Keep them grouped together if you want to re-size.
Measurements maybe needed if using dxf files.
Order supplies from Amazon:
(Links for USA customers only. Other countries will need to search in their local Amazon for the products.)
Order from Amazon: Neenah Bright White Card Stock 8.5 x 11 65lb 250sheets (Affiliate Link)
Order from Amazon: Art Glitter Glue with metal tip (Affiliate Link)
Order from Amazon: Scor-Tape 1/4" X 27yds (5 Rolls) (Affiliate Link)
Order from Amazon Fairy Lights 2 sets 100 lights with remote in warm white (Affiliate Link)
Order from Amazon: Premium Silhouette Blade (Affiliate Link)
Steps for completing the Tea Light Village Grocery Store Assembly:
Special Note: I update the instructions online. Check here for adjustments and additional information.
1. Download the cutting files for your cutting machine here from the 3dcuts.com store. http://3dcuts.com/tea-light-village/2019-additions. For those of you that are reading this as a pdf I recommend viewing it online at my tutorials page at this url - http://3dcuts.com/tea-light-village-grocery-store-tutorial. There all the links will be live.
2. Load the files into your cutting software following the steps for your cutting machine.
3. Prepare the files:.
For the Silhouette:
SIL Files from upload SVG purchased from 3dcuts.com:
The SVG files may need to be turned into cutting files. Click here for detailed steps on how to use SVG files on your Silhouette. http://www.3dcuts.com/tutorial-upload-svg-silhouette
DXF files can be opened in the basic edition of Silhouette Design Studio but often require modifications. I recommend using the Designer Edition and using svg files. DXF files do not always maintain file sizes and you may need to adjust according to sizes noted above.
For Cricut Explore: Here is a guide for importing into Cricut Design Space. http://www.3dcuts.com/tutorial-adding-3dcuts-files-to-cricut. Remember to ATTACH files before cutting in Cricut.
For Brother ScanNCut: The svg files will need to be transferred to files for your particular machine. You can change SVG files to FCM files at http://www.canvasworkspace.com/ or Google "How to import SVG files into a ScanNCut" for links to tutorials. Some models of Brother Scan N Cut can directly import the SVG files.
4. Cut the files.
It is best to have good quality card stock and a good blade and clean, sticky mat. I use the Premium blade and the Nicapa mat. These files do have intricate cuts and you need to know which settings your machine works best with.
Assembly Video:
Below is a YouTube Video of the Assembly process. You can link to it here: https://youtu.be/smWYB8wWbmc
There is a second video on how to make the fruit case on each side of the door here. https://youtu.be/6LdlBzo-Khg and below.
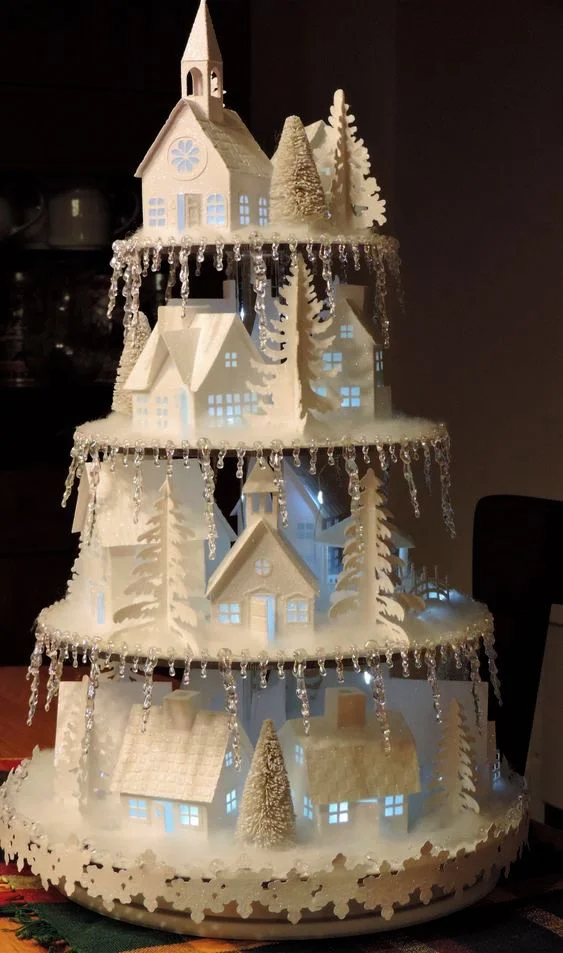
Tea Light Village - display by Chris Locke - files by Marji Roy of 3dcuts.com
Making the village…..
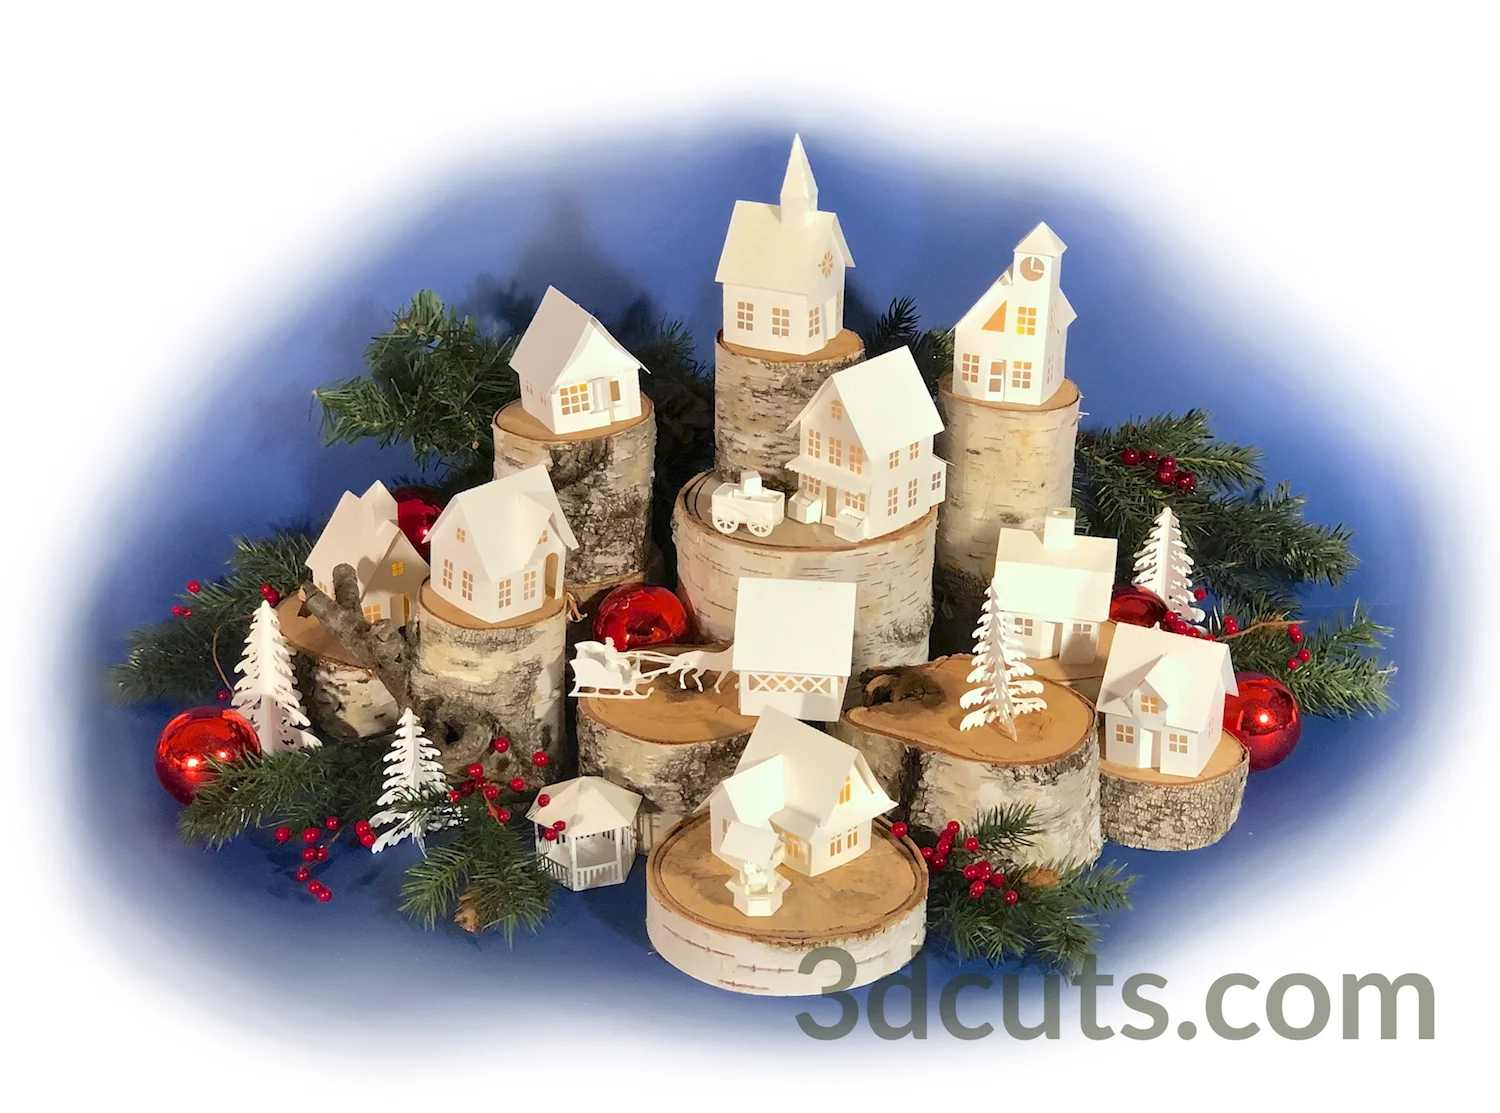
This building is part of Tea Light Village. Each year I add some new designs to the Village. All are available here.
There are many wonderful ways to display your village. I have been collecting photos sent to me by different crafters from around the world sharing their displays. I share these under the Ideas menu on the 3dcuts web page. Go here to see the Tea Light Villages.
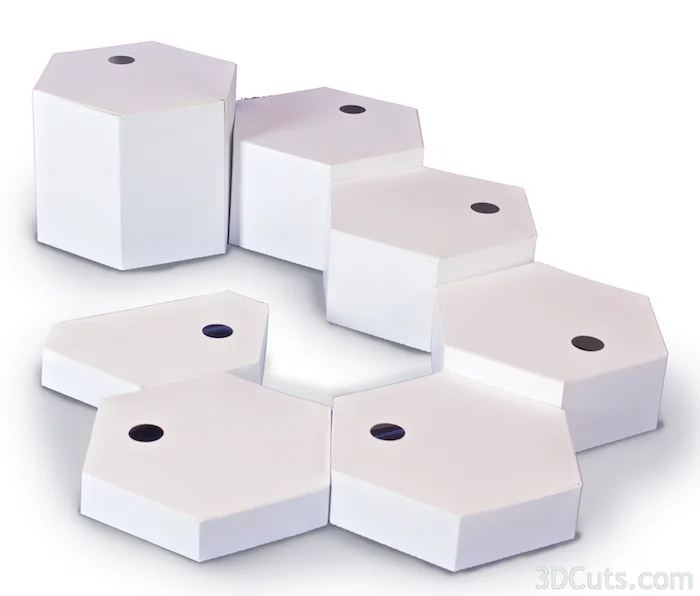
Although these houses were originally designed to be placed over individual tea lights we learned that they become a bother to turn on and off. To solve that problem I designed the hexagon tea light village bases available here.
http://3dcuts.com/tea-light-village/hexagon-platform-bases
These bases allow you to use the remote control LED fairy lights that can all be turned on and off with on remote switch.
I have also design a series of hexagon bases to create a show platform for tea light village. It is designed especially for wiring with string lights. Here is a link to that file.
