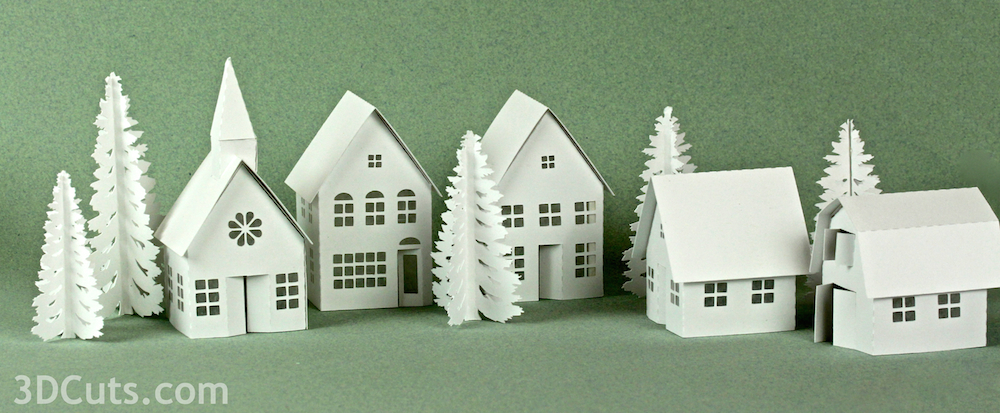
Tea Light Village • Pine and Maple Tree Tutorial
Project Description:
Tea Light Village is a series of tiny buildings designed specifically to fit over small LED Tea Lights so readily available these days. The lights provide a warm glow which brings life to the village display.
Warning: Only use LED Tea Lights. DO NOT use regular candle tea lights.
This specific tutorial is for the assembly of the pine and maple trees. These files are scattered through out the building files. Make the trees in a variety of sizes.
There are many tutorials for the Tea Light series including:
Tea Light Village Hexagon and Pentagon Bases 2017- updated 2020
Tea Light Tree Tutorial
Supplies Needed:
Tree Cutting File - Available here. This tutorial is for both the Maple and Pine Tree which are available in different groupings.
Glue dots 3/16" or Scor Tape
Cutting Machine & Software
Card Stock
Parts sizes: (For those importing into Design Space) - in inches
From 3 Pine Tree File:
All Trees in one file (they import with trees sideways) - 7.21" w X 8.895"h
Tallest Tree - each half sideways - 4.415" w X 2.35"h
Medium Tree - each half sideways - 4.170" w X 2.22"h
Smallest Tree - each half sideways - 3.87" w X 2.06"h
Note: The size of the trees can be anything, just make 2 matching of each size.
From Maple and Pine File
Both together - 5.520"w x 9.320"h
Pine tree - (vertical) - 2.35"w x 4.415"h
Mape Tree - (vertical) - 2.61"w x 4.175"h
Steps for Assembling the Tree:
1. Download the cutting files for your cutting machine.
2. Load the files into your cutting software following the steps for your cutting machine.
3. Prepare the files:.
For the Silhouette:
SIL Files from upload SVG purchased from 3dcuts.com:
The SVG files may need to be turned into cutting files. Click here for detailed steps on how to use SVG files on your Silhouette. http://www.3dcuts.com/tutorial-upload-svg-silhouette
DXF files can be opened in the basic edition of Silhouette Design Studio but often require modifications. I recommend using the Designer Edition and using svg files. DXF files do not always maintain file sizes and you may need to adjust according to sizes noted above.
For Cricut Explore:Remember to ATTACH files before cutting in Cricut. Here is a guide for importing into Cricut Design Space. http://www.3dcuts.com/tutorial-adding-3dcuts-files-to-cricut.
For Brother ScanNCut: The svg files will need to be transferred to files for your particular machine. You can change SVG files to FCM files at http://www.canvasworkspace.com/ or Google "How to import SVG files into a ScanNCut" for links to tutorials. Some models of Brother Scan N Cut can directly import the SVG files.
4. Cut the files.
It is best to have good quality card stock and a good blade and clean, sticky mat. I use the Premium blade and the Nicapa mat. These files do have intricate cuts and you need to know which settings your machine works best with.
5. Fold each tree on both fold lines ( dotted lines) that run down the center of each half.
6. Glue the halves together.
Place glue tabs along the outside of the folded center on one of the two halves. You can cut the 3/16" glue dots in half for this project.
Place 4-5 along the center seam.
Press the two halves together along the center trunk,
Be careful to line up the bottoms.
Cut them a variety of sizes and position them in the Tea Light Village.
Copyright 2014 3DCuts.com, Marji Roy


