
Tea Light Village - Church, Cape and School, Saltbox and Gambrel Roof House Tutorial
Project Description:
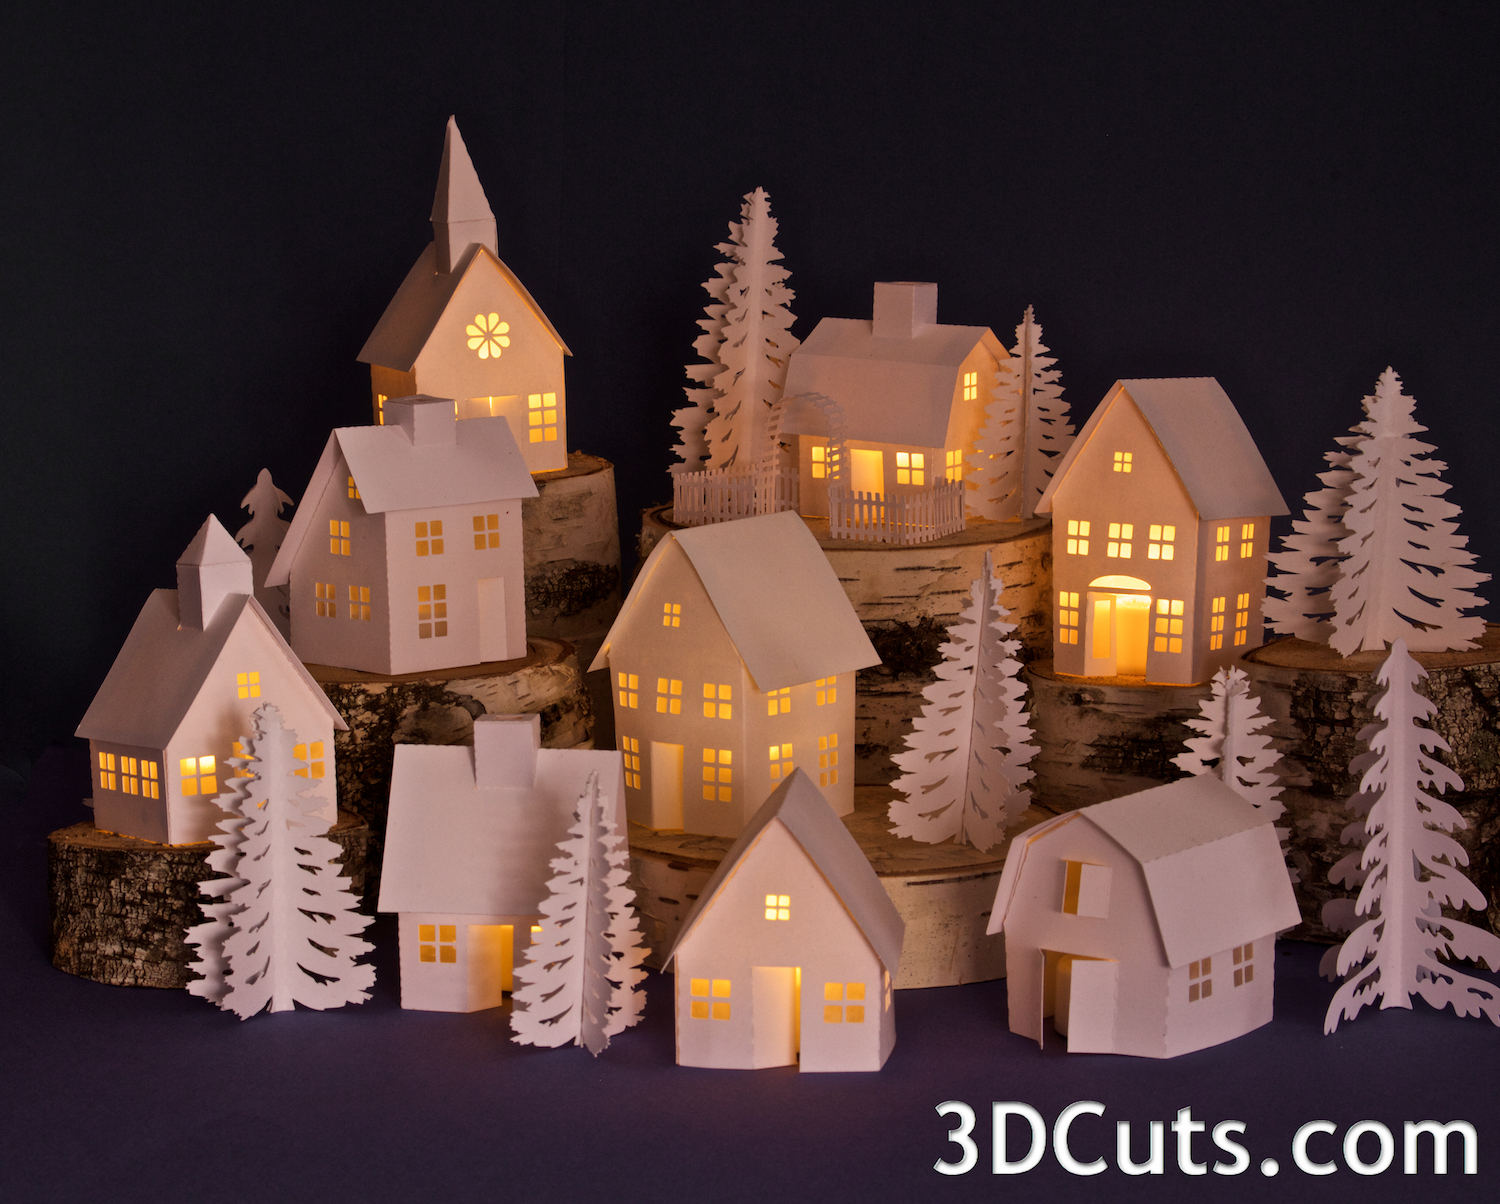
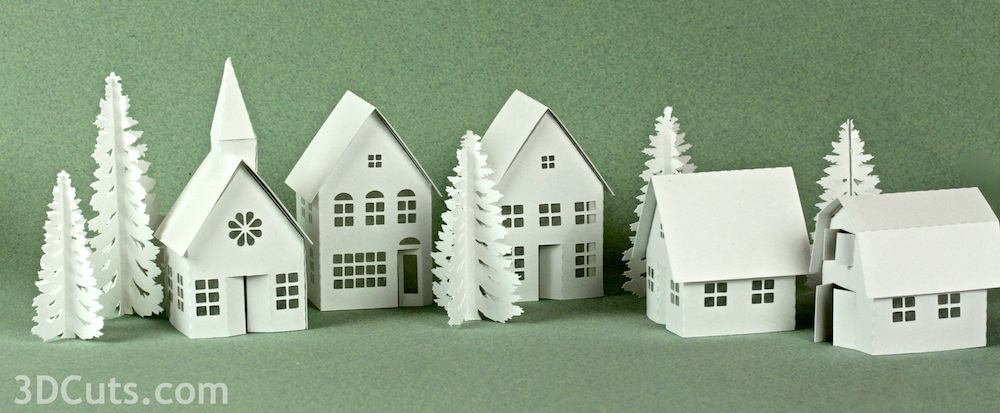
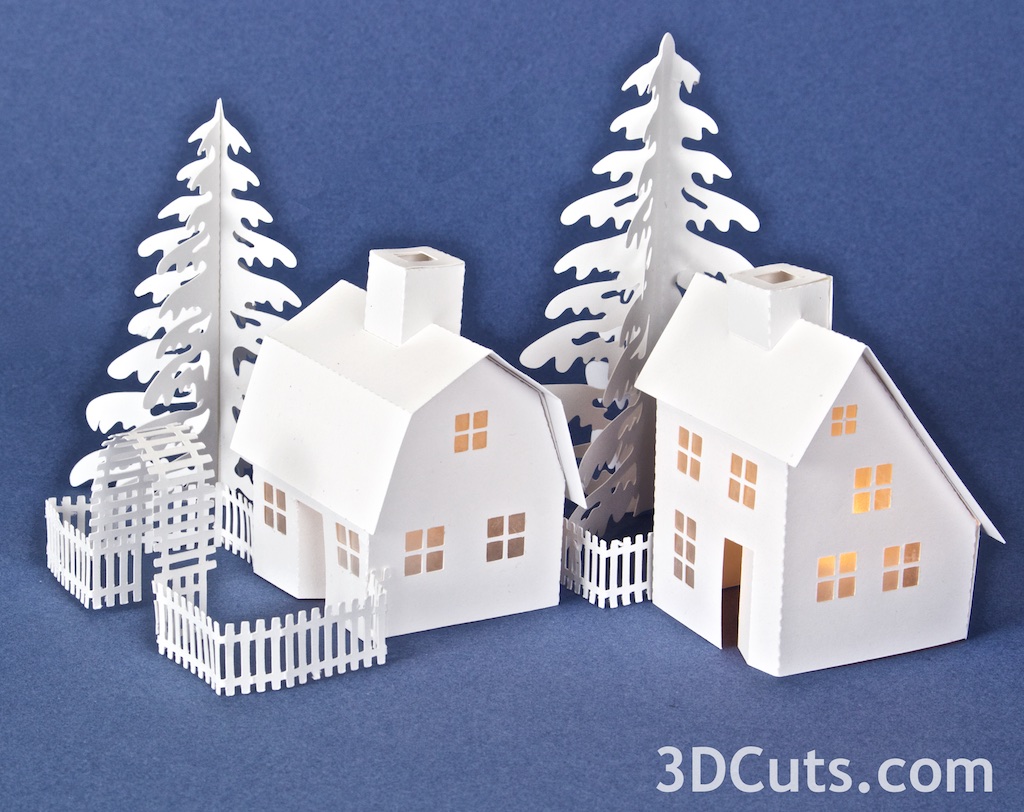
Tea Light Village is a series of tiny buildings designed specifically to fit over small LED Tea Lights so readily available these days. The lights provide a warm glow which brings life to the village display.
Warning: Only use LED Tea Lights. DO NOT use regular candle tea lights.
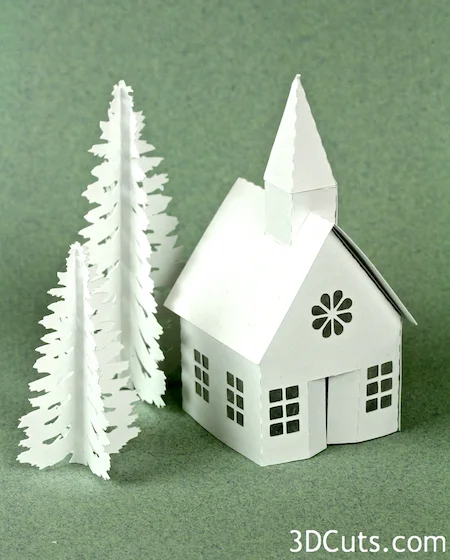
This specific tutorial is for the assembly of the church. All buildings that have add-ons on the roof follow these instructions including the school, cape, saltbox and gambrel roof houses.
Cutting Files Available here:
There are many tutorials for the Tea Light series including:
Tea Light Village Hexagon and Pentagon Bases 2017- updated 2020
Supplies Needed:
Cutting Files - Available here.
Glue dots 3/16"
Card Stock
Wax paper - Tracing paper works as well.
Glue
Scissors
LED Tea Light
Parts sizes: (For those importing into Design Space) - in inches
Church:
All Pieces together - 6.5" w X 9.355"h
Main Building - 5.245" w X 8.380"h
Steeples - 2.885" w X 2.655"h
Roof - 2.425"w X 3.880"h
Cape:
All Pieces together - 5.63" w X 9.575"h
Main Building - 4.960" w X 8.375"h
Chimney - 1.665" w X 2.655"h
Roof - 2.425"w X 3.880"h
School:
All Pieces together - 6.695" w X 8.375"h
Main Building - 4.960" w X 8.375"h
Cupola - 2.250" w X 2.655"h
Roof - 3.880"w X 2.425"h
Gambrel Roof House:
All pieces together - 6.1588” w xX 9.1592” h
Salt Box Roof House:
All Pieces together: 6.7111” w X 10.2167”h

Steps for completing the Church, Cape or School or any building with a chimney or cupola through the roof:
1. Download the cutting files for your cutting machine.
2. Load the files into your cutting software following the steps for your cutting machine.
3. Prepare the files:.
For the Silhouette:
SIL Files from upload SVG purchased from 3dcuts.com:
The SVG files may need to be turned into cutting files. Click here for detailed steps on how to use SVG files on your Silhouette. http://www.3dcuts.com/tutorial-upload-svg-silhouette
DXF files can be opened in the basic edition of Silhouette Design Studio but often require modifications. I recommend using the Designer Edition and using svg files. DXF files do not always maintain file sizes and you may need to adjust according to sizes noted above.
For Cricut Explore:Remember to ATTACH files before cutting in Cricut. Here is a guide for importing into Cricut Design Space. http://www.3dcuts.com/tutorial-adding-3dcuts-files-to-cricut.
For Brother ScanNCut: The svg files will need to be transferred to files for your particular machine. You can change SVG files to FCM files at http://www.canvasworkspace.com/ or Google "How to import SVG files into a ScanNCut" for links to tutorials. Some models of Brother Scan N Cut can directly import the SVG files.
4. Cut the files.
It is best to have good quality card stock and a good blade and clean, sticky mat. I use the Premium blade and the Nicapa mat. These files do have intricate cuts and you need to know which settings your machine works best with.

5. Assemble the Steeple, cupola or chimney.
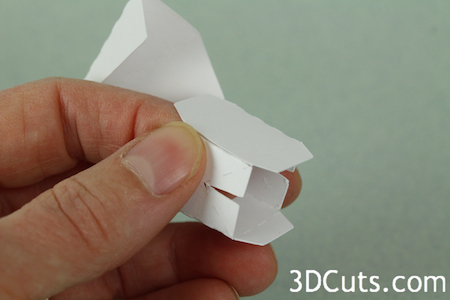
Fold in some of the fold lines (dotted) on the steeple. Fold the sides of the base and the edges of the steeple tower all in. Do not fold the tabs on the base yet.
Note: All 3 of these buildings have a structure on top of the roof. The assembly is the same for each although the shape of the top piece varies. Use these steps for all and vary for the different shapes.
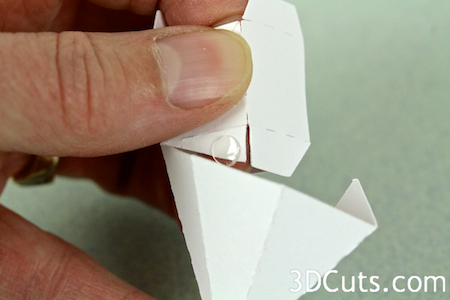
Glue the side wall of the steeple base together using a glue dot.
Then fold the 3 tabs to connect the steeple base to the steeple spire in toward the center. (Not in chimney.)
Put a glue dot on the first tab of the base. This one is triangular shaped . Glue the first spire triangle to the base carefully lining it up. The base of the spire triangle lines up with the dotted fold line on the steeple base.
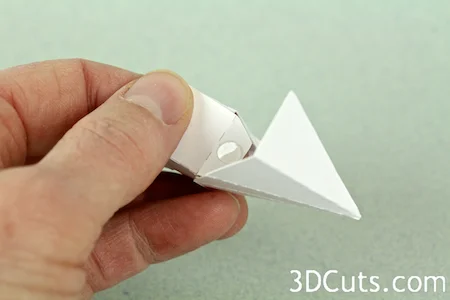
Continue around the spire adding a glue dot to each tab and attaching it to the spire.
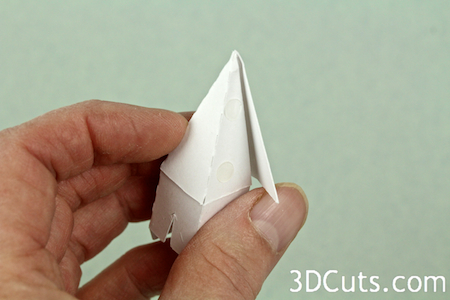
There will be one spire triangle left. Glue that over the first triangle to enclose the spire.

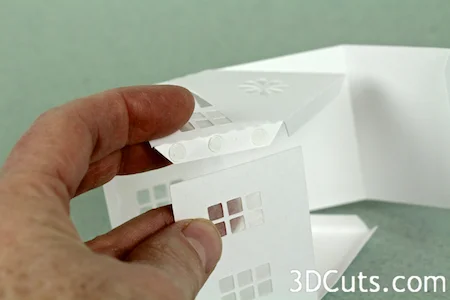
Fold the 6 tabs on the bottom of the steeple base OUTWARD.
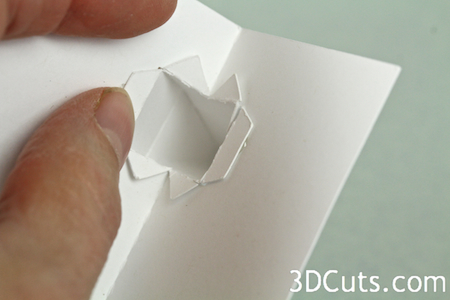
Slide the steeple, chimney or cupola up through the folded roof cover.
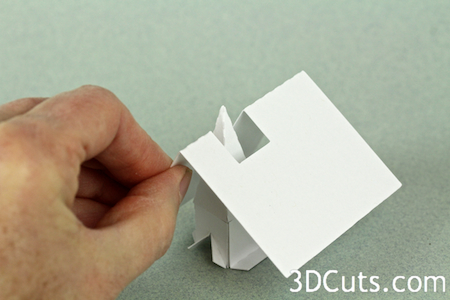
The tabs of the steeple will get glued to the underside of the roof cover - but don't glue them in place until you have made the church building. They need to fit together.

Glue cut squares of wax paper to the insides of all building windows.

Fold in all the fold lines (dotted) on the church building. They all fold in toward the wax paper side.
Glue the two sidewalls of the church together. Be sure to line up the bottoms.
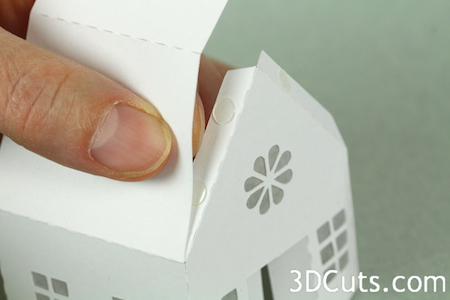
Glue the roof to the roof tabs.
Glue the side closest to the fold first and then add glue dots to the other side and stick in place.

The roof and steeple portion will be placed onto of the lower portion. Position the steeple within the roof and use removable glue dots to hold it.
The fit of the steeple is good and it lines up when the roof is at the proper angle.
Glue the roof cover in place. This gives the building overhangs.
Directions for making the trees are here.
Add these new pieces to the Tea Light Village.
School and Classic Cape added in 2014

New England Classics - The Saltbox House, Gambrel Roof House and Rose Arbor added in 2015
©2014 3DCuts.com, Marji Roy