It is Christmas Card Time!

We crafters know that Christmas starts early for us. My design for cards needs to be finalized by November 1. I them start cutting and making so the cards are hopefully set before Thanksgiving. I seldom succeed, But I am doing well this year. The design is done! Here is a new Merry Christmas pop-up design featuring a funky font.

This card is from a full 8.5 x 11” sheet of card stock and when folded in half fits perfectly in a 6” x 9” standard booklet envelope.

I would love to see your card ideas! I now need to make 40 more!

Happy crafting,

Marji

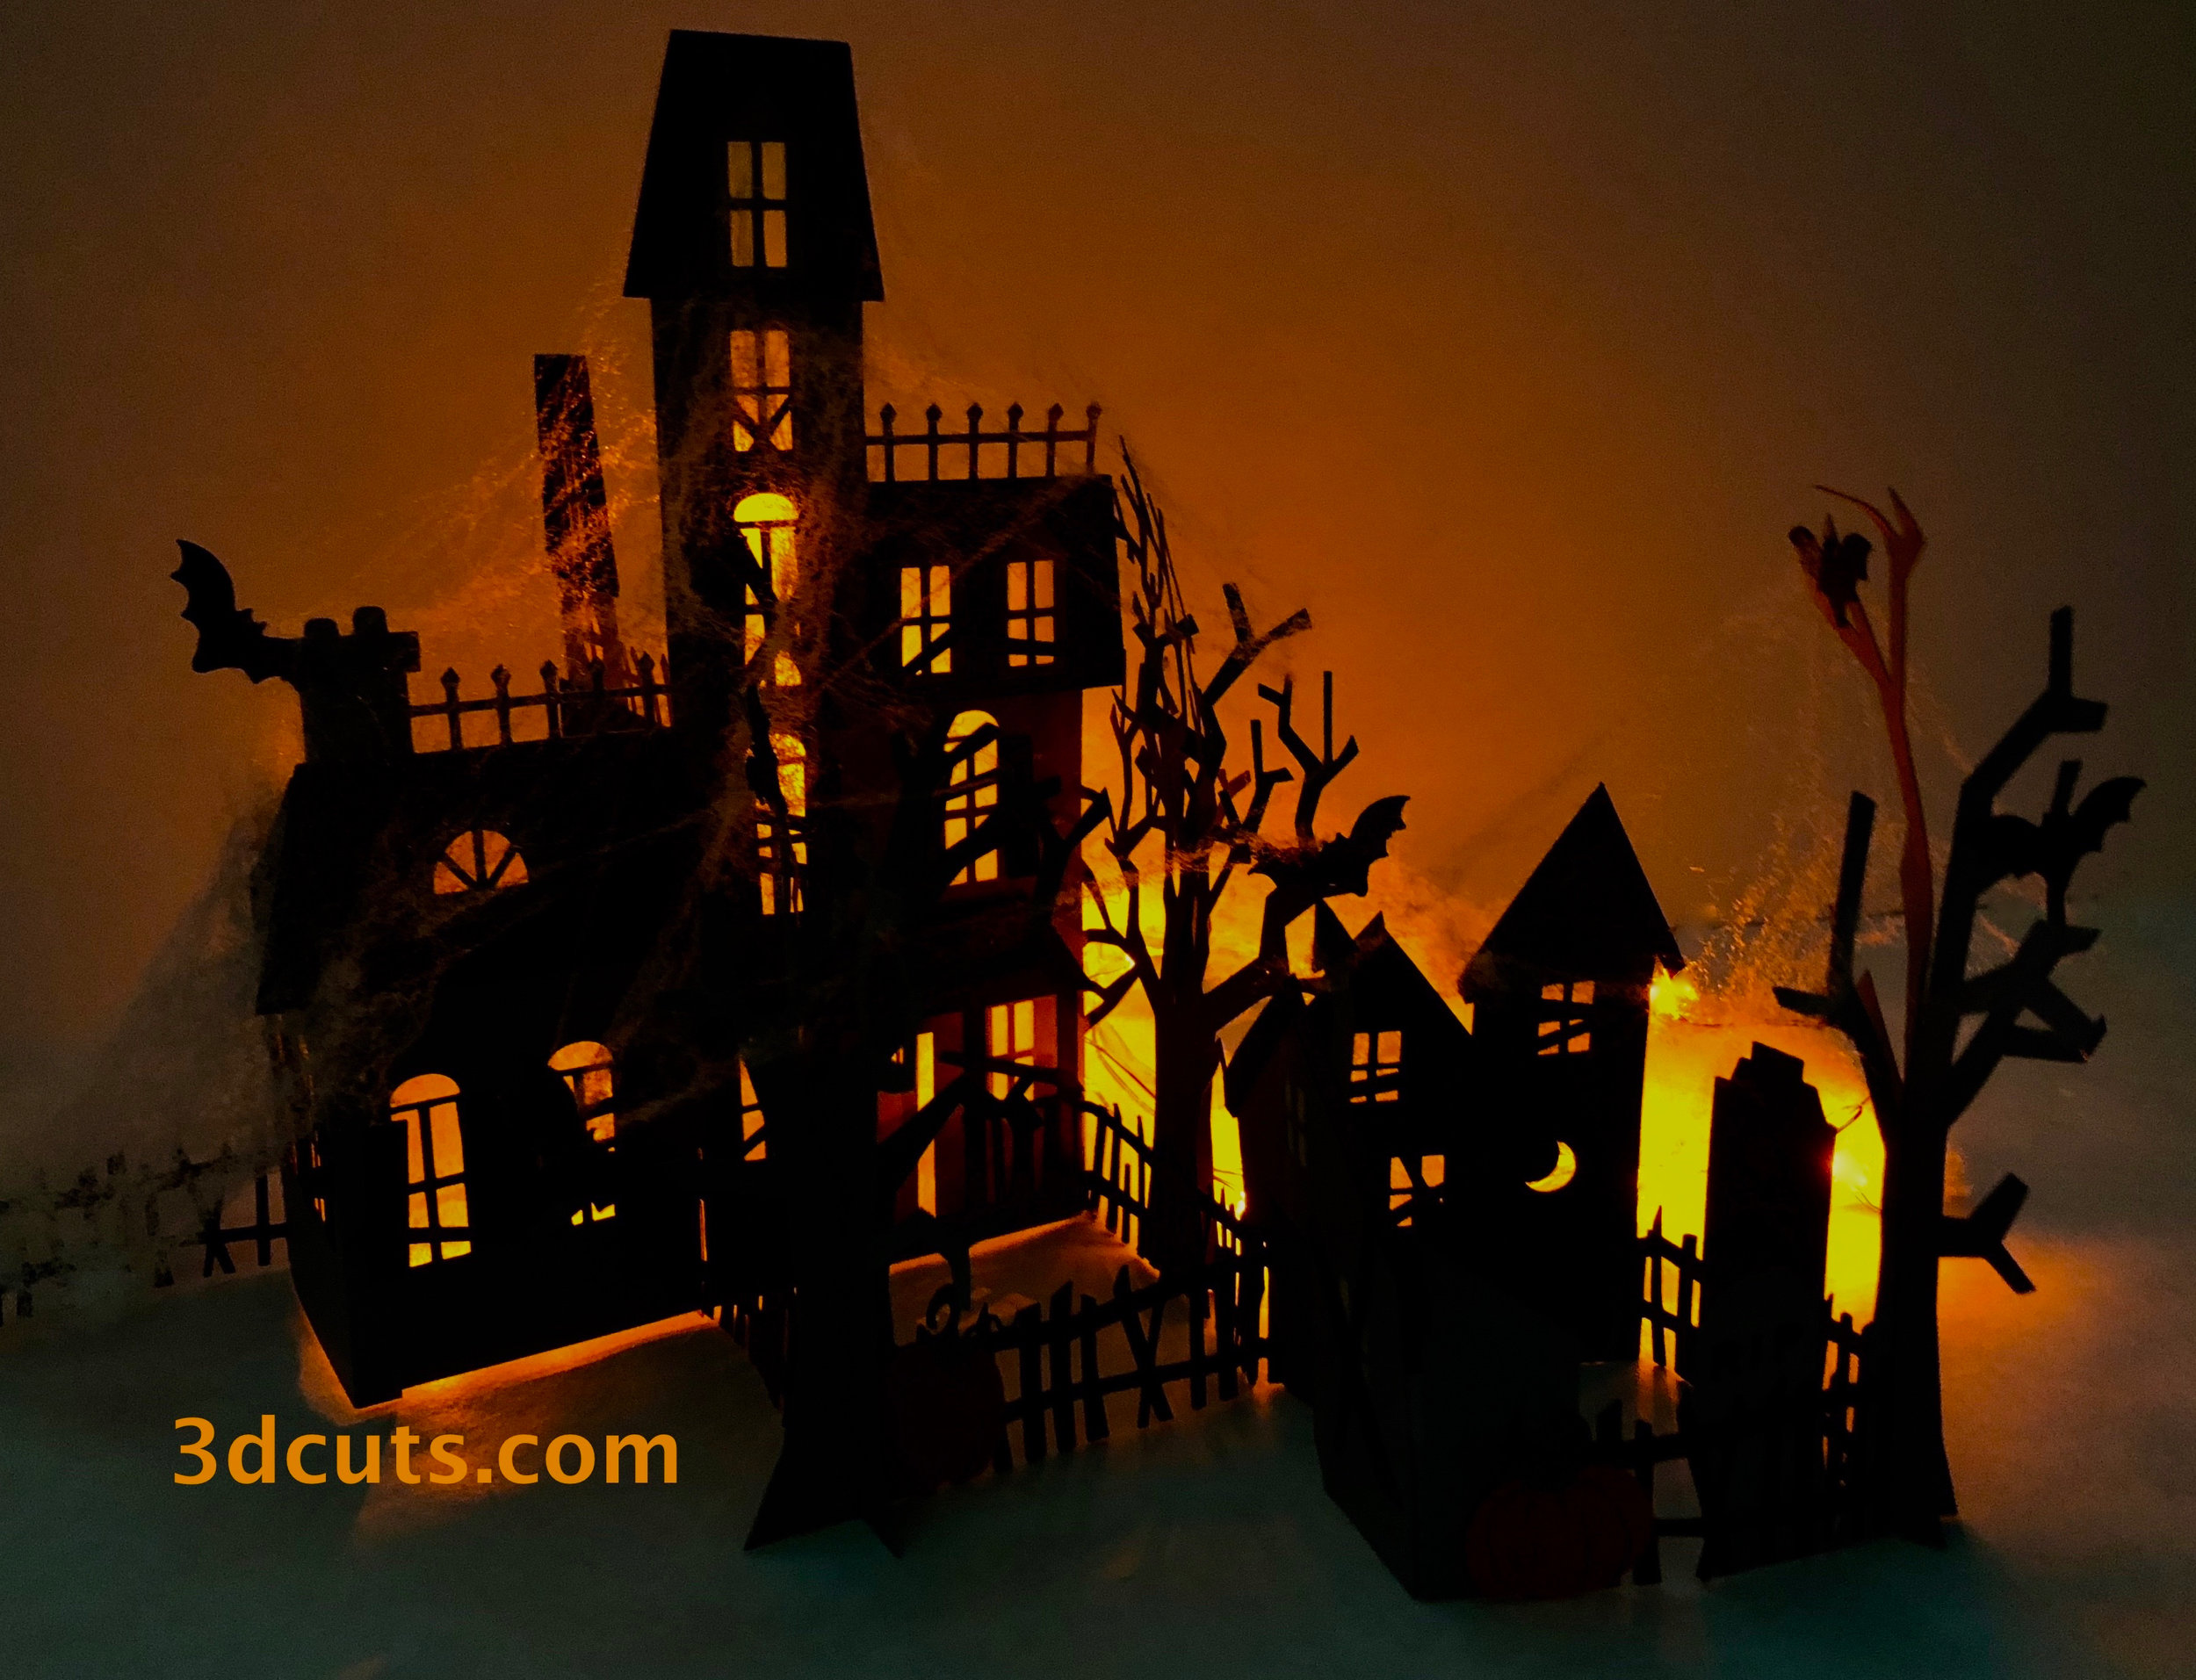
First Customer Haunted Zig Zag Village

I love it when you folks send me photos of your finished projects. Amy D sent along this beautiful shot of her Zig Zag Village.

Amy D Haunted Zig Zag Village chocolatepaw1@comcast.net.jpg

Link to the cutting file for this project here: http://3dcuts.com/zig-zag-village

Link to the tutorial for the assembly here: http://3dcuts.com/zig-zag-village-haunted-tutorial

If you have completed any of my projects please share them with me by sending them along to marji@3dcuts.com or posting them to the various crafting facebook groups.

Tea Light Village 2018 Additions

One of my favorite annual projects is designing new buildings for Tea Light Village. Over the weekend I added the 2018 versions to the store. This year I added a barber shop complete with the iconic pole and a covered bridge. The covered bridge comes with a charming horse drawn sleigh which requires tiny fingers or tweezers to assemble!

I love rearranging them for the season and adding fairy lights.

  • The cutting files for the 2018 additions are here for $2.59 for all 3 items.

  • The cutting file for the entire collection- all years is here for $12.59 for all 16 buildings plus accessories.

  • The tutorial for the assembly of the Covered Bridge and horse-drawn sleigh is here.

  • The tutorial for the assembly of the Barber Shop is here.

Discount!!!!

I just sent out the email to all the folks on my mailing list introducing the haunted zig zag village. Way down at the bottom I include a little surprise. If you aren’t on my mailing list, you might want to join (Click Here).

But because I want everyone to have a wonderful crafty fall, I will share the code here as well. I am offering a 20% discount for any purchase over $10. The code is good until September 26th. Just enter HAUNTED20% during check out at the promo code box.

Happy crafting everyone!

Marji

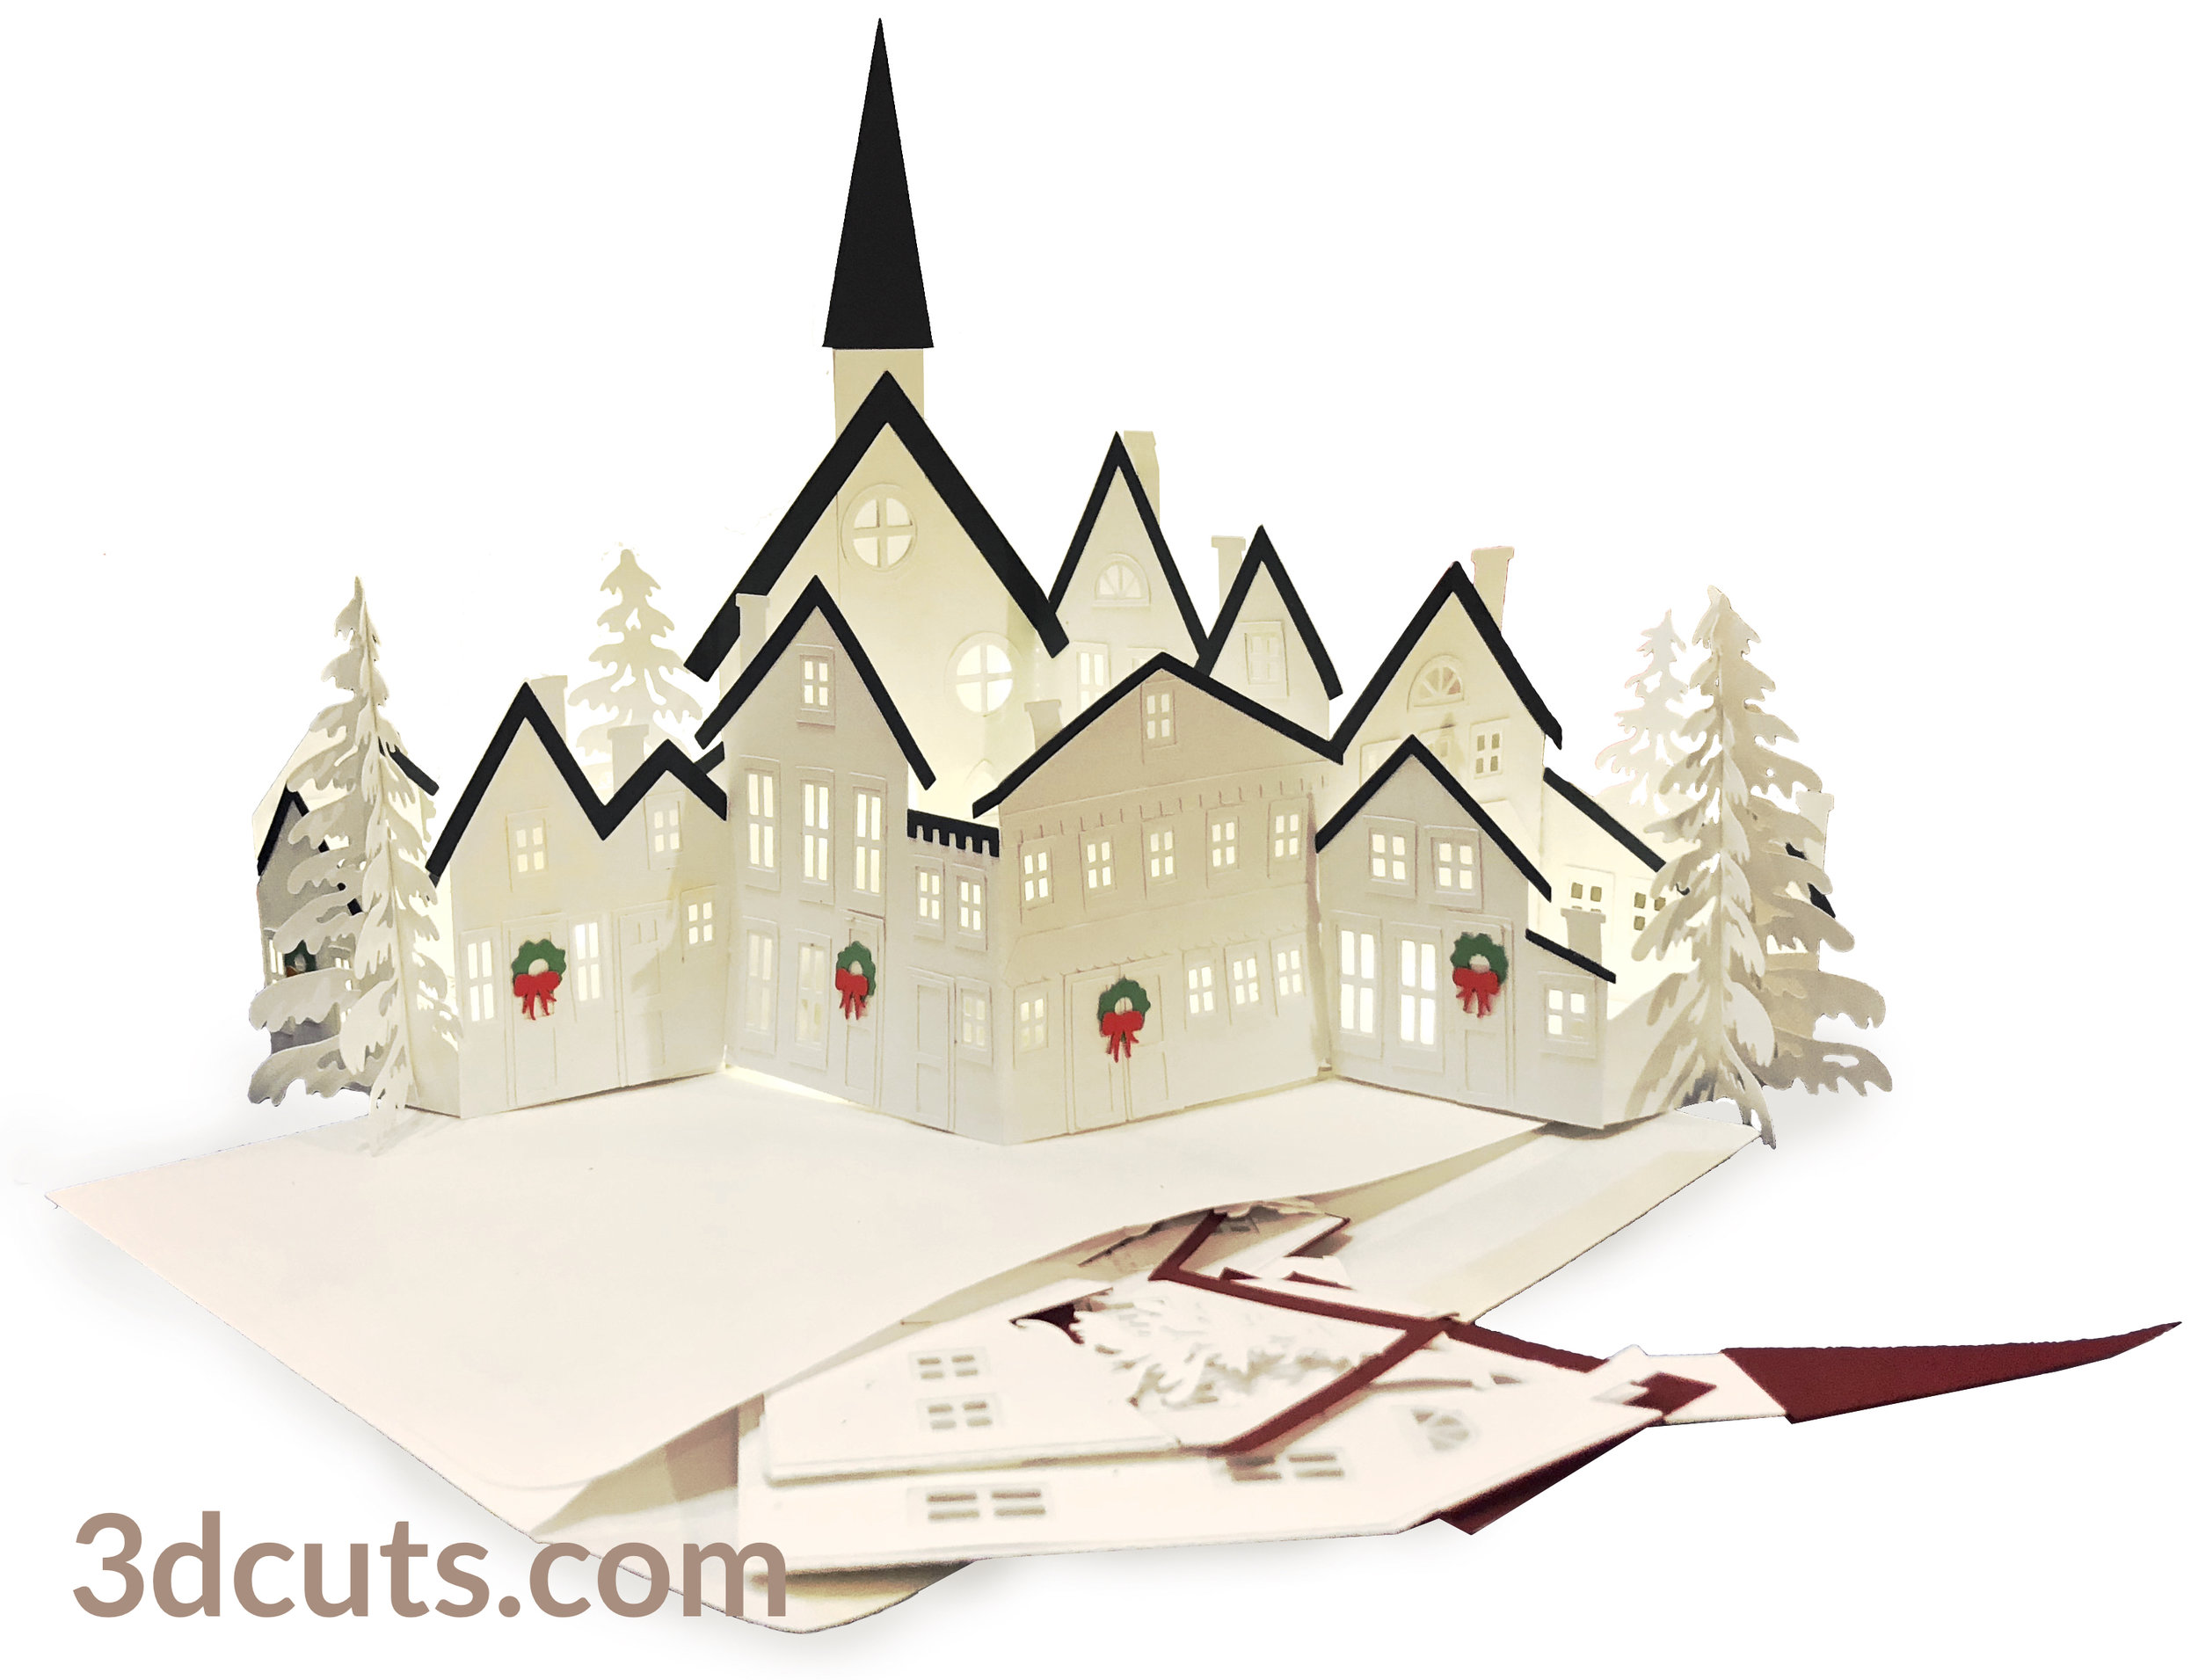
Yes! It folds up! Zig Zag Village

I have designed my third village! And the new exciting element on this one is that it folds for mailing or easy storage!

Zig Zag Village is filled with charming details - like doors and window frames, porches and trees.  You can choose to add either LED tea lights or LED fairy lights for display illumination. And the download includes the files for tiny wreaths with bows to add Christmas decor. 

But best of all - the design allows you to fold it and store it or mail it in a standard 6 x 9" booklet envelope.

I have made an extensive video tutorial for the assembly procedure and also added helpful notes for organization of all the pieces. Those are available for online viewing here. The cutting files is available for purchase here.

Enjoy this short video to show the folding action. It will help get you in the Christmas spirit. It is never too early for Christmas crafting!

Another Shadow Box.... a Hummingbird

There are still so many shadow boxes to design. This time I was inspired by the little hummingbirds attracted to the flower blossoms outside my window. 

My designing is a little more stylized this time. I have been skipping around with the bird themes. Some trend more toward realism and others are more stylized. You certainly can change the visual impact by using different papers in the back. I used a pearly pink that I had in my stash. That paper made it clear that the birds and flowers would be simple black and white.

The construction techniques for this shadow box are basic 3D skills. I have made a step-by-step video tutorial to show you how to assemble it.

Here are the links to the resources for this fun project:

A Deer Shadow Box

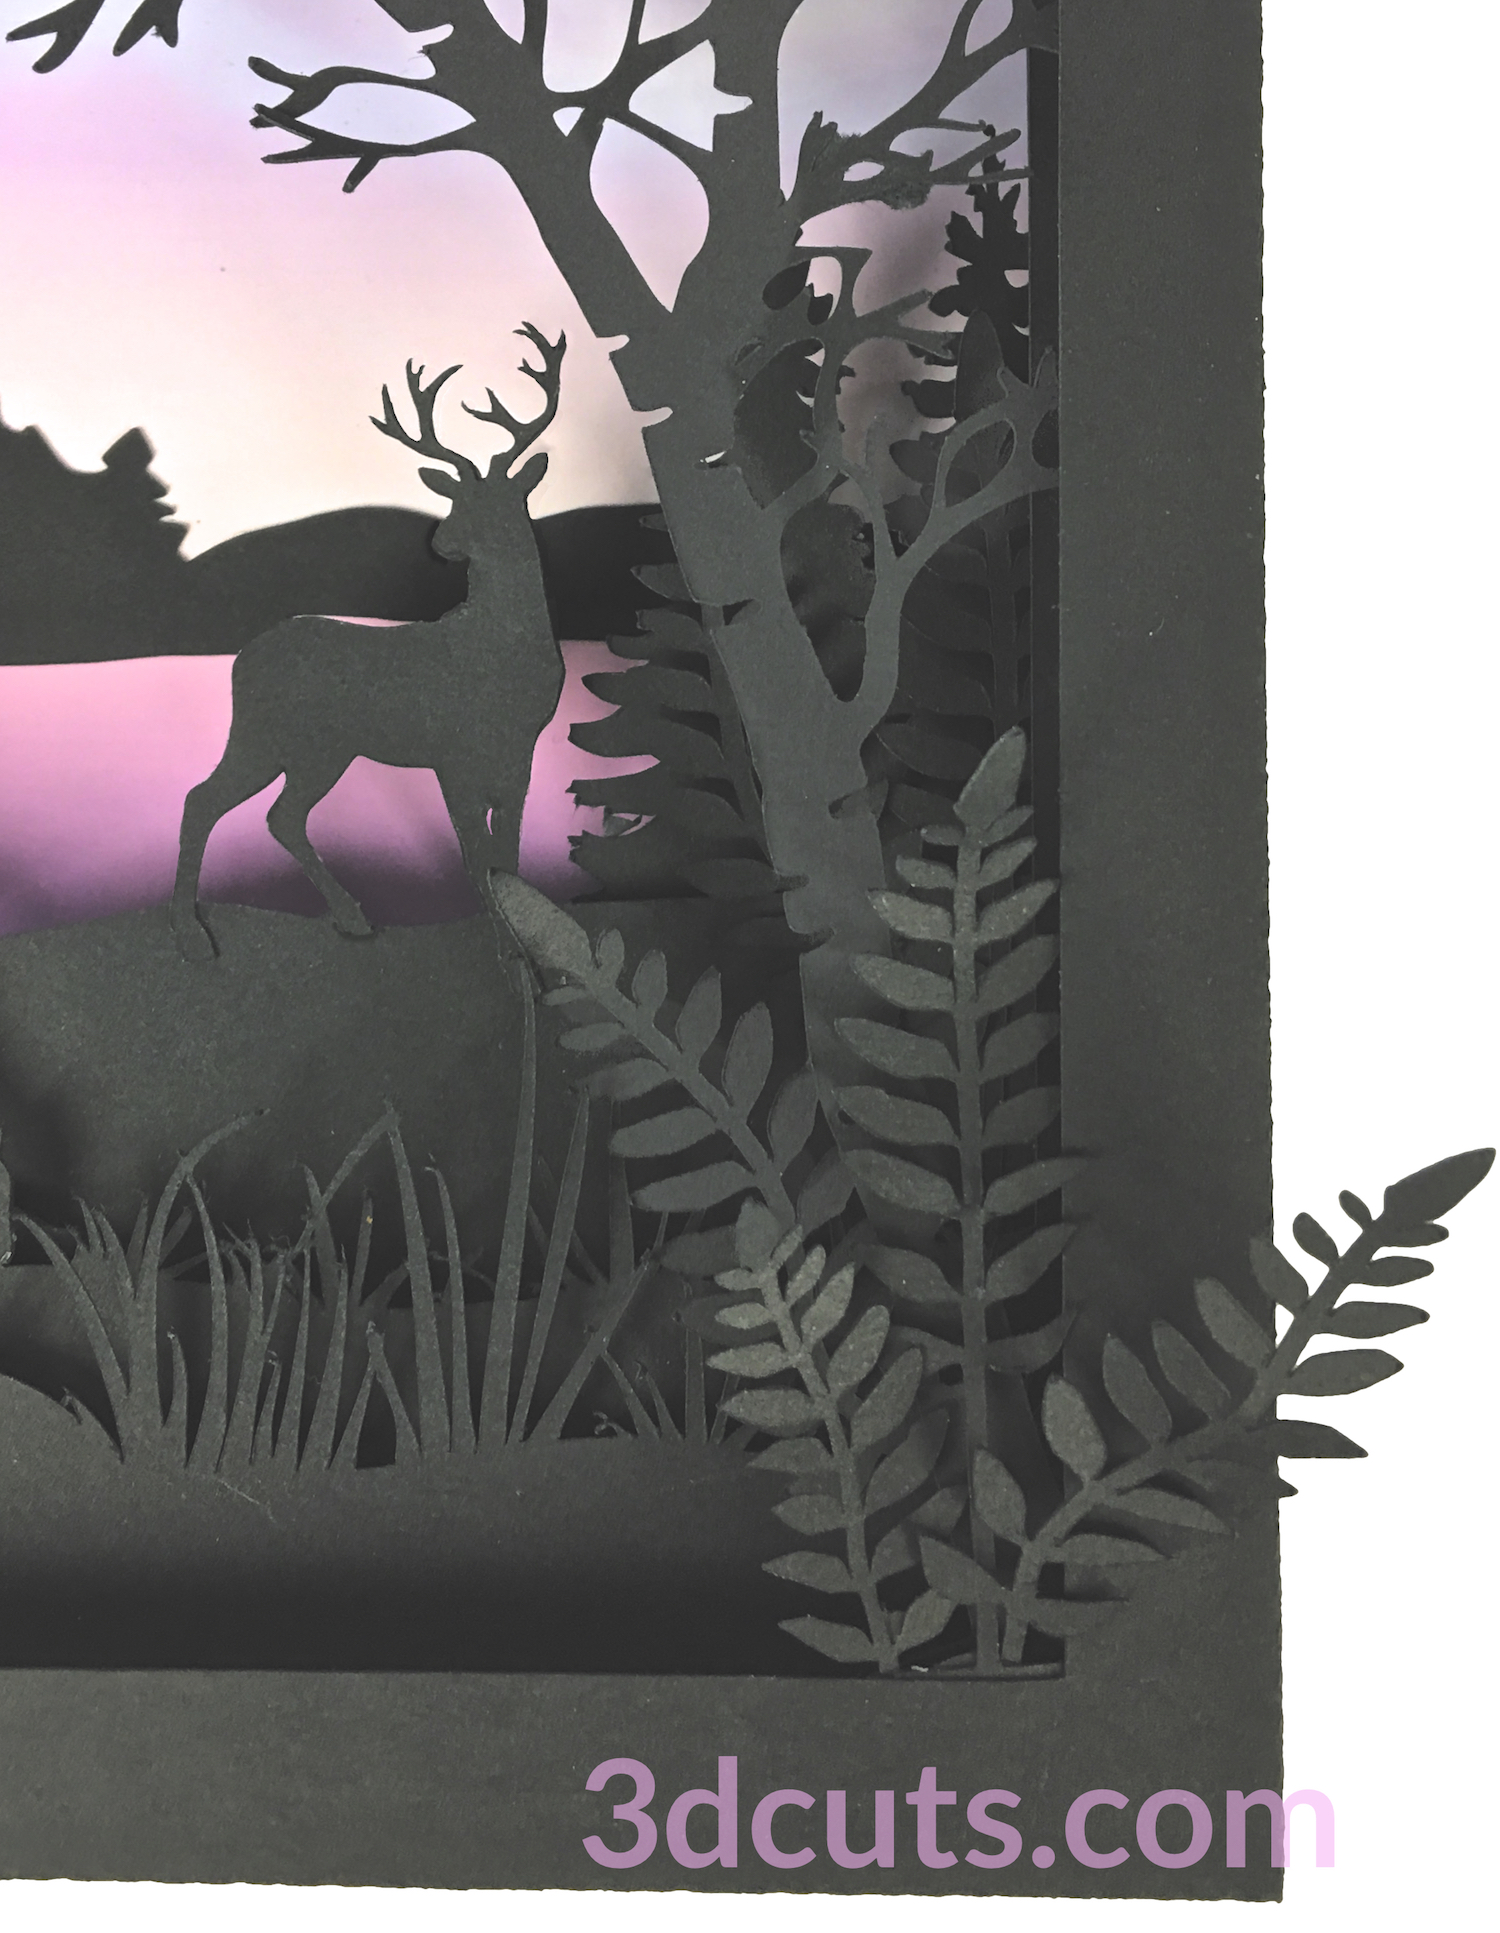
I love shadow boxes and can't help myself. I just keep designing them.  This one came because of a request for the deer theme in the small size. I have done deer in the more complex illuminated star shadow box but not in the small 6.5" square series. But I also wanted to try incorporating a birch tree as well. Oh, and ferns. So off I went designing another shadow box.

I am especially liking this one. I created a more complex scene by adding additional levels using pop-dots. It still only has the 2 interior layers but there are various elements attached to both the front and back of each. Here is a detailed view.


This is sized to match others in the collection like Heron Cove or Loon Lake and the ever popular Summer Scenes series for those that love fishing. The collection grows!