Calligraphic Kitties

I have been playing around with an Apple Pen on my iPad. I was working to create animals with simple lines. In the end I had to switch to Adobe Illustrator on my computer but I did successfully create a series of sketches. The first batch is of kitties and I created the following 4 files:

The possible uses of these are many. I have never used vinyl but I would love one of the mandala designs on a t-shirt with real bows stitched on. Attempting a vinyl project with my Silhouette is still on to to-do list. I know I should but I am a paper crafter at heart.  And so with paper I first made a shadow box with the mandala.

And then I made a series of note cards. The creative possibilities here are endless. I'd love see what you can do with your paper stash to create some greeting cards with these files.

I also continue to expand my video tutorial skills as I made another video, this time on creating the mandala shadow box.

Make this Illuminated Forest Scene with Grazing Deer

My first project this fall was to revisit the star shaped shadow box. I first used this for a Nativity last Christmas but I knew then it was perfect for a deer scene. The deer scene market is better earlier in the fall so I held off until this September. I am very pleased with the results.

Not only is the subject matter new but I also updated the construction techniques. I engineered a new interior side brace that holds the layers in their proper positions and helps you align them as you construct. The brace looks like the left image and the center stack held together by the braces is on the right.

Stunning 3D illuminated shadow box by Marji Roy of 3dcuts.com. SVG, PDF, PNG and DXF cutting files and a complete tutorial available. Support Brace
Stunning 3D illuminated shadow box by Marji Roy of 3dcuts.com. SVG, PDF, PNG and DXF cutting files and a complete tutorial available. In progress

Additionally I have started using a new type of illumination. Instead of the Tea lights I used a string of LED fairy lights. There are 20 on a flexible wire and they are much easier to design around. The are commonly available. I got mine from Amazon here......

I hope to be using these in more projects because I like how one switch turns 20 lights on/off. 

And am trying being an Amazon affiliate. We'll see if that works or if it is just a bother.


To Purchase:

  • The file is available at my 3DCuts store here:
  • And as always I have put together a great tutorial here.
Stunning 3D illuminated shadow box by Marji Roy of 3dcuts.com. SVG, PDF, PNG and DXF cutting files and a complete tutorial available.

Happy crafting everyone!

Marji

3dcuts.com

Customize Your Summer Scene - New Shadow Box

A couple of months ago I designed the Canoe at Sunset shadow box file. It was very well received but it did start a series of comments in the vein of "Oh, this is beautiful but I would love for it to be a kayaker - fisherman-etc. That got me to thinking and I decided to create this newest shadow box with more features for customizing. Here is my Summer Scenes Shadow Box.


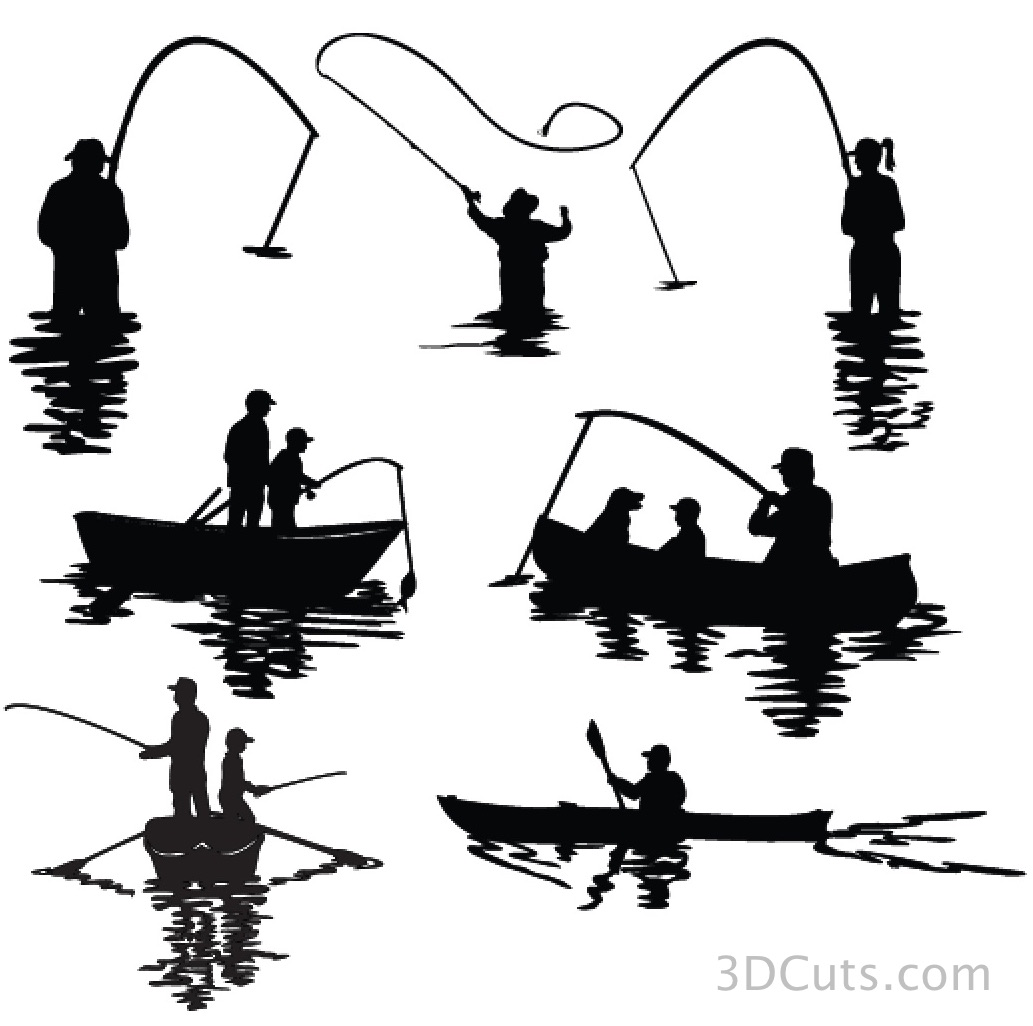
With the download comes seven different silhouette inserts for the sports figures added in the center. You get to choose the one you want! There are fishermen and women, fishing families and a kayaker. Select one and add it to scene you have constructed from the cutting files.

The download also includes five different skies to further customize your project. Three are photos I have modified and two are digital paintings of sunsets. 

Put the options together and you can create numerous different shadow boxes from this download.

Purchasing Options:
I have created a couple of download options for you on 3dcuts.com.

  • The entire set of Summer Scenes (includes the shadow box files, 7 sporting silhouettes and 5 backgrounds) - All for $3.99. Click here to purchase.
  • Just the 7 sporting silhouettes - For $1.99 - Click here to purchase.
  • Just the 5 backgrounds - For $1.49 - Click here to purchase.

And here is a link to the assembly tutorial to check out.

Happy Crafting!

Marji


Ledge Village Expanding!

I first introduced Ledge Village in June of 2013. It was a concept I developed for a little ledge in my laundry room and it has blossomed into an every expanding town. This week I have finally added some more buildings to the options available for those of you creating your own villages. Here is a look at Ledge Village with all the files currently available through 3dcuts.com.

The Fullerton House (Below left) is a favorite of mine and was the last building I designed in the Silhouette software only.  I finally redrew the entire file in Illustrator so I could get the other needed formats for folks with different cutting machines. The Fullerton House (which is based on a Sears and Roebuck kit house from the 1920's) is now available in svg,pdf,dxf,and png formats.

A roof style not yet represented in Ledge Village is the Mansard roof. I decided to use that on both of the next buildings - the Mansard House with bay window, and the Town Hall. All three of these buildings have features that make them a little more detailed than earlier buildings. I especially love the addition of the dormers.

But have you noticed that this is the first time I have added lighting to Ledge Village? My Tea Light Village was based on the little tea lights but they are such a bother to turn on and off. I learned about Fairy Lights from another crafter and decided to add them to my latest Ledge Village display. I especially like that they are battery operated and you can get a lot of lights on each switch. The options on Amazon are always changing but I found a 40 light set.

To install I simply cut tiny holes in the back of each building in a hidden spot (I didn't want them to show through the door or window). I then inserted the little lights (which stay cool) and applied a little tape to hold in palce. Some other larger buildings had 4, others only 1 but they were all strung together.

  • The buildings are currently available in my store here on 3dcuts.com.
  • The complete tutorials are located by following the links on this page here.

What building are you going to create first?


Another use for my ladder file....

I really like the design of the step ladder I made for halloween. This week I took that file and added some new accessories for the changing season. Here it is, all decked out for Christmas.  

3d Christmas Ladder centerpiece constructed from card stock. SVG,PDF, PNG, DXF cutting files available from 3dcuts.com. Designed by Marji Roy

You can make the various accessories and use them for different combinations. Here is another using just some of the included files.....

3d Christmas Ladder centerpiece constructed from card stock. SVG,PDF, PNG, DXF cutting files available from 3dcuts.com. Designed by Marji Roy
  • Cutting files available here:
  • Tutorial available here.

I'd love to see what you create with these files. Send photos to marji@3dcuts.com

Halloween Svg Files for 2016

Oh, I have been having fun with designs for Halloween this year. The following files have been made available over at the store.

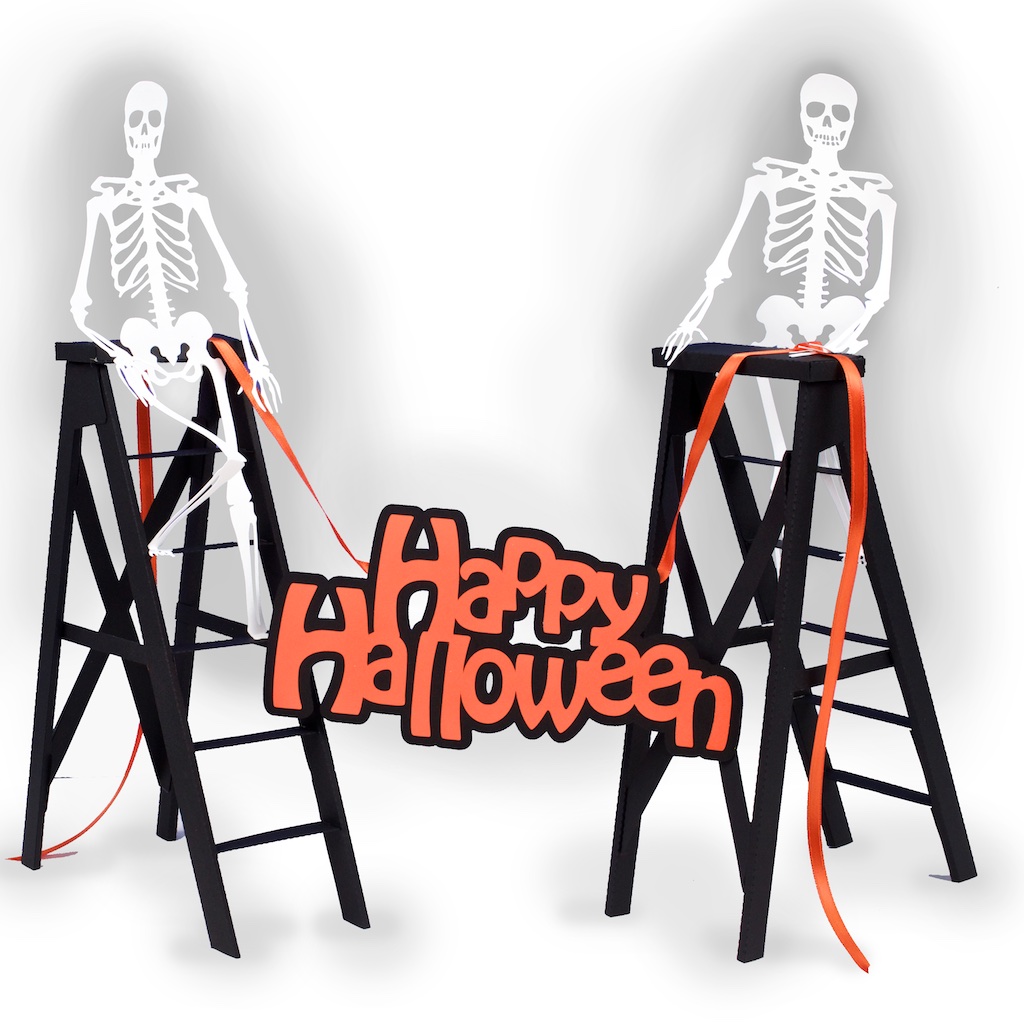
Haunted Ladders - Decorating for Halloween

  • Cutting file available for purchase and download  for $1.99
  • Tutorial is online here.


As a companion project I also design the Haunted Casket which can be displayed either vertically or horizontally. Optional LED tea lights can be inserted inside to add an internal spooky glow.

Haunted Caskets - with LED Tea Light

  • Cutting file available here for purchase and download  for $1.99
  • Tutorial is online here.


I also create a series of spider web files to 12 x12 card stock. These are available for 99¢ here

I hope you have fun creating centerpieces and spooky mantle arrangements for your holiday decor. Please share any photos you have. I'd love to see your creations.  You can share them on Facebook, or pinterest or send them to me at marji@3dcuts.com.

Happy crafting everyone!

More Gears

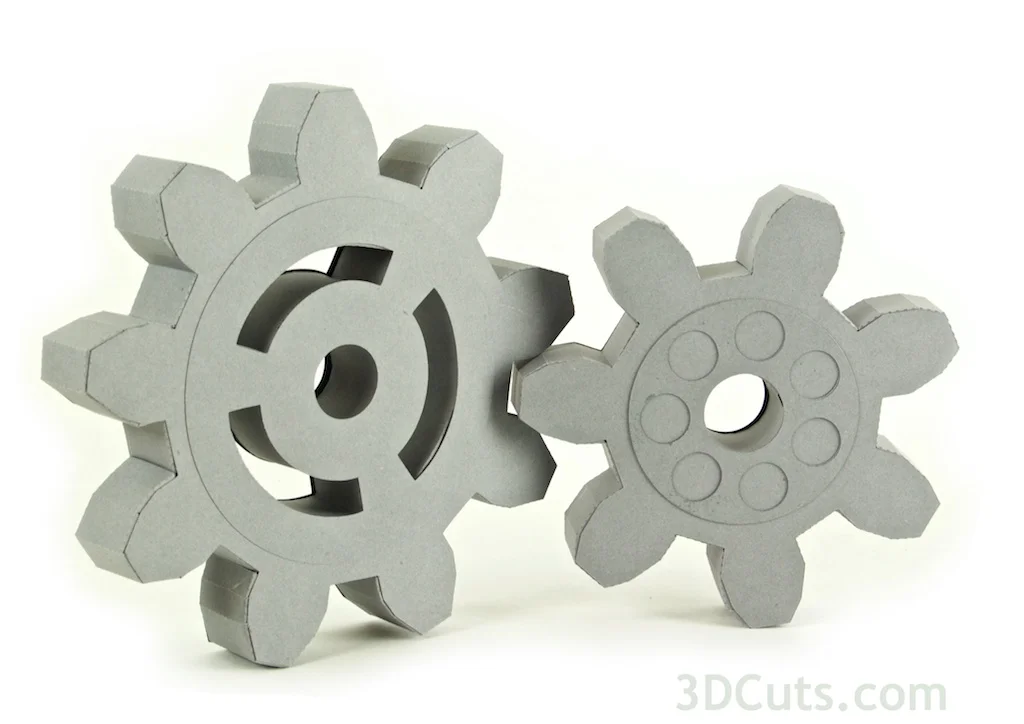
I have always had the challenge of creating a 3D gear on my crafting to do list.  I collect gears of all shapes and sizes and I knew this would be an interesting addition plus a design challenge.  I have created cutting files for 2 different gears that do mesh together but more importantly, I have done it in a way that allowed me to also create a tutorial so others can make them also!

Check out my latest cutting files - Steampunk Gears

The larger gear stands about 8" tall and is 1.25" thick so it stands on its own. The smaller gear is about 6.5" tall.

The cutting files are available here.

The assembly tutorial can be viewed here.