
Merry Christmas Pop-up Card - Whimsy Font

Project Description:
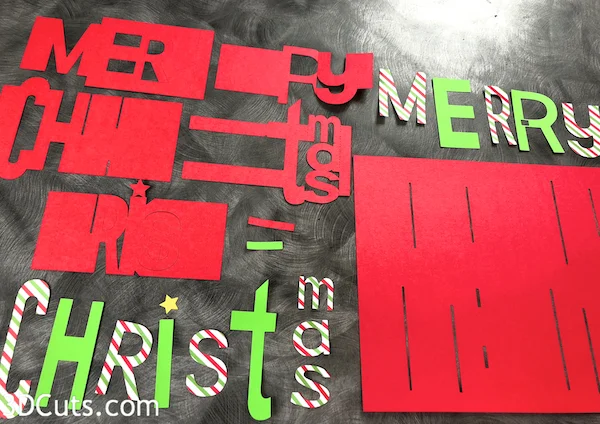
Everyone loves a pop-up card. This is the assembly tutorial for the Whimsy Font Merry Christmas Card. I have ingeniously designed a visually complex yet simple to build 8.5 x 5.5” pop-up card. The mixture of fonts, papers and sizes creates a contemporary and fun card. This clever project is made from 6 pieces of 8.5 x 11” card stock and fits into a standard 6 x 9” booklet envelope for mailing.
The cutting file is available here.
Supplies Needed:
Cutting Files - http://3dcuts.com/christmas-projects/merry-christmas-pop-up
Card Stock - I used 8’5 x 11”, 3 pieces of red, 2 of green and 1 with a small Christmas pattern. I also used a scrape of yellow. Paper could be used for all letters instead of card stock. All was Recollections from Michaels although other brands would work well.
Glue - I use Art Glitter Glue
ScorTape 1/4"
Scotch Tape
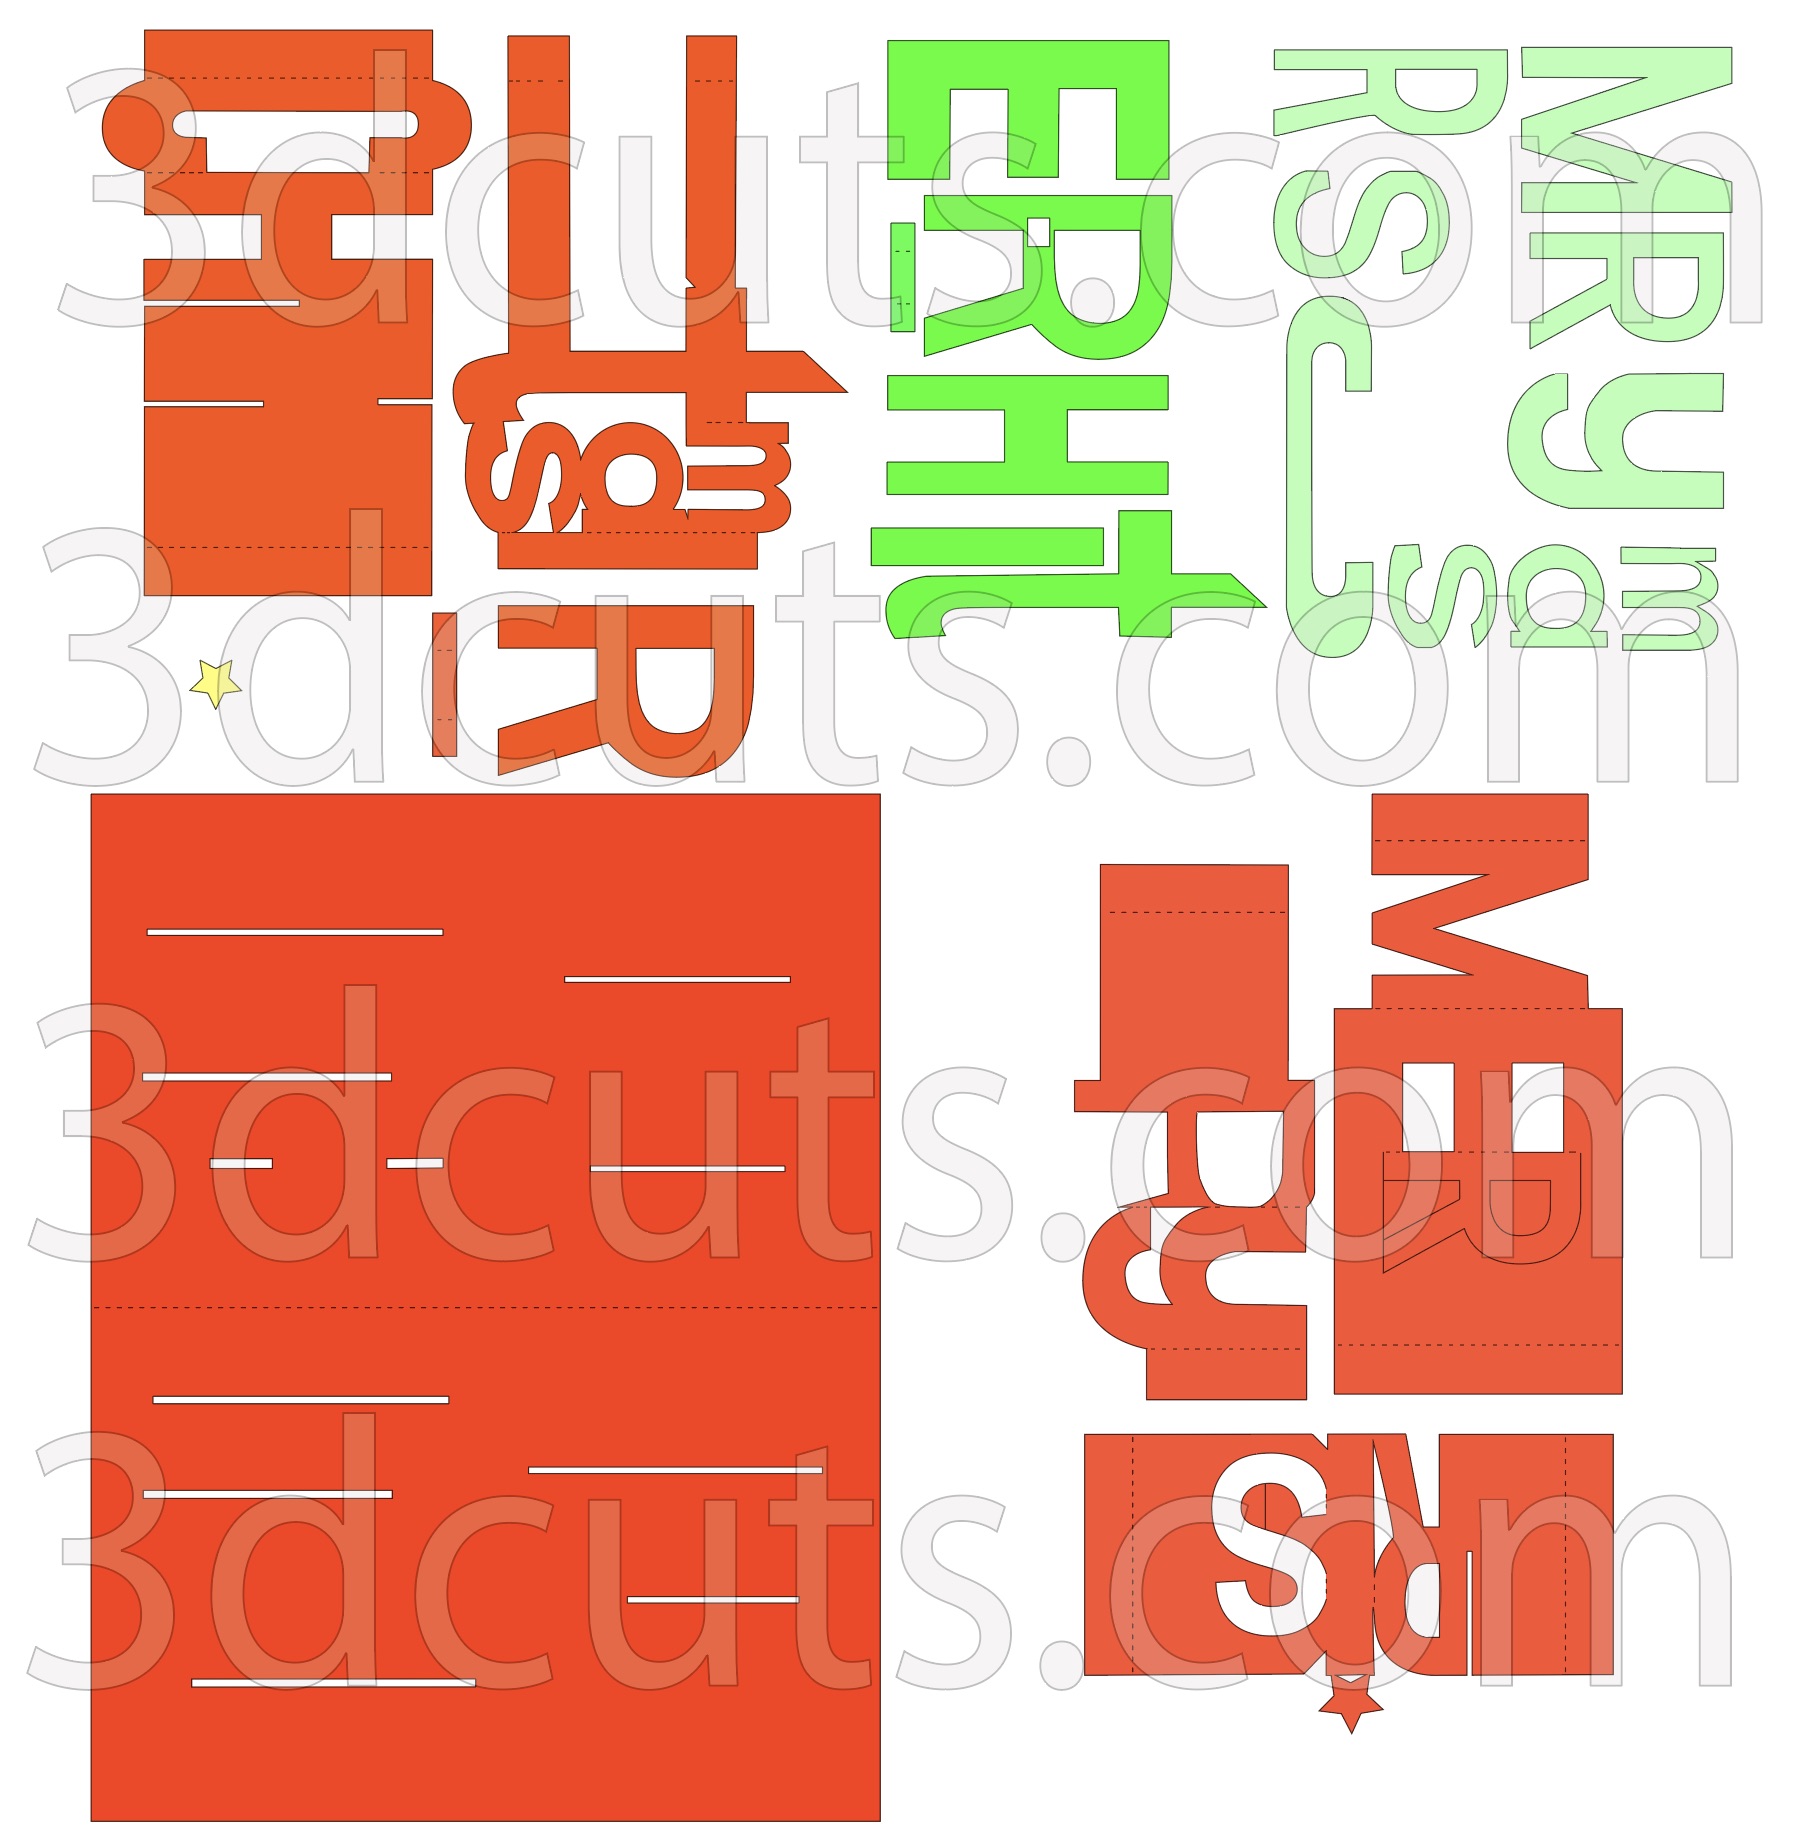
Parts Sizes- See orientation in diagram to right.
Slotted card base - 8.2194” w x 10.7”h
MER base - 3" w x 6.25" h
RY base - 2.5" w x 5.5764" h
CH base - 3.8444” w x 5.8917”h
RIS base - 5.5056” w x 3.1222” h
TMAS base - 4.1083” w x 5.5528” h
Free R - 2.6583” w x 1.7861” h
ERHIT grouped - 4.1187” w x 6.2284” h
MRYCRSMAS grouped - 4.7724” w x 6.3547” h
Order supplies from Amazon:
Order from Amazon: Scor-Tape 1/4" X 27yds (5 Rolls) (Affiliate Link)
Order from Amazon: Art Glitter Glue with metal tip (Affiliate Link)
Order from Amazon: Premium Silhouette Blade (Affiliate Link)
Assembly Video:
Below is a YouTube Video of the Assembly process. I did not create a photo tutorial for this project because it is so much easier to understand the construction of a pop-up card through a video than text descriptions.
Steps for beginning the Merry Christmas Pop-up card:
Special Note: I update the instructions online. Check here for adjustments and additional information. Don't just rely on the pdf file that comes with the download.
1. Download the cutting files for your cutting machine from the 3dcuts.com store at http://3dcuts.com/christmas-projects/merry-christmas-pop-up
2. Load the files into your cutting software following the steps for your cutting machine.
3. Prepare the files:.
For the Silhouette: The SVG files from this site will need to be turned into cutting files. Click here for detailed steps on how to use SVG files on your Silhouette. http://www.3dcuts.com/tutorial-upload-svg-silhouette
For Cricut Explore: Here is a guide for importing into Cricut Design Space. http://www.3dcuts.com/tutorial-adding-3dcuts-files-to-cricut
For Brother ScanNCut: The svg files will need to be transferred to files for your particular machine. You can change SVG files to FCM files at http://www.canvasworkspace.com/ or Google "How to import SVG files into a ScanNCut" for links to tutorials.
4. Cut the files.
All pieces are cut from card stock. I used Recollections card stock from Michaels.
I cut using a premium blade. I set my Silhouette to blade depth of 4, speed of 4 and thickness of 30. I also use a good mat that is still sticky. I like the Nicapa met.
I also completed the same file without patterned paper. I am sure it would look wonderful in many different Christmas color combinations. Share photos of your completed card in Facebook paper crafting groups and email them to me at marji@3dcuts.com.

I love it when crafters share. Here is a version of this card completed by Jane Kershaw. Show me your variations! marji@3dcuts.com

Here are some of the other 3d Christmas Cards I have designed and are available in my Christmas Projects store.
