The Moose is here!

This moose standing in the fir trees is finally available in svg, pdf, png and dxf formats. I designed this little fellow years ago as a hostess gift for a friend. She has a wonderful mountain home. Many have asked when I would transfer it to svg. It is done!

After getting files ready for the holiday push I spent some time upgrading. I purchased a new Silhouette Cameo 3, I upgraded to the most recent Design Studio Software and I invested in the Business edition. That gives me the ability to download existing files from .studio format to svg. This tree was too complex to easily re-draw so this upgrade allowed me to finally transfer it to the svg format.

Links:

  • Moose and Fir Trees cutting file available here.
  • Assembly Tutorial

Here is a view of the original file displayed on the mantle.

Create an easy 3D diorama featuring a stately moose standing in the fir trees. This project includes detailed cutting files for simple 3D construction techniques to make this stunning set. It looks wonderful on a mantel or shelf. Available at 3dcuts…

Create an easy 3D diorama featuring a stately moose standing in the fir trees. This project includes detailed cutting files for simple 3D construction techniques to make this stunning set. It looks wonderful on a mantel or shelf. Available at 3dcuts.com.

2017 Additions to Tea Light Village

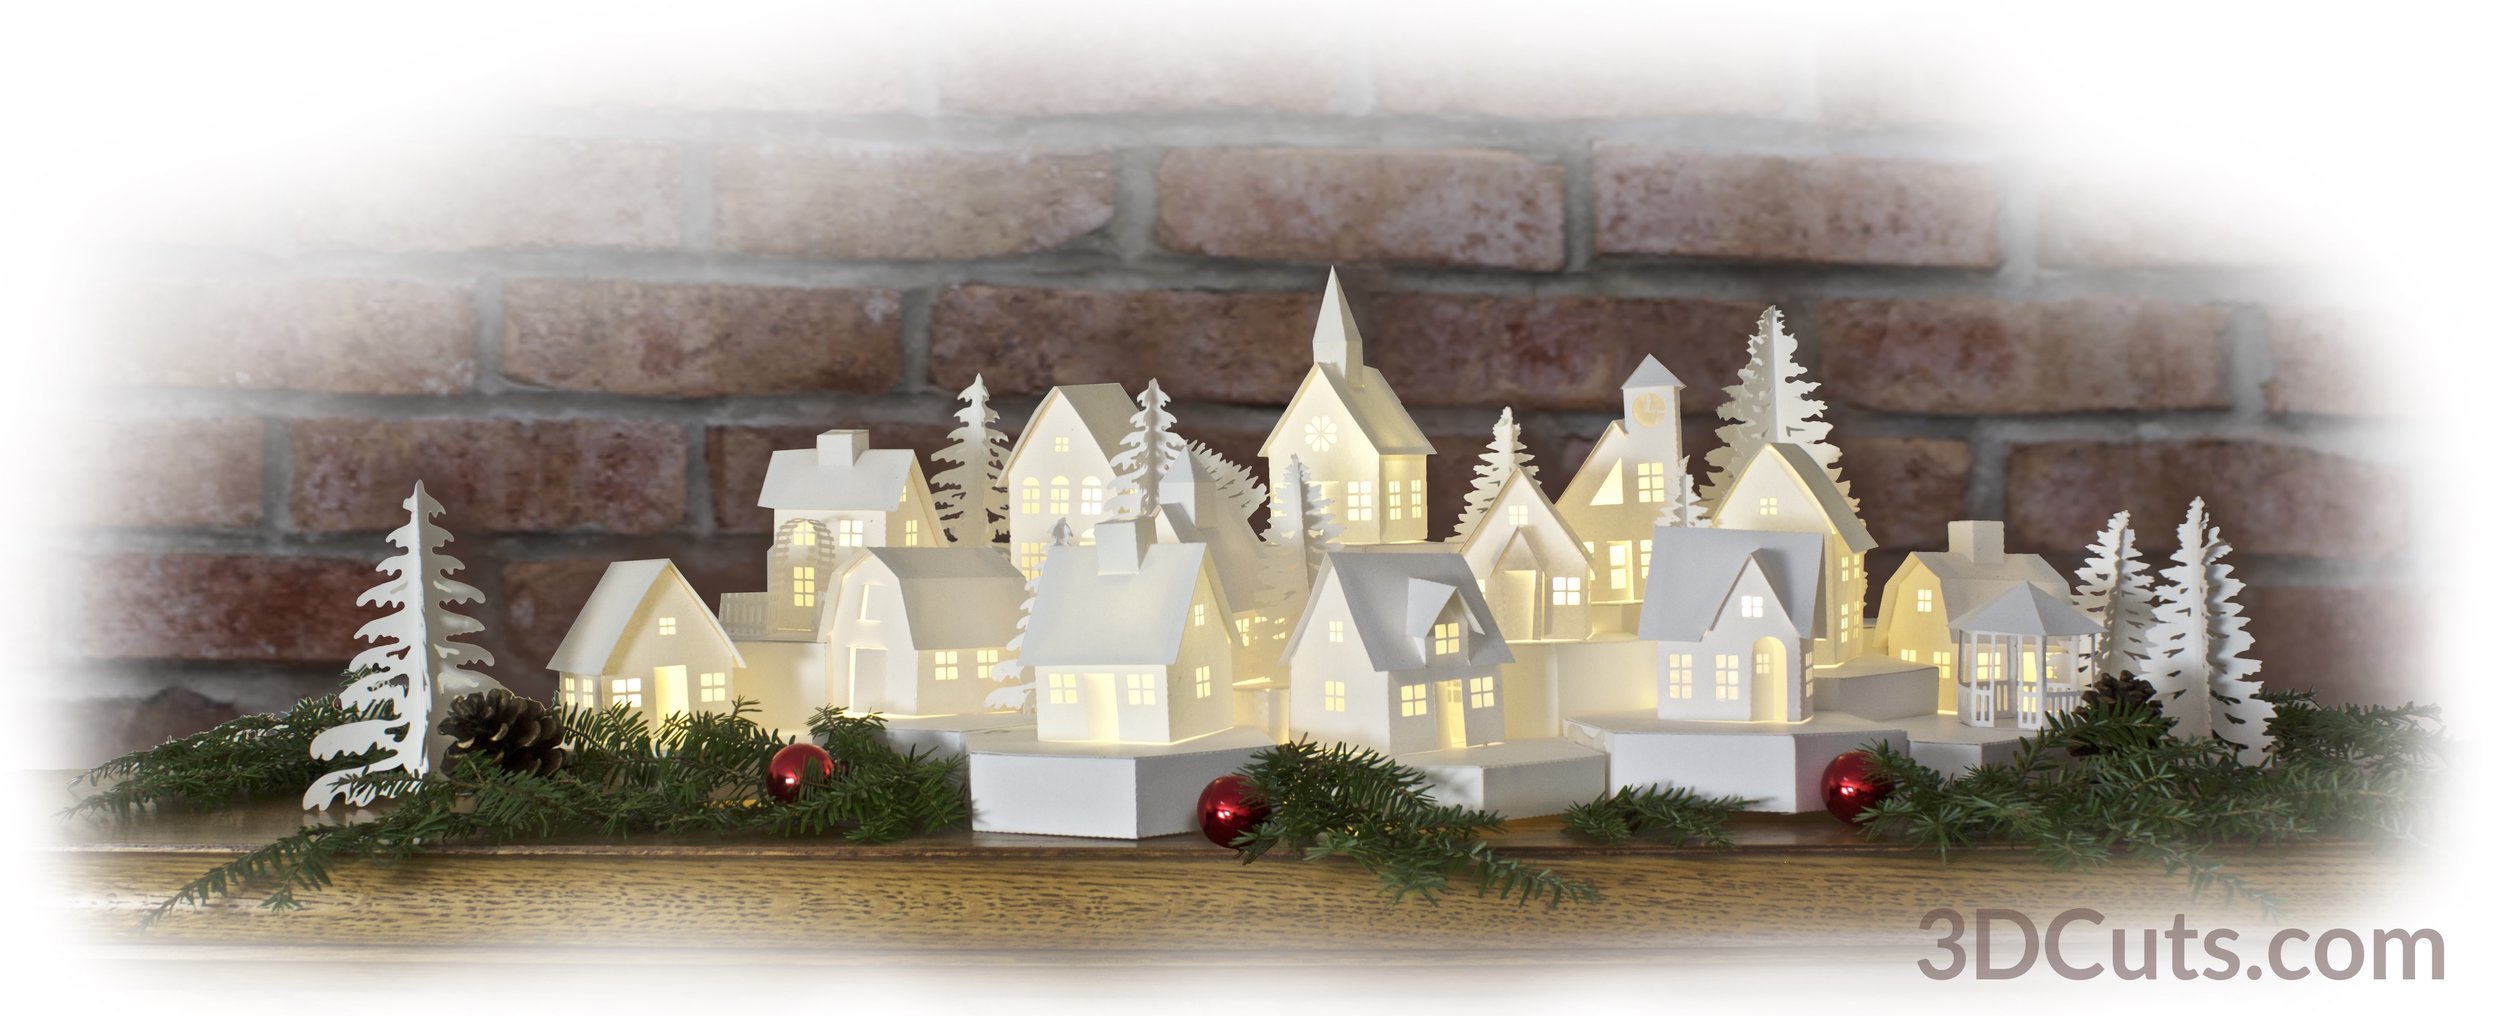
Big changes for Tea Light Village this year! I have been adding to it every year since I first designed it in 2013 and this year I have added two new buildings but I have also solved the lighting issue. If you have been building the village right along you have learned that turning 14 different tea lights on and off is a real bother. It was for me so I tend not to light up the village. It really is much prettier when lights are glowing out the windows. So I spent some time thinking about it. What I really wanted to do was use the remote control string fairy lights instead. They all turn on with one press on the remote button. Easy! But I don't like seeing the wires and stray lights between buildings. So I designed a solution.

Available now is a hexagonal base system.  You cut the bases you want for the village you have created, attach them together and run wires through the base. It is quick and easy. It creates multi-levels for display plus plenty of room for the wiring. The bases come in 6 depths plus 2 shapes and are available here.


Using these nifty strings lights available from Amazon (link below) you can improve the lighting in a number of ways.

  • All lights are operated by 1 switch.
  • The switch is a remote for easy access.
  • Flickering is a choice. I disliked the tea light flicker. It made me think of houses on fire.
  • You can control the brightness. If the room has other lights on, push the brightness. If the room is dim, reduce the brightness.

These are all huge pluses for me.


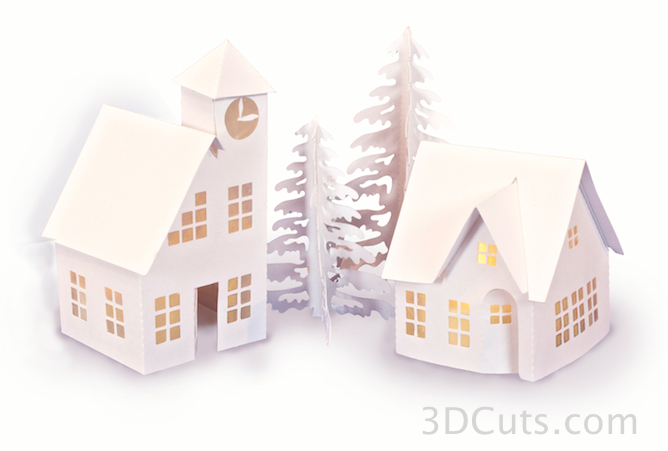
Additionally there are two new buildings to expand the village. This year I designed a Tudor style home with the off center front dormer and classic curved doorway plus a clock tower library. Both are scaled to fit with all the other buildings already in tea light village.

Here are the links to these files:

  • Complete 2017 Tea LIght Village - $10.59 - Buildings only here.
  • 2017 Additions - Tudor House and Clock Tower Library - $2.59 here.
  • Hexagon Bases - Not incllude in the complete set - $3.99 here.

Here are links to the tutorials for these additions:

  • Tudor House Tutorial here.
  • Clock Town Library here.
  • Hexagon Bases and Wiring here.

And here are links to the supplies I use for this project.

3d Puzzle Boxes

This week I experimented in a different area with my designing. So many of my recent projects have been show boxes. I do have more ideas and will be adding to that collection but this week I chose a new direction.

I create a puzzle box and what I like about this file so much is that if you make multiples, they fit together.

And there is some variety in how you assemble them. I like the dynamic of the zig-zag assemblage above but they also make a square.

I didn't have a specific use in mind for this project - I just love puzzles and the classic puzzle shape. There are so many uses for a nifty box - like for presenting a gift card. I also think these would look terrific as decor in a child's room, especially in these bright colors. Additionally, if you are connected with Autism Awareness at all, the puzzle piece is a natural for all types of applications there.

Happy crafting everyone!

Marji

Are there a lot of Horse Lovers in the Paper Cutting Craft World?

My Deer Shadow Box has been very well received with lots of crafters downloading the cutting file. Over the years crafters have asked me to make a horse themed shadow box and the request came through again with the star shadow box. I could see a composition so went to work on the new design last week. Yesterday I got the cutting files and tutorial all completed and installed on the site.

  • The cutting files is available here.
  • The assembly tutorial is available here.

Happy crafting everyone!

Hose no BG with WM tight.jpg

Make this Illuminated Forest Scene with Grazing Deer

My first project this fall was to revisit the star shaped shadow box. I first used this for a Nativity last Christmas but I knew then it was perfect for a deer scene. The deer scene market is better earlier in the fall so I held off until this September. I am very pleased with the results.

Not only is the subject matter new but I also updated the construction techniques. I engineered a new interior side brace that holds the layers in their proper positions and helps you align them as you construct. The brace looks like the left image and the center stack held together by the braces is on the right.

Stunning 3D illuminated shadow box by Marji Roy of 3dcuts.com. SVG, PDF, PNG and DXF cutting files and a complete tutorial available. Support Brace
Stunning 3D illuminated shadow box by Marji Roy of 3dcuts.com. SVG, PDF, PNG and DXF cutting files and a complete tutorial available. In progress

Additionally I have started using a new type of illumination. Instead of the Tea lights I used a string of LED fairy lights. There are 20 on a flexible wire and they are much easier to design around. The are commonly available. I got mine from Amazon here......

I hope to be using these in more projects because I like how one switch turns 20 lights on/off. 

And am trying being an Amazon affiliate. We'll see if that works or if it is just a bother.


To Purchase:

  • The file is available at my 3DCuts store here:
  • And as always I have put together a great tutorial here.
Stunning 3D illuminated shadow box by Marji Roy of 3dcuts.com. SVG, PDF, PNG and DXF cutting files and a complete tutorial available.

Happy crafting everyone!

Marji

3dcuts.com

Customize Your Summer Scene - New Shadow Box

A couple of months ago I designed the Canoe at Sunset shadow box file. It was very well received but it did start a series of comments in the vein of "Oh, this is beautiful but I would love for it to be a kayaker - fisherman-etc. That got me to thinking and I decided to create this newest shadow box with more features for customizing. Here is my Summer Scenes Shadow Box.


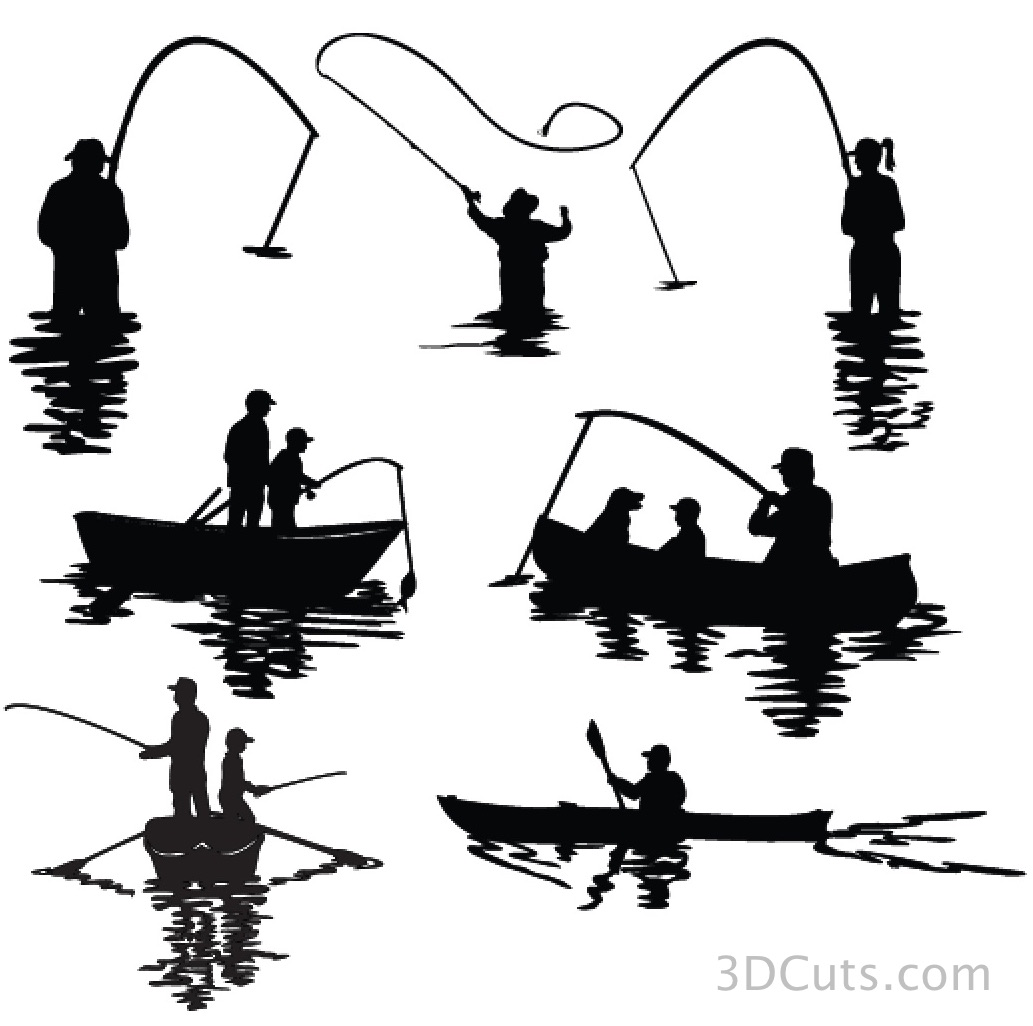
With the download comes seven different silhouette inserts for the sports figures added in the center. You get to choose the one you want! There are fishermen and women, fishing families and a kayaker. Select one and add it to scene you have constructed from the cutting files.

The download also includes five different skies to further customize your project. Three are photos I have modified and two are digital paintings of sunsets. 

Put the options together and you can create numerous different shadow boxes from this download.

Purchasing Options:
I have created a couple of download options for you on 3dcuts.com.

  • The entire set of Summer Scenes (includes the shadow box files, 7 sporting silhouettes and 5 backgrounds) - All for $3.99. Click here to purchase.
  • Just the 7 sporting silhouettes - For $1.99 - Click here to purchase.
  • Just the 5 backgrounds - For $1.49 - Click here to purchase.

And here is a link to the assembly tutorial to check out.

Happy Crafting!

Marji


Customizing the Shadow Boxes

I love it when customers share with me photos of their completed projects. I recently received a wonderful email from Nancy Gray. She customized my Canoe at Sunrise shadow box with a photo her Dad had taken in Alaska. He has spent a lot of time up there kayaking so she used his photography as the back ground. She also eliminated the cattails and branches that weren't part of the Alaskan habitat. And then she added the Father's Day greeting. Beautiful results and a special card.

Below is another sample that showed up on Facebook in the Silhouette Card Making and Paper Crafts group.  Suzette Sinclair modified the shadow box portion to make a greeting card. She also shared that she saves calendar photos for this type of project.  Great idea!

Another Silhouette Shadow Box - Canoeing

This has become a recurring design direction for me. I have just introduced a new shadow box to the line.... 


It continues in the theme start last fall with Loon Lake and Heron Cove. Both are silhouettes against various skies.

I enjoy experimenting with the skies. With this download I include 4 different skies. Two are modified photographs and 2 are creations I made in Adobe Illustrator using the gradation tool. The choice of sky greatly influences the mood of the design.

The cutting files and tutorial are available here:

And the skies are available as a separate purchase if you want to use them in different projects. These are jpg images and require a color printer.