Two New Shapes for the 3D Shadow Boxes

People have made a few special requests for shapes to be added to the growing library of 3D Shadow Boxes.  Today I uploaded cutting files for both a Breast Cancer Awareness Ribbon.......


and a Question Mark....

Looking forward to seeing what people do with their own paper combinations.

Files are already available here on my website store and should be available at the Silhouette Store tomorrow.

For those of you using my SVG files with the Cricut Explore note that I am learning! These two files include some better formatting on my part to make file prep easier on your part.  The dotted lines come in as dotted lines and many of them are grouped so you can quickly label them as SCORE lines. I have down a step-by-step tutorial for newbies on this process here.

Additional Sizes for the Shadow Box Series in Cricut

Nicole Nolan with 3dcuts sizes

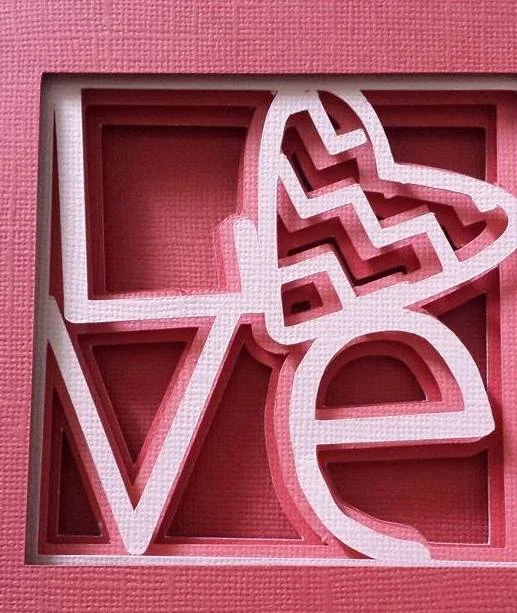
Requests have been coming in for additional sizes for making the Shadow Box series. This is especially important for those importing into Cricut because it doesn't maintain a relative size with .SVG imports.

The first set of numbers below was expanded to make better use of 8.5 x 11 card stock.  ( I am sure the thousandths place probably doesn’t matter in these numbers.)

  • Layer 1 - 7.875 h x 7.9 w  (Finished about 6.1" Square)
  • Hanger - 1.635 h x 6.025 w
  • Layer 2-7.290 h x 7.225 w
  • Layer 3 - 6.725 h x 6.725 w
  • layer 4 - 6.360 H x 6.320 w
  • Layer 5 7.770 h x 7.785 w
  • Layer 6 5.960 h x 5.960 w


  • Layer 1 - 9.805 h x 9.835 w (finished about 7.59" square)
  • Hanger - 2.035 h x 7.495 w
  • Layer 2-9.070h x 8.995 w
  • Layer 3 - 8.370 h x 8.370 w
  • layer 4 - 7.915 H x 7.865 w
  • Layer 5 9.670 h x 9.690 w
  • Layer 6 7.420 h x 7.425 w


  • Layer 1 - 10.625 h x 10.650 w (finished about 8.2" square)
  • Hanger - 2.205 h x 8.120 w
  • Layer 2-9.830h x 9.745 w
  • Layer 3 - 9.035 h x 9.070 w
  • layer 4 - 8.575 H x 8.520 w
  • Layer 5 10.475h x 10.500 w
  • Layer 6 8.035 h x 8.045 w

Here is another set that will maximize a 12 x 12 paper. It hasn’t been tested yet so give it a try on unimportant and inexpensive paper first. I am not sure if it will start to get wobbly at big sizes. Let me know what you find out.

  • Layer 1 - 11.470 h x 11.505 w  (finished about 8.92" square)
  • Hanger - 2.380 h x 8.770 w
  • Layer 2- 10.610 h x 10.520 w
  • Layer 3 - 9.790 h x 9.795 w
  • layer 4 - 9.265 H x 9.210 w
  • Layer 5 - 11.310h x 11.335 w
  • Layer 6 - 8.675 h x 8.685 w

And here is the original size for the smallest 5X 5 series.

  • Universal 1 (Just the box without hanger) - 6.4505 W x 6.4307 H
  • Layer 2 - 5.8991 W x 5.9503 H
  • Layer 3 - 5.4915 W x 5.4908 H
  • Layer 4 - 5.1632 W x 5.1938 H
  • Universal Layer 5 - 6.3563 W x 6.3879 H
  • Universal Layer 6 - 4.7708 W x 4.7643 H
  • Hanger - 1.33 W x 4.9" H
  • Hanger and Layer 1 together - 6.4505 W x 8.488 H

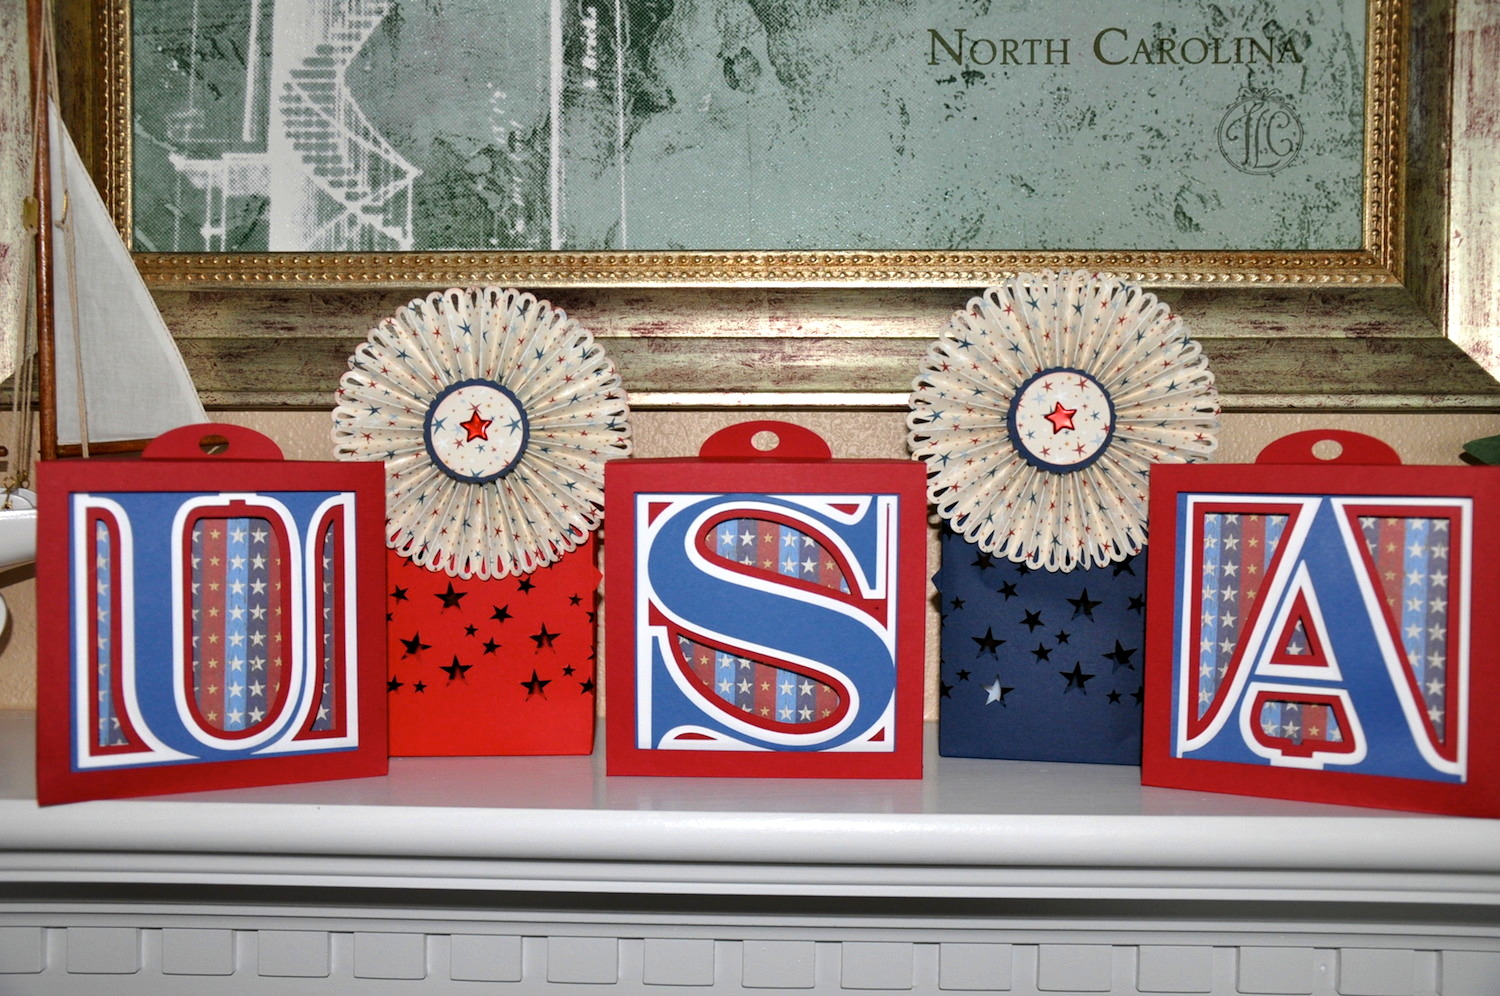
Keep sharing photos of your projects. I love seeing all the variations and creativity out there!

3D Paper Stars with a Twist

My new series of cutting files were uploaded to the store and Silhouette this week.  What excited me most about this group of files is how I used a little geometry to make the star files a little more valuable.  Here is an example. Buy Star Style 1 which is a 5-pointed star, but make 10 of the diamond 3D units and assemble them in the opposite direction.

Two different stars from 1 cutting file.  To achieve this I had to work on the geometry of the angles and makes sure they complemented each other. Although I was aiming for this, I didn't nail it on the first try. It took a couple of designs before it worked.

  • This file is 3d Star Style 1 available as an individual file here.
  • It is also available as an All Star group with 5 other files here.
  • An online tutorial for making the star is here.

Love by Jessica Anderson

Jessica Andrews Love

People are starting to expand on my Alphabet Shadow Box concept. Here is one that appeared in a Silhouette Facebook group yesterday by Jessica Andrews.  She combined letters in a classic arrangement with some creative font and design work. She used gradated papers for the layers which I have been wanting to try. Too busy designing new things though to spend time doing additional versions of the letters!

3DCuts Coupon Code

Visit Melody Lane's newest video about constructing my shadow boxes here and find a coupon code for 3DCuts.com good for 1 week from May 13, 2014 - May 20, 2014. She is using one of the new shape shadow boxes in a project. Check it out.

The great thing about these files is the endless possibilities. Here are a few of my projects using the shapes.

They are available in my store for 99¢ each or $2.49 for the set of 6. Or you can check out Melody's video.....!


Another Assembly Video - Melody Lane

Melody Lane has uploaded another video tutorial today, this one showing how to assemble the Alphabet Shadow Boxes. They really are easy to assemble. I recommend you watch the video plus also check out my written tutorial here. It also is a pdf in your download folder for those that need to print. (Only applies to those that bought the file here. Doesn't come if you purchase on the Silhouette Store.) Melody and I did many things the same way and other things our own ways. You get to choose what works best for you!

I am curious about using hot glue instead of the glue dots. Do you use hot glue on paper and do you find it lasts? I have never used it on paper projects only other crafts.

Once I assembled the first alphabet shadow box, I got a regular production line going. It took me just a little less time to assemble each box than it did to cut the next layer.  And I have made tons of these over the past month!

And, as teaser.... I am working on more shapes to keep the heart company. Should arrive here and at the Silhouette Store next week.


Uploading Alphabet Shadow Boxes into Cricut Design Space

      Melody Lane

      Melody Lane

I work with a Silhouette Cameo Cutting machine but I know many of you use the Cricut. If you have the Cricut Explore, you can upload my files into Design Space and cut them on your Cricut.  Melody Lane has published an extremely helpful video on this process.  Even though this video was created using my Alphabet Shadow Boxes, many of the steps demonstrated here will apply to any of my files.  It answers some of the questions I have been getting including:

  • Every things comes in black! How to I deal with that?
  • How do I identify the dotted lines as score lines?

Tutorial: How to Import SVG Files into Design Space - by Melody Lane

Click on the triangle in the center above to view a video tutorial on importing svg files into Cricut Design Space.

If you are a regular crafter and Melody isn't on your radar yet, you should check out her video tutorial page on YouTube here.  She has an extensive variety of informative and helpful videos. You just might find an answer to your question or an inspiration for your next project. She is planning to complete another video showing the assembly process of the Alphabet Shadow Boxes as well.

Items of Note in the Tutorial:

Melody refers to the sizes of the various pieces and provides a list. In Design Space you must know the intended size of each piece in order for them to fit together. 

All Measurements in inches

  • Universal 1 (Just the box without hanger) - 6.4505 W x 6.4307 H
  • Layer 2 - 5.8991 W x 5.9503 H
  • Layer 3 - 5.4915 W x 5.4908 H
  • Layer 4 - 5.1632 W x 5.1938 H
  • Universal Layer 5 - 6.3563 W x 6.3879 H
  • Universal Layer 6 - 4.7708 W x 4.7643 H
  • Hanger - 1.33 W x 4.9" H
  • Hanger and Layer 1 together - 6.4505 W x 8.488 H