Tutorial - Ledge Village Haunted Mansion
Project Description:
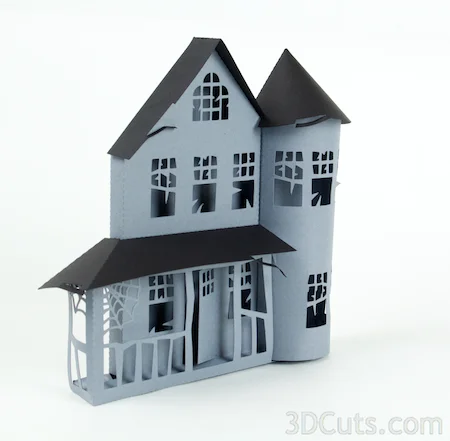
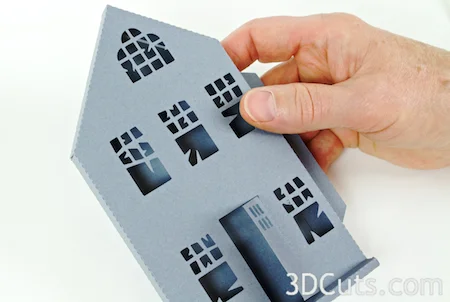
The Ledge Village is series of 3D buildings and accessories that can be combined in a mix and match fashion to build tiny villages on small ledges around your home. The buildings are thin, with all detail on the front so they fit on small trim ledges. The finished mansion is about 6.5" high. A growing number of files for Ledge Village can be found at 3dcut.com
This tutorial is for the Ledge Village Haunted Mansion. There are other files to coordinate with the Haunted Mansion included the trees, Haunted Cottage, and coffin with skeleton.
Haunted Mansion Tutorial link - - - Cutting files for all link here.
Supplies Needed:
- Cutting File downloaded from 3DCuts.com
- Your preferred adhesives
- Glue Dots
- Scor-Tape
- Zig Glue Pen
- Card Stock
Parts Sizes:
(For people importing into Cricut Design Space)
- All parts together - 14.189" w x 11.5114"h
- Trees and fence in separate accessories file.
Individual parts:
The measurements you’ll need for individual parts are as follows - They are by each piece and the width and length refer to the direction they come in when first opened (the main house and tower are sideways!)
- Main house 8.2917 w x 8.2685 l
- Porch 5.9977w x 3.2639 w
- Tower 7.0326 w x 5.7491 l
- Small roof 4.9737 w x .08381
- Tower roof 3.9501w x 2.8939 l
- Porch roof 2.4395 w x 5.3976 l
Steps for completing the 3-D Ledge Village Haunted Mansion project:
General note: I made several of these mansions using different colors of gray paper. Photos are from different mansion constructions, hence some differences between photos.
1. Download the cutting files for your cutting machine here.
2. Load the files into your cutting software following the steps for your cutting machine.
3. Prepare the files:.
- Click here for detailed steps on how to use .SVG files on your Silhouette (with Design Studio).
- Click here for steps on how to use these .SVG files in Design Space with your Cricut Explore.
4. Cut the files:
- Paper colors are your preference. I cut the building and tower from dark gray and all the roof pieces another accessories from black.
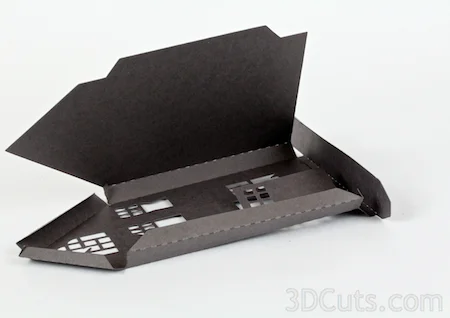
5. Start assembly with the main house part. Fold on all dotted lines.
- The sides and roof all fold back away from the front.
- The porch floor folds towards you, then down, then back.
6. Glue the porch floor together.
- I like to use Glue Dots on the small tabs although other glue types are appropriate.
- You start this building by positioning the floor. Fold the floor forward, then down, then back. Fold in the end and glue in place.
- The right side is an even box end.
- The left side has a tab which sticks out. Have the end tab fold over the top to finish it off..
7. Glue house together
- Use glue Dots on the tabs that glue the sides to the roof and the roof park together.
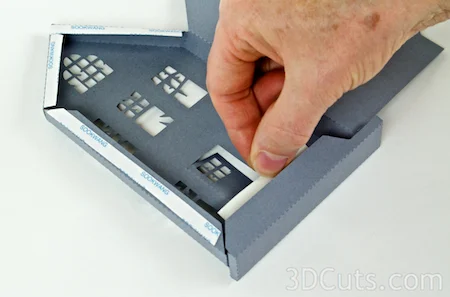
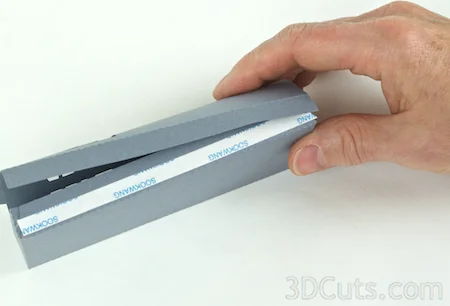
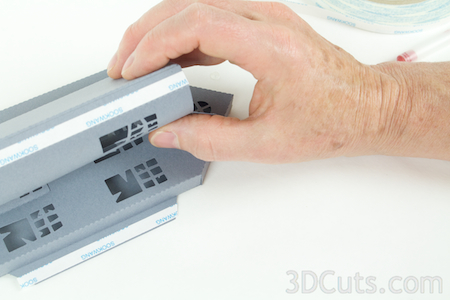
- Adhere the back in place. I use Scor-Tape and apply it to all tabs.
- Fold the back in place and seal the bottom edge. The bottom tab goes on the outside, all other tabs on the inside.
- Seal the roof last.
8. Press everything together
- Press the back in place.
- Insert a long thin tool into the front space and press together any seams you can reach.
- Put this aside and work on the tower.
9. Build the tower.
- Fold on all the dotted fold lines inward.
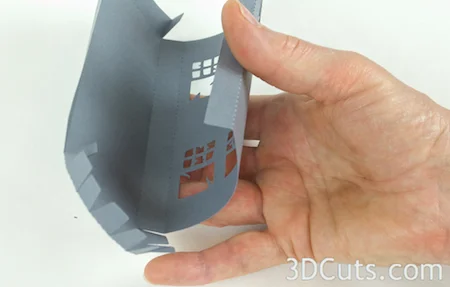
- Pull the tower area over the edge of a table to give the paper a natural curl. This will help in gluing it together.
- Start by gluing the cross brace at the top in place. It folds forward and then the two side tabs are glued.
- Add a glue dot to every tab along the bottom.
- Wrap the tower around the base gluing the base and wall together.
- Apply Scor-tape to the long side seam and glue the side tab to the front.
10. Add the roof to the tower.
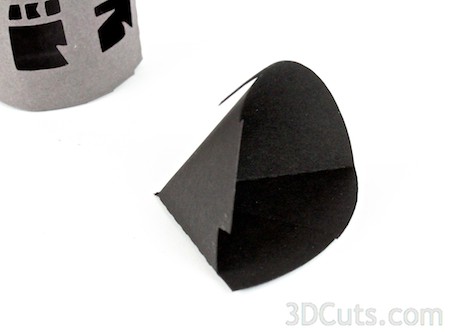
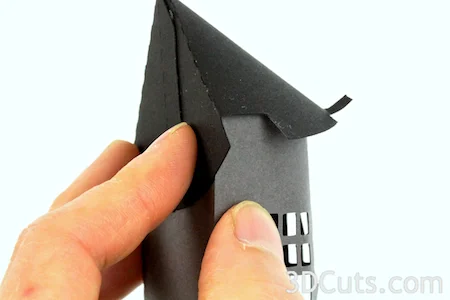
- The semi-circle shaped roof piece is for the tower. Wrap it around to form a cone. There are widely spaced dots along one radius to help you in lining up the tab for gluing.
- Position the roof on top of the tower.
- Apply adhesive to the back and press in place.
- There are also 2 little tabs at the front of the tower roof which can be glued to hold the front of the roof in place.
- (The image shows only 1 tab. I modified the design to have 2 tabs after the photography session.)
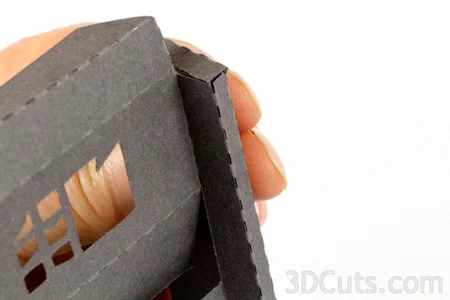
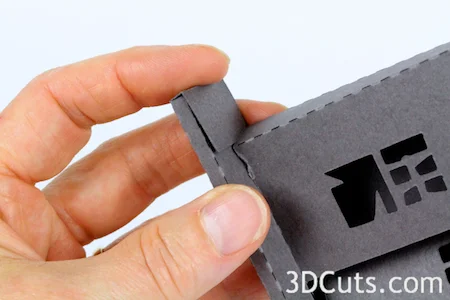
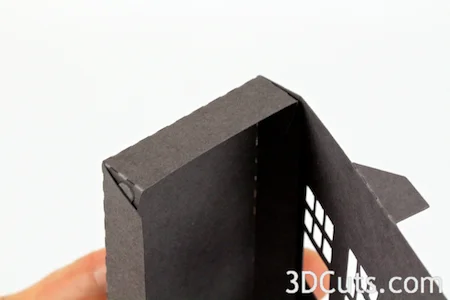
11. Attach the tower to the main building piece.
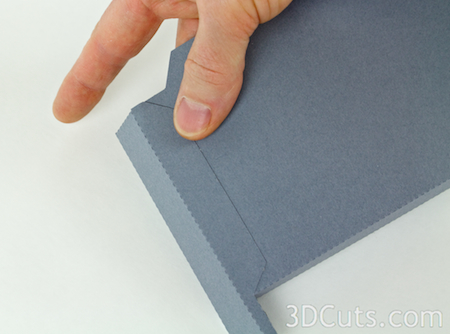
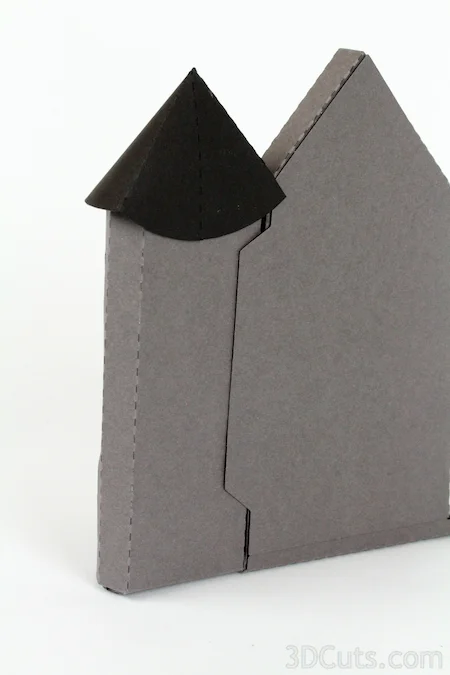
- Apply score tape to the front of the tab extending from the right of the main mansion piece and down the length of the left side of the tower.
- Peel and press tower into place being careful to align the bottom edges of both pieces.
- The notch in the roof will fit around the main building piece.
View 1
View 2
View 3
12. Attach the porch.
- Fold back on all fold lines on the porch piece.
- Use Scor-Tape on the inside of the bottom tabs and attach the porch to the front of the house. It fits right around the porch floor on the main house and reaches from the tower and around the porch floor.
- Note: I have added a little tab to the upper right corner of the porch since these photos were taken. Apply a glue dot to that and use it to adhere the upper corner of the porch to the tower.
13. Attach the porch roof.
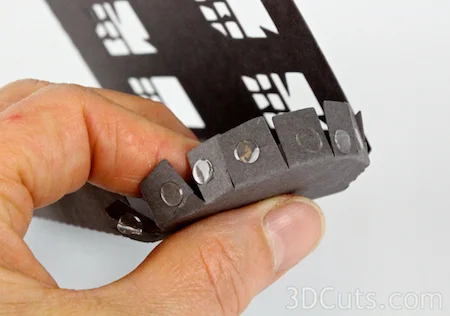
- There are a series of tabs along the top of the porch. Alternate the bend of each, 1 in, the next out. (View 1).
- Fold the porch roof piece on all its fold lines and hold it into position to understand how it fits over the porch.
- Put Scor-tape on the long porch tab and glue the roof under the upper story windows (view 2). It will be positioned about 1/4" below the windows (view 5). Try and keep the roofline level.
- Put glue dots on the tabs that extend forward and glue to the underside of the porch roof (view 3).
- Put a glue dot on the roof tab that bends to the side and another on the tab the reaches to the back and glue in place (view 4).
View 1
View 2
View 3
View 4
View 5
14. Add the roof to the main building.
- The roof piece gets folded along the dotted fold line.
- Line up the back edges and place the over-hang to the front.
- Use Scor-Tape and glue it with the shorter side toward the tower.
The Ledge Village Mansion is complete. Combine it with the Ledge Village Haunted Cottage, Casket and trees to create the entire haunted scene.
This tutorial is available online at:
http://www.3dcuts.com/tutorial-ledge-village-haunted-mansion
©2014 3DCuts.com, Marji Roy

