Zig Zag Nativity Card - Tutorial
Project Description
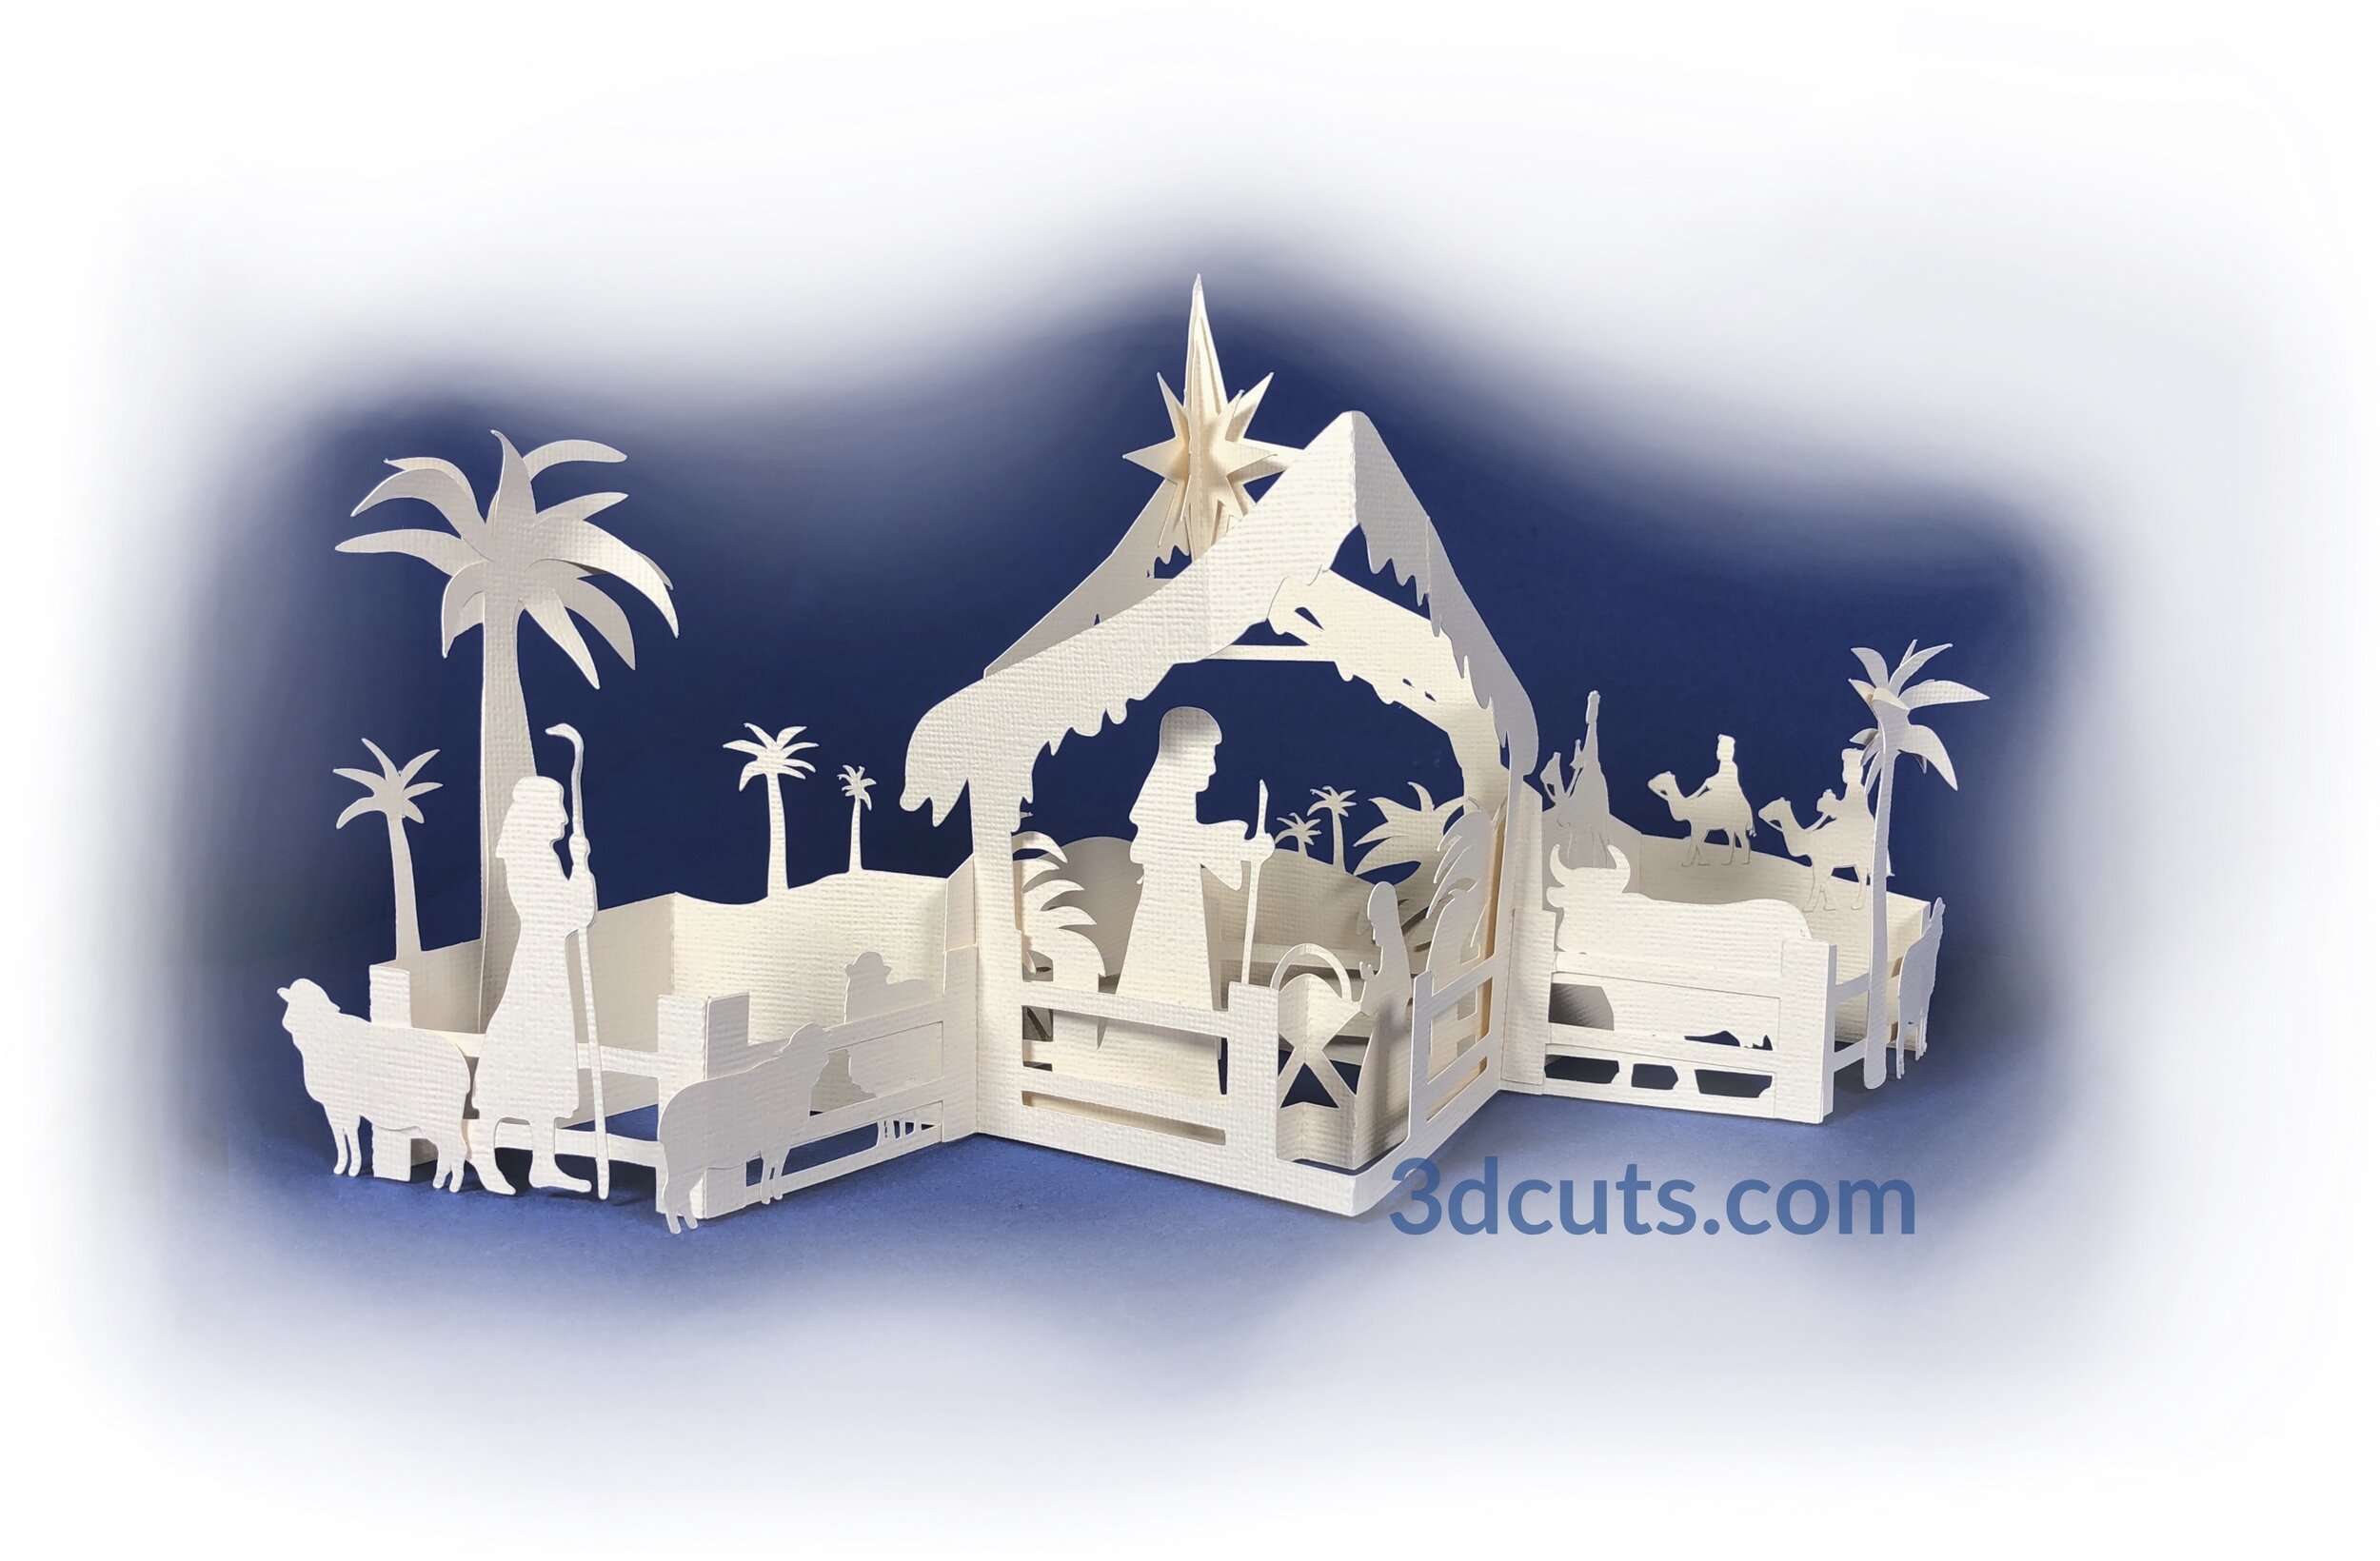
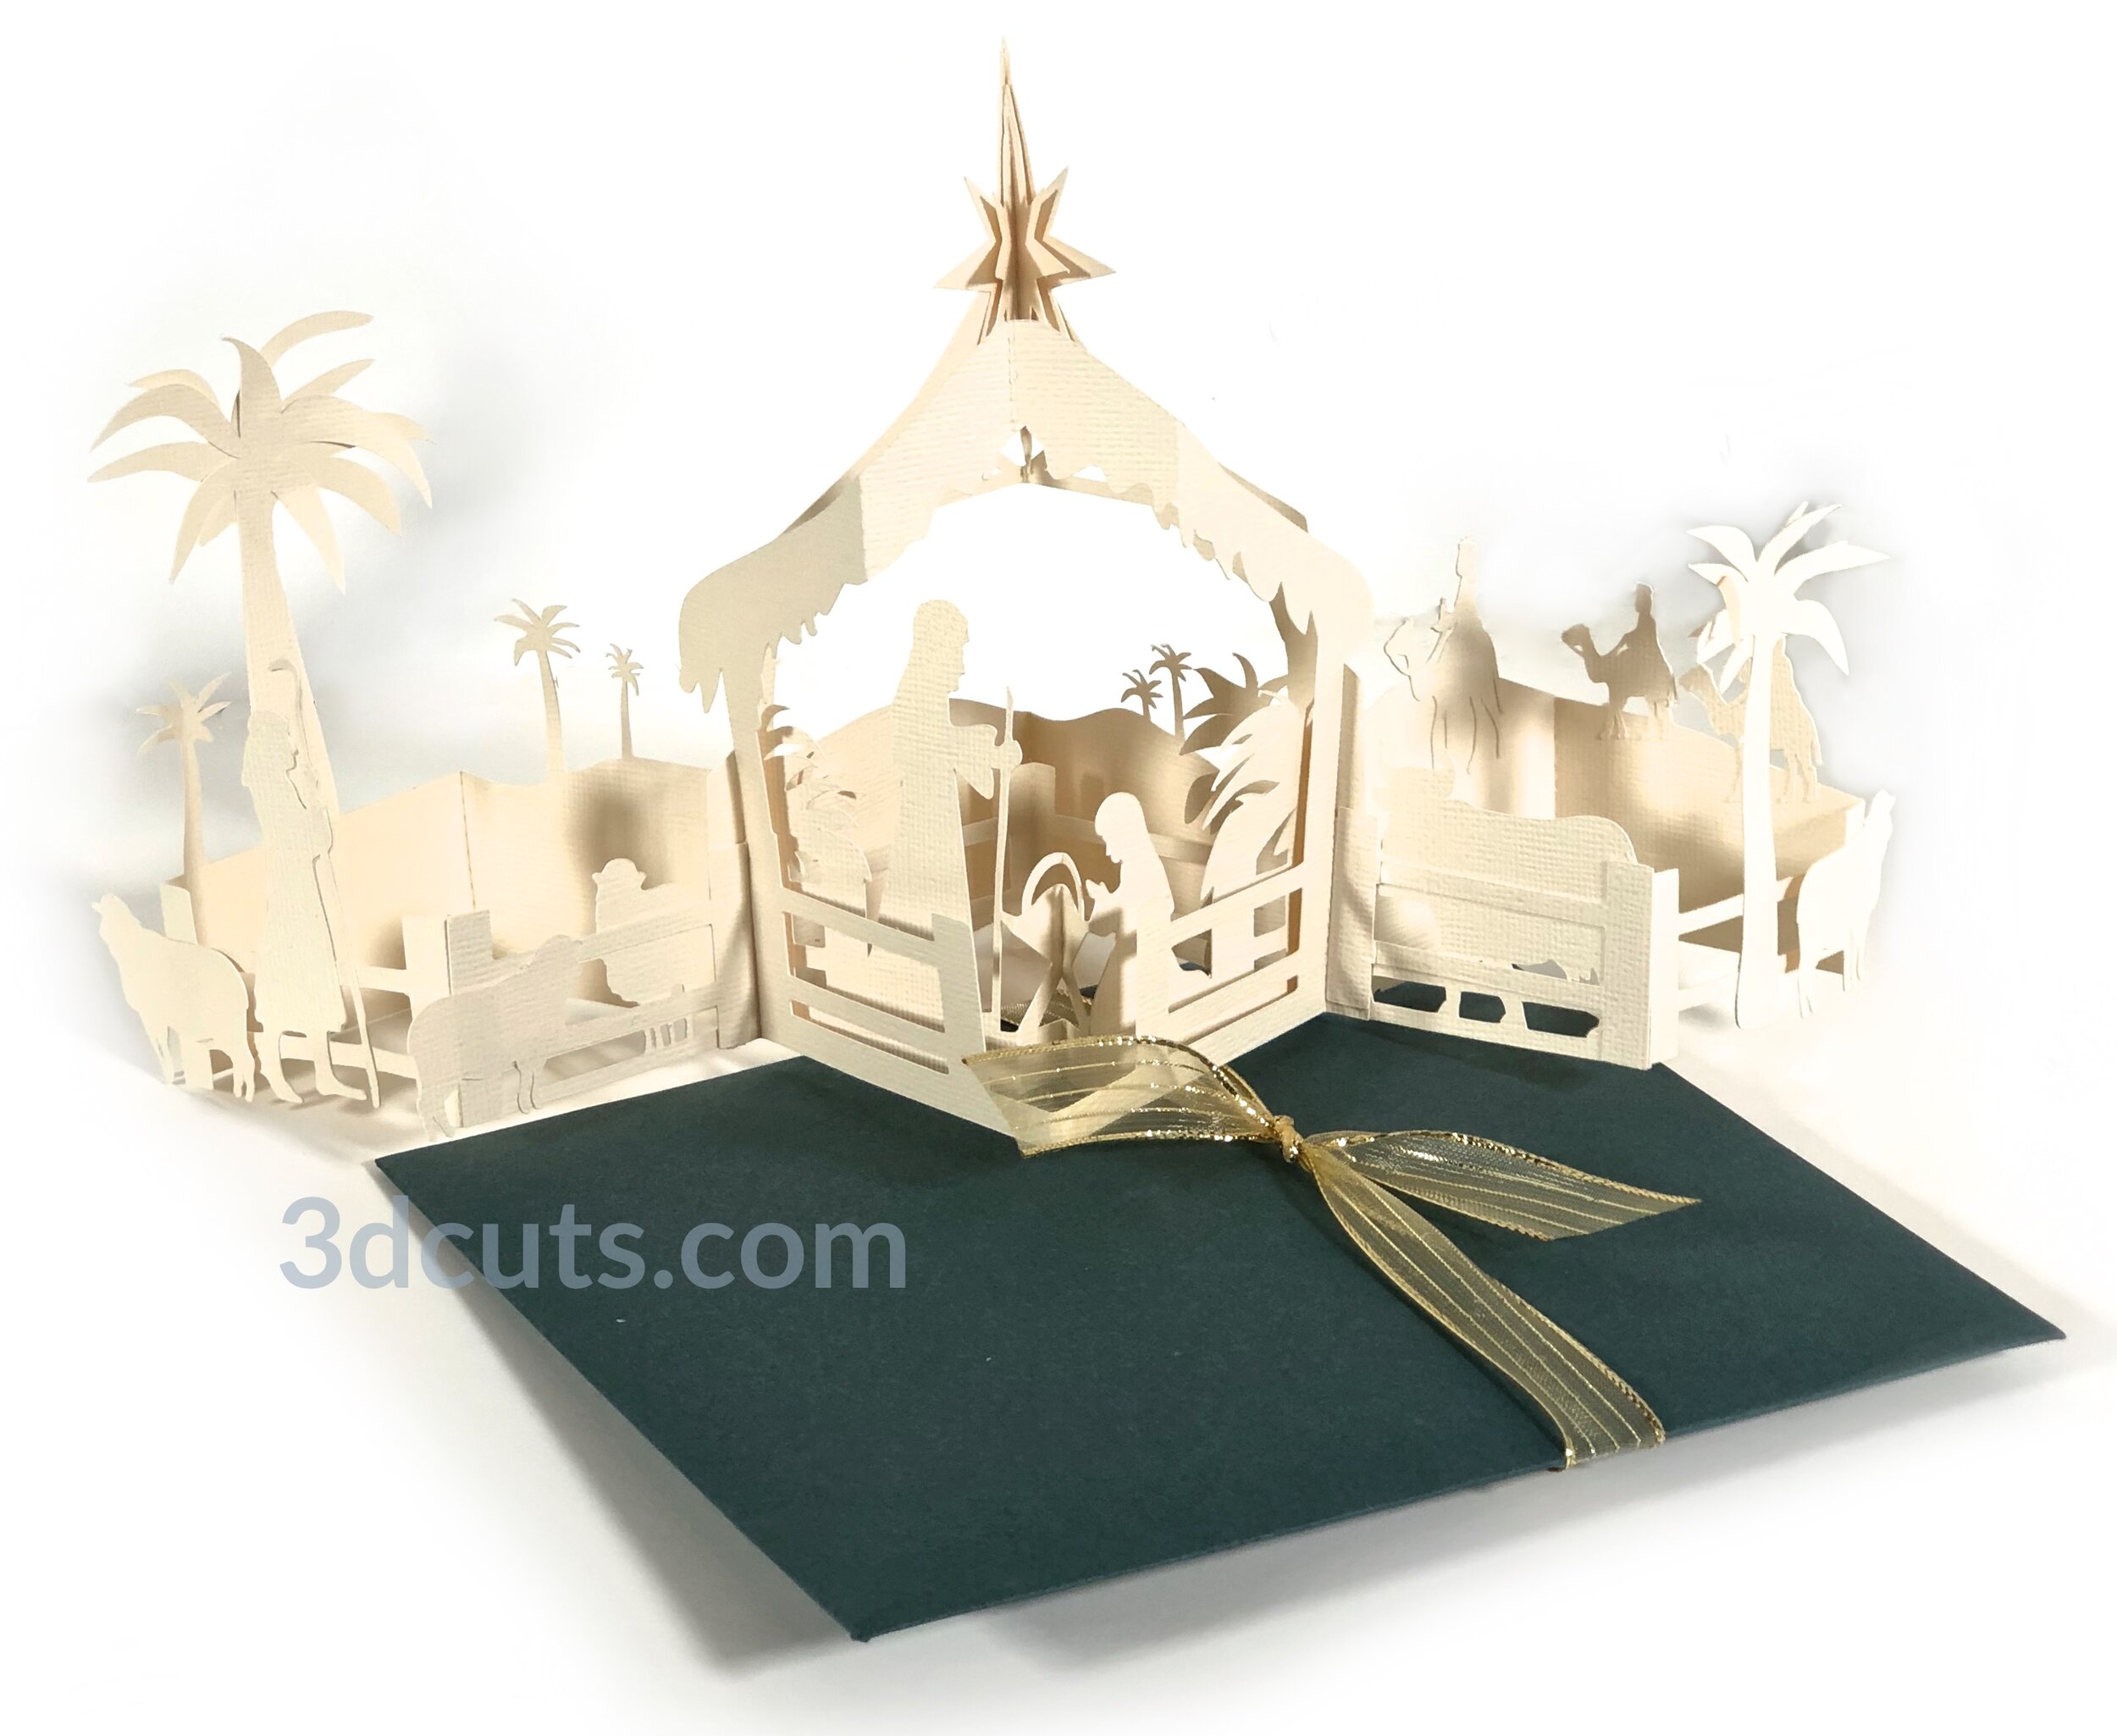
Create this stunning 3D Zig Zag Nativity to keep or give. It is designed to fold flat for storage or mailing. It makes a special card that can become holiday decor. The download includes a custom envelope or it fits in a standard 6 x 9” booklet envelope. It is about 10” w and 6” tall when expanded.
Construction techniques are a simple version of my other zig zag projects. There is a video of the assembly below. Scroll to step 5 to start watching. This file is much easier than the original Zig Zag Village Quick version with much quicker assembly time.
Cutting File available here from 3dcuts.com. http://3dcuts.com/christmas-projects/zig-zag-nativity
Supplies needed:
Order supplies from Amazon:
(Links for USA customers only. Other countries will need to search in their local Amazon for the products.)
Cutting File available here from 3dcuts.com.
Card stock - I used the 65lb Cardstock 12” x 12” Vanilla from American Crafts. 2 12 x 12 pieces are required for the card. Two pieces in a contrasting color are needed for the envelope. Nativity pieces can fit on 8.5 X 11” with rearranging. Envelope requires 12 x 12.
Adhesive - Art Glitter Glue and Scor-Tape 1/4”, 1/8”
Ribbon - optional
Scotch Tape
Major Parts Sizes - as download.
Keep grouped for sizing: Measurements match the grouping and orientation in the diagram below. Measurements maybe needed if using dxf files.
Page 1 Group: 11.3482" w x 1094.03" h
Page 2 Group- 10.7666" w x 10.0586"h
Envelope Back - 11.5014" w x 11.4528"h
Envelope Rectangle - 7.4194" w x 4.5"h
Note: Many layers have smaller pieces inside them. Keep them grouped together if you must re-size pieces.
ALL File: 23.8157" w x 11.3655" h ( just Nativity parts)
Note: Not all software and cutting machine combinations can use the ALL file. Some resizes files to fit in a smaller mat area. Import the individual files if your machine has size limitations. I create the ALL file in case you want to re-size everything.

Steps for completing the Zig Zag Nativity Card:
Special Note: I update the instructions online. Check here for adjustments and additional information.
1. Download the cutting files for your cutting machine here from the 3dcuts.com store. http://3dcuts.com/christmas-projects/zig-zag-nativity. For those of you that are reading this as a pdf I recommend viewing it online at my tutorials page at this url. There all the links will be live.
2. Load the files into your cutting software following the steps for your cutting machine.
3. Prepare the files:.
For the Silhouette:
SIL Files from upload SVG purchased from 3dcuts.com:
The SVG files may need to be turned into cutting files. Click here for detailed steps on how to use SVG files on your Silhouette. http://www.3dcuts.com/tutorial-upload-svg-silhouette
DXF files can be opened in the basic edition of Silhouette Design Studio but often require modifications. I recommend using the Designer Edition and using svg files. DXF files do not always maintain file sizes and you may need to adjust according to sizes noted above.
For Cricut Explore: Here is a guide for importing into Cricut Design Space. http://www.3dcuts.com/tutorial-adding-3dcuts-files-to-cricut. Remember to ATTACH files before cutting in Cricut. There have been some issues with the Cricut release (August 2019) that will not allow you to use the ALL file. You must import in individual groups. Hopefully this gets resolved.
For Brother ScanNCut: The svg files will need to be transferred to files for your particular machine. You can change SVG files to FCM files at http://www.canvasworkspace.com/ or Google "How to import SVG files into a ScanNCut" for links to tutorials. Some models of Brother Scan N Cut can directly import the SVG files.
4. Cut the files.
It is best to have good quality card stock and a good blade and clean, sticky mat. I use the Premium blade and the Nicapa mat. These files do have intricate cuts and you need to know which settings your machine works best with.
5. Assembly
The assembly steps are detailed in the video below. Here is the YouTube url https://youtu.be/NnMY8QiFV3Y.
6. Making an envelope:
This card is designed to fit in a standard booklet 6 x 9” envelope available from Amazon. If you would like to instead make your own envelope out of a better grade card stock then use the file included for the envelope. You will need 2 12 x 12” pieces of card stock.The assembly video is at the end of the above video
7. Sending the card:
This project is designed to fold flat for storage or to be mailed in a 6" x 9" booklet envelope.
There is an affiliate link in the supplies above for ordering them from Amazon or you can make your own with the included file.
Place a cardboard support in the envelope to prevent bending.
It will require extra postage.
Creative Applications:
I will post photos of cards other crafters have made. Send a photo to 3dcuts.com if you have done something interesting with this file.
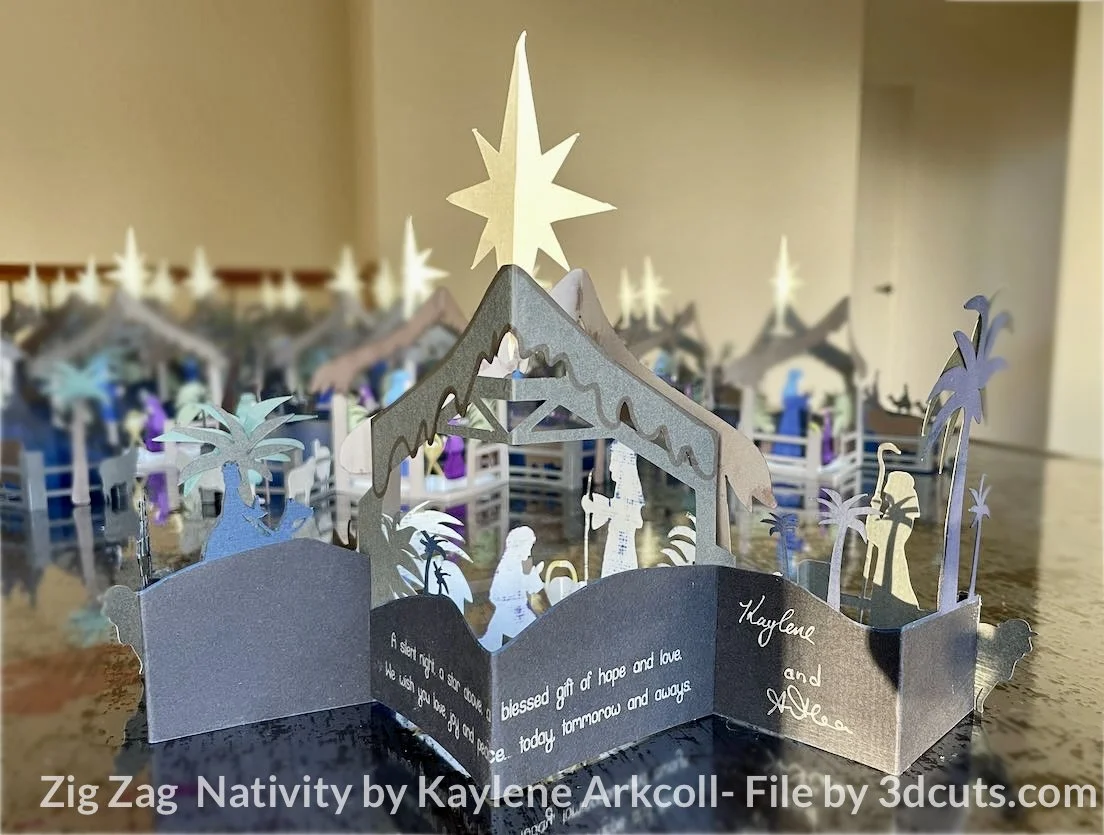
Kaylene Arkcoll did a wonderful job customizing this file. She sent along the following description. Often we design the our card from scratch, but as soon as we saw your card we knew our family and friends would love having it on their tables and window ledges.
We’d done a white-on-white card last year, so we rearranged the panels in your design to enable us to make a colour version. The three lengths of fence and the rear of the building are now a single piece. The three blue hills are individual pieces, as is the central manger scene. We also separated the cow and sheep to reduce the hand colouring and to add extra stiffness as we weren’t double layering the fence.
The pieces were cut using a Cameo 4 plus. We used the Cameo to write the message on the back panels before they were cut using a font called Belle Fonte.
The message says, “A silent night, a star above, a blessed gift of hope and love."

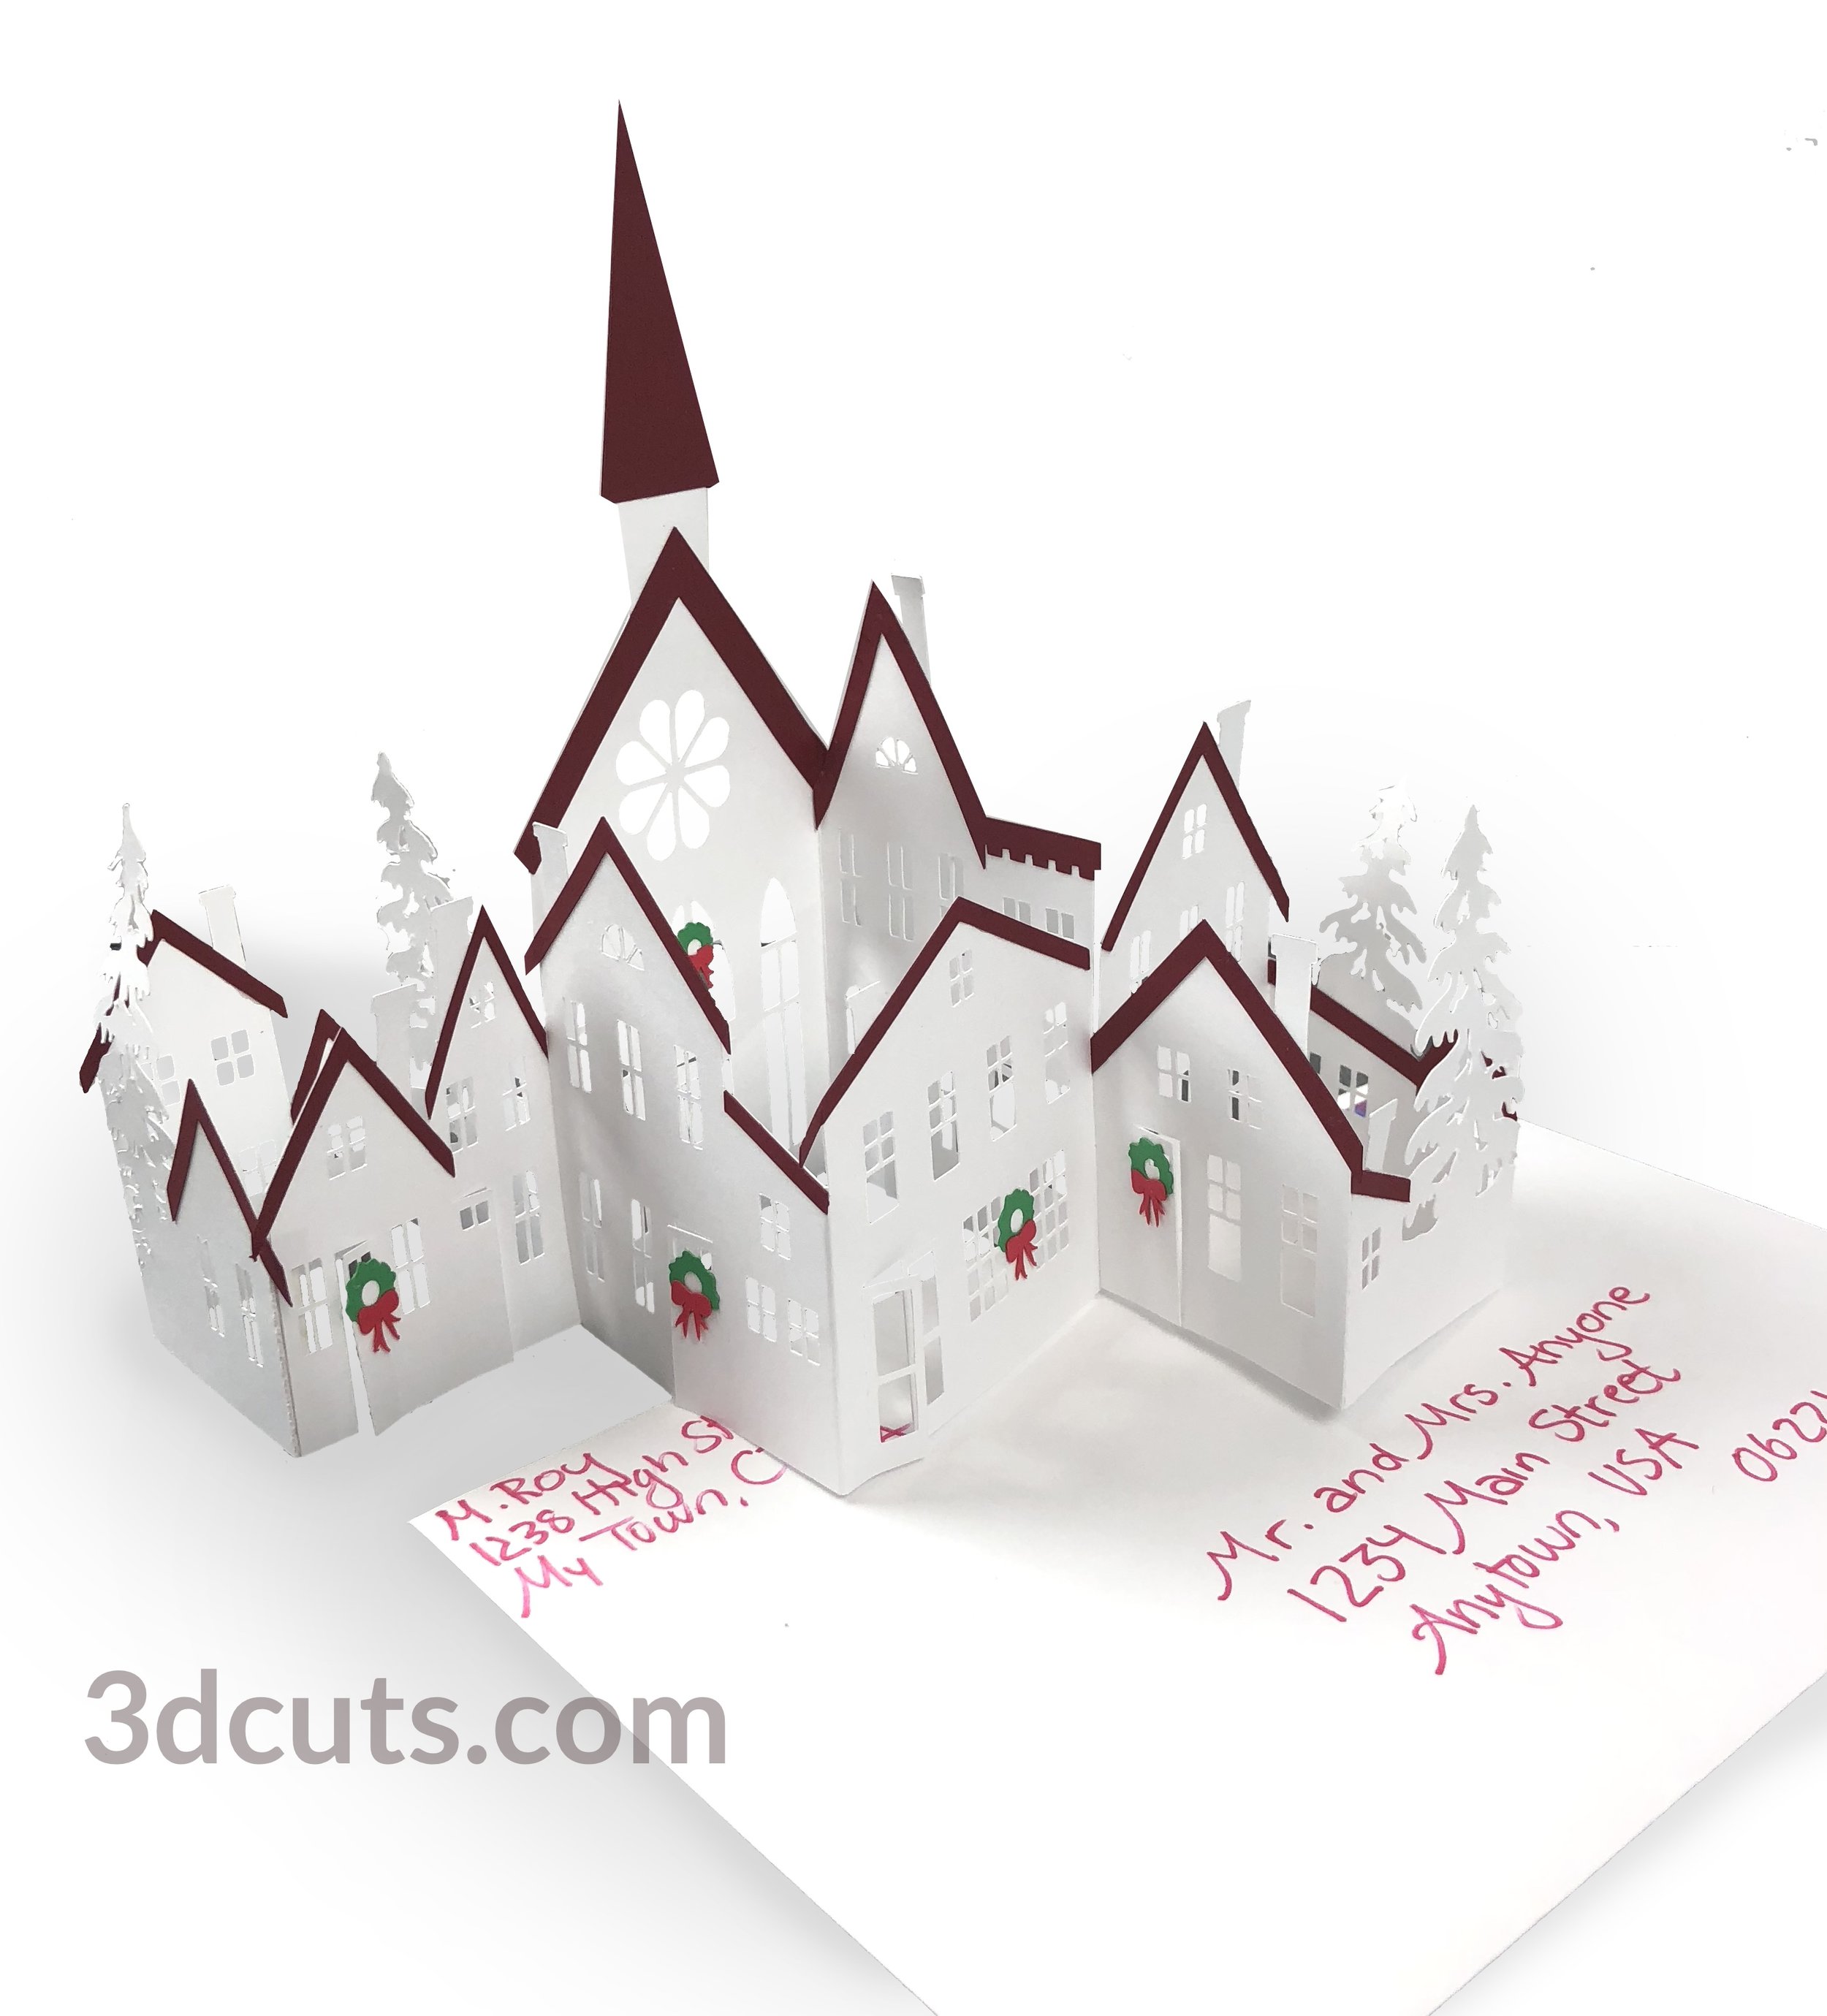
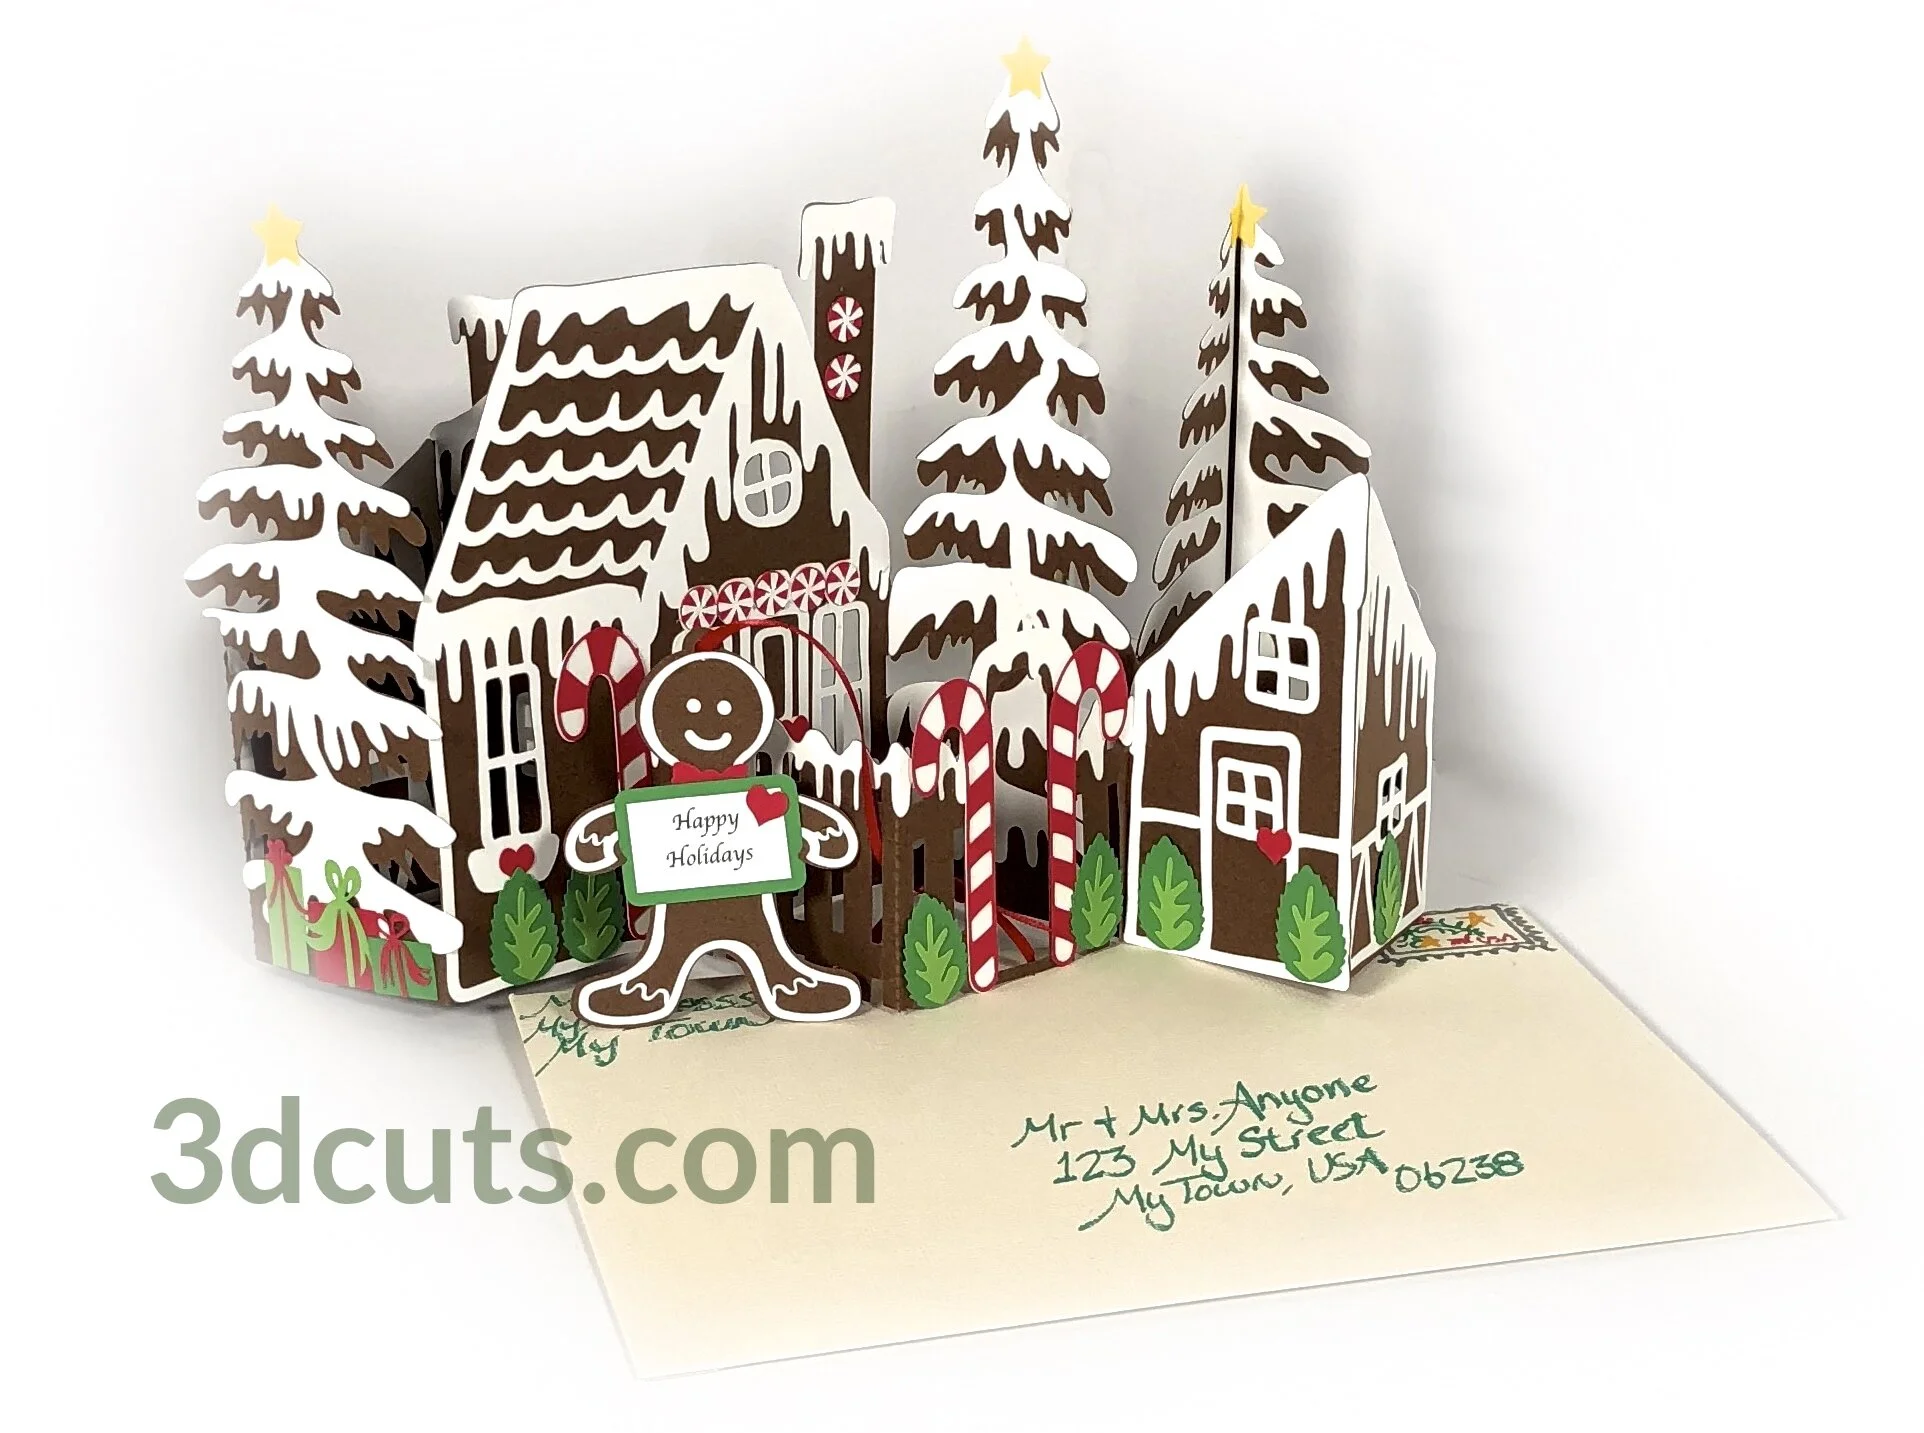
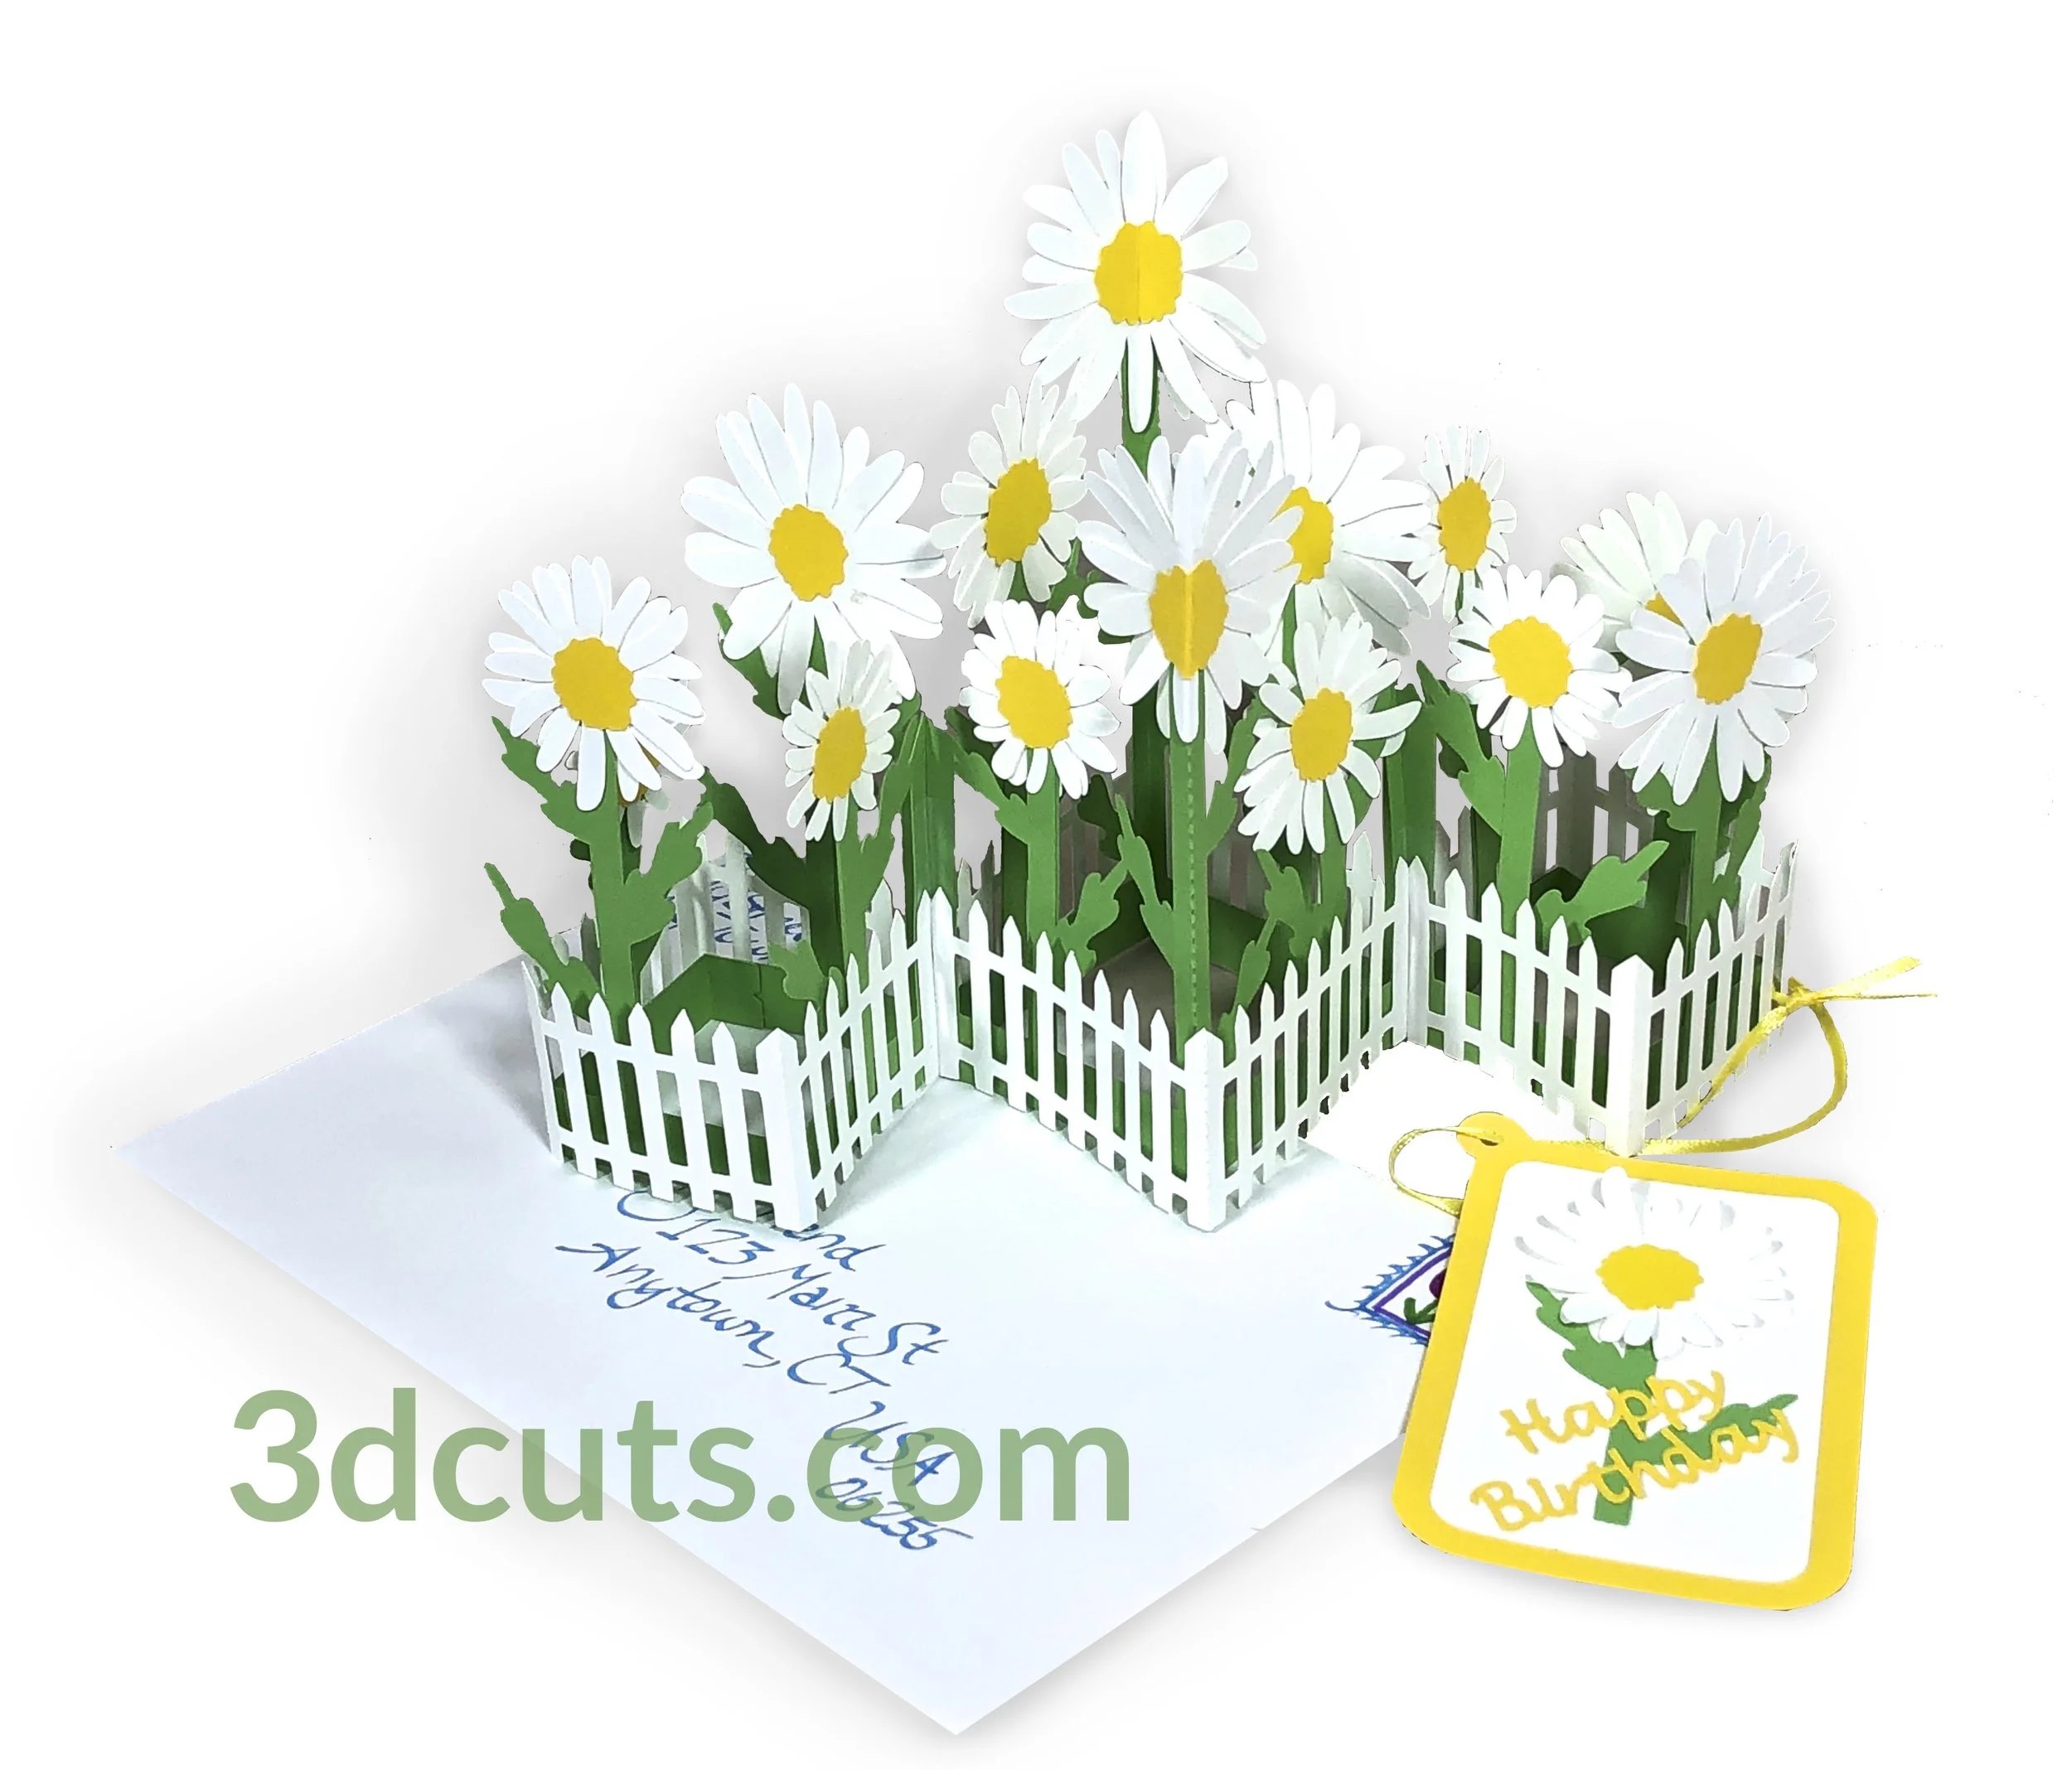
Other Zig Zag Card Designs available from 3dCuts.com -