
"Wishing For Spring" Kitty Shadow Boxes -
Project Description:

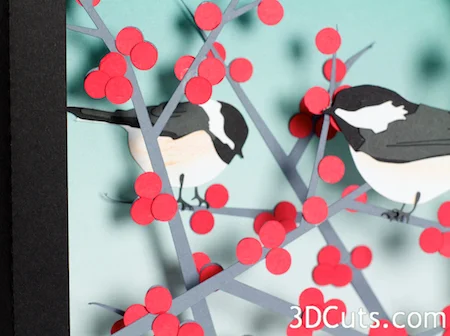
This tutorial is for the 4 layer shadow box featuring two chickadees nestled among the winterberry branches. It is designed by Marji Roy of 3dcuts.com. The entire project including the frame is constructed of 8.5" x 11" card stock.
The completed project is about 6.5" H x 6.5" W. It can be displayed by hanging or perched on a shelf.
Supplies Needed:
Cutting File from 3dcuts. com here.
Card stock - I used the 65lb 8.5 x 11" Cardstock from Recollections. 2 sheets black, 3sheets gray, 1 each of white, red
1 background paper for sky
Adhesive - I use Scor-Tape and glue dots although other adhesives would work.
Zig Glue
Scotch tape
Spray adhesive
Twezzers
Black Sharpie
Steps for completing the shadow box:
1. Download the cutting files for your cutting machine from the 3dcuts.com store here. the will be in a zipped folder and must be unzipped.
2. Load the files into your cutting software following the steps for your cutting machine.
3. Prepare the files:
For the Silhouette: The SVG files from this site will need to be turned into cutting files. Click here for detailed steps on how to use SVG files on your Silhouette. http://www.3dcuts.com/tutorial-upload-svg-silhouette
For Cricut Explore: Here is a guide for importing into Cricut Design Space. http://www.3dcuts.com/tutorial-adding-3dcuts-files-to-cricut. Remember to use the Attach command to keep shapes together for cutting.
Parts Sizes - in groups as imported:
extra Pieces (all together) - 8.4403" w x 10.8185"h
Layer 1 and hanger - 8.2623"w x 9.9344"h
Layer 2 - 7.7023"w x 7.7028"h
Layer 3 - 7.0248"w x 7.0283"h
Layer 4 - 8.2114"w x 8.2114"h
4. Cut the shapes.
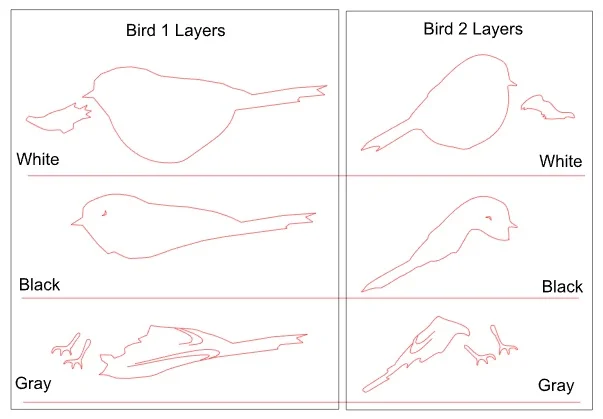
There are 4 box layers, 1 back ground piece and an optional hanger. For this shadow box I cut layers 1, and 4 from black card stock and layers 2 and 3 plus the additional branch from gray card stock. Below are the colors for the various chickadee parts. The berries are red.
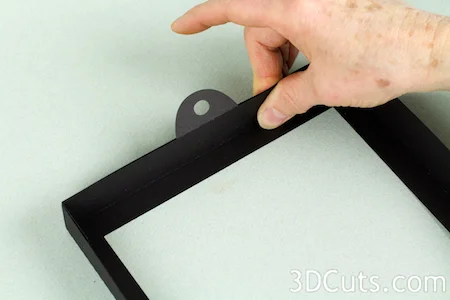
5. Construct the box frames.
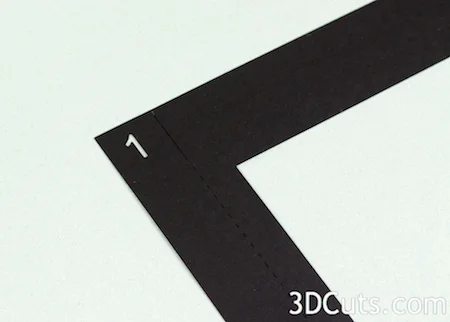
Notice there is a cut-out number in one corner of each frame. Use this a guide. It will help in identifying the layers, identifying front or back, and knowing which corner should be in the upper left.
I universally design these so that the number is always in the upper left. On some frames it doesn't matter but on others it does. If you always have the number in the upper left as you work you will know you are assembling things correctly.
The frames are numbered as they will be when complete. Number 1 is the front frame, then 2, 3 and and 4 in the back. You will not assemble them in that order though.
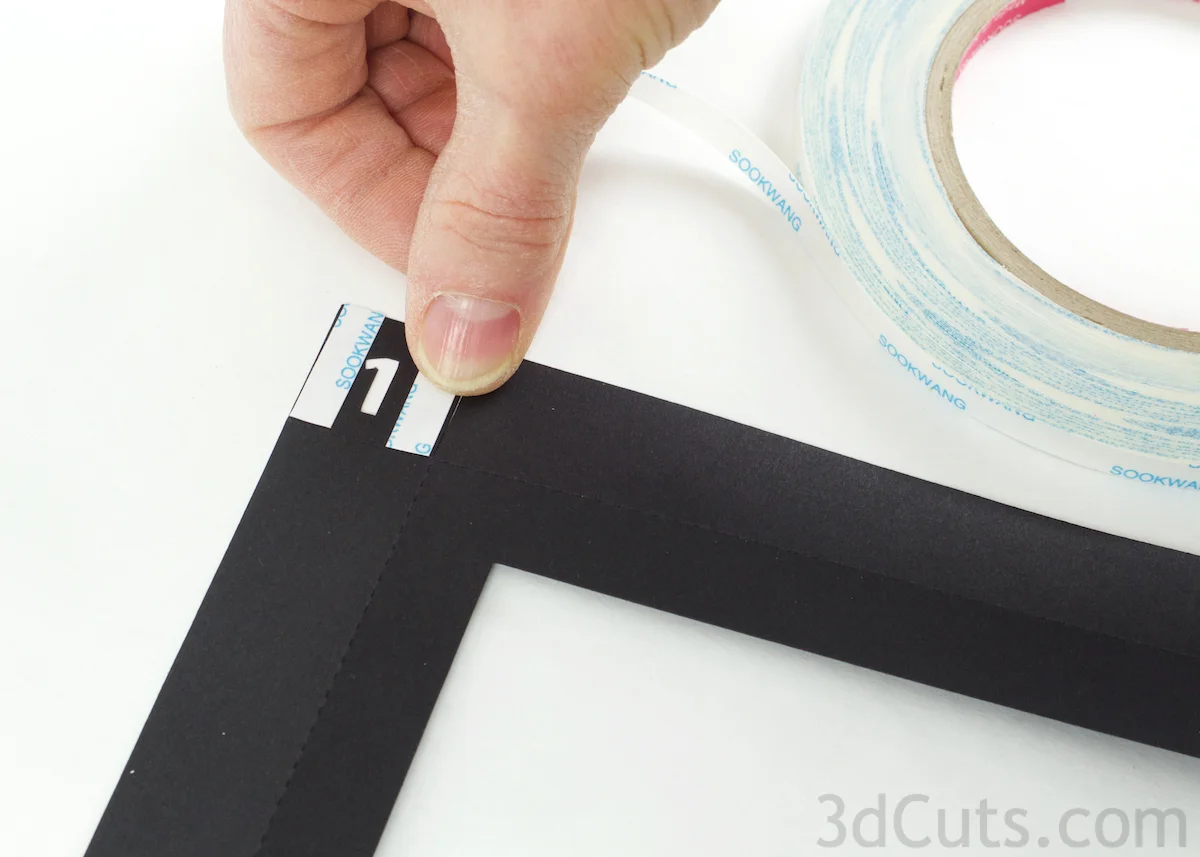
Use your adhesive of choice to glue the tabs inside of each corner. I like to use Scor-Tape or Glue Dots because it keeps my fingers clean. Other adhesives works as well.
Note - Frame 2-4 will be inside each other and out of sight. You can use a single glue dot in each corner. Frame 1 is the outside frame and I recommend good glue coverage on this layer. I used Scor-tape here.
Fold frame 1 sides BACK away from the front along all fold lines. Not all frames get folded in the same direction so pay attention!
It is important to make square corners.
Add the hanger. This is optional.
It gets folded and adhered to the inside top of frame I use Scor-tape here.
Make sure to center it.
6. Assemble frame 2 and 3.
Frame 2 and 3 are both completed in the same way as each other.
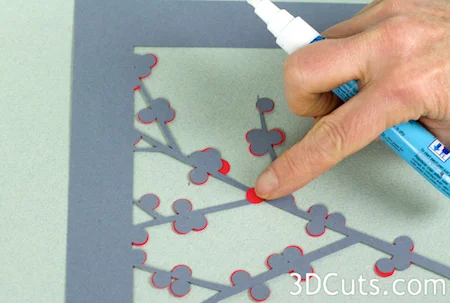
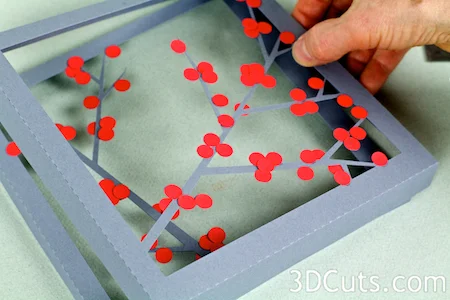
Before folding, glue red dots to the front of all the winterberry gray circles.
Just add a dot of glue and stick on a berry. Some will overlap.


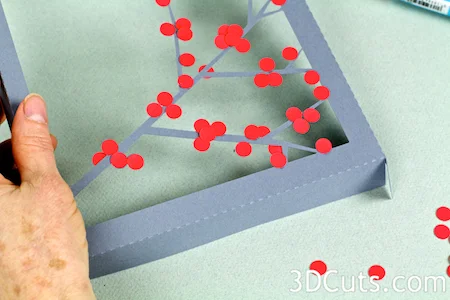
Now turn frame 2 over and add 4-5 berries on the backside. You want to place them so parts are visible from the front.
This just adds another visual layer to the branches. It's a tiny detail but it is effective.

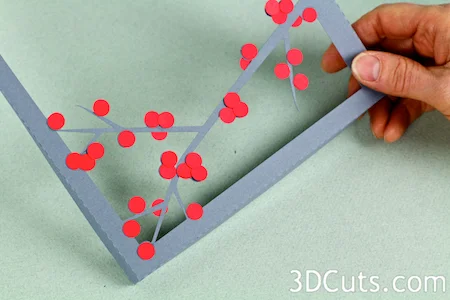
Fold frame 2 sides BACK from the front along all fold lines.
Glue the corners with Glue Dots being sure to keep them square.
Repeat the same steps with Frame 3.
Glue berries on the front (keep #3 in upper left), glue a few on the back, fold all fold lines to the BACK and glue the corners square.
7. Assemble Frame 4.
Fold frame 4 sides FORWARD toward the front.
Glue all corners together with glue dots keeping them square.

8. Complete the details to be adhered to the background.
There is a sky layer with another branch attached to it which gets inserted into frame 4.
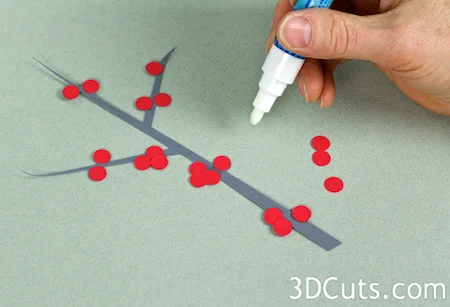
Glue red berries onto the front of the single branch. (Left below) Pay attention to front and back by comparing to the image below.
Add a few to the back, just like you did on frames 2 and 3. (Right below)

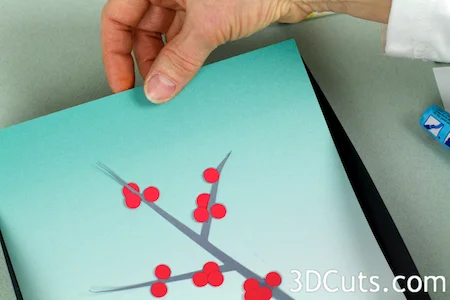
Cut the background paper into a 6.25 inch square. I used a gradated paper from the collection (we all have paper collections, right?) for the background but there are many pretty papers that would be appropriate, use a solid light blue or do a watercolor wash.
This branch gets adhered directly to the background square. Placement is 1" in from the right bottom corner. Match the angle of the bottom to the edge of the paper. (Image 1)
This background fits right into frame # 4.
Glue it in place inside the frame. I use spray adhesive to get complete coverage. Remember to keep the cut #4 in the upper left corner.

9. Assemble the first little bird.
The little bird faces to the right and will get glued perched on the background branch.
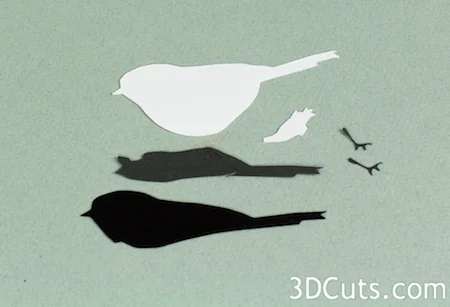
It is made up of these parts -->
Refer to the bird parts diagram at the beginning of the tutorial if you need more help in identifying the bird parts. These parts are labeled bird 2 in the diagram.
This bird is the one with the rounder belly.

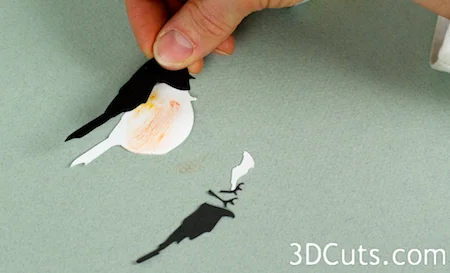
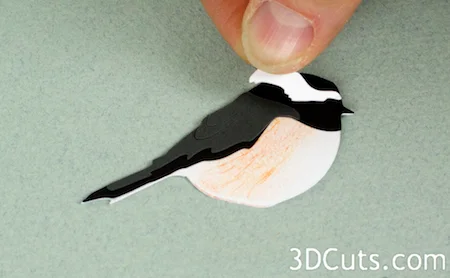
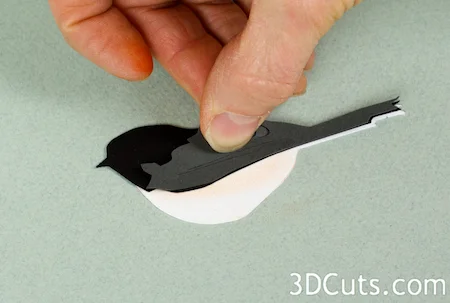
Add a little color to the chickadee belly. I rubbed some ink from a marker onto my finger and then onto the white belly of the chickadee.
I wanted a soft orange tint so just used a slight bit of ink. Pastels would work as well, or stamping ink. I added a little yellow to it also, keeping the color subtle. (This step is optional.)(Below left)
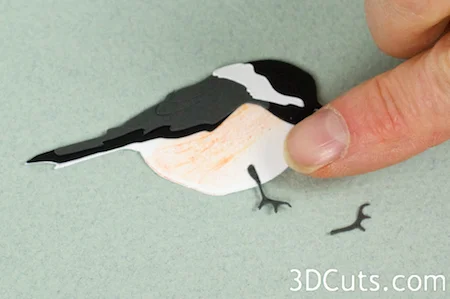
Glue the black bird shape on next. Tops line up.(Below Right)

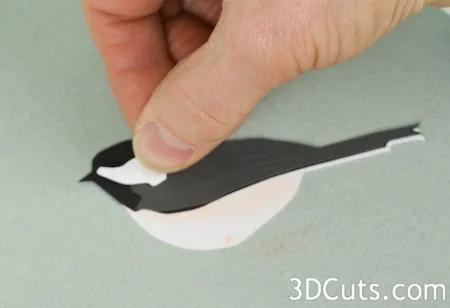
Adhere the gray shape on to the chickadee back. (Below left)
And then add the white collar on the neck. (Below right)
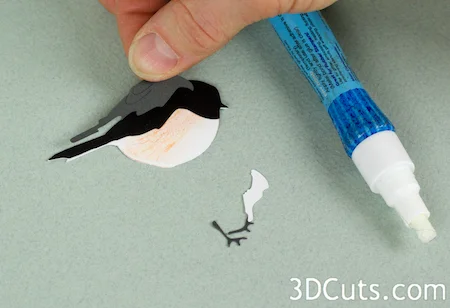
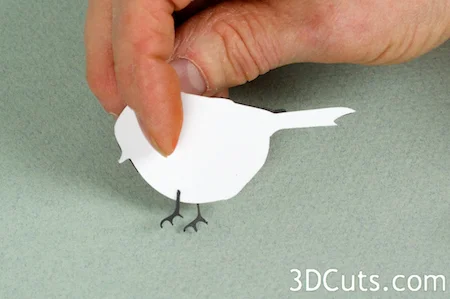
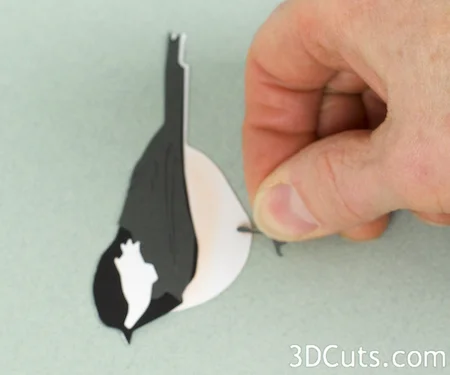
One foot gets glued to the front....
And the other to the back of the bird.
If any white shows around the head or back just use a black Sharpie Marker to color it in.
The little bird gets glued to the background on the left branch just to the left of the 2 berries.
10. Assemble Bird 1 as noted on the bird part diagram at the beginning.
The steps are the same as the other bird except this one is facing left.
Add a little color to the belly.
Adhere the black piece over the white. The backs line up.
Adhere the gray piece on top of the black.
Adhere the white color.
Adhere one foot to the front and the other to the back.
Touch up any white edges on the head or back with black Sharpie marker.
Put this bird aside while you assemble the frames.
9. Assemble frames 1, 2, 3 and 4 together.
Make sure the corner with the cut number ( now hidden inside the frame) is always in the upper left.
Frame 2 goes over frame 3 from the front. Frame 2 is slightly larger and should cover it.
Slide frame 2 over frame 3.
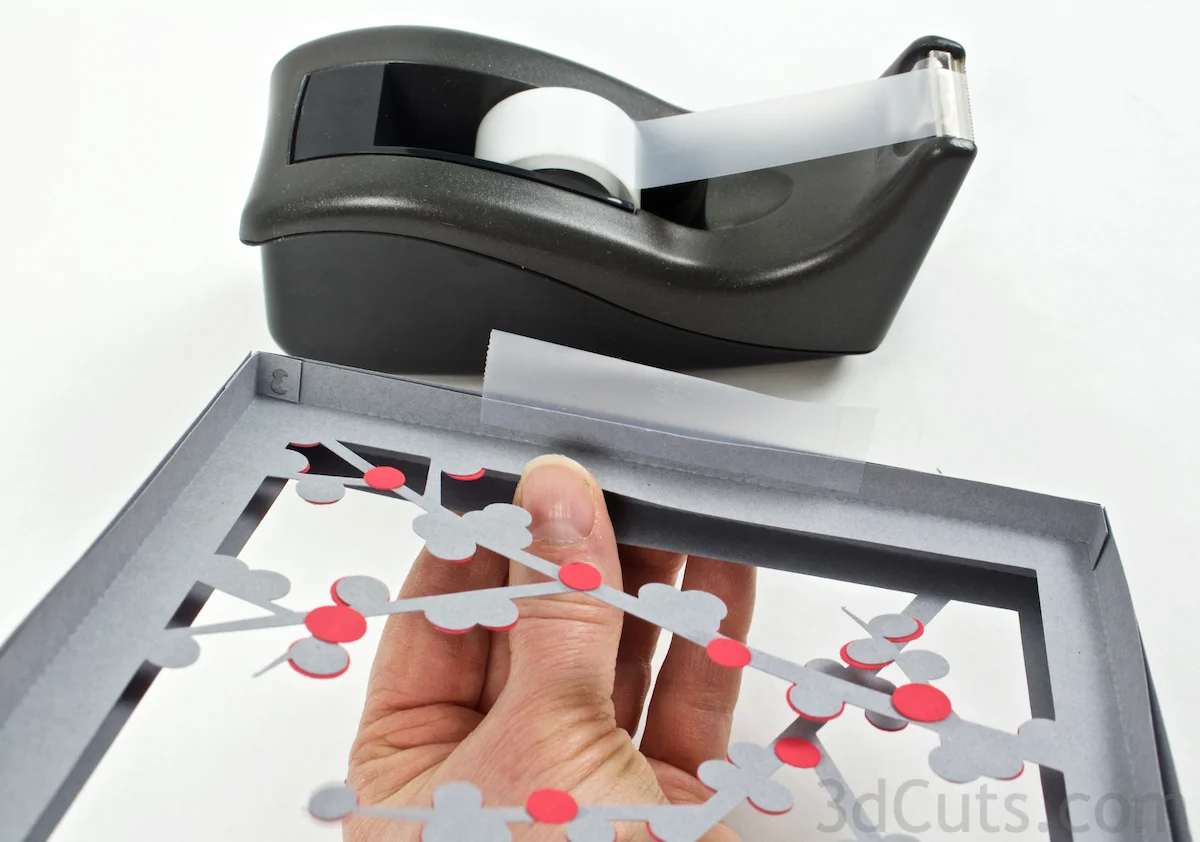
Flip them over and apply scotch tape to hold the back edges together. This taping will keep a space between layers 2 and 3 which is important for the shadow box effect. Align back edges, place tape and fold over to hold. Do this on all 4 sides.
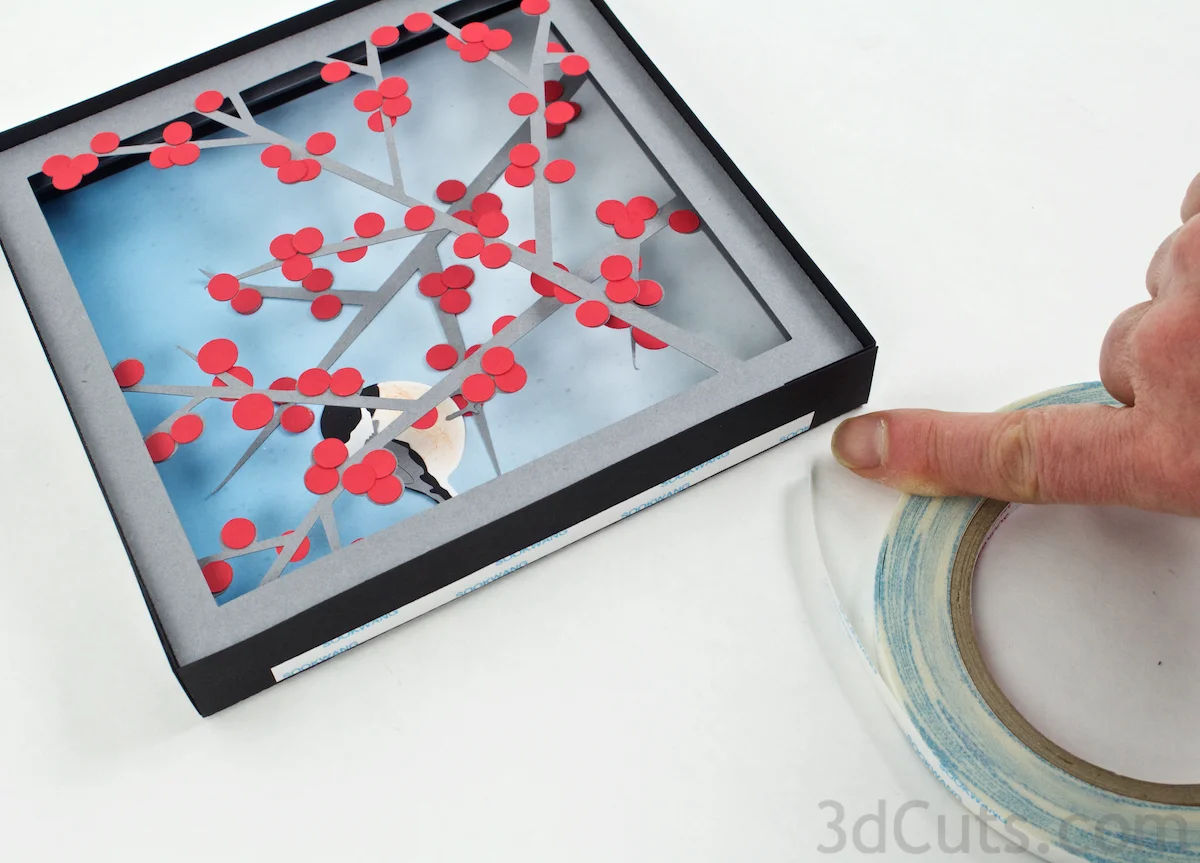
Apply a strip of Scor-tape along each side of frame 2 (which is now combined with frame 3) on the outside. It should be placed near the front edge and in about 1" from each corner. Do this on all 4 sides.
Leave the backing on the Scor-tape.
The combined group of frame 2 and 3 will slide into frame 4. Frame 4 was folded in the opposite direction and its sides come forward. Frames 2 and 3 slide all the way down inside frame 4. Frame 4 is taller than 2 and 3 so it forms a spacer ridge.

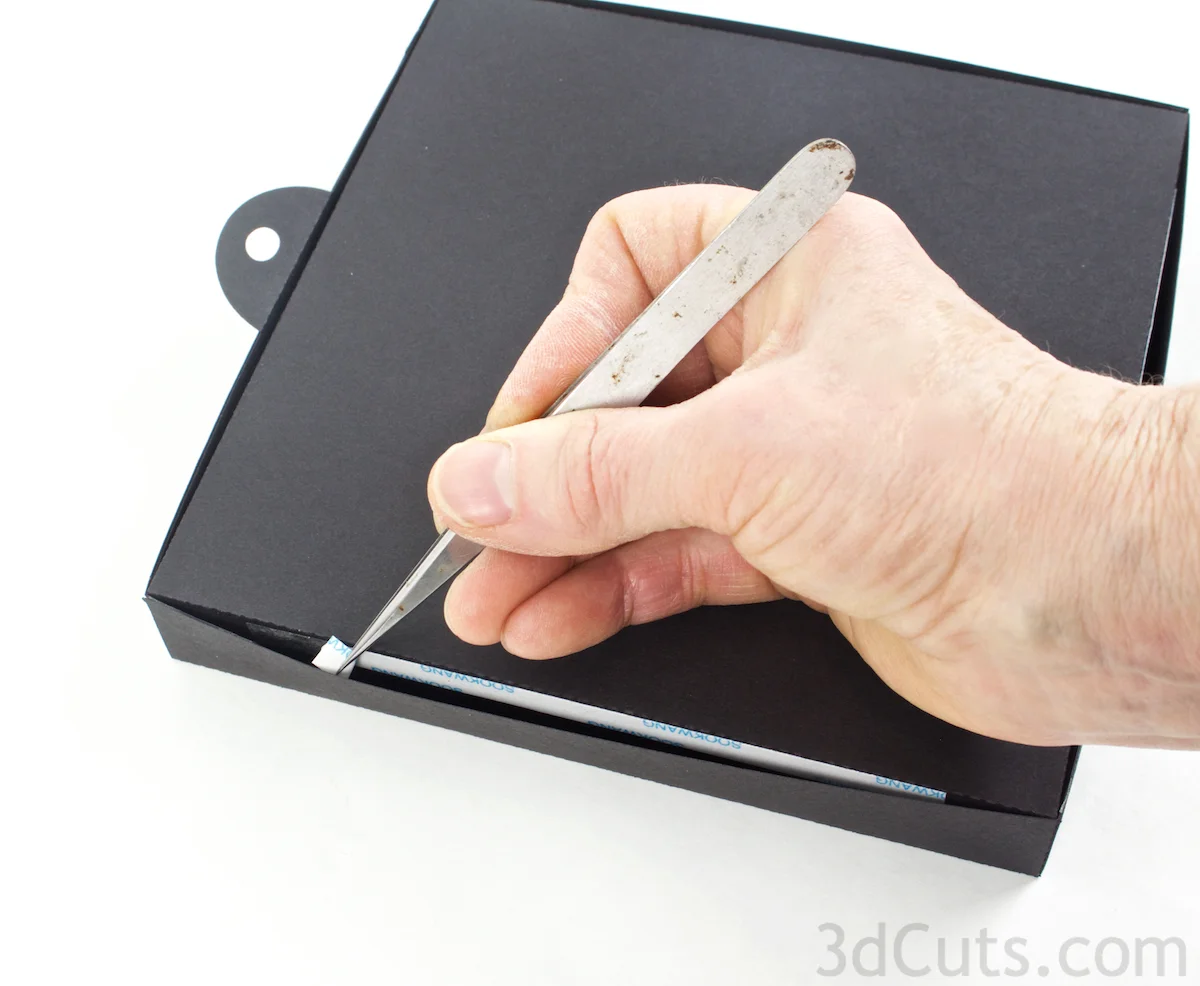
Using tweezers, reach down into the seam, grab the backing of the Scor-tape and peel it off.
Press the side of the shadow box in place.
Repeat for all 4 sides.

Add a strip of Scor-tape to the back edges of frame 4. Place it near the back and leave a 1" gap with no tape near each corner. Leave the backing on the Scor-tape.
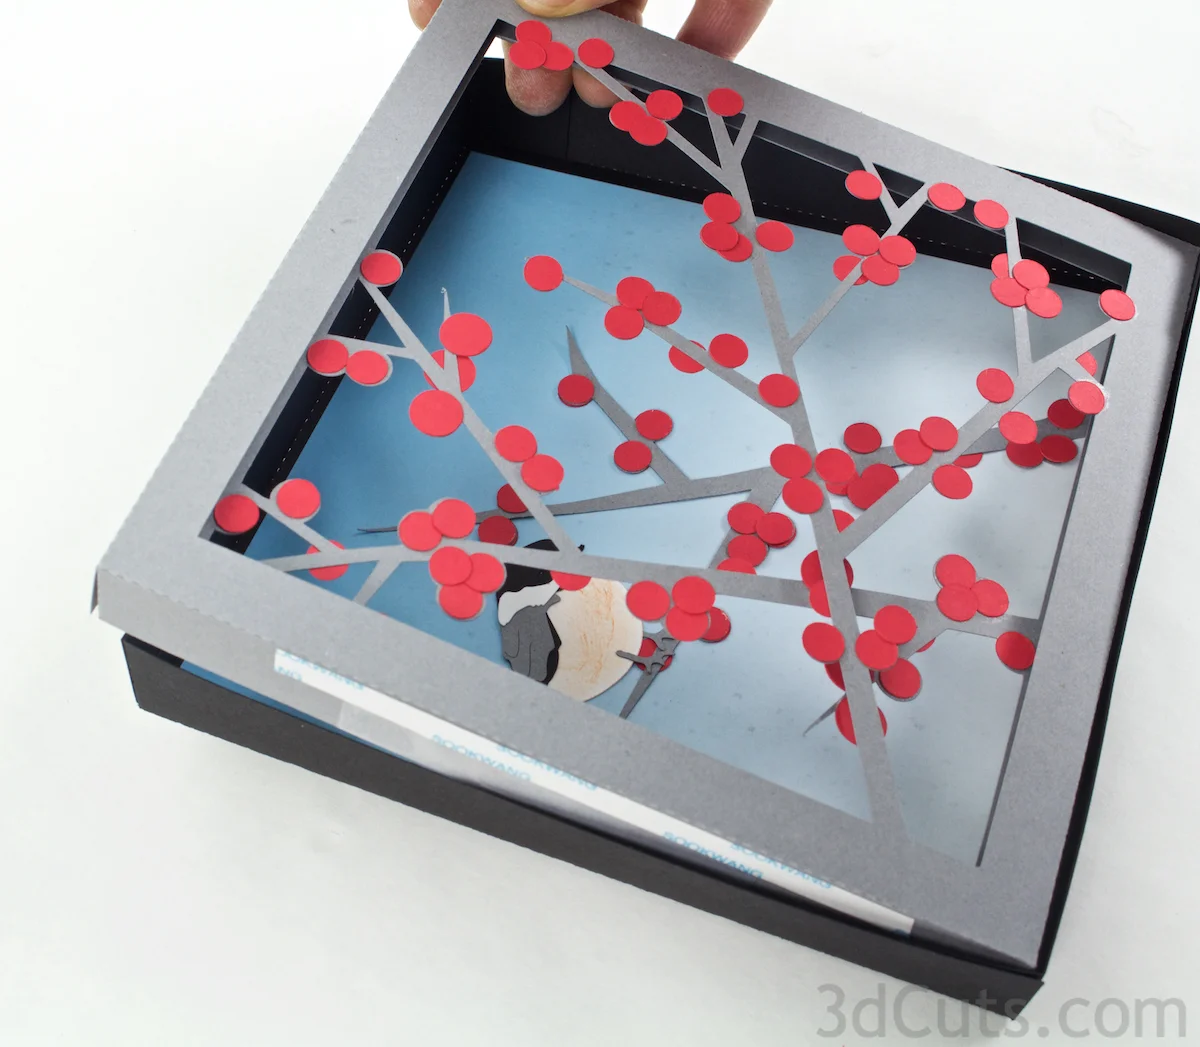
Slide frame 1 over frame 4.
Use tweezers to pull the backing tape off each Scor-tape strip from the back.
Press the sides to adhere them in place.
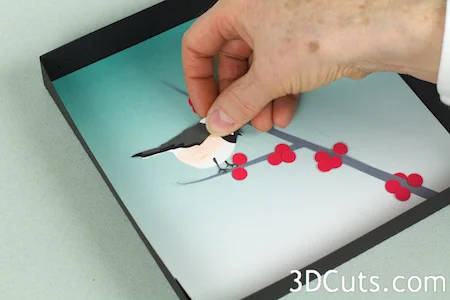
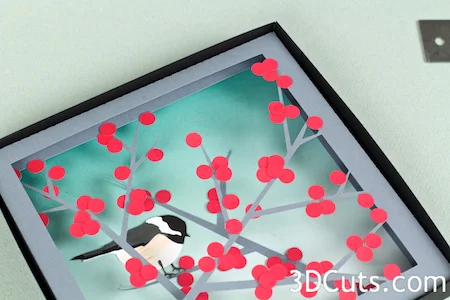
Use glue dots to adhere the last bird in place.
I positioned it on a branch so the tail extended outside the box frame.
Put a glue dot under each place that i crosses a branch....the more the better.
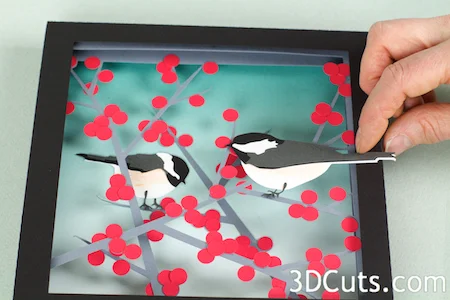
All done! Stand back and take a look.
