
3D Paper Valentine Tree • Tutorial for 3 Piece Trees
Project Description:
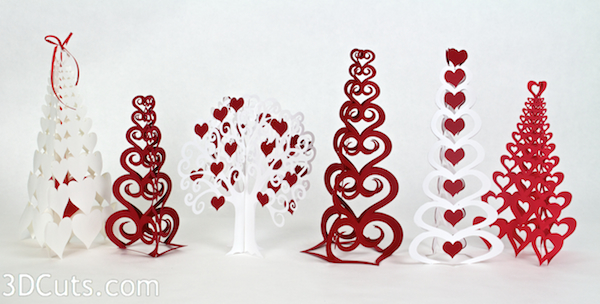
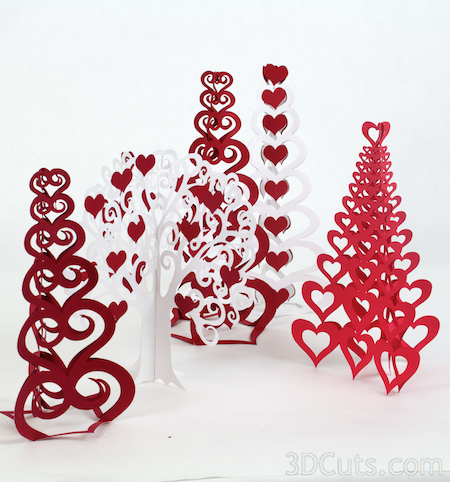
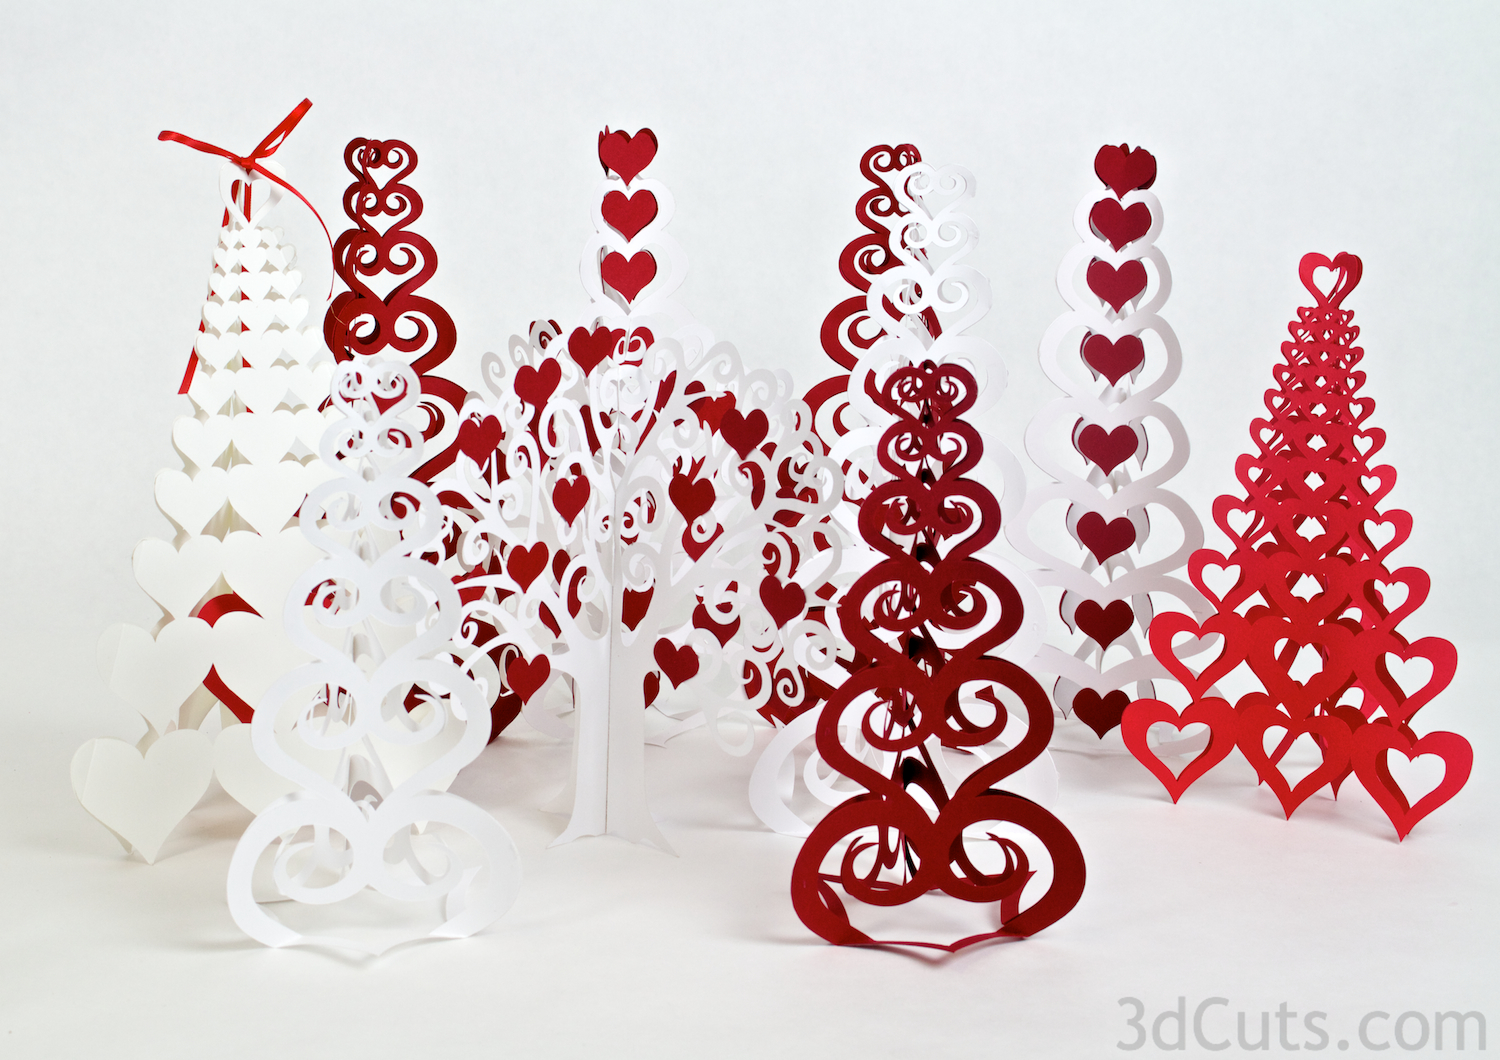
3D Trees are wonderful decorations at so many events. They make stunning centerpieces, mantle displays or accents for other arrangements. They can be made in many different styles. This tutorial is for five of the trees pictured to the right. They are different but all assembled using these steps.
This tutorial is for:
- Open Heart Tree
- Closed Heart Tree
- Spiral Tree ( both large and small)
- Stacked Heart Tree
Is not for the Tree with Hearts as Apples (near center). The tutorial for that tree is here.
Purchasing Options:
All six tree cutting files are available from the 3DCuts Store as a group purchase.http://www.3dcuts.com/store/
Files will also be available individually from the Silhouette Online Store here.
http://www.silhouettedesignstore.com/?page=view-portfolio&artist_id=169851
Three Piece Valentine Tree Tutorial
Supplies Needed:
- Cutting File available at 3Dcuts.com
- 8.5 x 11" card stock - I used the 65lb Cardstock from Recollections.
- Paper Adhesive of choice. I use Aileens Quick Dry, Glue Dots, Scor-Tape and Xyron in different places
- Binder Clips (optional)
Parts sizes: (For those importing into Design Space) - in inches
- Spiral Tree Large (Cut 3) 7.7426" W x 10.1547" H
- Spiral Tree Small (Cut 3) 4.194" W x 9.2356" H
- Open Heart Tree (Cut 3) 6.5464" W x 9.6512" H (including extra hearts)
- Solid Heart Tree (Cut 3) 63444" W x 9.6512" H (including extra hearts)
- Stacked Heart Tree (Cut 3) 5.0285" W x 10.6412" H


Stacked Heart Tree
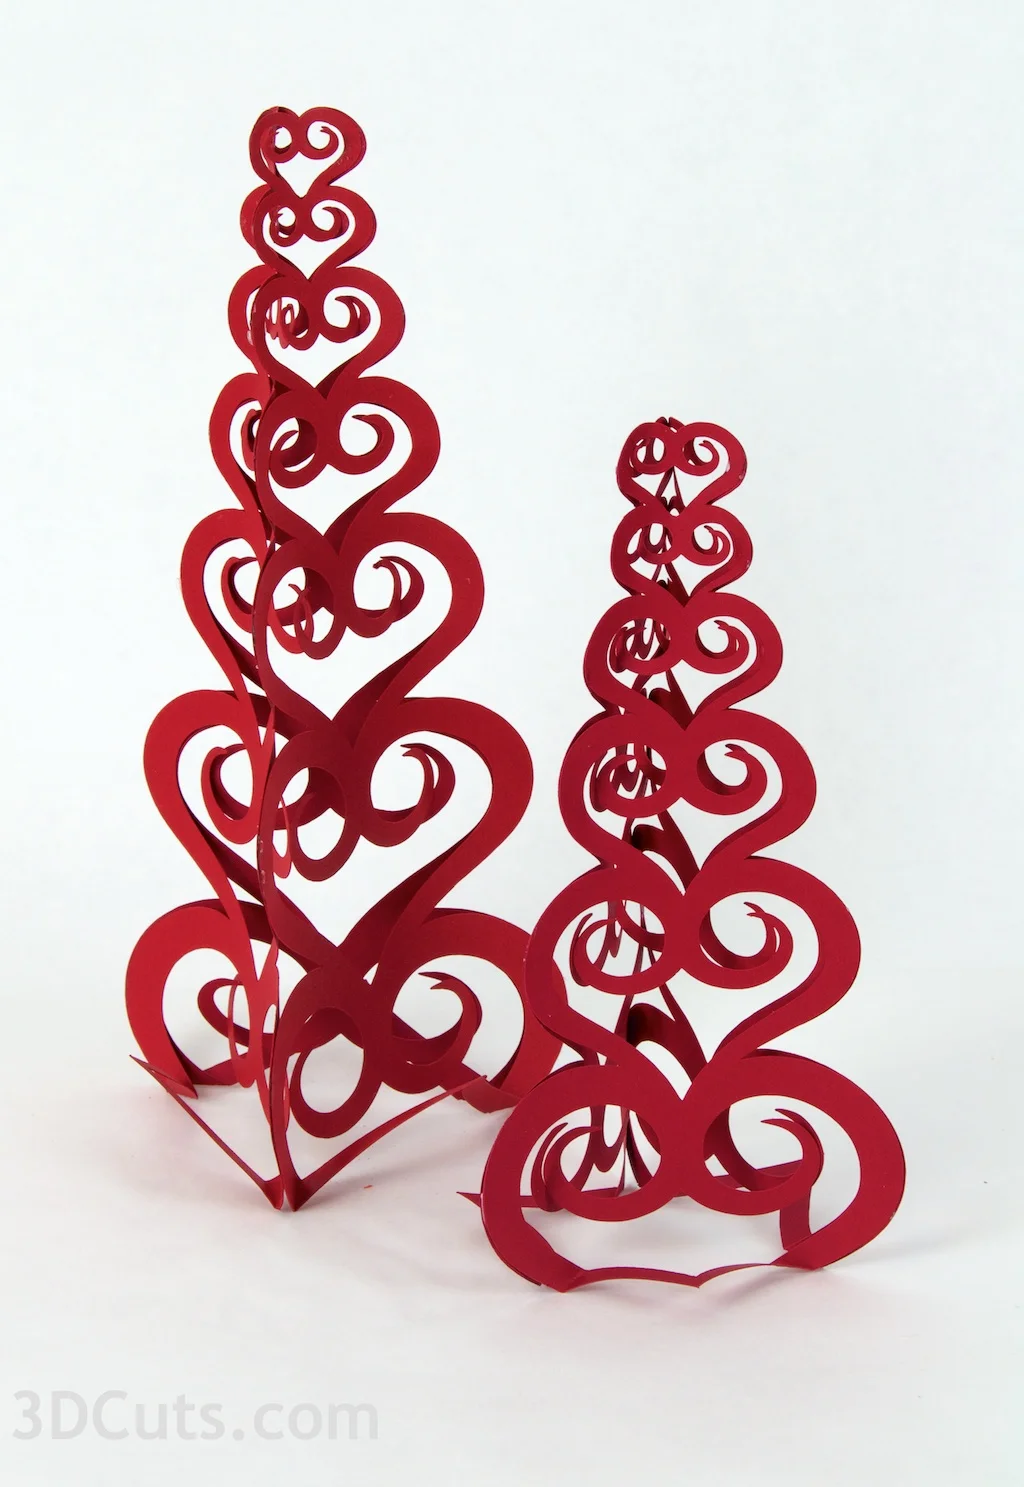
Spiral Tree (Large and Small)
Solid Heart Tree and Open Heart Tree
Steps for completing each tree:
Because this tutorial is for different tree designs, I will use a variety of photos showing some from each design.
1. Download the cutting files for your cutting machine.
2. Load the files into your cutting software following the steps for your cutting machine.
3. Prepare the files:.
Helpful Hints:
- For the Silhouette: The SVG files from 3dCuts.com site will need to be turned into cutting files. Click here for detailed steps on how to use SVG files on your Silhouette. http://www.3dcuts.com/tutorial-upload-svg-silhouette
- For Cricut Explore: Melody Lane has put together a helpful video on how to import 3dCuts files into Design Space. I recommend you view it here. http://youtu.be/EtY_VaNn1y8 I have also grouped the dotted lines into one group to make it easy to label them as score lines.
4. Cut the shapes.
- Cut the each tree 3 times from the same color.
- Cut any added parts - some have red hearts added. They are part of the individual file.
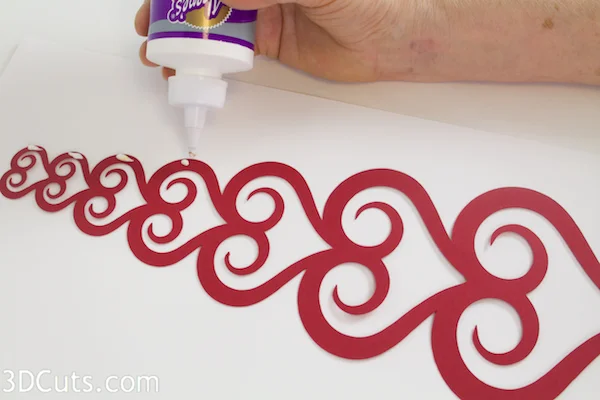
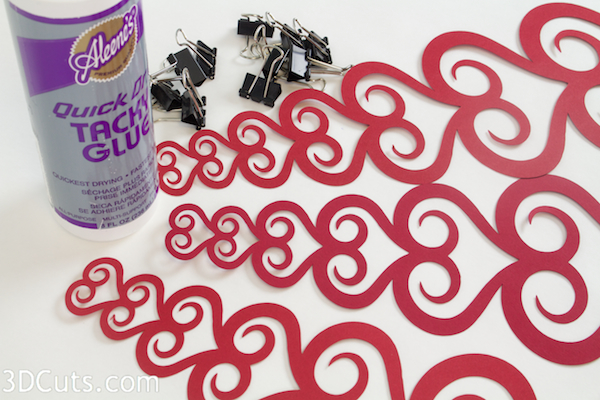
5. Apply glue.
- Apply a relatively quick drying paper glue to the tip of the right edge of each bump on one part of the tree. I like using Aileen' Quick Dry Tacky Glue along with binder clips.
- The glue should cover not more than 1/4" of the tip.

3d Paper Trees by 3dCuts.com, Marji Roy, 3D cutting files in .svg, .dxf, and .pdf formats for use with Silhouette and Cricut cutting machines, paper crafting files for Valentines Decor
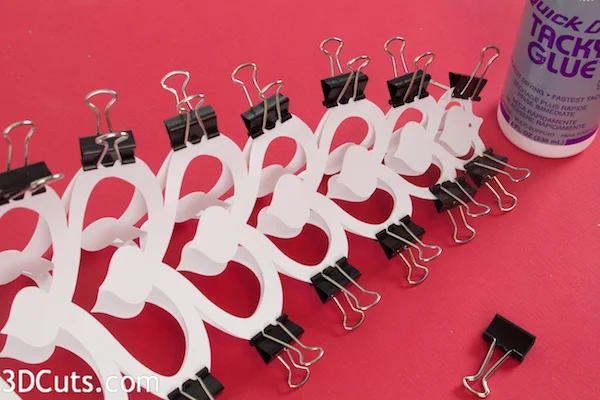
6. Place second tree on top matching edges.
I clipped them together with tiny binder clips to hold in place. I find it easier to wait for this first edge to dry before proceeding.
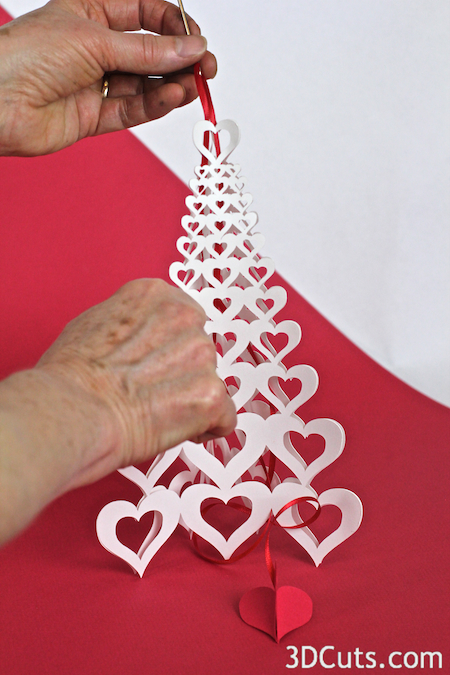
7. Add the third side
- Once the first seam is dry, remove the binder clips and separate the unglued edge. Position tree side number three between them.
- I have tried adding this third side a number of ways without getting glue all over. I found it easiest to start at the bottom and glue both sides of the bottom in place and hold them with binder clips
- I then move up one set of bumps and glue both sides in place again using binder clips to keep them there.
- I continue up both sides until all tips are glued together.
- Leave the binder clips in place until the glue dries.
8. Additional base step for the Spiral Tree and Stacked Heart Tree:
- The Spiral Tree and Stacked Heart Tree can not stand as is. They need to have the foot bent out to give them an edge to stand on.
- If you look closely at the bottom shape, you will see dotted fold lines. Fold out along those lines forming a good base for the tree.
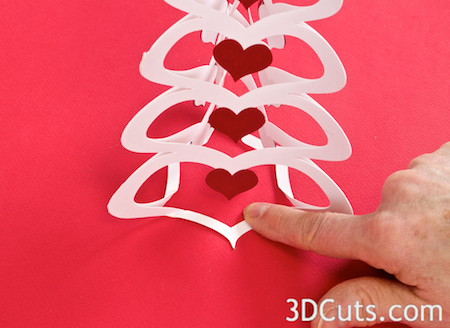
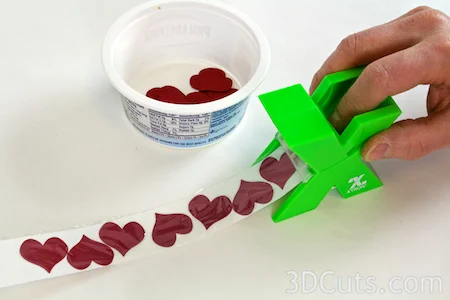
9. Adding hearts to Stacked Heart Tree.
- For the Stacked Heart tree you also need to cut 24 small hearts in a contrasting color.
- I used a Xyron Sticker Maker to add glue to these. My adhesive choice is what I think will be easiest and hold over time. There are other adhesives that will work here.
- Apply one heart over each center heart on the tree.
- I also add three to the top of the tree.


10 Adding centers to the Open Heart Tree
- I glued 3 hearts together with 1/8" ribbon in the center.
- I suspended it through the center of the open heart tree.
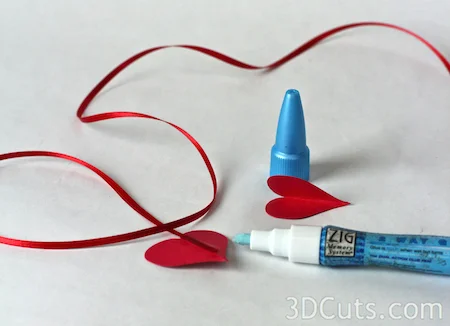
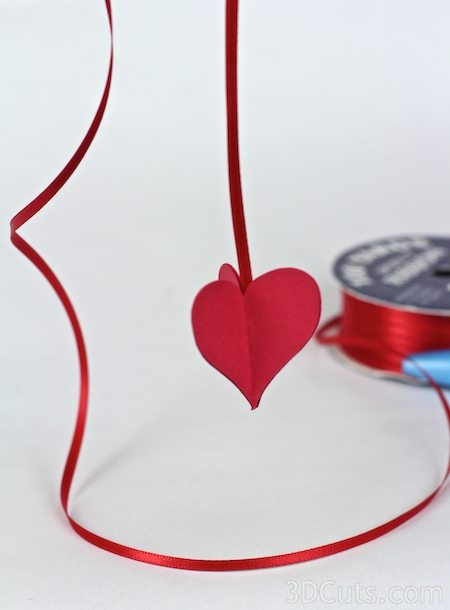
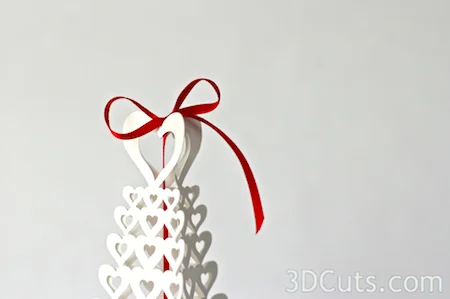
- And I tied a bow at the top to hold it in place.
Have fun making a collection of trees........
Copyright 2015 • 3DCuts.com • Marji Roy