Springtime Robins Shadow Box - Tutorial
Project Description
This tutorial is for the 4 layer Springtime Robins shadow box designed by 3Dcuts.com. This shadow box is a little different from many of my other designs in that all the details are added to the shadow boxes during assembly, not during cutting. I have also added an optional cover mat. Customization is possible through choices of paper and techniques. I used a water color wash on white paper to create this effect.
This shadow box is about 6 1/2" square when complete. It comes with an optional hanger if you want to hang it on the wall. It is about 7/8" thick and can also stand on a shelf.
The assembly is easy and basic 3d construction.
Cutting File available here from 3dcuts.com.
8.5 x 11" card stock - I used the 65lb Cardstock from Recollections for colors and Neenah 110 Index Card stock from Amazon for white.
Adhesive - I use Scor-Tape, Art Glitter Glue, and glue dots although other adhesives would work.
Scotch tape
Foam Dots
Back Ground paper: Be creative I used a water color wash. Paper needs to be cut to 6 1/8" square.
Major Parts Sizes:
Cover - 8.243" w x 8.243" h
Hanger - 6.260" w x 1.376" h
Frame 1 - 8.168" w x 8.168" h
Frame 2 - 7.469" w x 7.469" h
Frame 3 - 6.64" w x 6.64" h
Frame 4 - 8.01" w x 8.01" h
Detail parts together - 8.170" w x 10.558" h
Links to supplies on Amazon:
Steps for completing the Springtime Robins shadow box:
Special Note: I update the instructions online. Check here for adjustments and additional information. Don't just rely on the pdf file that comes with the download. Learned hints are added to the end of the tutorial.
1. Download the cutting files for your cutting machine here from the 3dcuts.com store.
2. Load the files into your cutting software following the steps for your cutting machine.
3. Prepare the files:.
For the Silhouette: The SVG files from this site will need to be turned into cutting files. Click here for detailed steps on how to use SVG files on your Silhouette. http://www.3dcuts.com/tutorial-upload-svg-silhouette
DXF files can be opened in the basic edition of Silhouette Design Studio but often require modifications. I recommend using the Designer Edition and using svg files.
For Cricut Explore: Here is a guide for importing into Cricut Design Space. http://www.3dcuts.com/tutorial-adding-3dcuts-files-to-cricut
For Brother ScanNCut: The svg files will need to be transferred to files for your particular machine. You can change SVG files to FCM files at http://www.canvasworkspace.com/ or Google "How to import SVG files into a ScanNCut" for links to tutorials.
4. Cut the files.
All pieces are cut from card stock.
Here are the various pieces you will be cutting out.
5. Creativity.
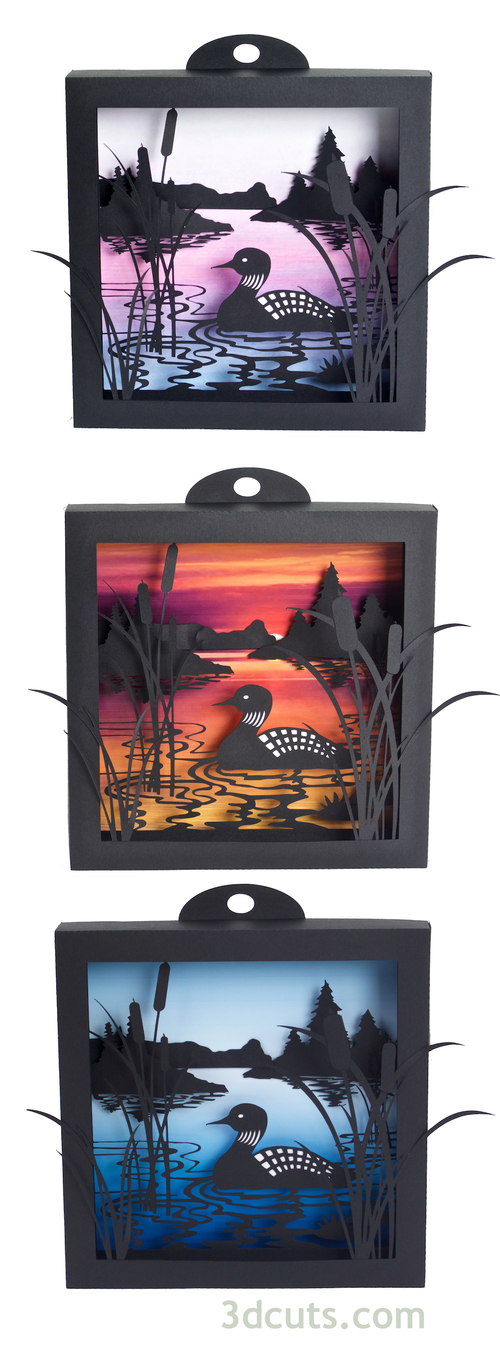
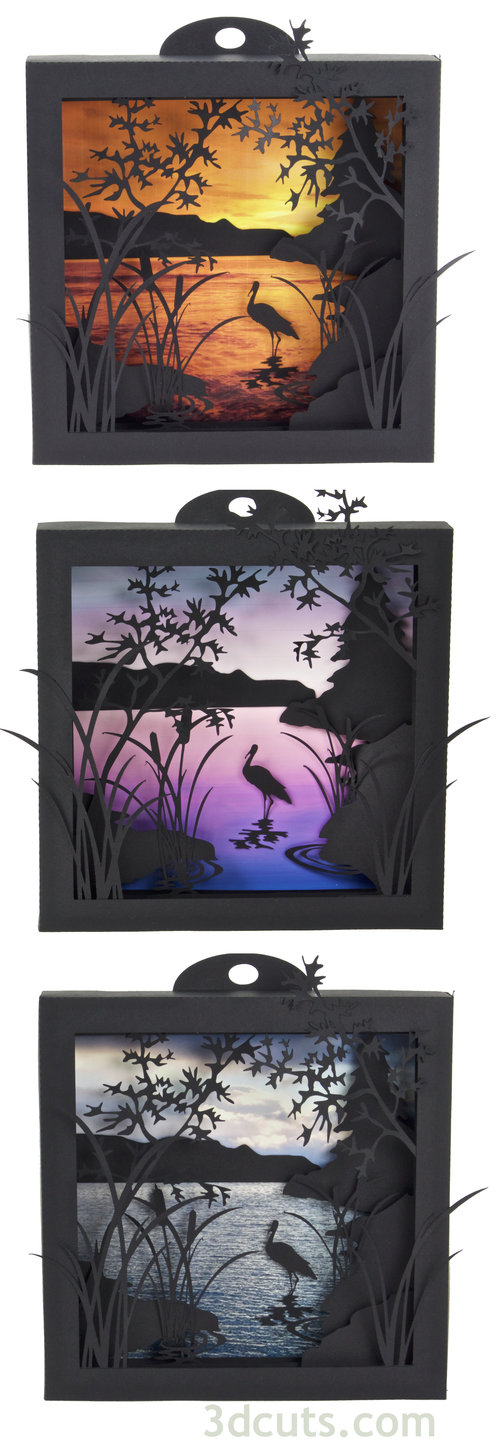
You will notice I have made this shadow box in 3 different ways. Choose your own papers and blend them with other techniques to add creativity to this project.
Water Colors: I added a water color wash to the back ground and all detail pieces in one of my renditions. I used ordinary water colors on my card stock. I allowed it to dry and then pressed in flat under weight overnight before assembling the shadow box.
6. Assembly
The assembly steps are detailed in the video below. Here is the url. https://youtu.be/JDQZr5ljN_8
Completed by other crafters:
Nicoel Holmes of Australia share a photo of her finished shadow box on the facebook group. She used a blue background with the black silhouette. I loved the combination and asked if I could share her photo here for your inspiration. 3/2018
If you enjoyed making this shadow box visit my page of nature inspired shadow boxes for many additional files from all the seasons. http://3dcuts.com/shadow-boxes-nature-themes


