
Name Mandalas in HTV
Project Description:

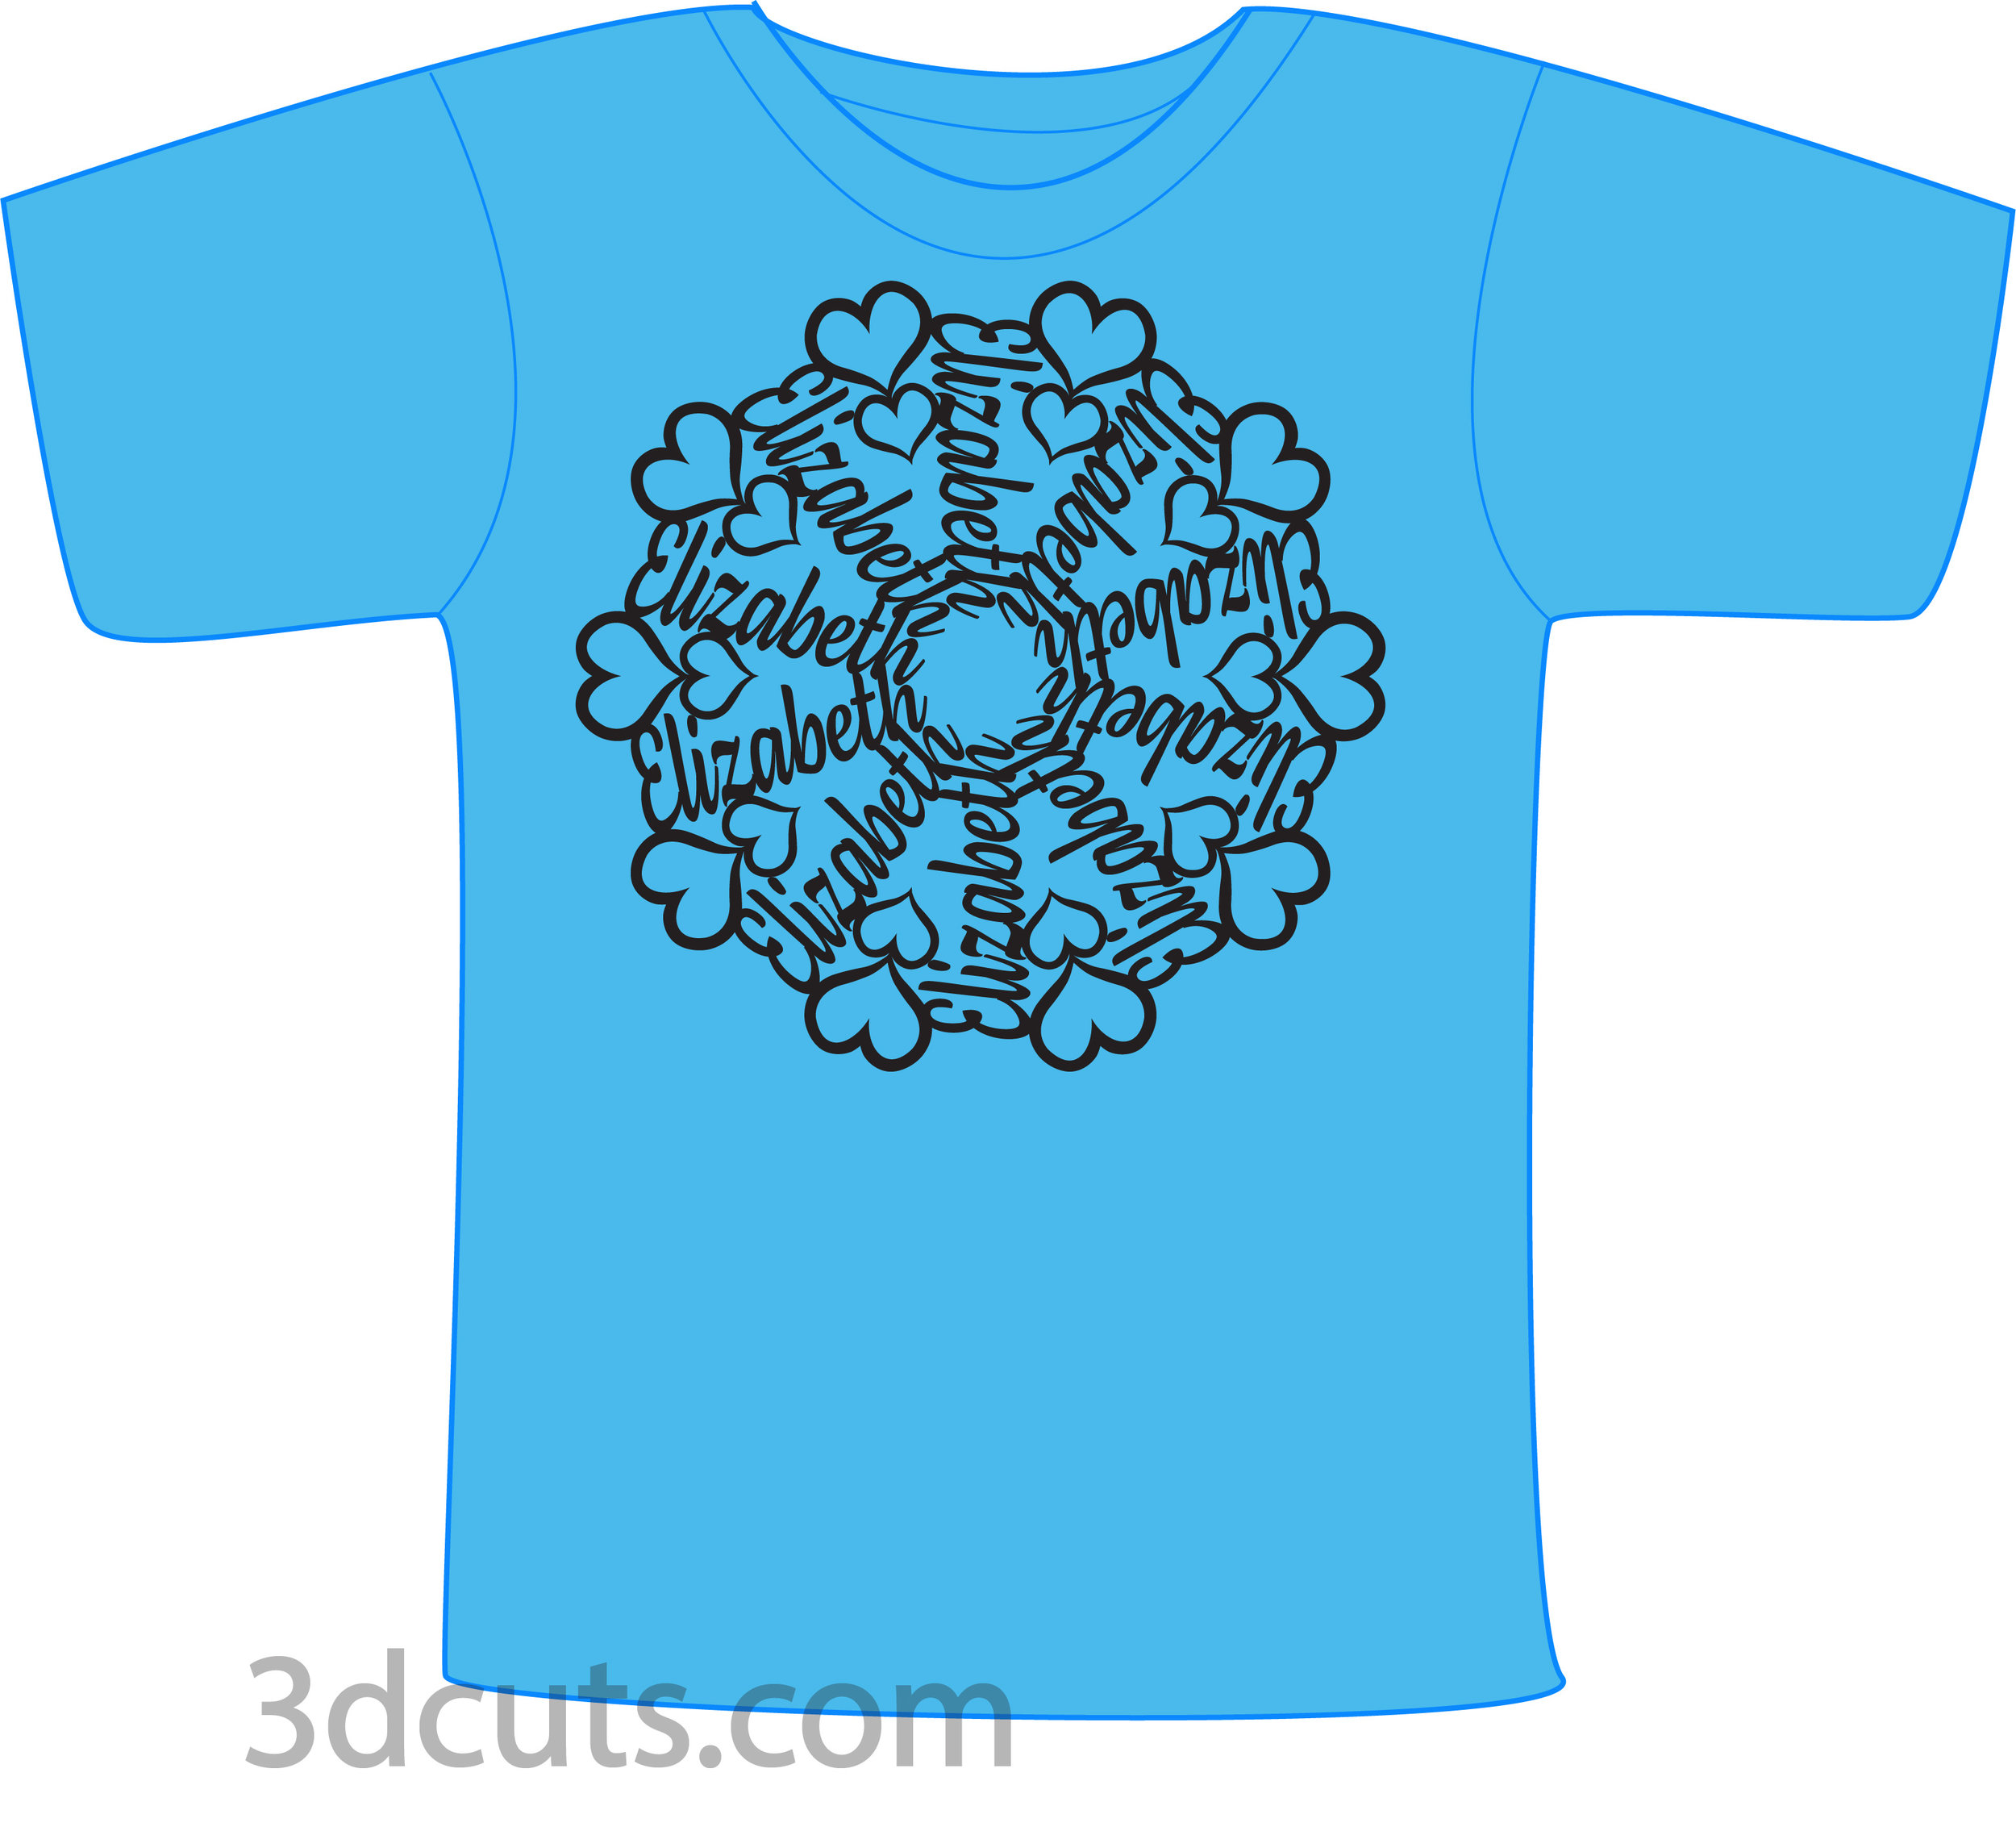
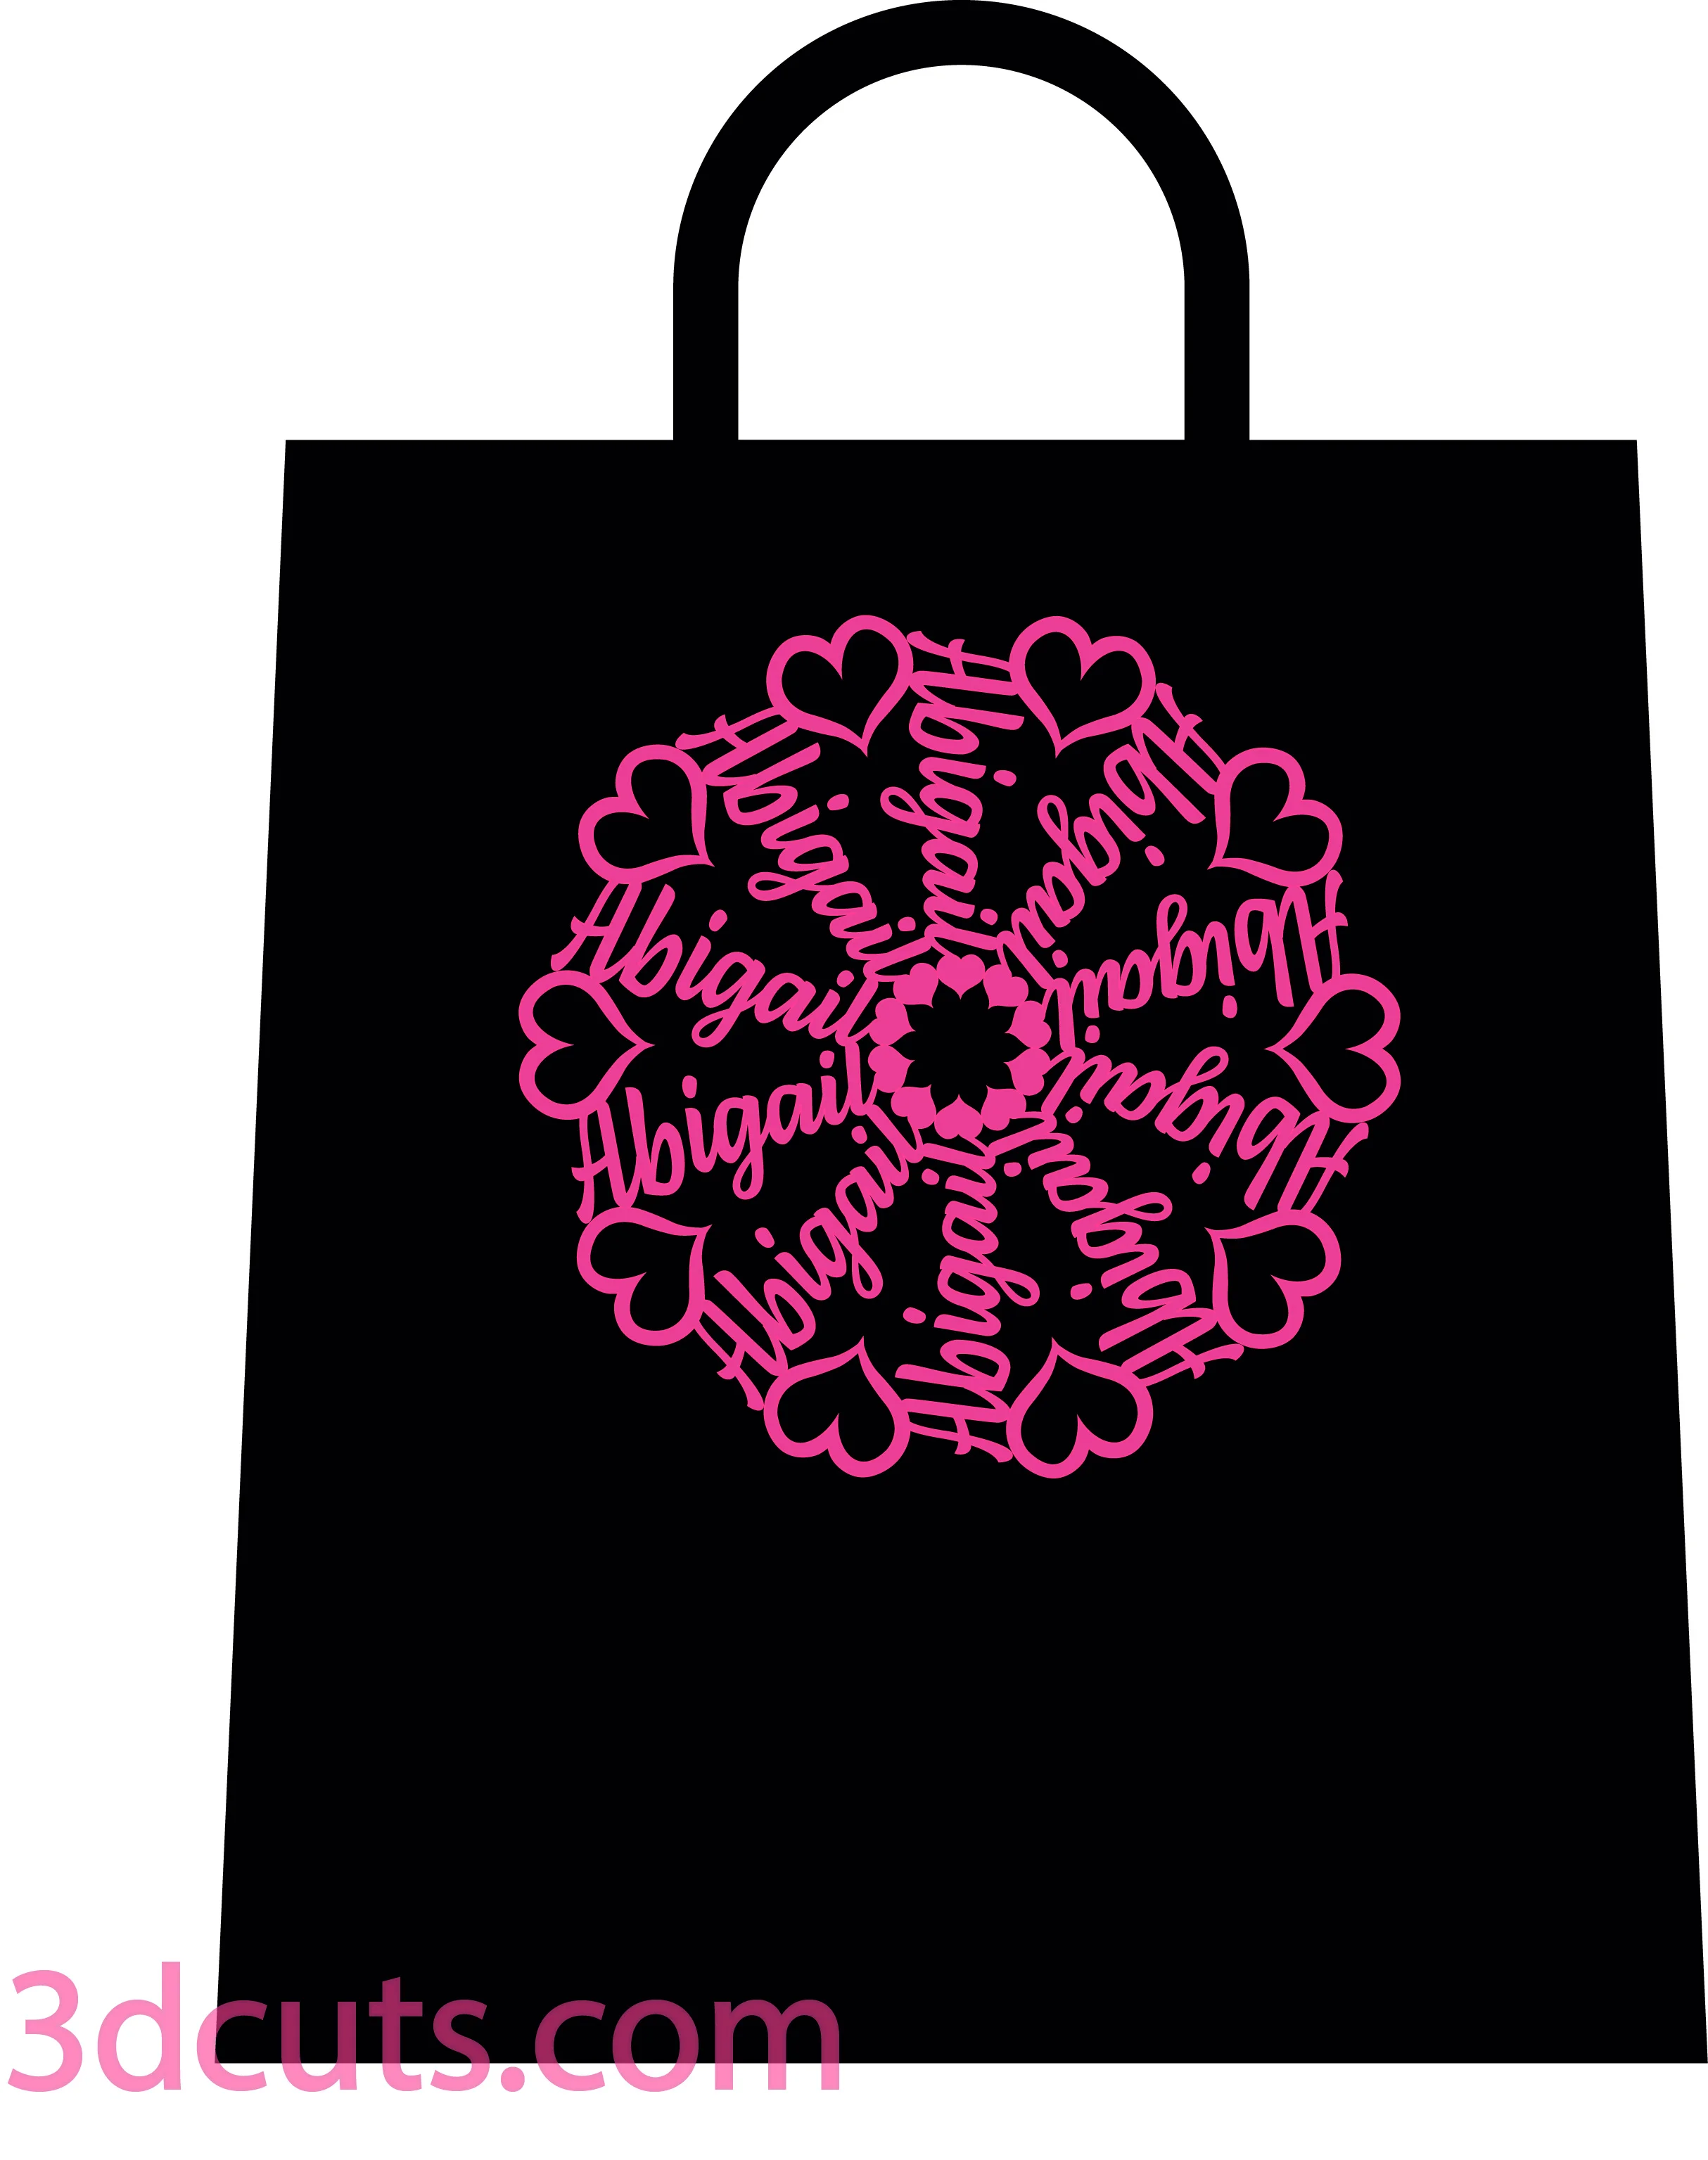
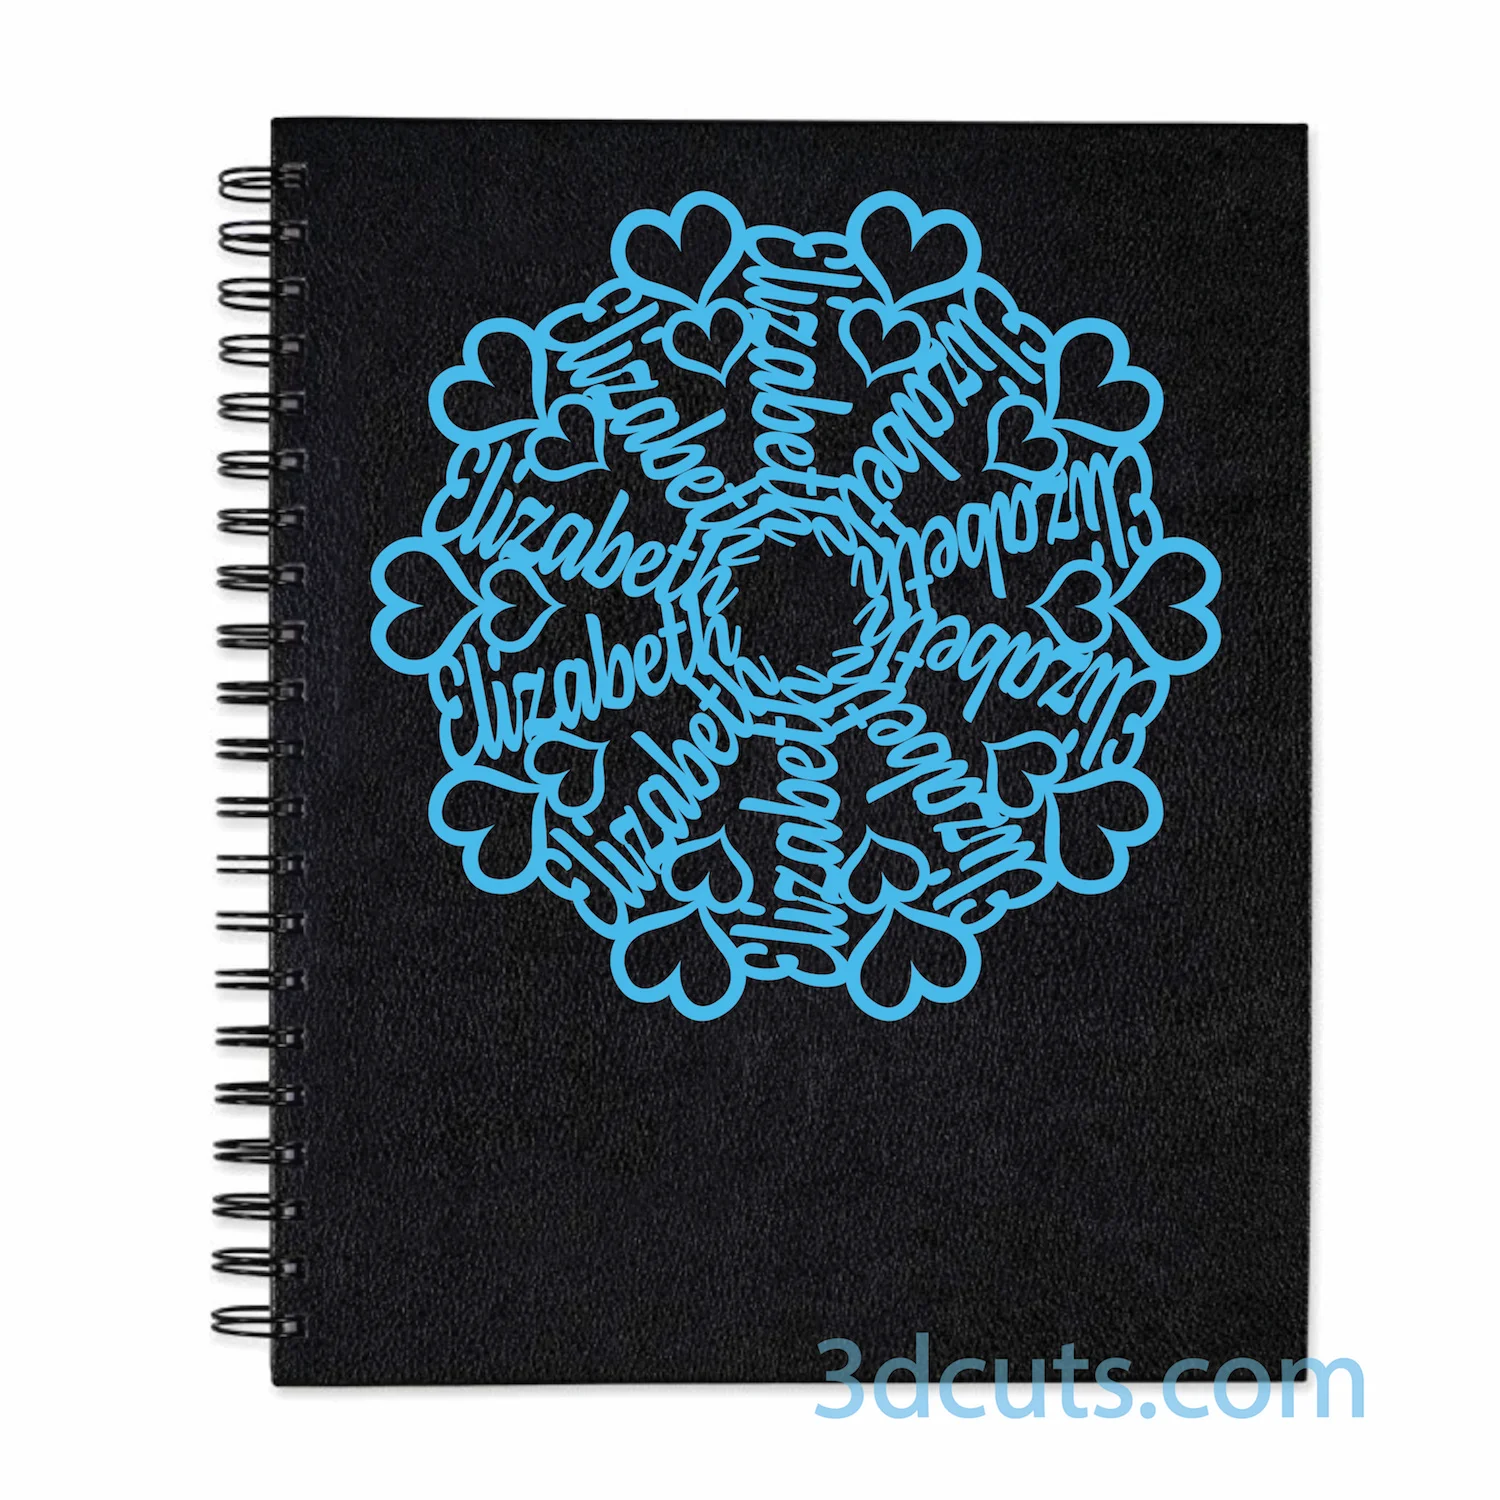
Use these name mandalas to decorate anything from t-shirts to notebooks to tote bags. They are designed to be cut from heat transfer vinyl or adhesive and adhered to various surfaces. This tutorial is to help with using them with HTV.

These names are developed by combining script text with hearts and flourishes in a rotational pattern creating a beautiful mandala design that is based on a girl’s name. This is a great personalized gift for Christmas, birthdays or first day of school. Applications can be endless. Think of it as combining a monogram with a mandala! I have completed these for a number of popular names for girls in the 6-8 age bracket. If response is strong, I will make more!
In this tutorial I will outline some of the supplies and techniques I used. Most of you will already have your favorite vinyl and processes. Use those instead. This is to help beginners.
Supplies need for this project:
Cutting Files here - Available at http://3dcuts.com/mandalas
HTV Vinyl (I used this vinyl from Amazon but others can be used. Affiliate link.)
Item to apply design to (shirt, tote bag, etc.)
Iron
Steps for completing the Name Mandala project with HTV:
Special Note: I update the instructions online. Check here for adjustments and additional information.
1. Download the cutting files for your cutting machine here from the 3dcuts.com store. http://3dcuts.com/mandalas. For those of you that are reading this as a pdf I recommend viewing it online at my tutorials page at this url - http://3dcuts.com/name-mandala-tutorial. There all the links will be live.
2. Load the files into your cutting software following the steps for your cutting machine.
3. Import the files:.
For the Silhouette:
SIL Files from upload SVG purchased from 3dcuts.com:
The SVG files may need to be turned into cutting files. Click here for detailed steps on how to use SVG files on your Silhouette. http://www.3dcuts.com/tutorial-upload-svg-silhouette
DXF files can be opened in the basic edition of Silhouette Design Studio but often require modifications. I recommend using the Designer Edition and using svg files. DXF files do not always maintain file sizes and you may need to adjust according to sizes noted above.
For Cricut Explore: Here is a guide for importing into Cricut Design Space. http://www.3dcuts.com/tutorial-adding-3dcuts-files-to-cricut.
For Brother ScanNCut: The svg files will need to be transferred to files for your particular machine. You can change SVG files to FCM files at http://www.canvasworkspace.com/ or Google "How to import SVG files into a ScanNCut" for links to tutorials. Some models of Brother Scan N Cut can directly import the SVG files.
4. Prep the files:
Adjust the size of your file to fit the item you are cutting. These files can be scaled.
MIRROR the image. You cut images reversed for HTV. We all forget this step way too often!
If you would like a more detailed tutorial online check out this fantastic website https://persialou.com/how-to-use-heat-transfer-vinyl/
5. Cut the files.
Follow the instructions for vinyl you own. The vinyl I got from Amazon listed above came with an insert telling me the settings to use for cutting. (Blade 5, Speed 8, Thickness 12). Follow the cut instructions for your vinyl. Be sure to use the test function to test your settings before cutting the entire design.
6. Weed the design.
Remove the excess vinyl - the areas that will be the spaces in the final design - and discard.
7. Iron.
I used a good iron set on the setting recommended by the vinyl I purchase. (Cotton, no steam)
I worked on a hard surface with a ironing pad.
I preheated the iron to cotton with the steam turned off.
Carefully position the design.
Place a sheet of parchment paper over the design and press holding the iron in one position for the amount of time recommended by your vinyl. Mine was 15 seconds. This will vary with different HTV. Don’t slide the iron. It is a combination of heat and pressure that adheres the vinyl to fabric. Pick the iron up and place it in the next position until your entire design has been pressed in place.
After you have pressed it all in place you can remove the parchment paper and slowly start peeling the carrier sheet. (Note some vinyls are cold peel, others warm. You need to know the type for yours.) If at any point you see the vinyl is peeling off you need to repeat the above steps giving it more heat and pressure.
Flip the item over and apply some heat and pressure from the backside as well.
8. Wait.
Allow the itv item to cure for about 24 hours before wearing. Pay careful attention to the laundering recommendations for your vinyl.
9. Share it!
Send me photos of your creations to share here but also share them on the facebook crafting groups so others can be inspired. Below are a couple of others I designed for my granddaughters first days of school this year.


