
Message Card - Tutorial
Project Description
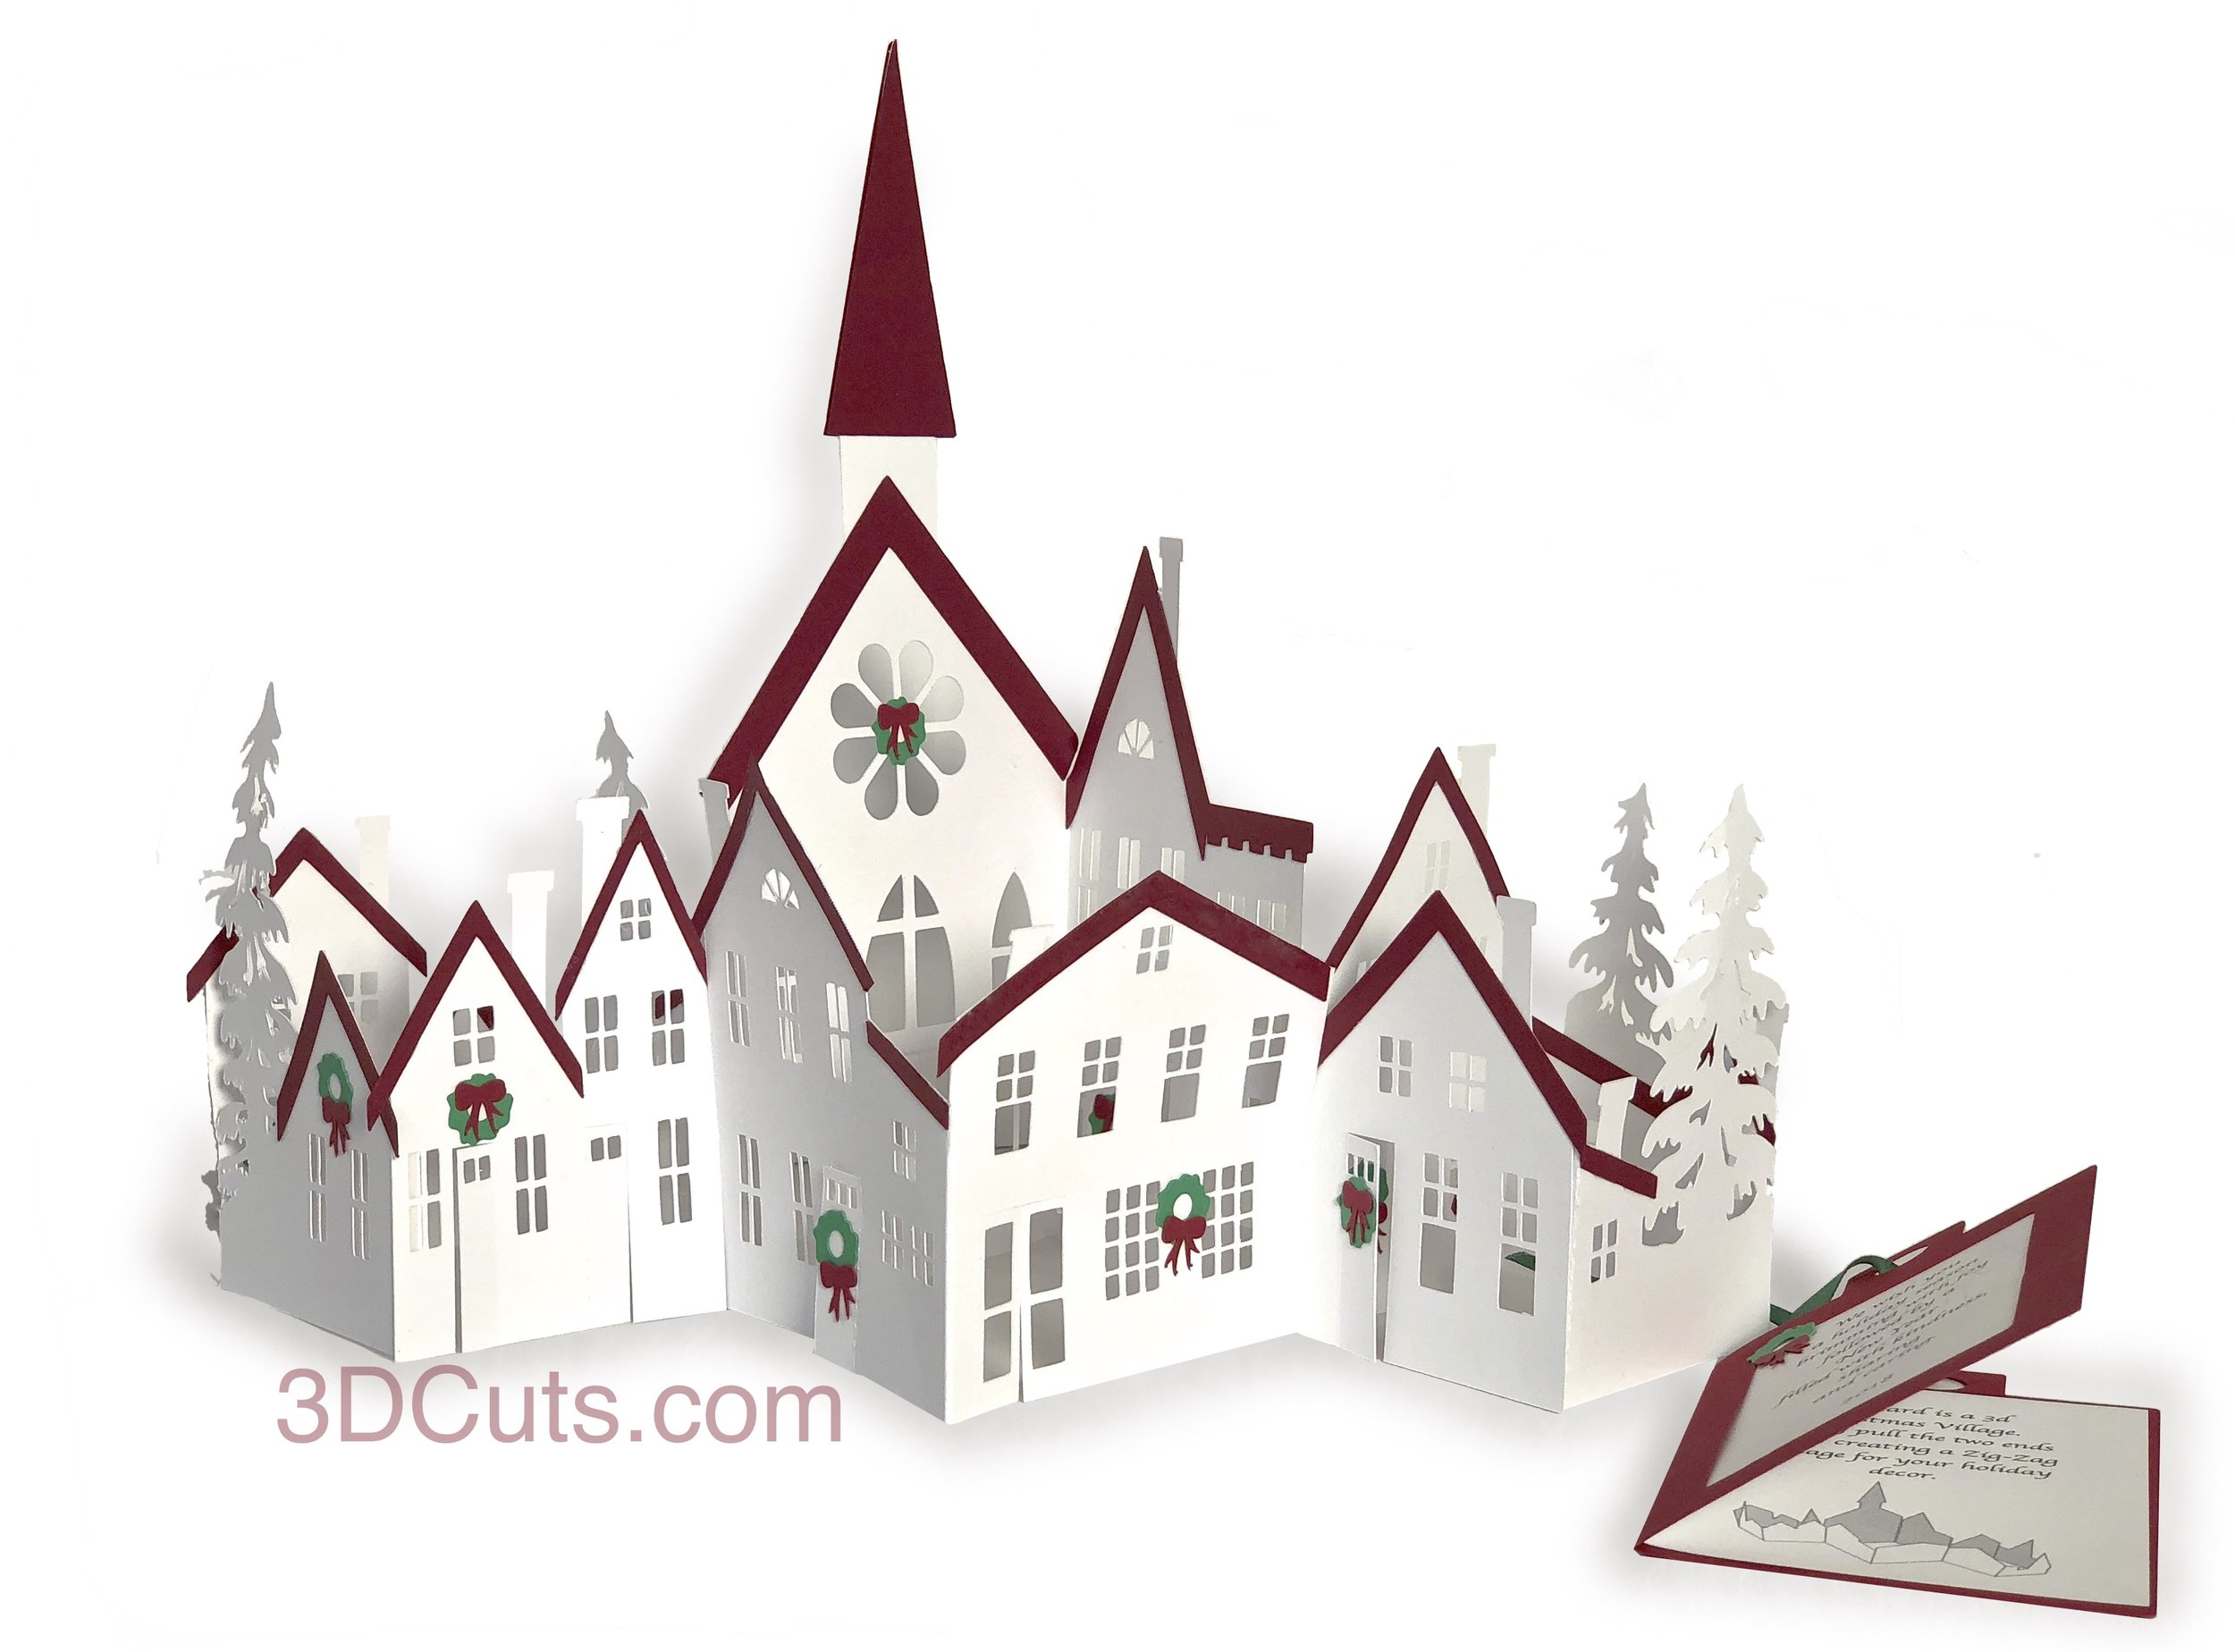
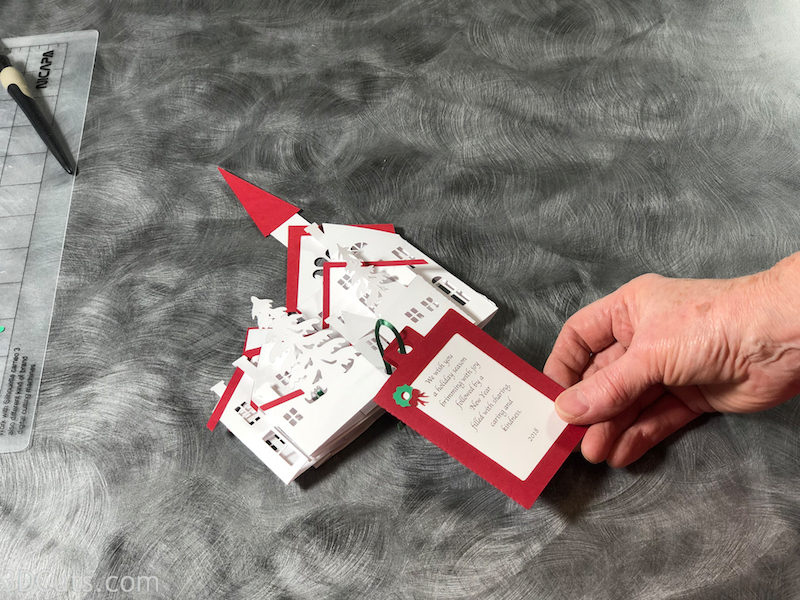
This little message card is can go with any gift. I designed it to attach to Zig Zag Village. The quick version was designed to be a Christmas Card but when I went to sign them I decided I wanted out signature to not be on the village. I designed this little message card instead. You can customize it in the svg version with your own message. It includes directions with a sketch on how to set-up the village in the inside. It will tie with a ribbon to the end of the village for mailing as a Christmas Card. The finished folded card is about 4” h x 2.5” w.
Cutting File available here from 3dcuts.com.
Cutting file for the village is here from 3dcuts.com

Message Card Tutorial, 3DCuts.com, Marji Roy, 3D cutting files in .svg, .dxf, and .pdf formats for use with Silhouette, Cricut and other cutting machines, paper crafting files
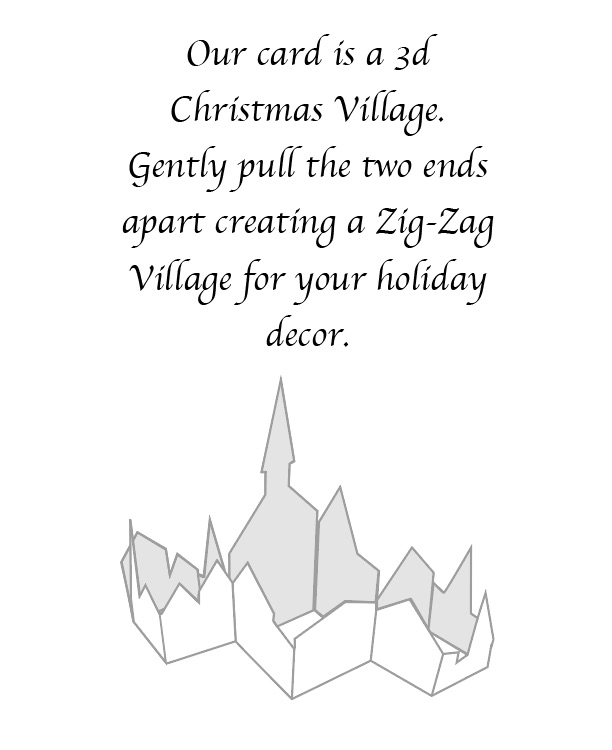
Inside information includes set-up instructions with sketch.
Supplies needed:
Cutting File available here from 3dcuts.com.
8.5 x 11" card stock - I used the 65lb Cardstock from Recollections for colors and 32 lb copy paper from Amazon for white.
Adhesive - Xyron X adhesive, Art Glitter Glue
Ribbon - 8-9” x 1/8” sating in green
Major Parts Sizes:
Card Folder: 3.8931" w x 44.9861" h ( orientation shown to right)
Links to supplies on Amazon:

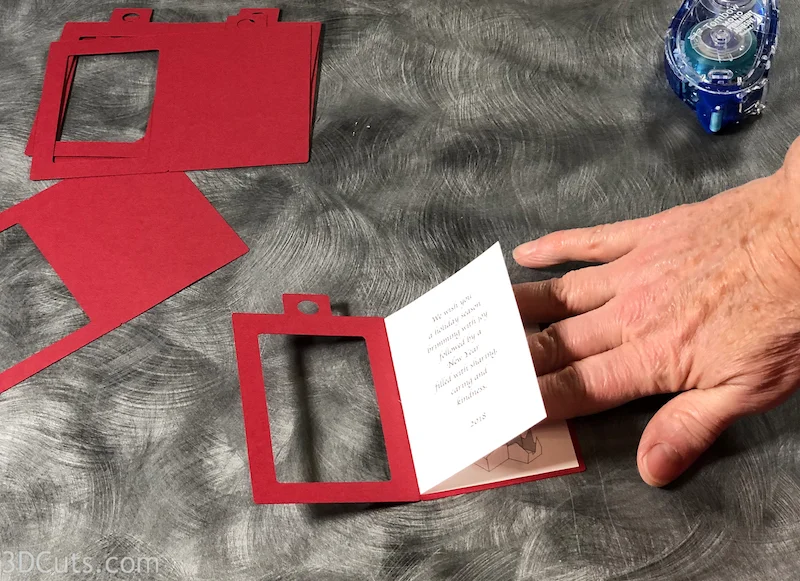
Message card interior prints on 8.5 x 11 paper and lines up with printed exterior.

File layout for the Message Card by Marji Roy of 3dcuts.com.

Message Card Exterior prints on 8.5 x 11 paper and lines up with printed interior.
Steps for completing the Message Card:
Special Note: I update the instructions online. Check here for adjustments and additional information.
1. Download the cutting files for your cutting machine here from the 3dcuts.com store.
2. Load the files into your cutting software following the steps for your cutting machine.
3. Prepare the files:.
For the Silhouette: The SVG files from this site will need to be turned into cutting files. Click here for detailed steps on how to use SVG files on your Silhouette. http://www.3dcuts.com/tutorial-upload-svg-silhouette
DXF files can be opened in the basic edition of Silhouette Design Studio but often require modifications. I recommend using the Designer Edition and using svg files.
For Cricut Explore: Here is a guide for importing into Cricut Design Space. http://www.3dcuts.com/tutorial-adding-3dcuts-files-to-cricut. Also remember to Attach before cutting.
For Brother ScanNCut: The svg files will need to be transferred to files for your particular machine. You can change SVG files to FCM files at http://www.canvasworkspace.com/ or Google "How to import SVG files into a ScanNCut" for links to tutorials.
4. Cut the files.
The red folder is card stock. The inside is printed on 32 lb bright white copy paper back to back.
5. Printing Preparation
Adjust any text in the svg versions of text. You will need software that can open and edit svg files. Keep the message inside the box area. Understand there is a frame around the edge that will be hidden. Save as pdf. Print the inside pages. I saved my file as a pdf and printed on my printer. It is designed to print correctly positioned back to back with the front message on one side and the inside directions on the other. I used my laser printer and printed with black ink although variations are certainly appropriate.
I recommend you print one page and test cut to make sure your printer spaces things correctly. If not you may have to adjust the placement.
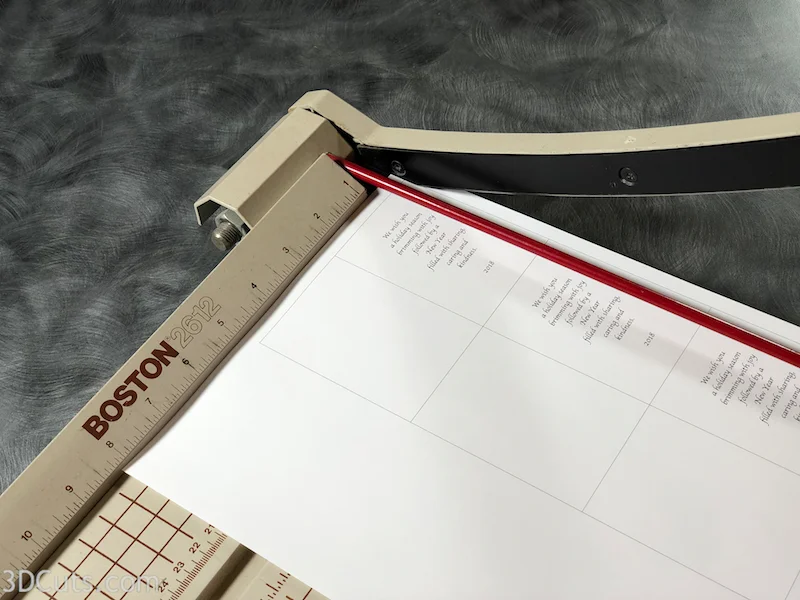
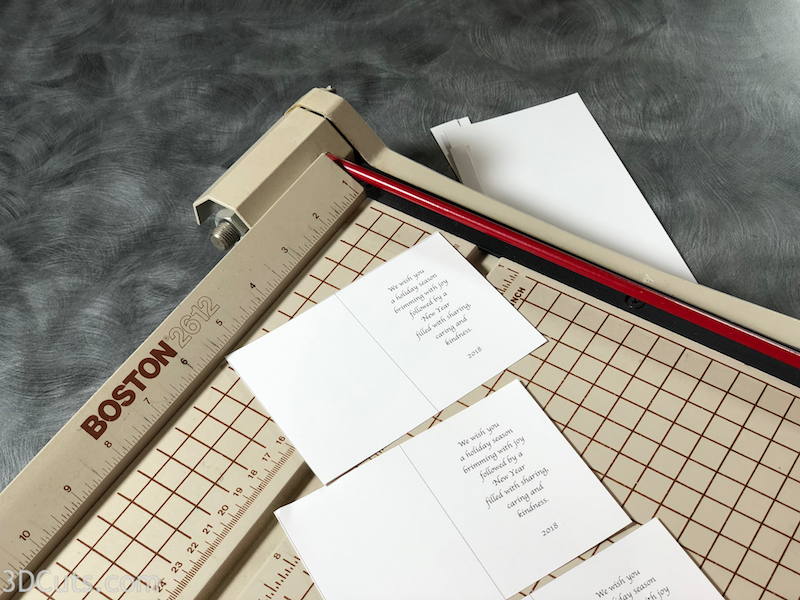
Using a paper cutter, cut on the lines on the printed paper.
The lines are covered by the frame and will not be visible on the final assembly so you do not need to worry about being absolutely exact.
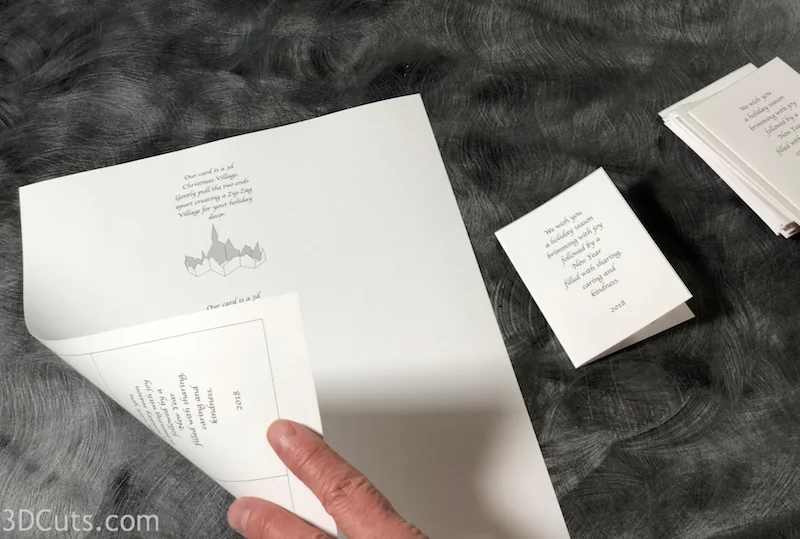
Each sheet will yield 3 message inserts.
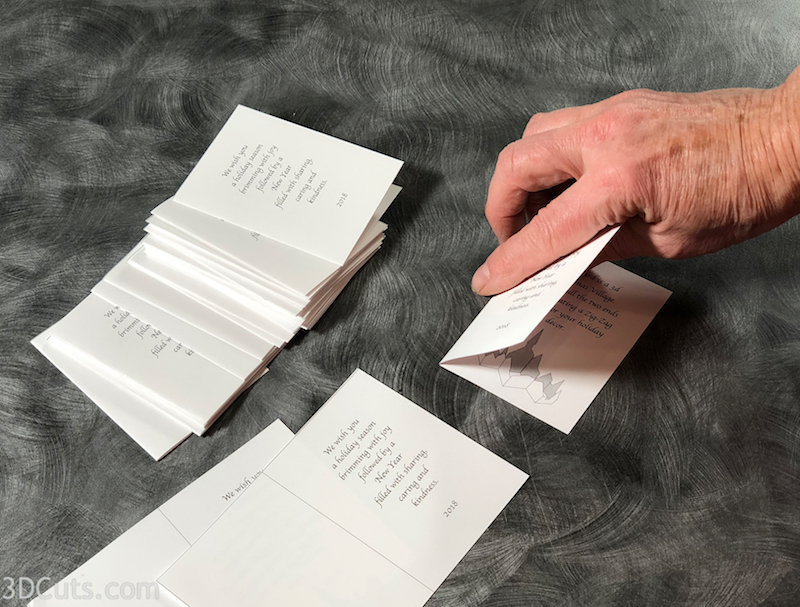
Fold all the inserts in half with the directions and image on the inside.
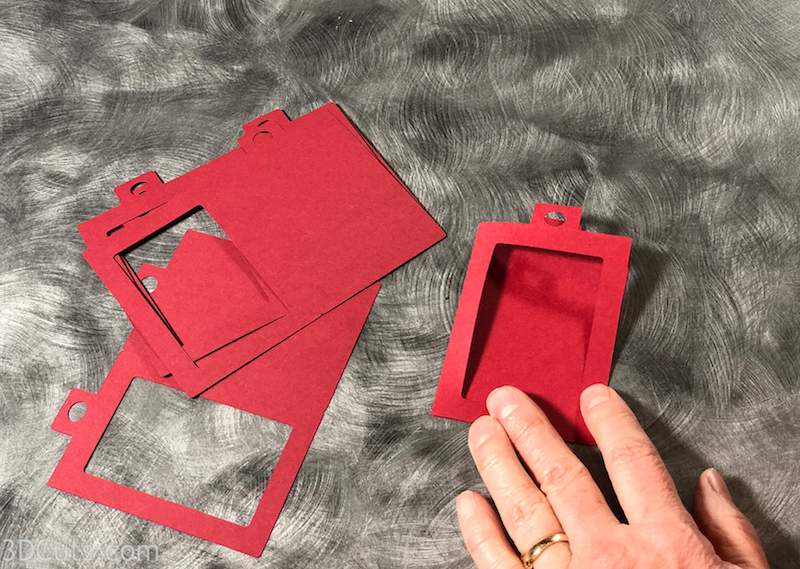
6. Cut all the message folders
Cut the message folders from card stock. Four fit on each piece of 8.5 x 11” card stock.
Fold all in half along the dotted fold line.
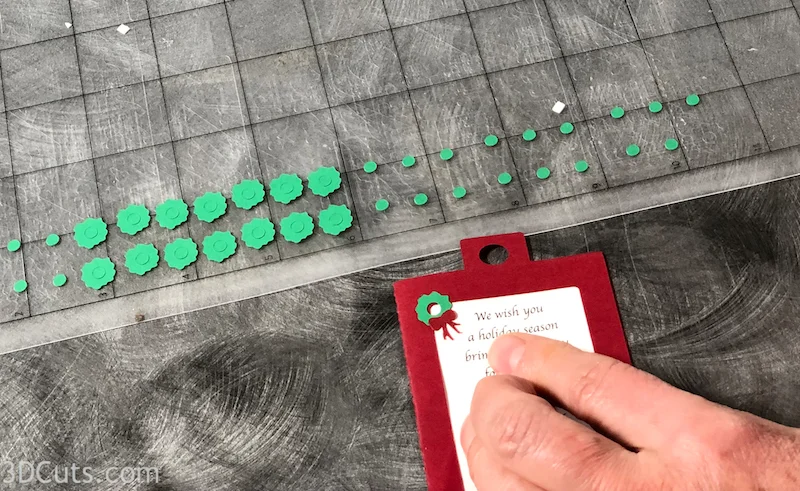
7. Bulk cutting and adding adhesive to wreaths and bows.
These tiny parts are much faster to apply if you use the Xyron to pre apply adhesive to the card stock. (Note you can cut and glue individually but it will take a lot longer.)
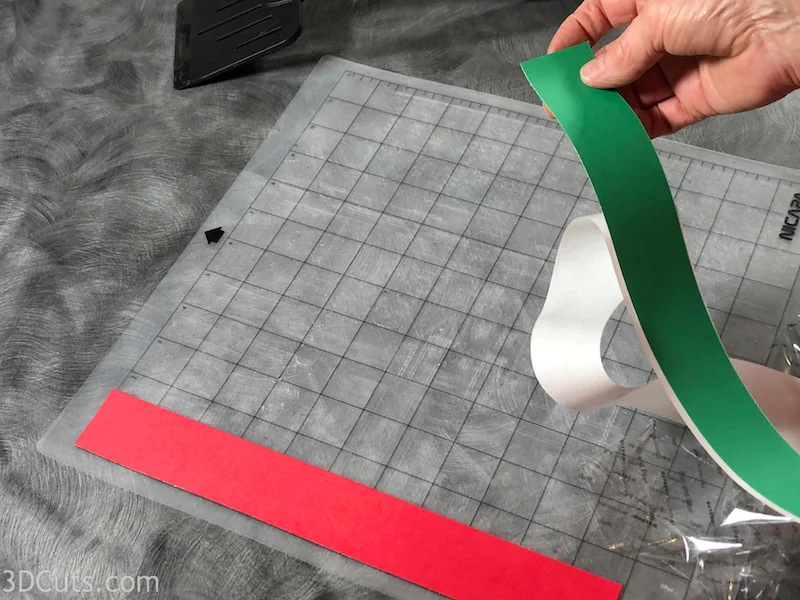
Cut a strip of card stock that is just under 1 1/2” wide and 11” long in both red and green.
Feed these through a Xyron X adhesive applicator adding adhesive to the back side.
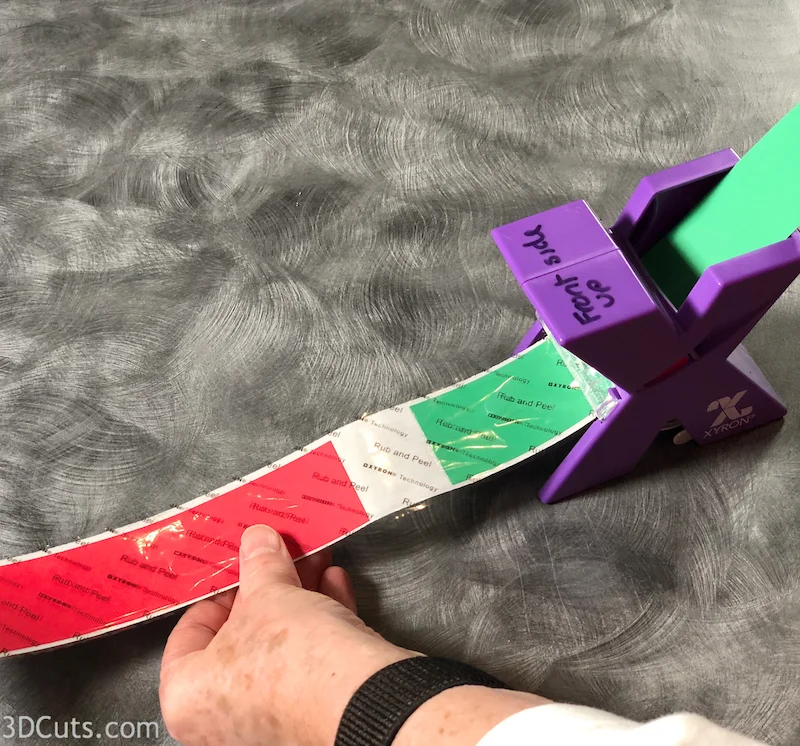
Peel the backing off the adhesive and place the strip down the edge of your cutting mat with THE ADHESIVE SIDE DOWN.
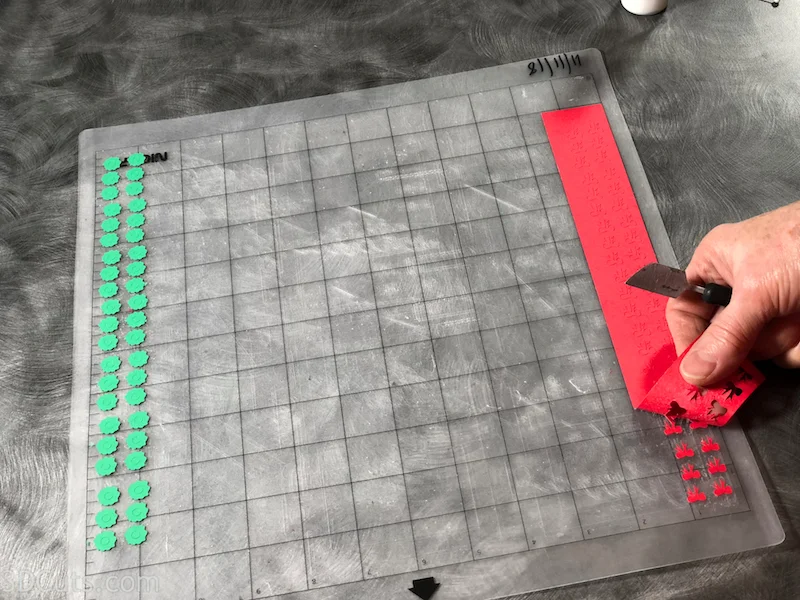
I positioned the red on one side and the green on the other and sent the mat through the cutter twice, once in one direction cutting the red bows, then turning the mat 180 and cutting again cutting the green wreathes. I left these on the mat until it was time to stick them in place. They then worked like stickers- quick and easy.
It isn’t necessary to put both on the same mat. I just did this to limit the number of mats I used.
Peel off the background and leave the bows and wreaths on the mat until you are set to adhere them to the card.
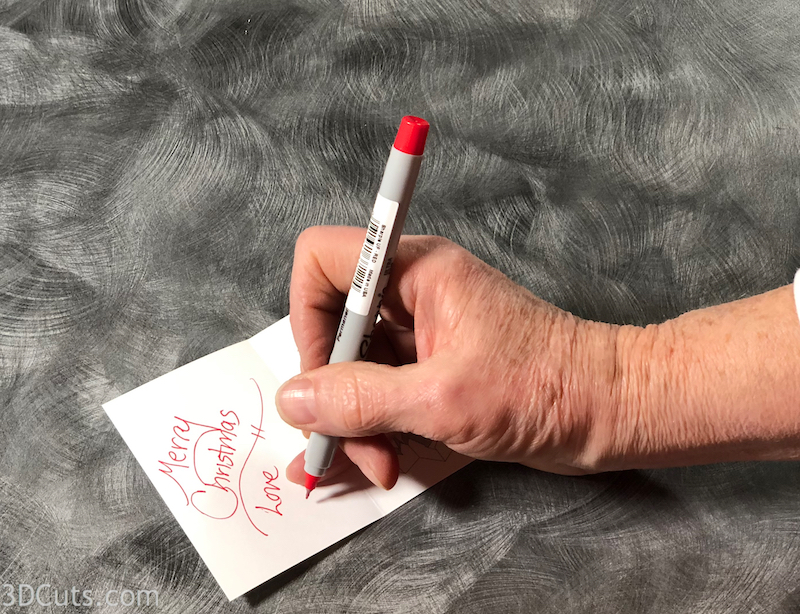
8. It is easiest to add a message and sign the card before gluing together.
On the inside of each message card add your personal greeting and sign in all inserts.
9. Assemble all parts:
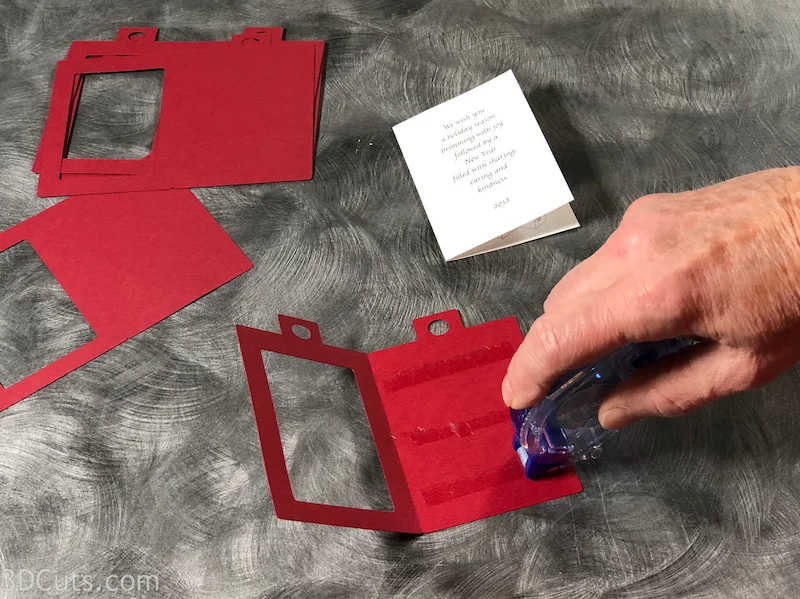
Adhere the message insert in side the folder.
I used TomBow adhesive and put 3 strips along the back side of the folder as shown below.
Position the insert next to the center fold line and center it from top to bottom. Adhere in place.
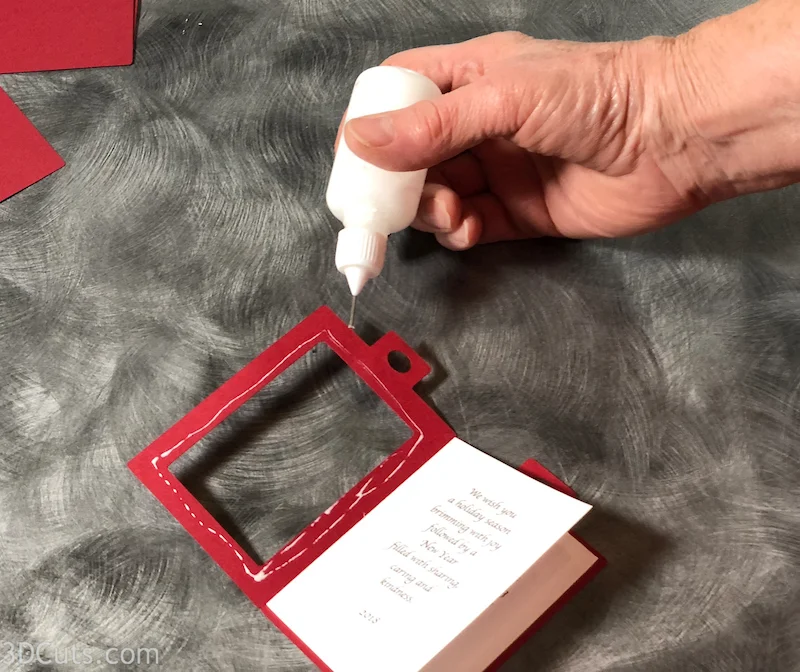
Add adhesive to the inside edges of the frame. I used Art Glitter glue in a small tipped container.
Fold the frame over and glue the message in place.
Add a wreath and bow to the corner.
Using a classic paper hole punch, punch a hole in the lower back corner of your Zig-Zag Village
Cut a 8 - 9” piece of 1/8” satin ribbon.
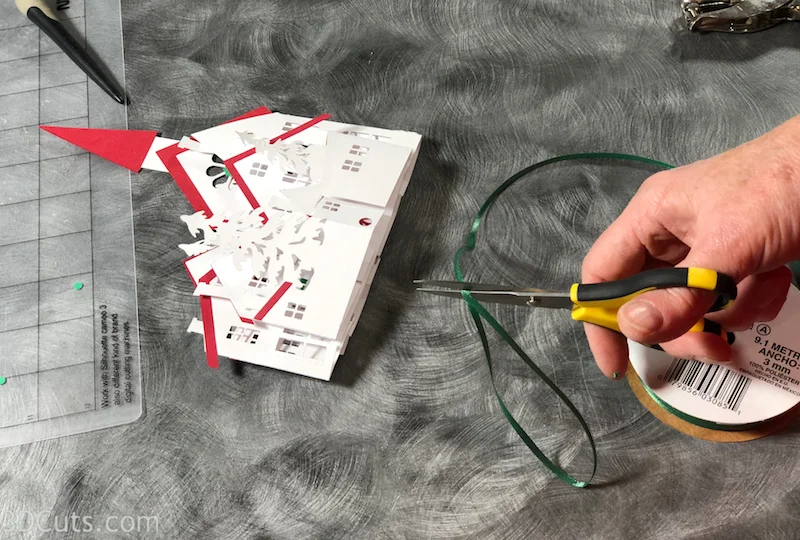
Loop the ribbon through the hole in the village and the hole on the top of the message card and tie together.
Cut 8.5 x 11” chip board in half on paper cutter.
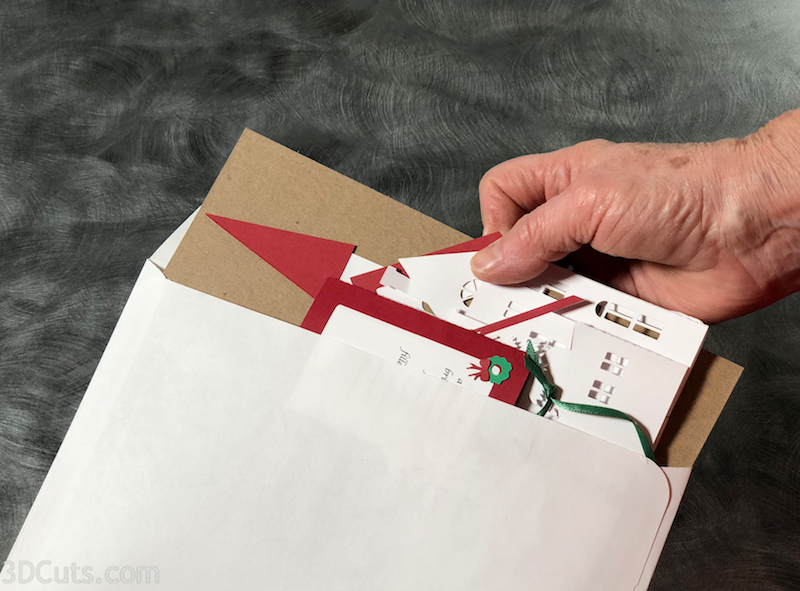
Place the folded Zig Zag Village with attached message card on a piece of chip board (link above) and insert in an envelope to mail.
Note: If mailing in the USA two stamps will be required.
©2018 Marji Roy, 3dcuts.com