Layered Mandalas -Tutorial

Project Description:
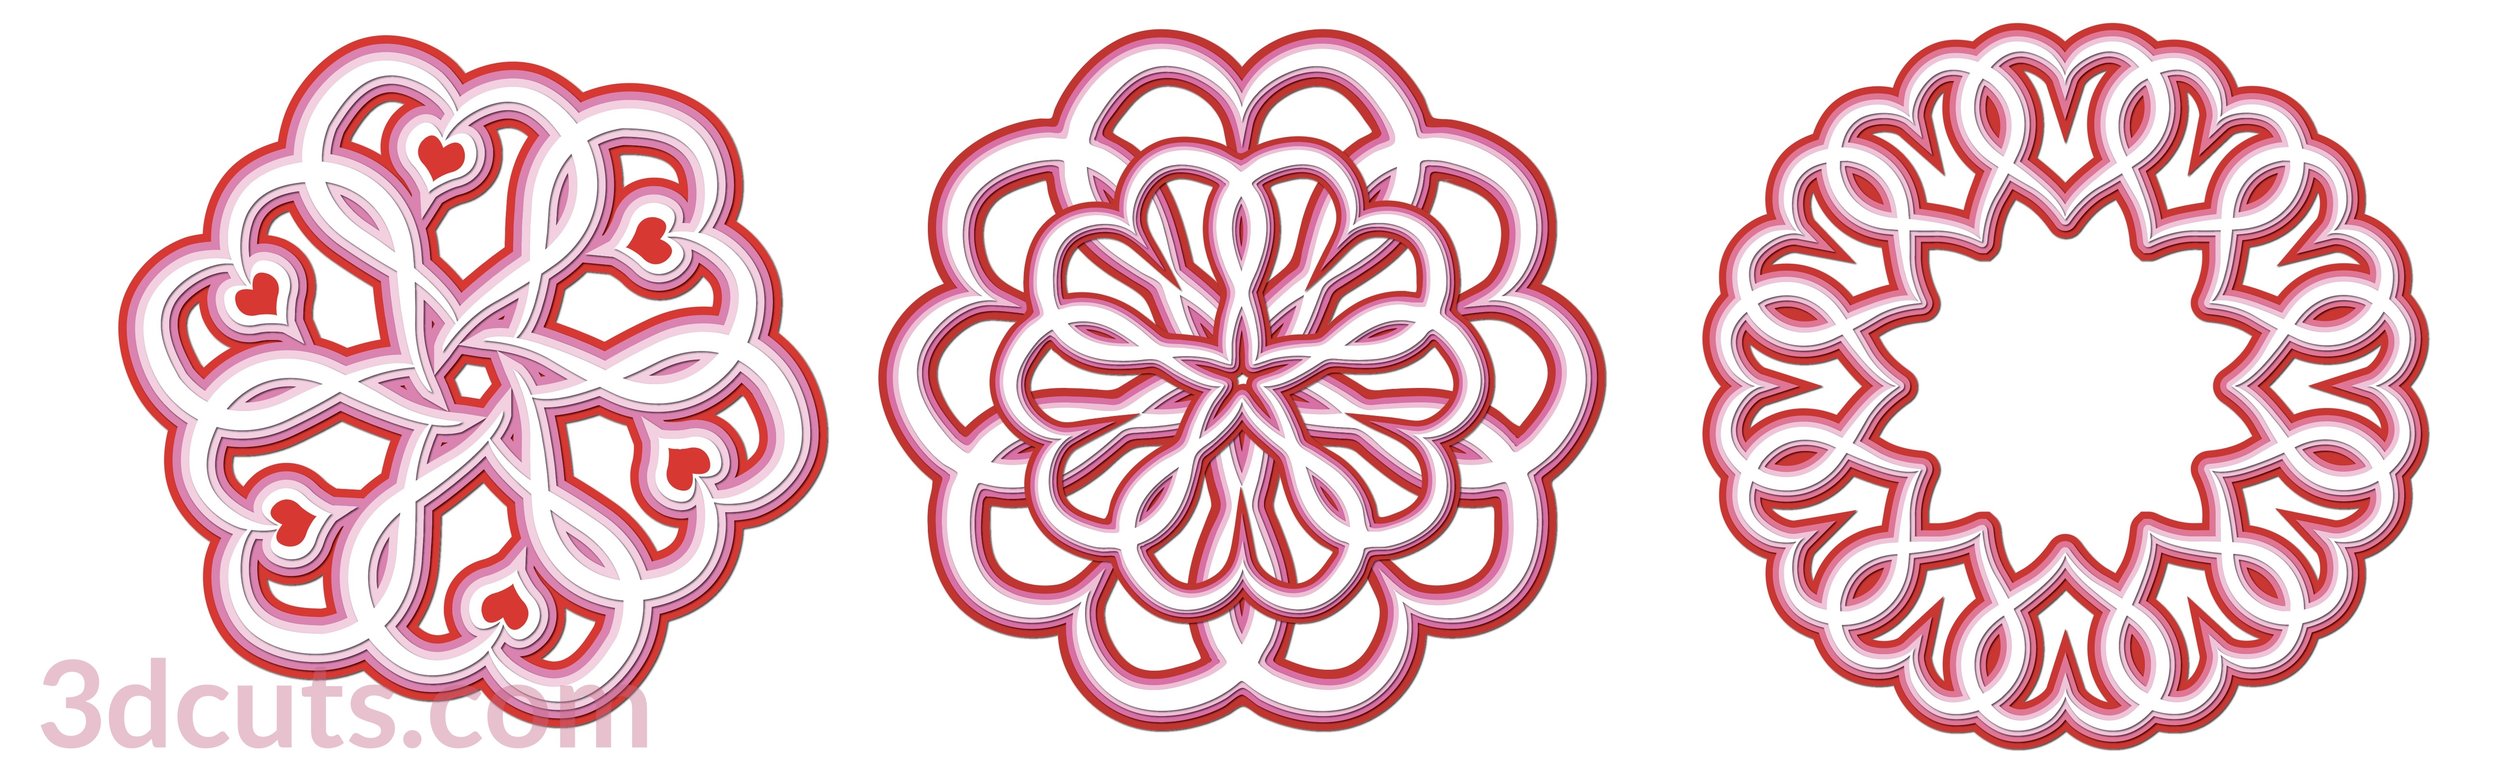
The tutorial includes hints on how to cut and use the paper mandala patterns created by Marji Roy of 3DCuts.com. This series uses paper in color gradations to create dynamic layered circular mandala patterns for multiple uses including wall art, as decorations on wrapped gifts, or even in vinyl on shirts.
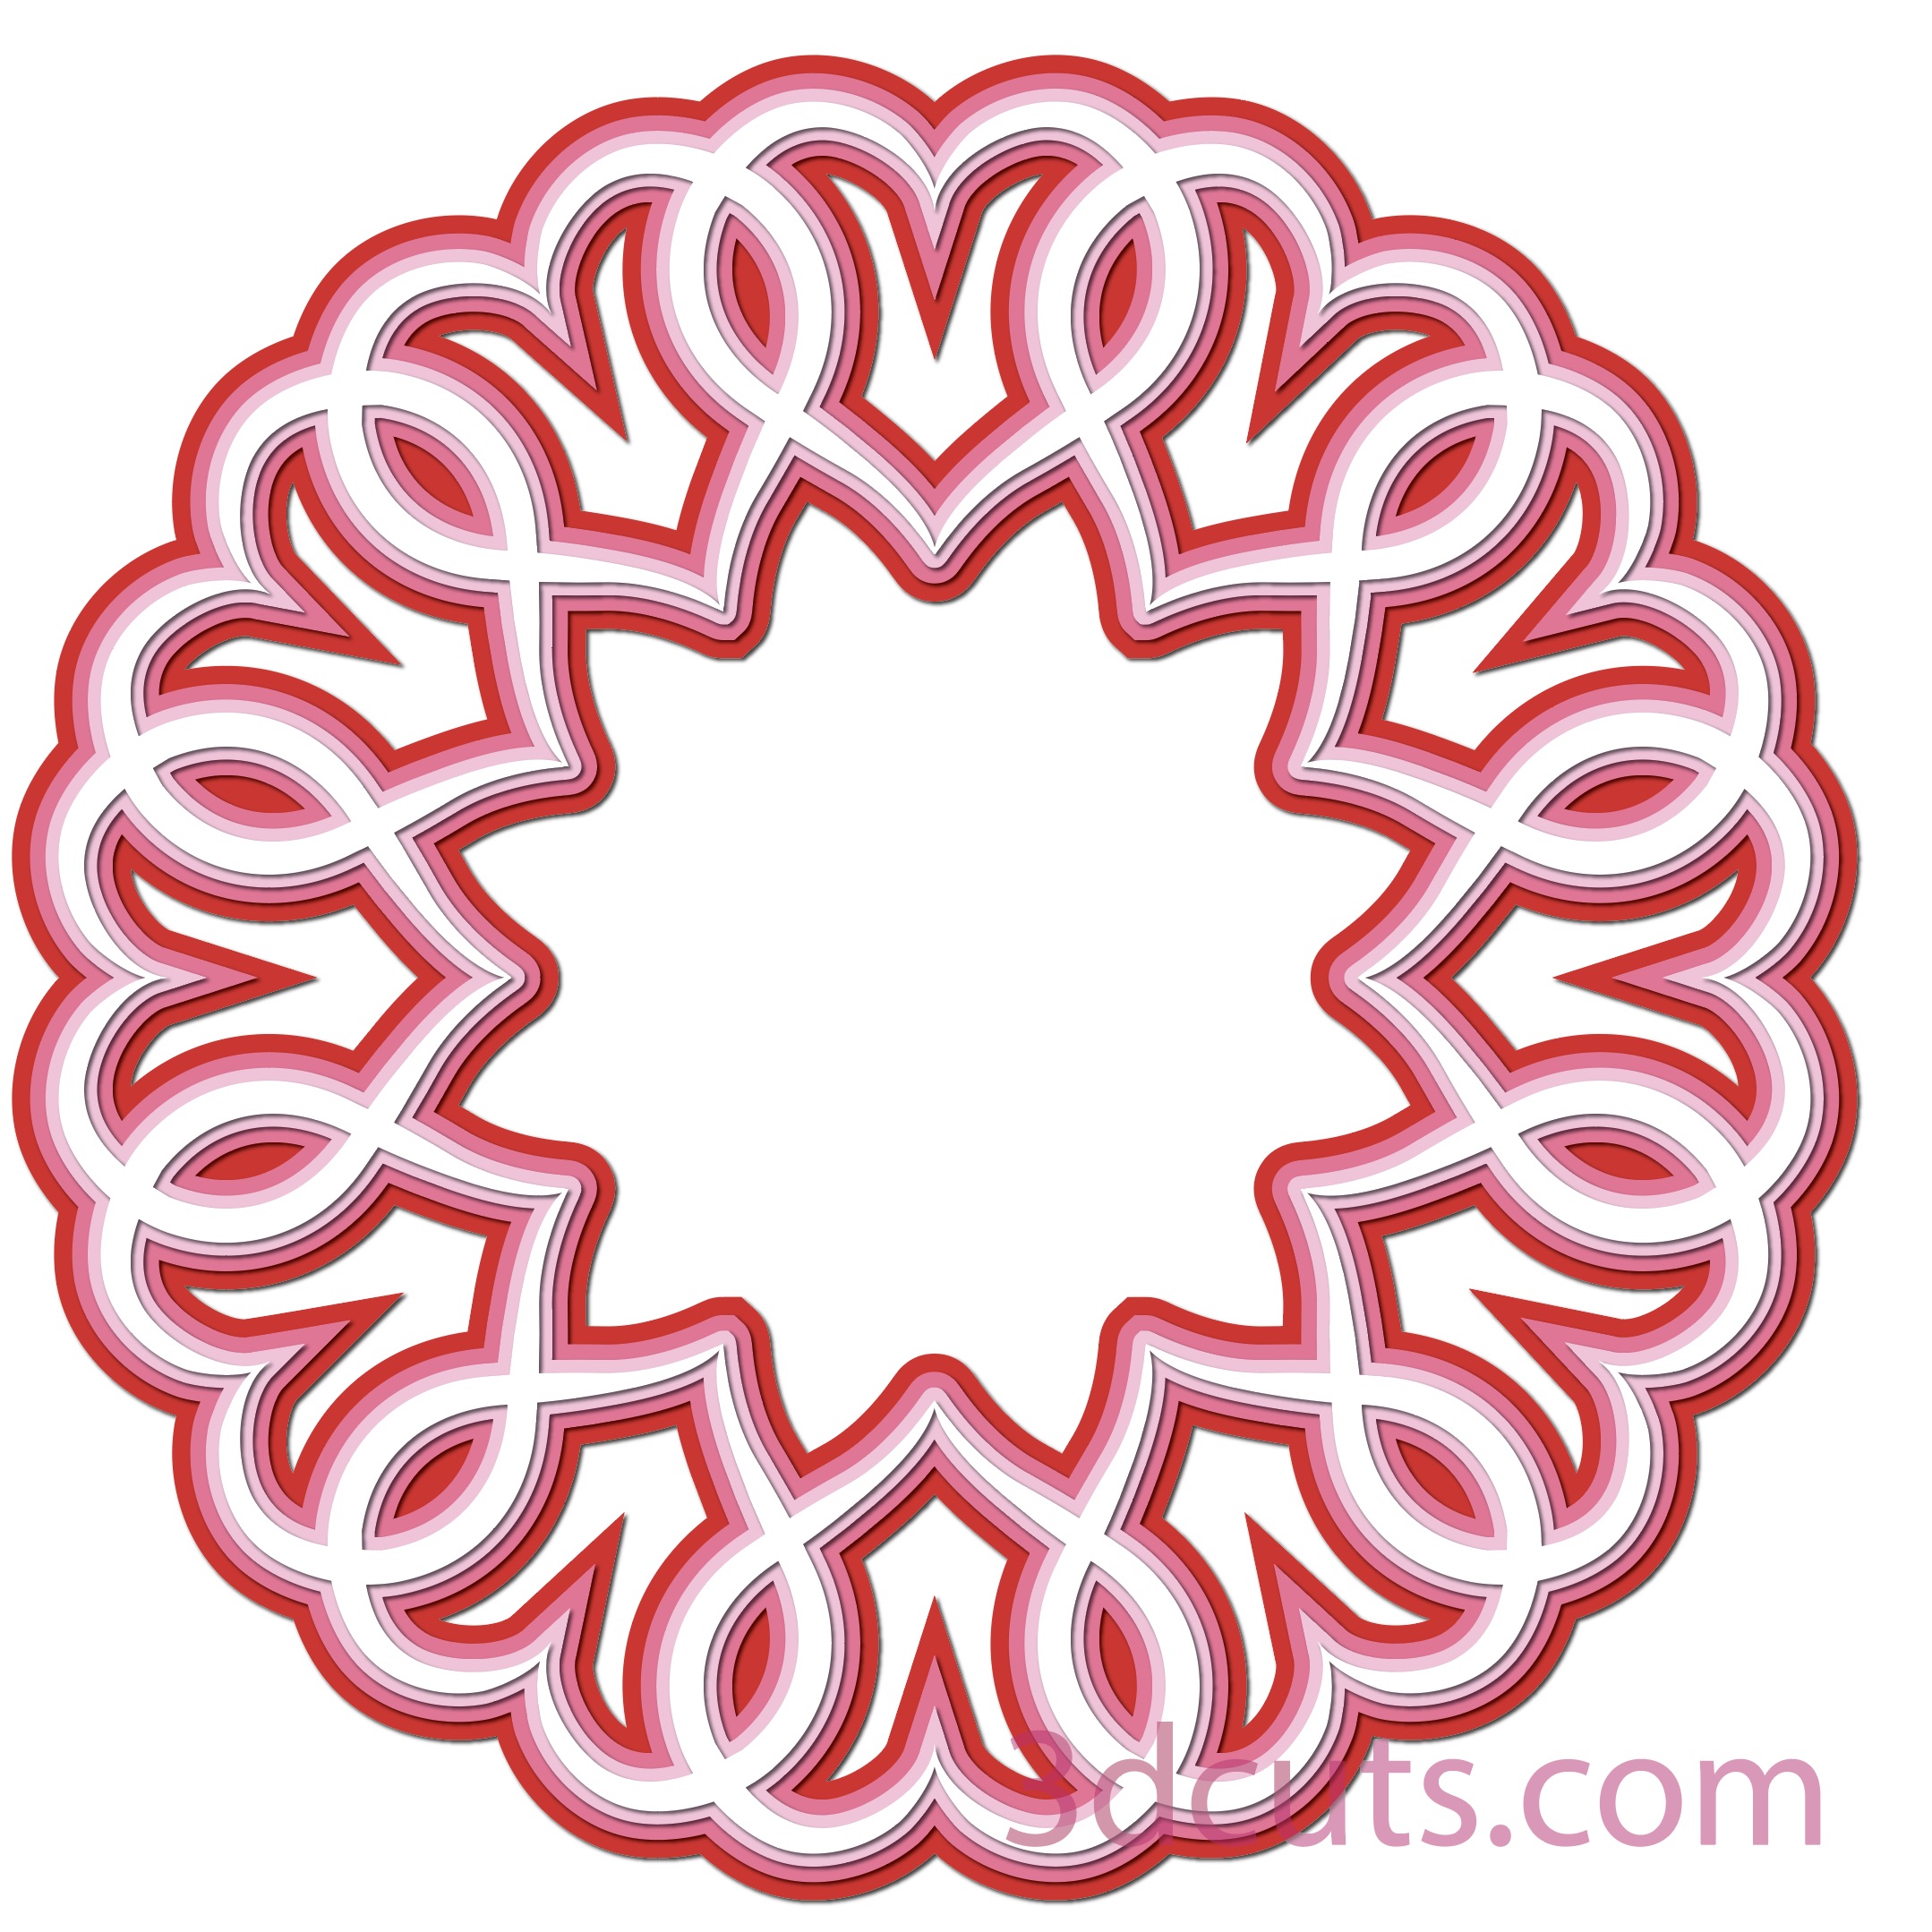
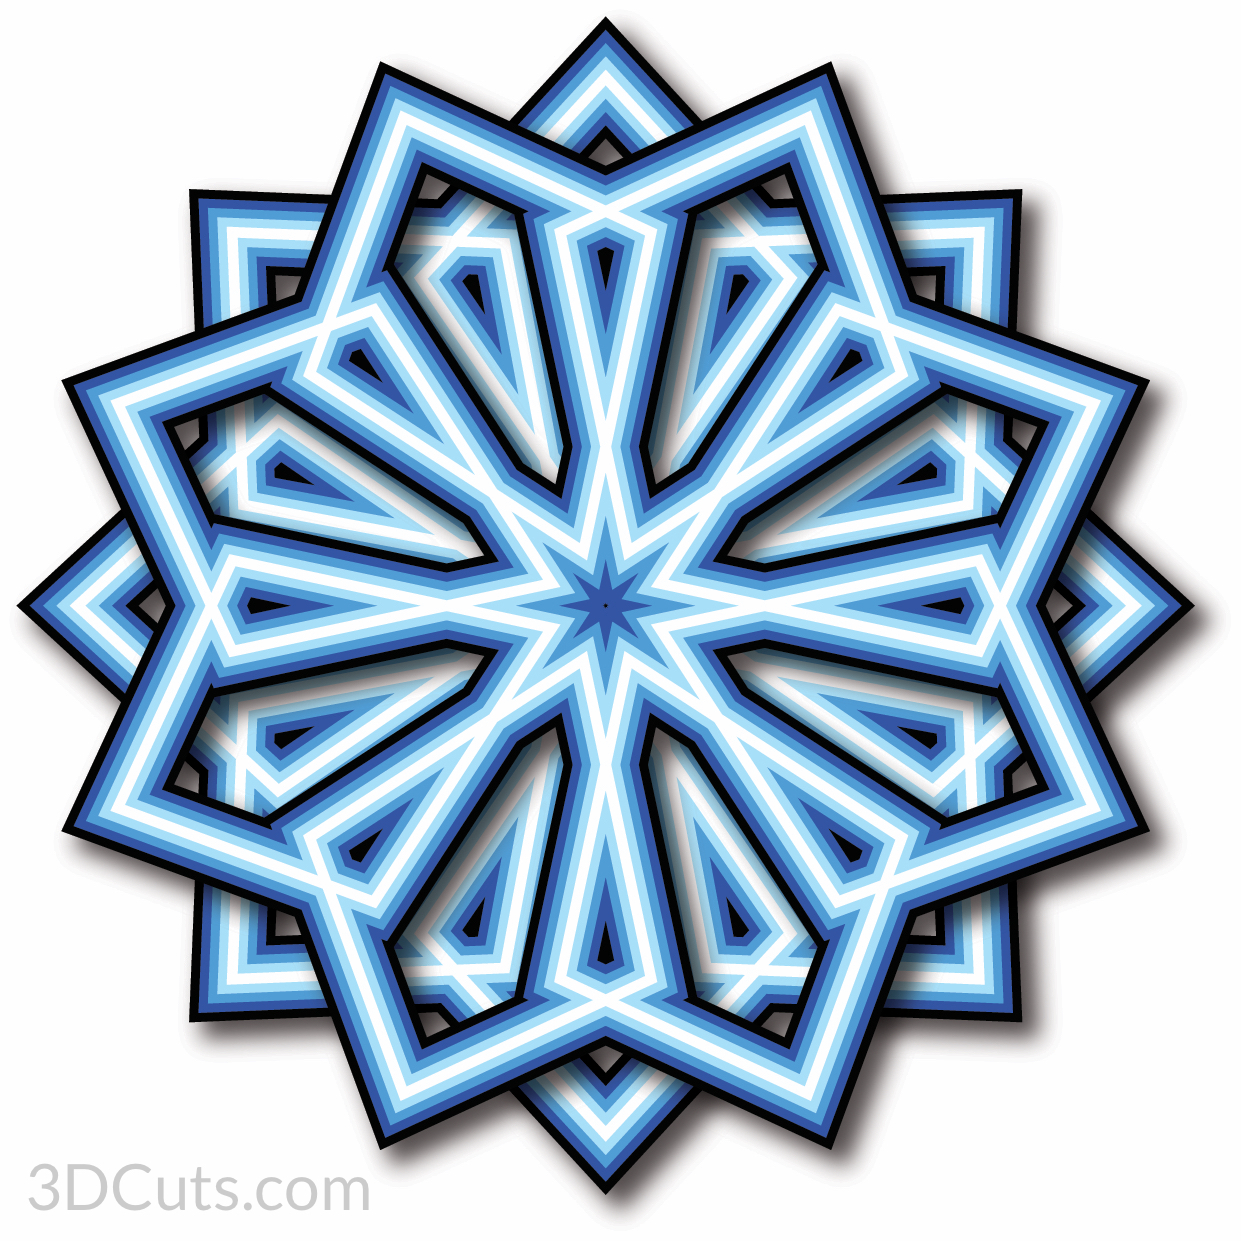
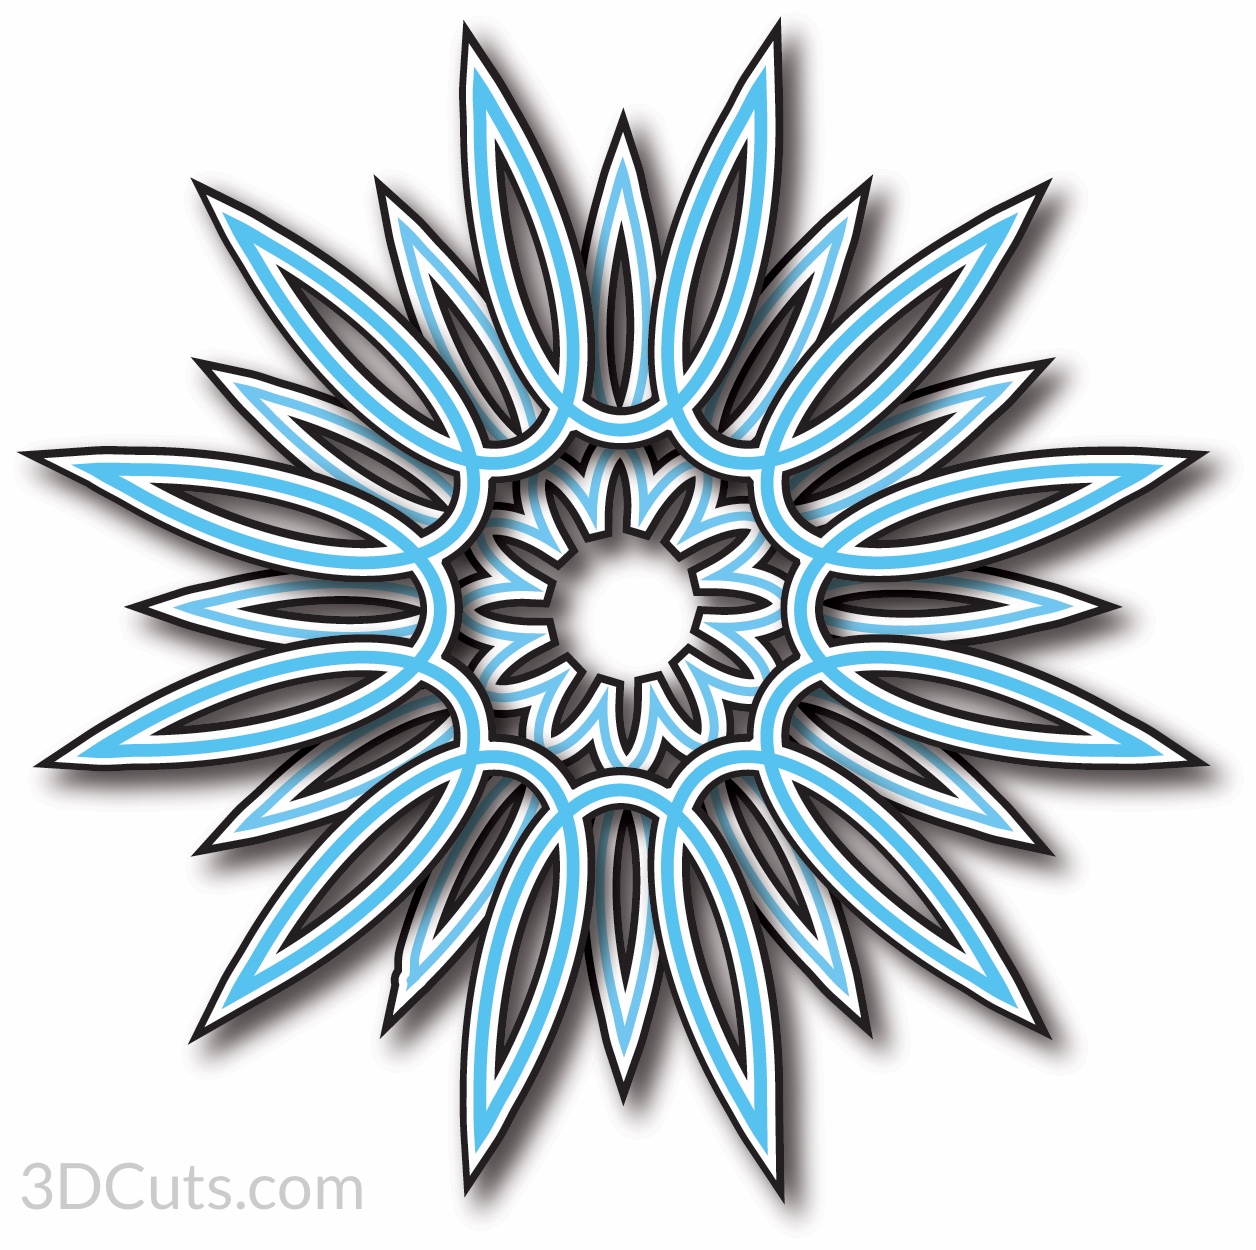
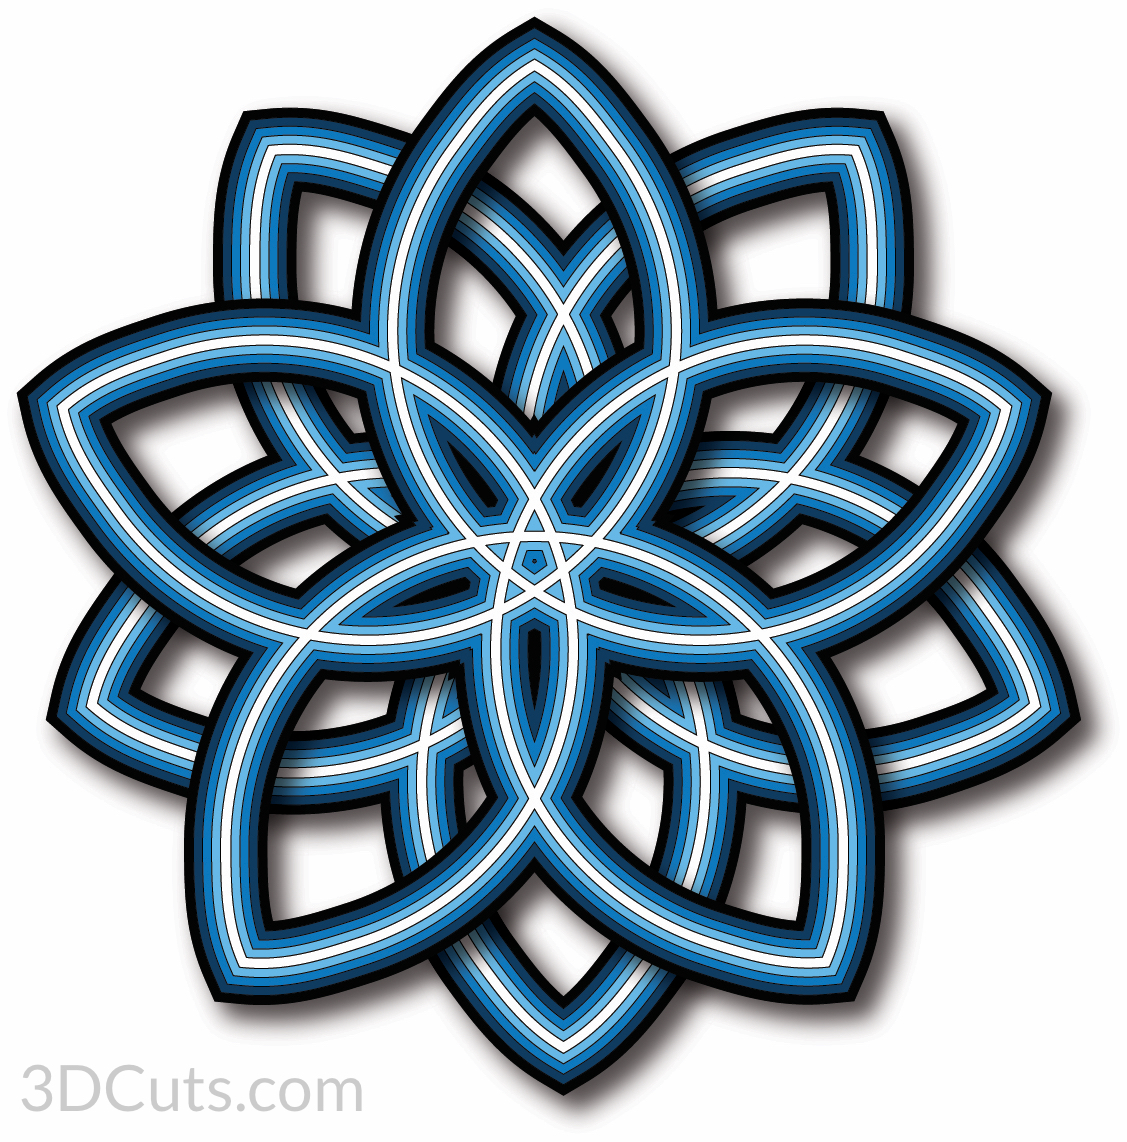
A variety of these designs have been created. They can be used alone or in groups. Scroll down to see the variety.
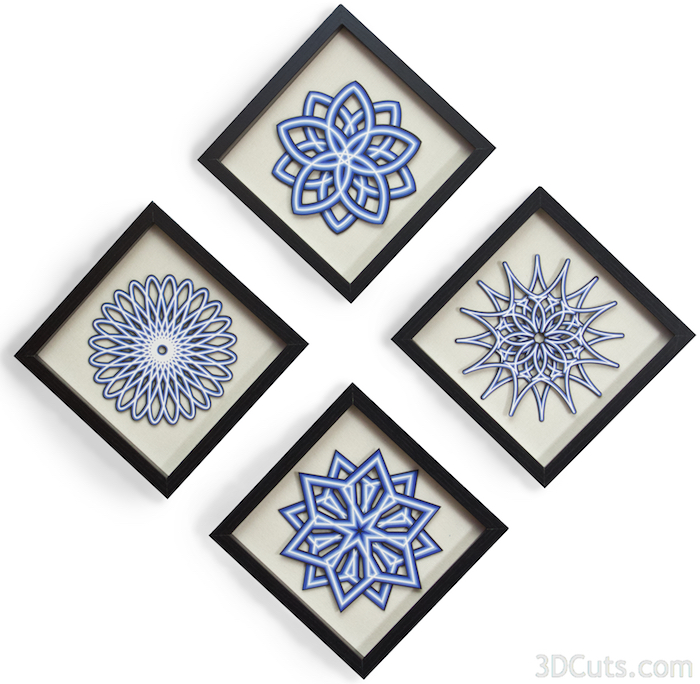
This assembly tutorial can be used for all the designs in this stacked mandala series. I have started with 10 different mandala designs all available here.

Supplies Needed:
- Cutting File available from 3dcuts.com here.
- 8.5 x 11" card stock - I used the 65lb Cardstock from Recollections.
- Adhesive - Aleene's Fast Grab Tacky Spray
- Pop Dots 1/4" x 1/8" thick
Note on Color Selection:
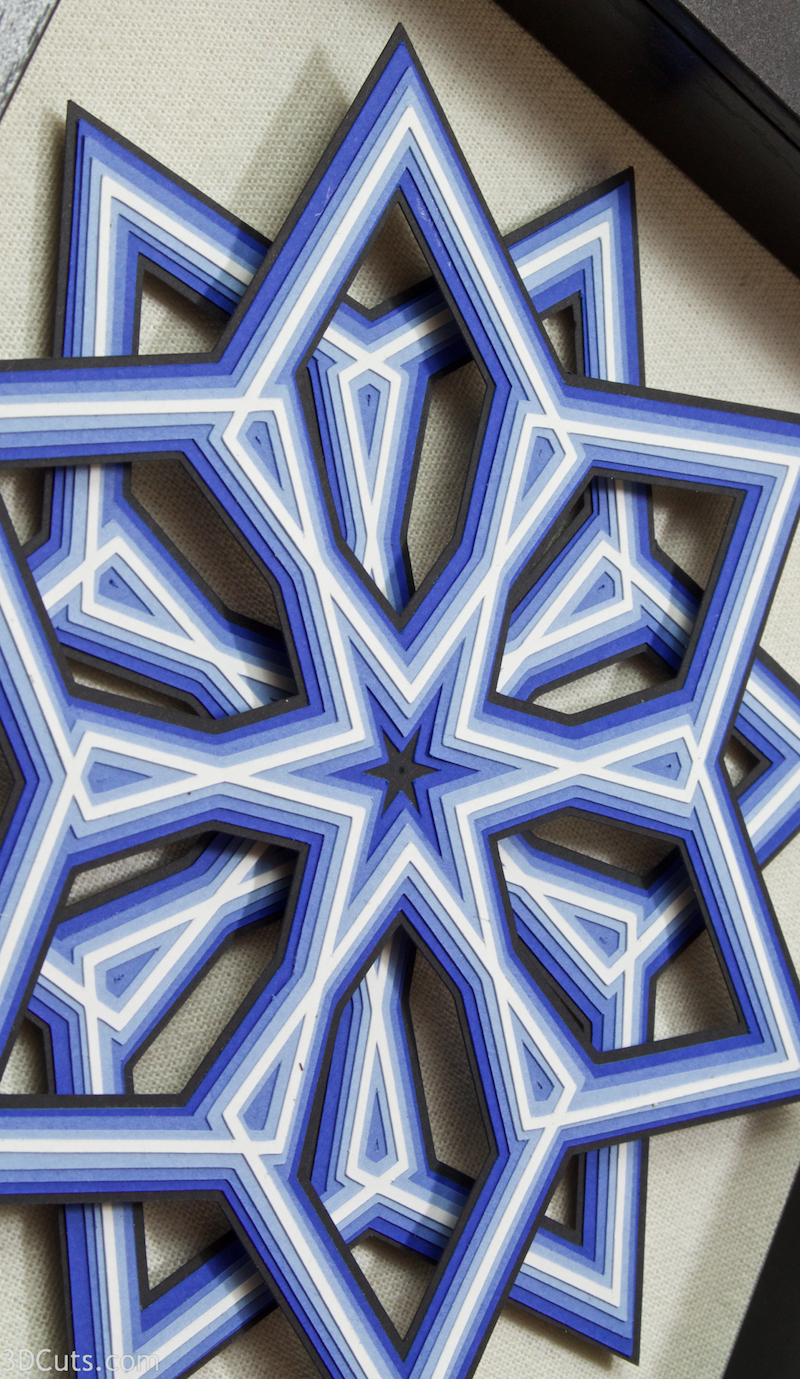
These were designed to work with gradations of color. Some designs use 3, some 4 and some 5. I found that using black as the last layer really made the designs pop when framed in black frames. I cut mine to be displayed on a blue wall in my craft room. Any gradated color scheme will work.
Optional:
- Frames: I used the 9" x 9" Shadow Box Belmont Frame by Studio Decor sold at Michael's

Steps for completing the design :
1. Download the cutting files for your cutting machine from the 3dcuts.com store. Link here.
2. Load the files into your cutting software following the steps for your cutting machine.
3. Prepare the files:.
- For the Silhouette: The SVG files from this site will need to be turned into cutting files. Click here for detailed steps on how to use SVG files on your Silhouette. http://www.3dcuts.com/tutorial-upload-svg-silhouette
- For the Silhouette files from the Silhouette online design store: This download comes in one long file with cut lines already enabled. You will need to ungroup the file and then copy and paste the parts into separate page sized files to cut. All the text instructions are non cutting items.
- For Cricut Explore: Here is a guide for importing into Cricut Design Space. http://www.3dcuts.com/tutorial-adding-3dcuts-files-to-cricut
- For Brother ScanNCut: The svg files will need to be transferred to files for your particular machine. You can change SVG files to FCM files at http://www.canvasworkspace.com/ or Google "How to import SVG files into a ScanNCut" for links to tutorials.
4. Cutting Hints:

- All of these files contain fine, detailed cuts and you need to understand how your cutting machine best handles detail work. I use a Silhouette Cameo and have found the Premium blade and a fairly new mat are required to get consistently clean cuts. I use the card stock setting with a blade of 3, a speed of 4 and a thickness of 21.
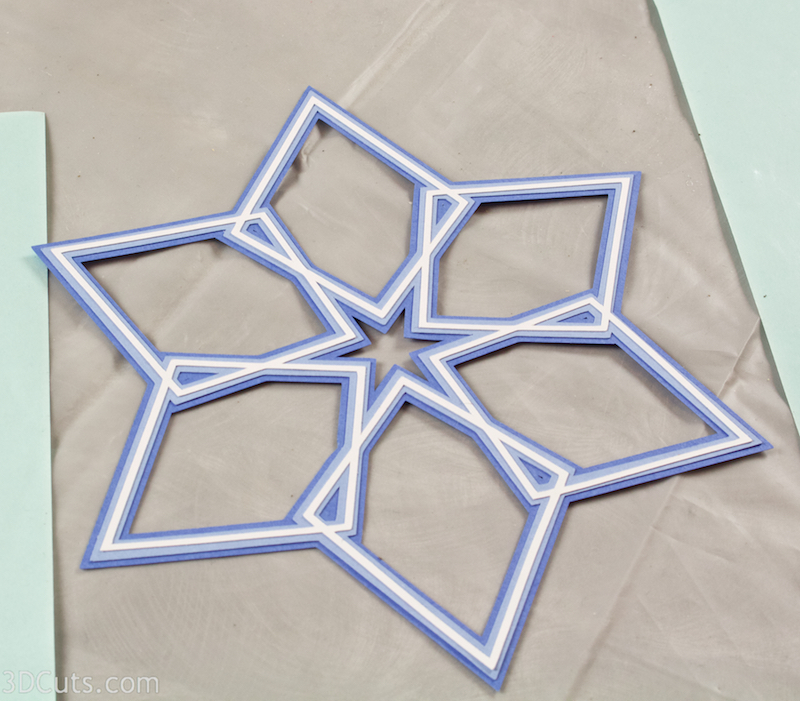
- Cut all the layers for your design. Some have 3, some have 2 stacks of 3 and some have 2 stacks of 5.
5. To remove from the mat:
- When removing paper from a sticky mat it is always best to turn the mat over and remove the mat from the paper. This prevents your paper from curling. Be sure to place the mat protection sheet down before turning your mat over or it will pick up all the dust and scraps on your work surface.
- Use a small spatula and ease the finer parts away from the mat.
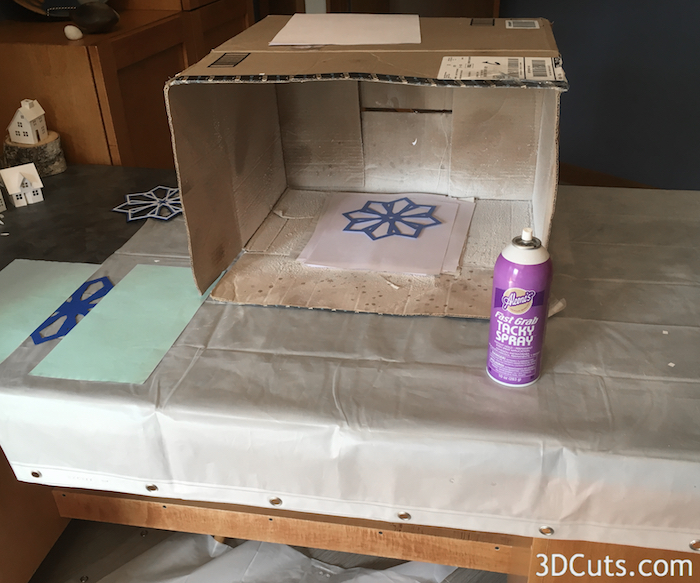
6. Set up a spray glue booth.
- I use and old cardboard box on its. side. I cover the table and the floor with plastic drop clothes because the spray seems to get everywhere.
- It is important to work in a well ventilated space.

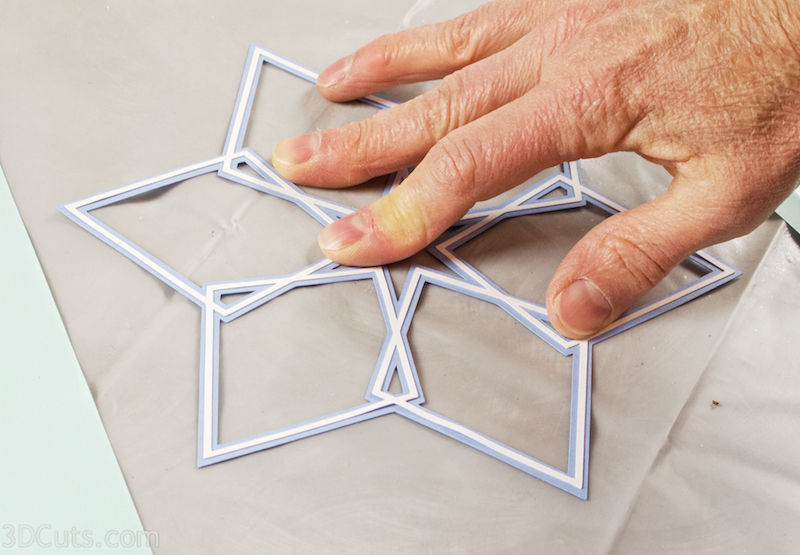
7. Glue the layers together.
- Prepare layer two before spaying the back of layer 1.
- I found it helpful - especially on the thinner layers - to place the mandala layer down, front up and show only the center area. I covered the other areas with old mat cover sheets. The glue easily releases from the shiny side of these.
- After spraying the back side of layer one, carefully place it onto layer 2. Align the points and the center watching spacing.There should be a equal margin of layer 2 showing around all of layer 1.
- The first layer is the most difficult.
- I use the Aleene's tacky spray because it has a 30 second window of movability before adhering.

- Slide out one half of the backing paper and adhere that half.
- It peels easily from the backing paper if it touched down.

- Pull out the second half of the backing paper and adhere the entire design down.
- Aim to keep the spacing identical. It won't be perfect but try to keep it close.
- Repeat with layers 3, 4 and 5 - if your design has that many.
- It gets easier as the pieces get more robust.

- If your design is a double layer, repeat these steps with the second half of the design.

8. Display Choices
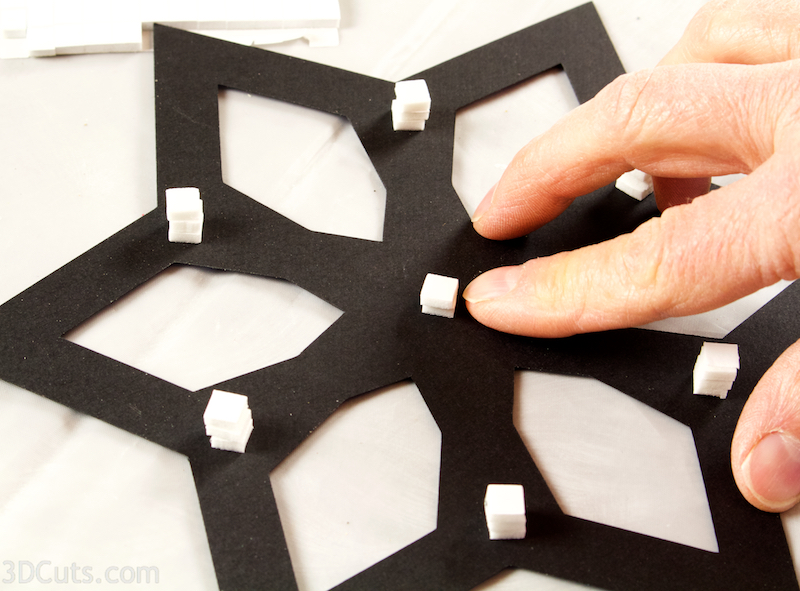
- How are you going to display your design? There are many options. I chose to put mine in a purchased shadow box using pop dot spacers.
- For the layer closest to the backboard I used one level of pop dots.
- For the front layer I used 3 stacked together.
- The number and location varied by design but I wanted it to be supported well to prevent drooping over time.
- This design had one at each tip and one in the center for the back design.

- For the front design you need to consider placement carefully.
- The dots need to be positioned so they will clear the back design. I placed these in a spot that was over an opening in the back design.
- Note: I adhered 3 together to make a stack 3/8" tall. BUT I also made on stack 2 dots tall to go in the center. On this design that particular one didn't fall on top of an opening and it got adhered to the top of the back design.

- Attach the back layer.
- Center it careful and press in place.

- Attach the front layer being careful to place it so that the tips of one layer are exactly in the middle of the other.

- Finish framing.
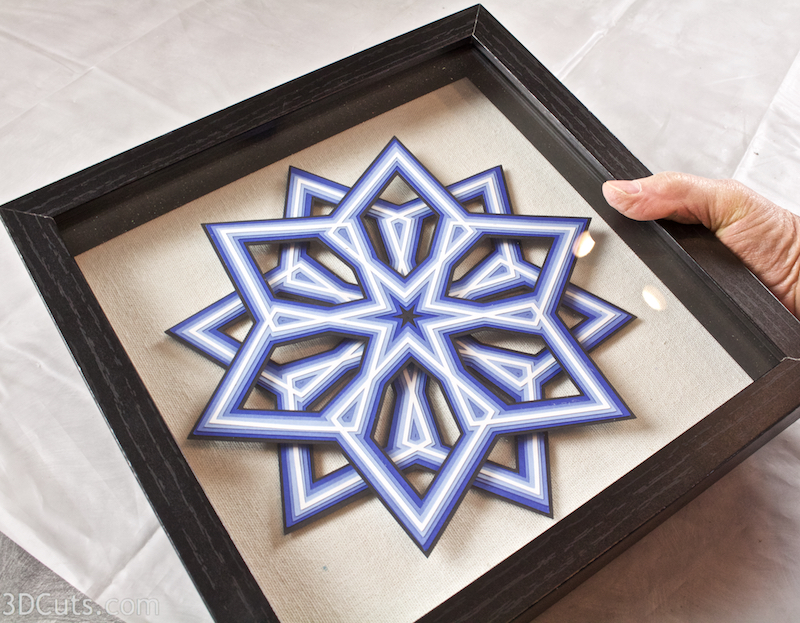
And find a wonderful display location!

And have you considered the vinyl possibilities of these designs?
Or combining with gift wrapping?