
Kitty Shadow Box - Tutorial
"Wishing For Spring" Kitty Shadow Boxes -
Project Description:
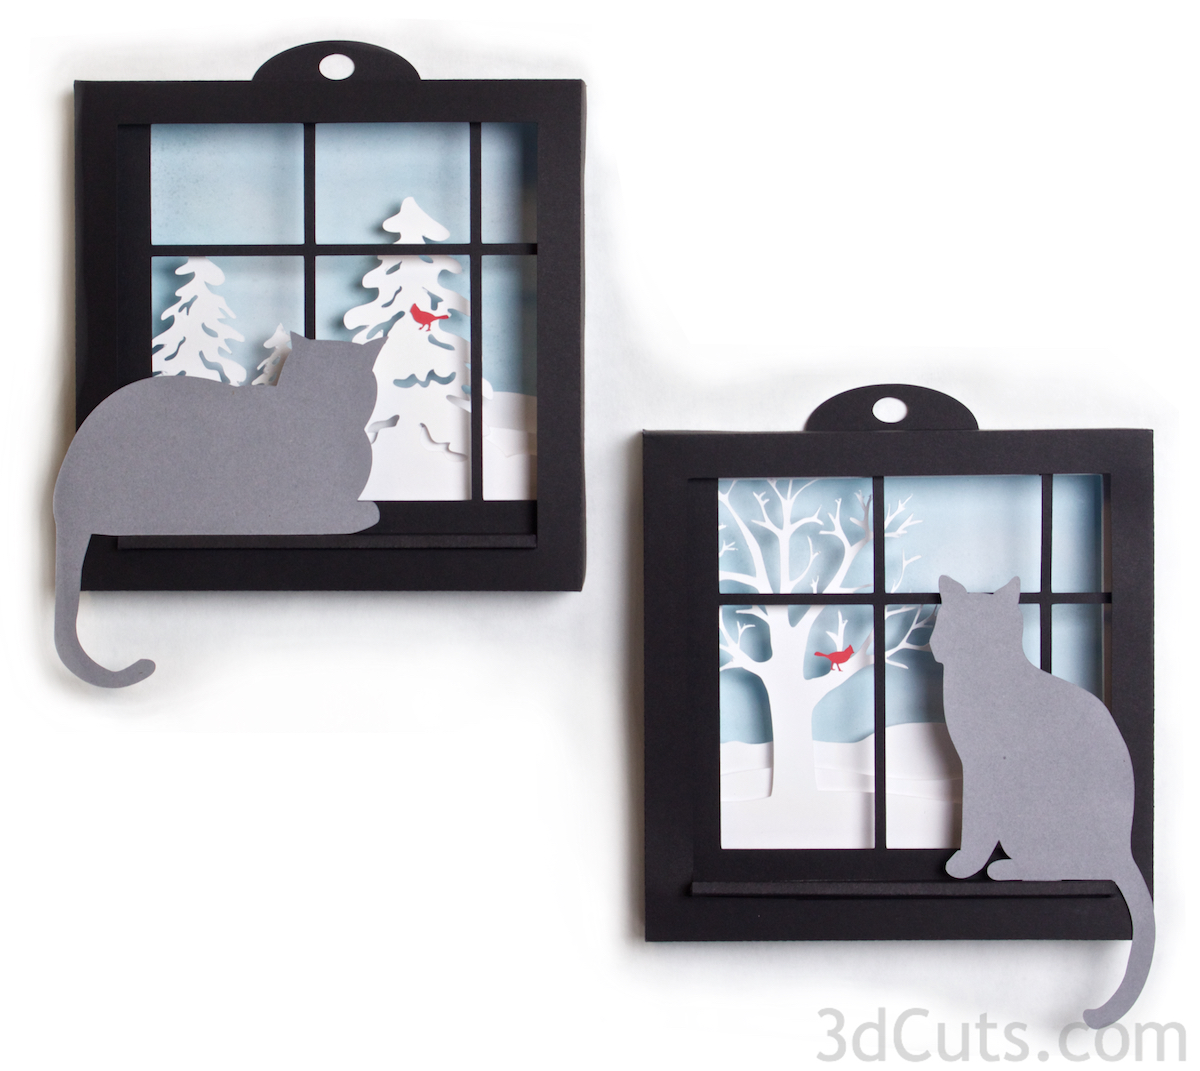
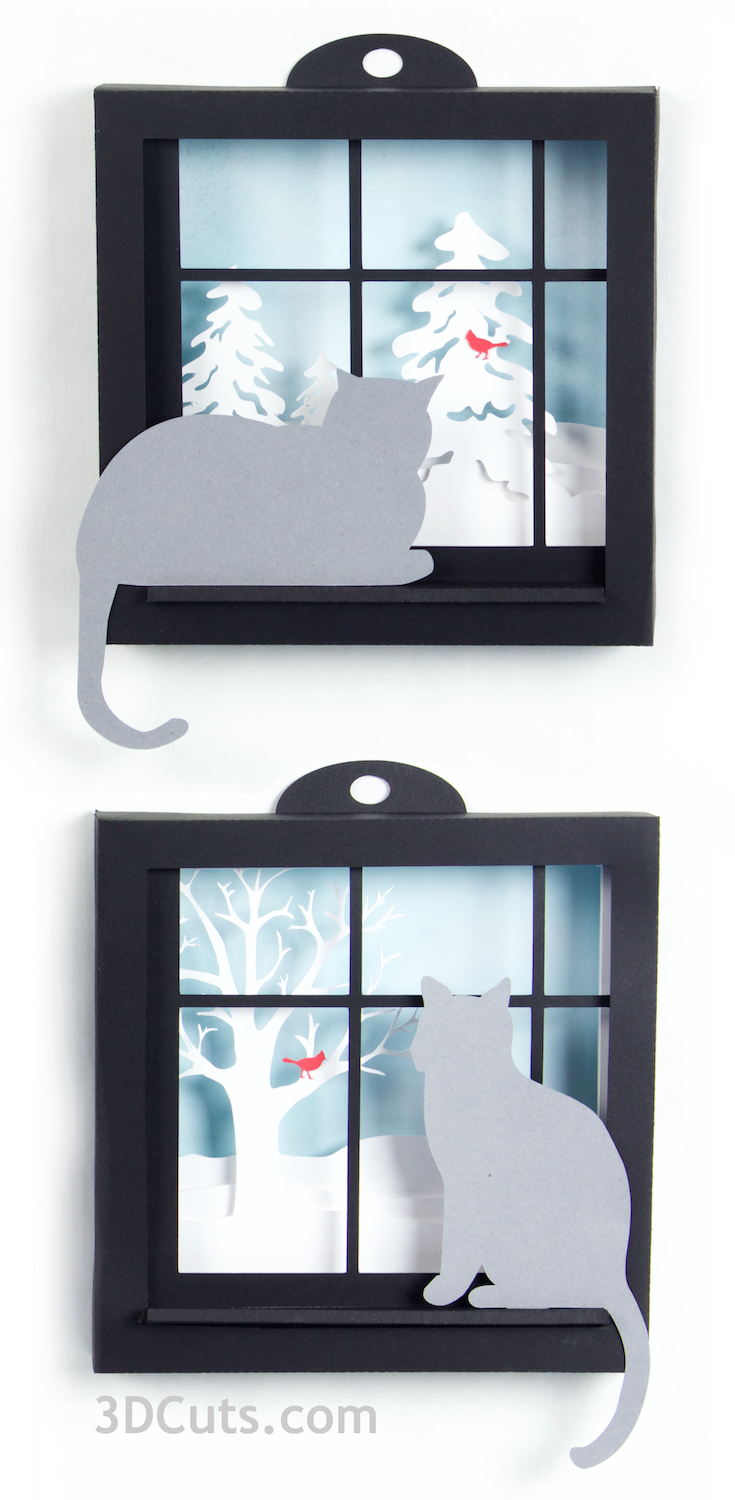
This tutorial is for the 5 layer shadow boxes featuring two kitties wishing for spring designed by 3dcuts.com. The tutorial applies to either design. Although there are unique design details in each, basic assembly is the same.
The completed project is about 8.5" H x 6.5"W. It can be displayed by hanging or perched on the edge of a shelf. It is constructed of 8.5" x 11" card stock.
Supplies Needed:
Cutting File from 3dcuts. com.
6 pieces of Card stock - I used the 65lb Cardstock from Recollections for 8.5 x 11.
1 background paper for sky
Cardstock for itty and cardinal
Adhesive - I use Scor-Tape and glue dots although other adhesives would work.
Scotch tape
Spray adhesive
Foam adhesive dots
Twezzers
Parts Sizes:
Layer 1: 8.229” h x 8.248” w
Hanger:1.377” h x 6.260”w
Sil: 1.645”h x 5.791”w
Layer 2: 7.636”h x 7.650”w
Layer 3: 7.140” h x 7.140”w
Layer 4: 6.820” h x 6.820”w
cat:5.911 “ h x 2.965” w
Land 2.465”h x 6.098”w
Layer 5 : 8.182”h x 8.202” w
Background:6.251” Square
Steps for completing the shadow box:
1. Download the cutting files for your cutting machine from the 3dcuts.com store. the will be in a zipped folder and must be unzipped.
2. Load the files into your cutting software following the steps for your cutting machine.
3. Prepare the files:.
For the Silhouette: The SVG files from this site will need to be turned into cutting files. Click here for detailed steps on how to use SVG files on your Silhouette. http://www.3dcuts.com/tutorial-upload-svg-silhouette
For Cricut Explore: Here is a guide for importing into Cricut Design Space. http://www.3dcuts.com/tutorial-adding-3dcuts-files-to-cricut. Remember to use the Attach command to keep shapes together for cutting.
4. Cut the shapes.
There are 5 box layers, 1 back ground piece and an optional hanger plus an extra layer inset. For this shadow box I cut layers 1,2 and 5 from black card stock and layers 3 and 4 plus the inset back layer from white card stock. I used gray for the kitties and red for the cardinal.
The tree layers and the cardinal require detailed cutting. As with all detailed cutting you need to know your machine, blade, paper and mat well. I find on my Silhouette I get the best detail cuts for this project by having a sticky mat with the paper pressed down well and a good blade. I slowed the speed down to 1 for the tree and cardinal layers. I used the card stock setting with the blade at 3 and a thickness of 24. But I emphasize, these settings might be different with a different blade. Detailed cutting requires experimentation and knowing your machine.
5. Construct all 5 box frames.
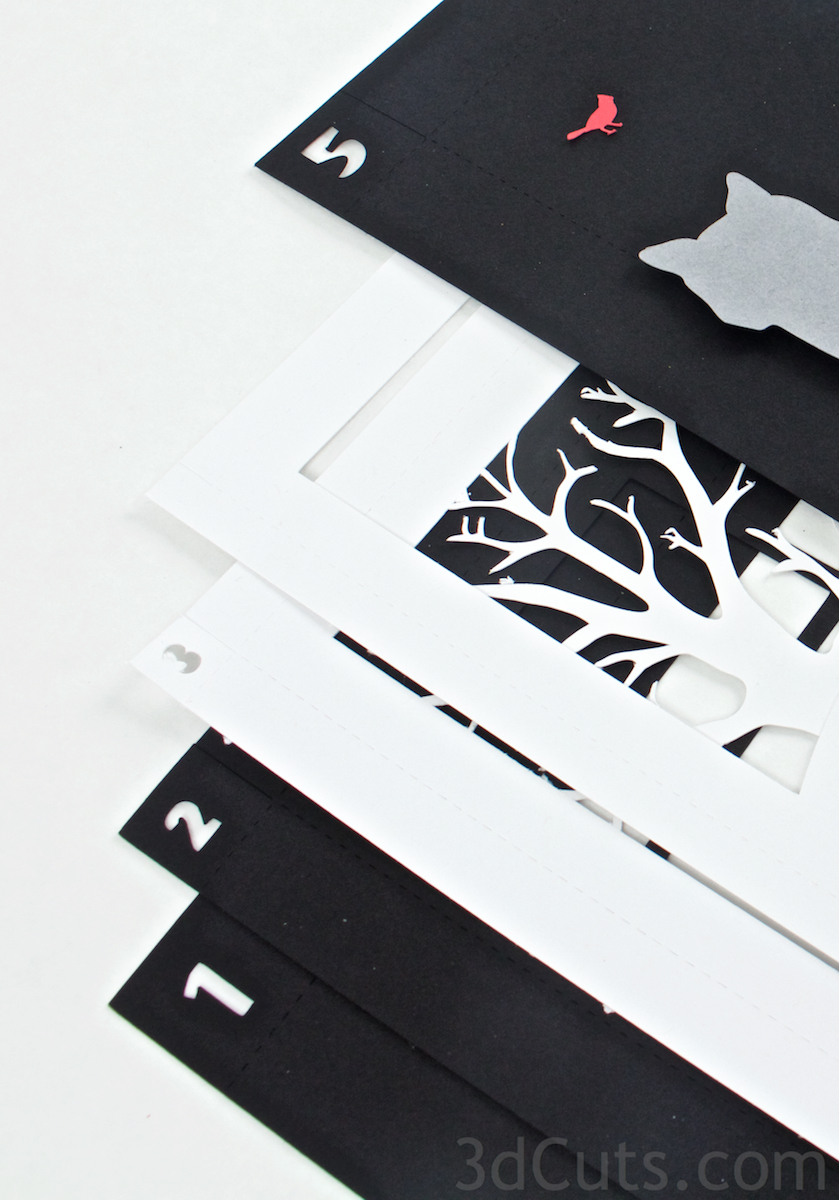
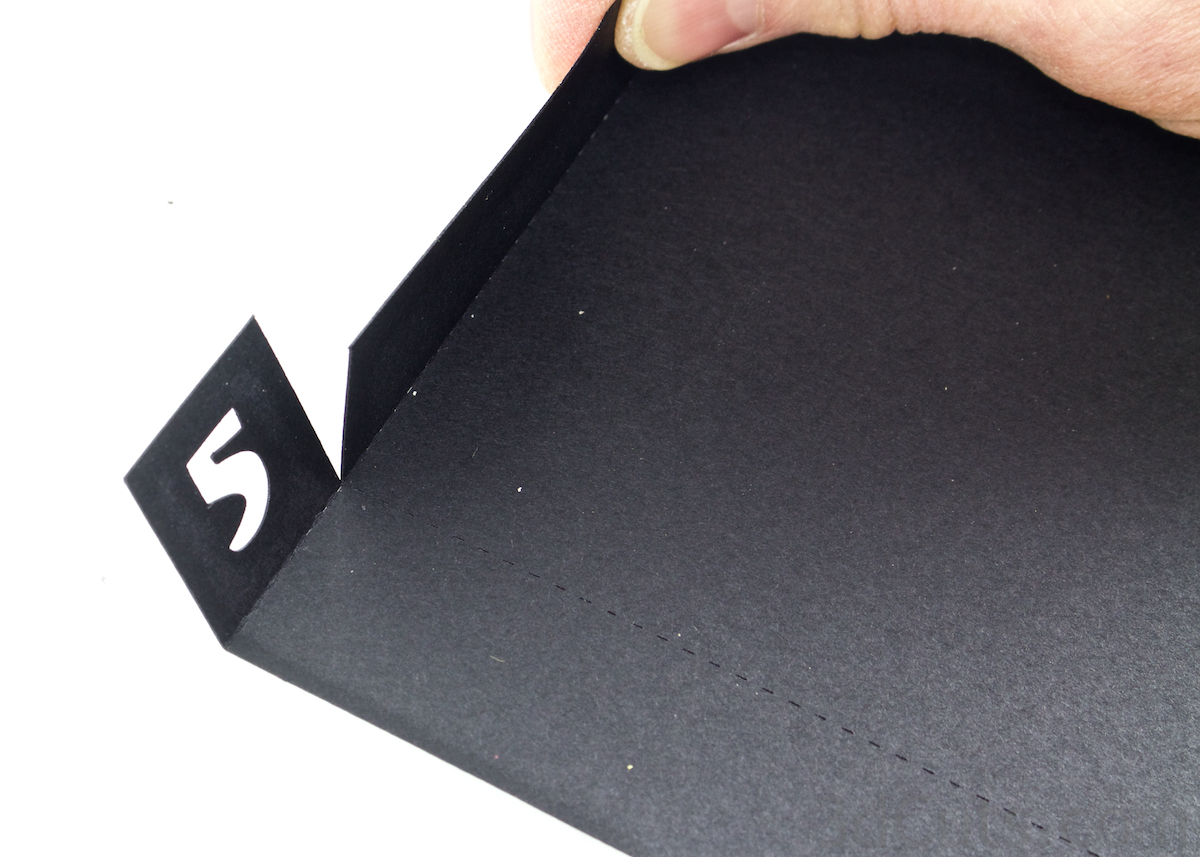
Notice there is a cut-out number in one corner of each frame. Use this a guide. It will help in identifying the layers, identifying front or back, and knowing which corner should be in the upper left.
I universally design these so that the number is always in the upper left. On some frames it doesn't matter but on others it does. If you always have the number in the upper left as you work you will know you are assembling things correctly.
The frames are numbered as they will be when complete. Number 1 is the front frame, then 2, 3 and 4 and 5 in the back. You will not assemble them in that order though.
Start with frame 5.
Place the 5 in the upper left corner and fold on all dotted fold lines. You will fold the 4 edges TOWARD you on frame 5. (All other frames fold in the opposite direction.)
Make nice, crisp folds.

Use your adhesive of choice to glue the tabs inside of each corner. I like to use Scor-Tape or Glue Dots because it keeps my fingers clean. Other adhesives works as well.
Note - Frame 2-5 will be inside each other and out of sight. You can use a single glue dot in each corner. Frame 1 is the outside frame and I recommend good glue coverage on this layer. I used Scor-tape here.

Now glue frames 1,2,3 and 4.
These frames all get folded Away from you on the fold lines.
Make sure the edges line up. It is important to make good, even square corners.
You should now have all 5 shadow box frames folded and glued together.
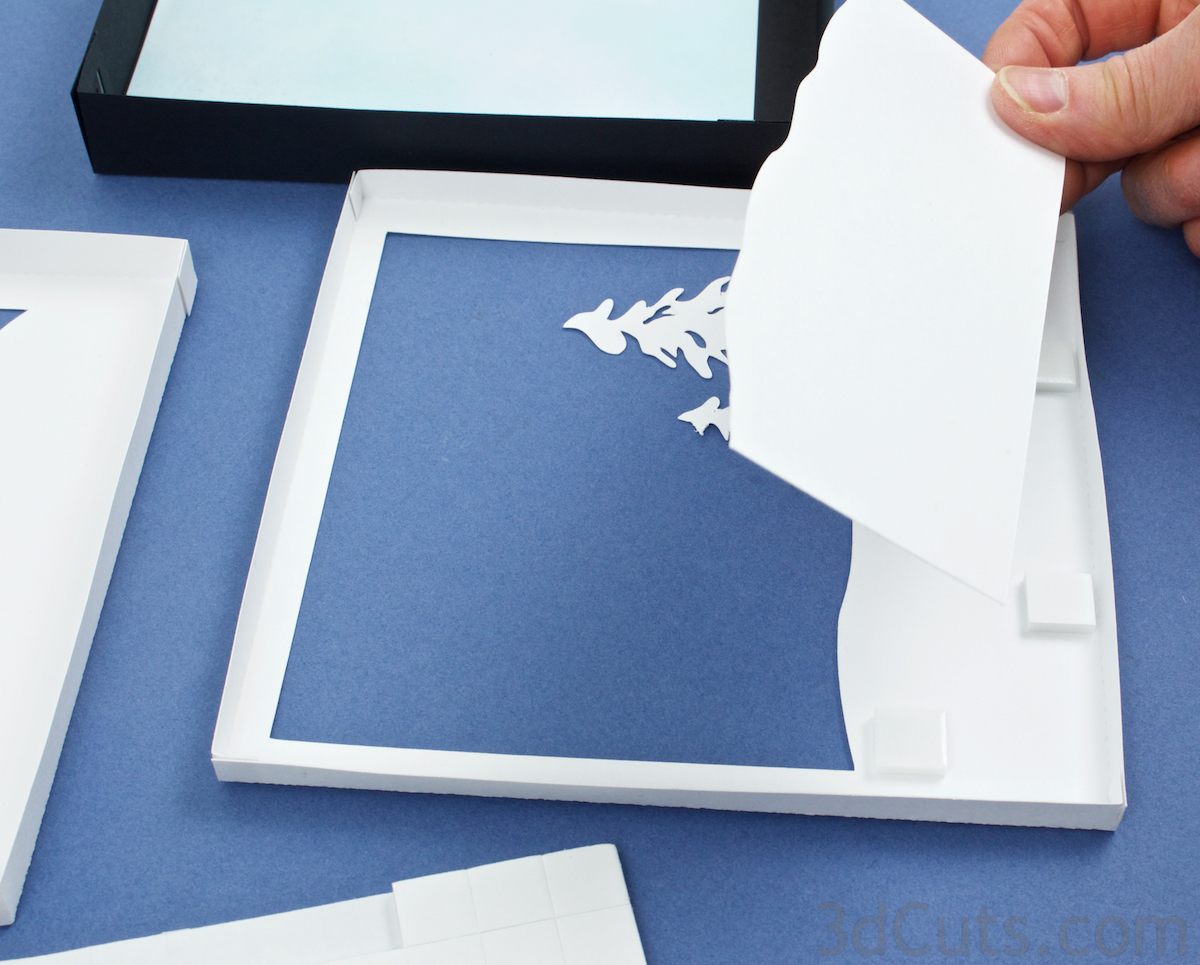
6. Attach the additional mountain layer.
This is the piece which isn't a frame. It is the distance mountains and can be attached behind layer 4. (Or you could choose to put in front of the back ground on layer 5. Artist's choice.)
I put foam adhesive dots on the back of layer 4 and placed the mountains on that. The bottom lines up with the bottom of the shadow box.

7. Glue the background sheet into frame 5.
This is just a square of paper. It can be a pattern as shown here, or a dramatic sky. Look at some of the painted skies I made in my sunrise and moonrise shadow boxes here.
I used spray glue on the entire back and glued it in place.
8. Stacking the frames
Start with layers 3 and 4. Place layer 4 inside layer 3. It is slightly smaller.
Align the back edges and use regular scotch tape to hold the back edges even.
I put a piece of tape about 3" long along each edge being careful to match back edges as I go. This taping keeps the frame space apart creating the shadow effects.

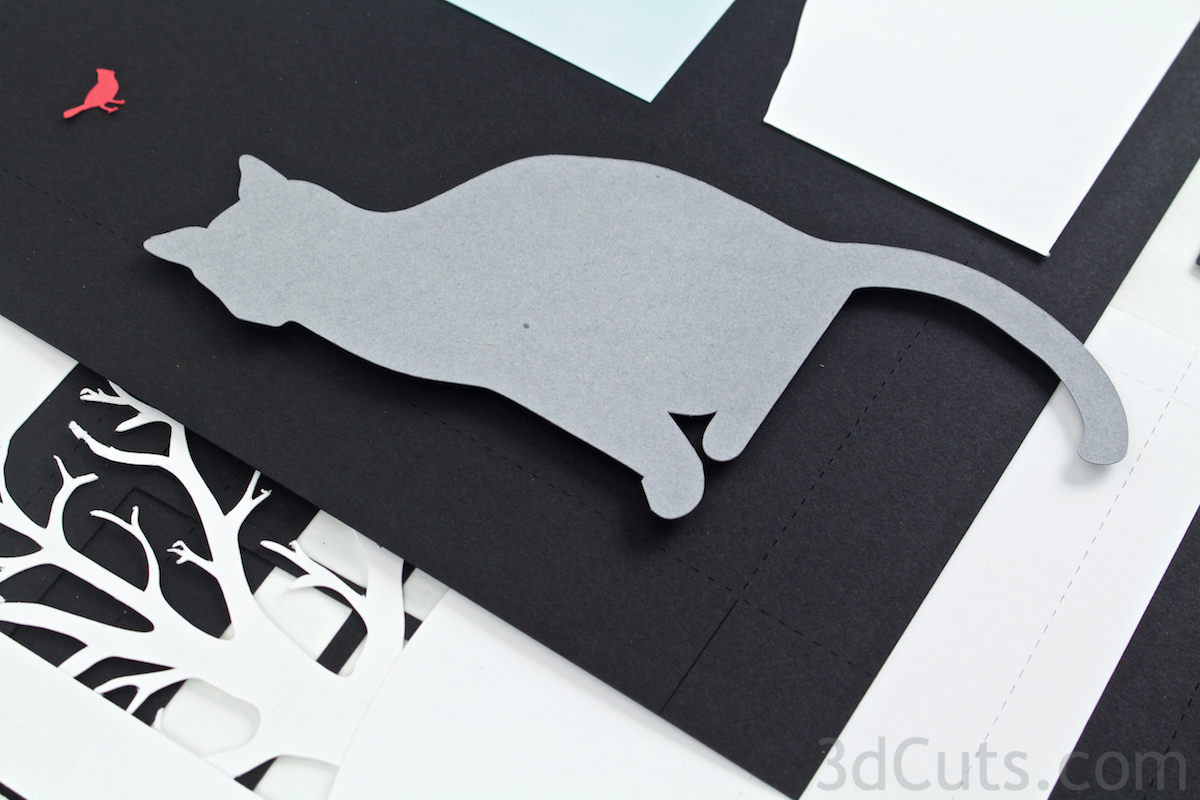
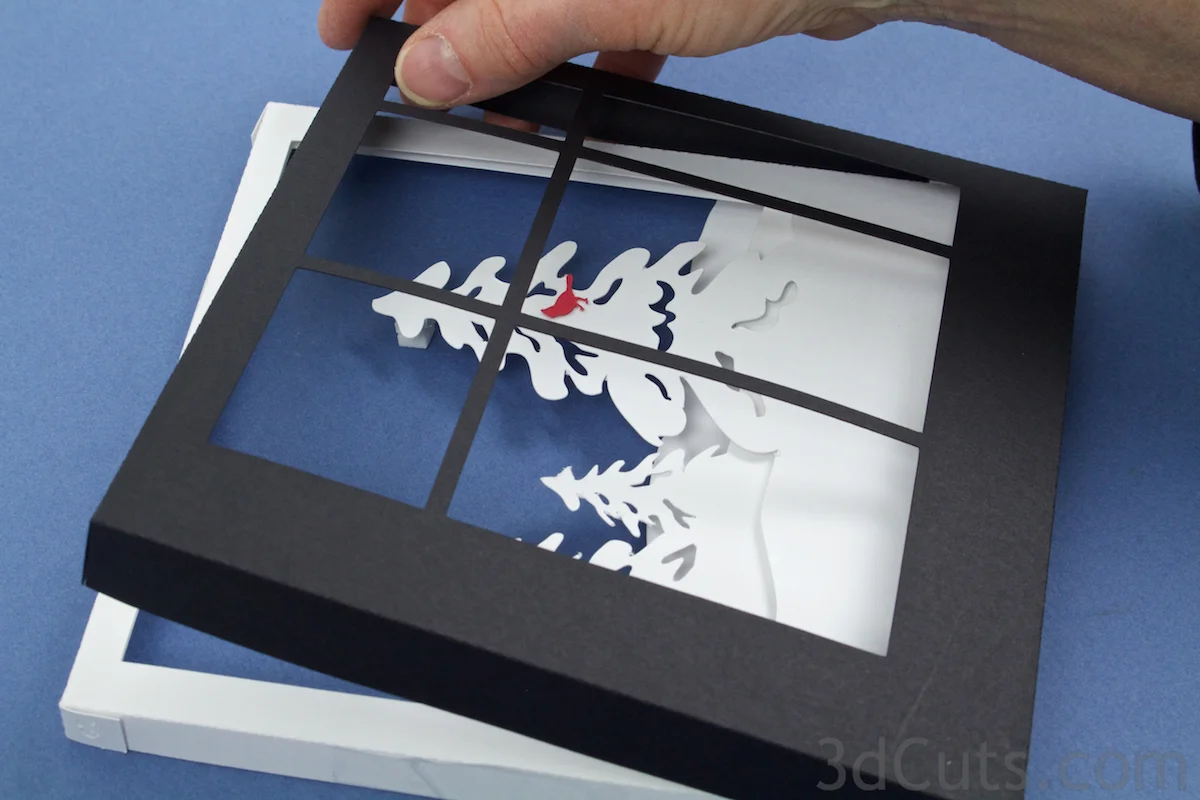
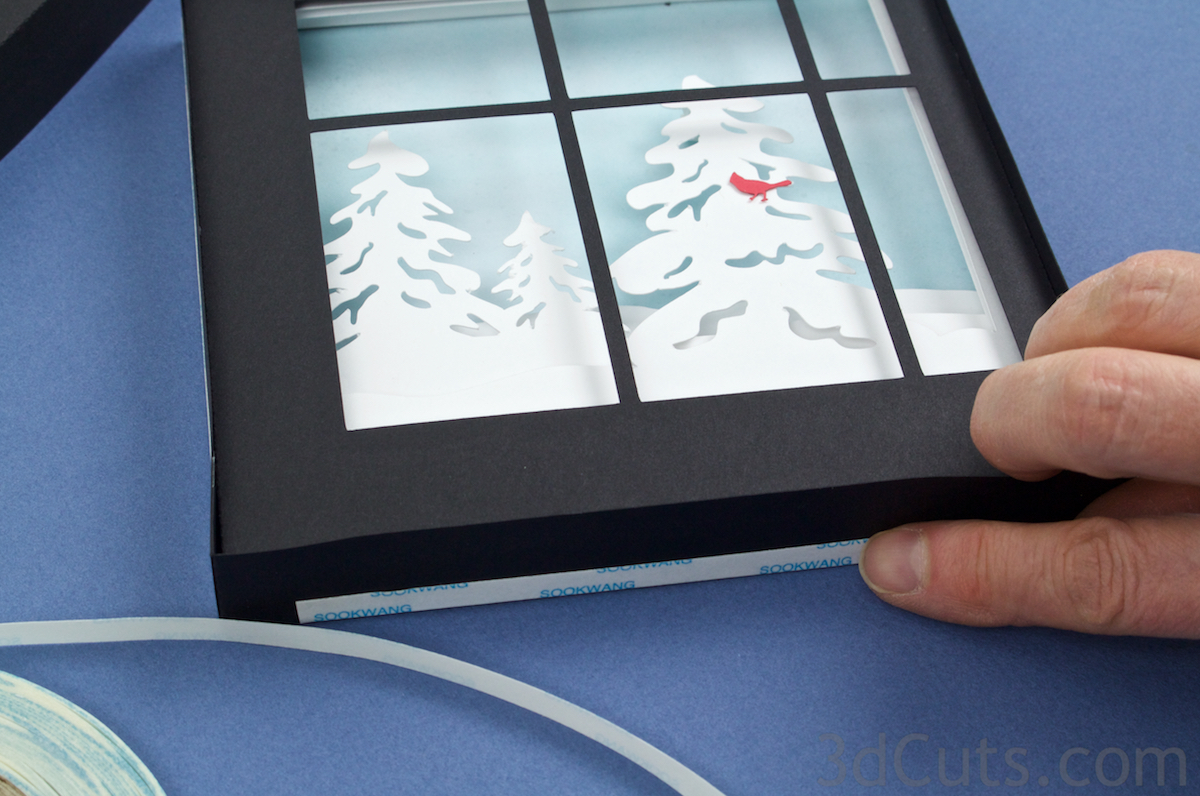
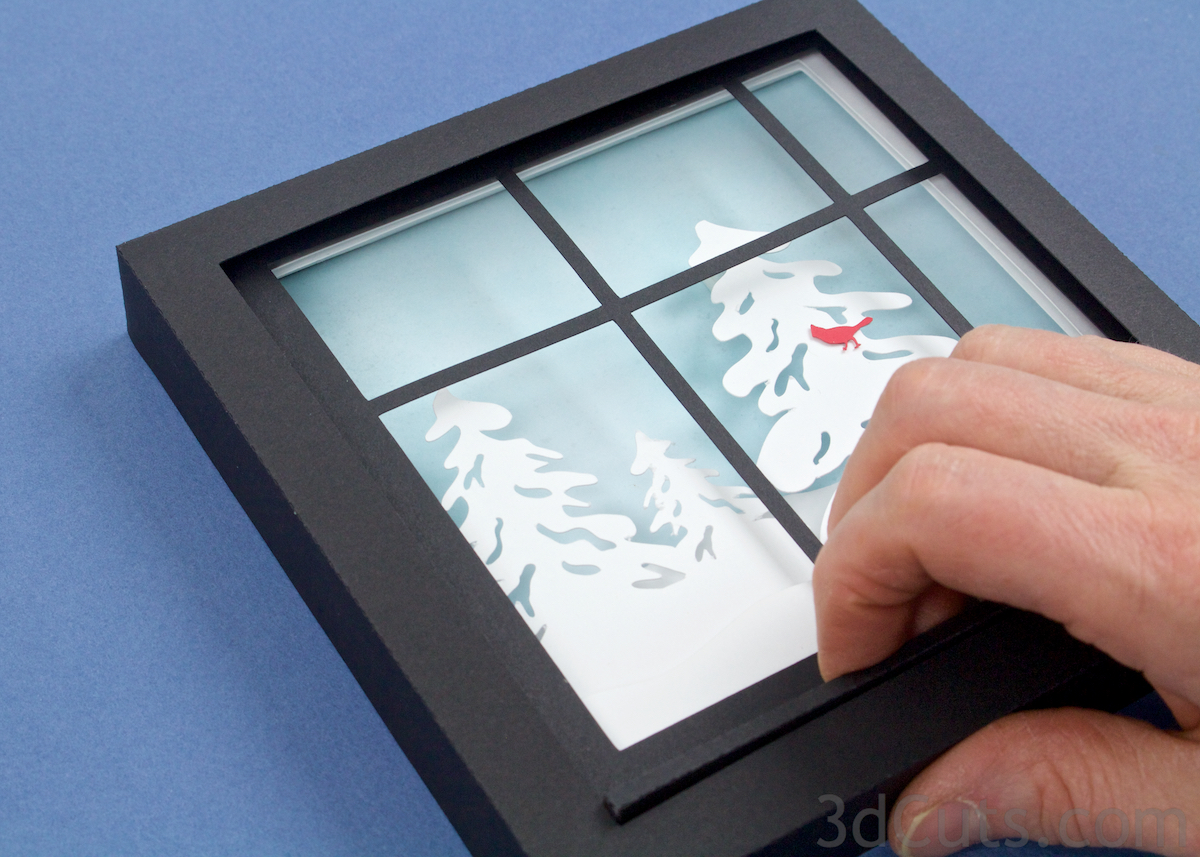
9. Add the Cardinal detail.
Placement of the cardinal needs to be correct. You don't want it to end up behind either the kitty or a frame. Temporarily place frame 2 over frame 3, locate the cardinal, disassemble and glue the cardinal in place.

1. Temporarily place frame 2 over the combined frames 3 and 4.

Temporarily position the kitty and then place the cardinal so it isn't behind the kitty or behind a window frame.

Mark the kitty location with a pencil dot.

Remove frame 2 and glue the cardinal in place. I used a 1/2 glue dot on the back and pressed it well. I positioned the cardinal to be looking in toward the center of the frame.

10. Tree Support
On any shadow box item you will want to make sure it is supported to prevent drooping over time.
The tall pine tree in one of the designs is too weak to support its height in the shadow box.
I added 3 small self-adhesive foam dots to the back (1/8" thick each). It was positioned so it wouldn't be seen from the front.
This will stick to the back wall when all layers are assembled giving and added point of support for the pine tree.
There are no background items needing this type of support on the oak tree.
11. Continue combining frames
Place frame 2 over frames 3 and 4.
Match up back edges and tape to hold in place.
Tape on all 4 edges.
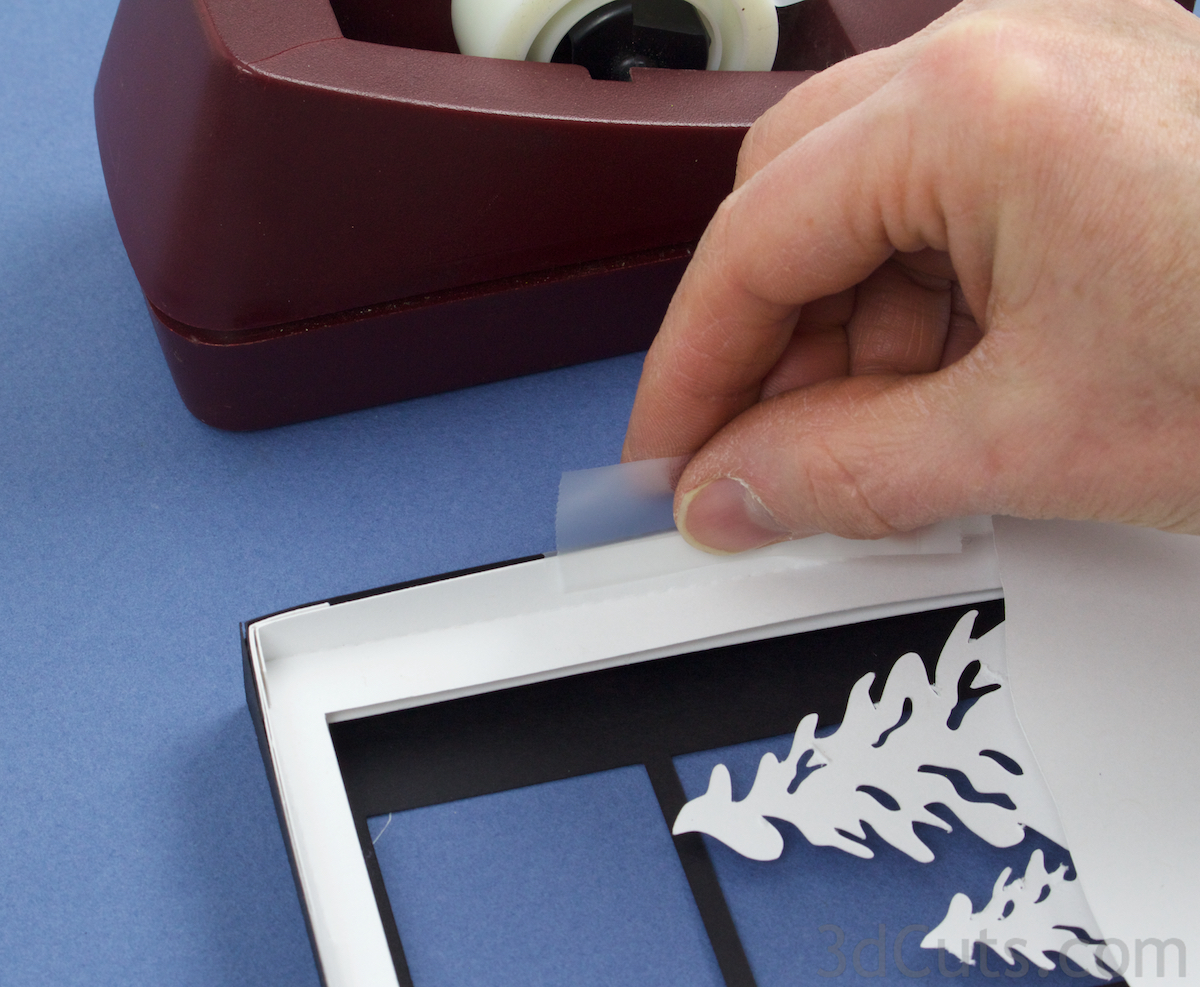
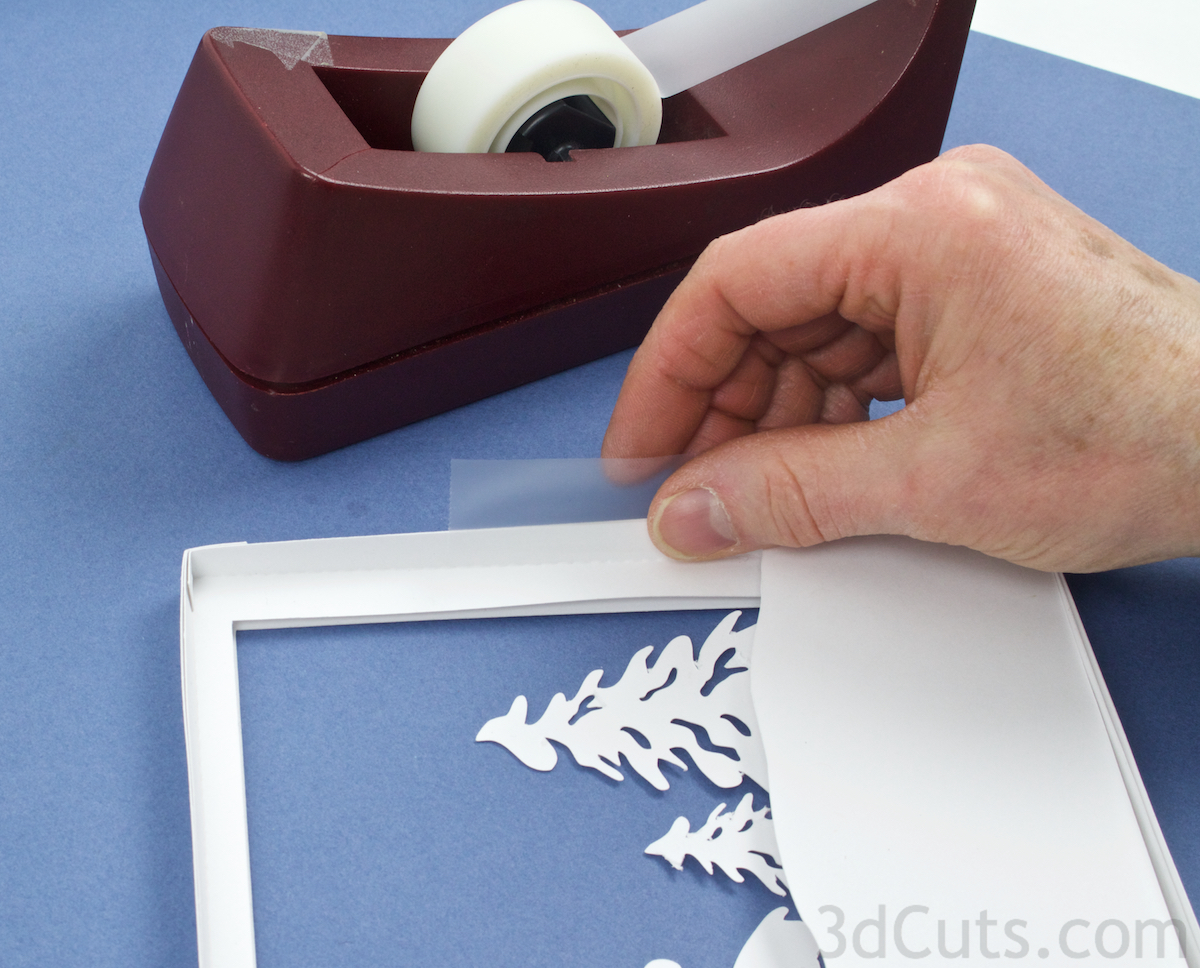
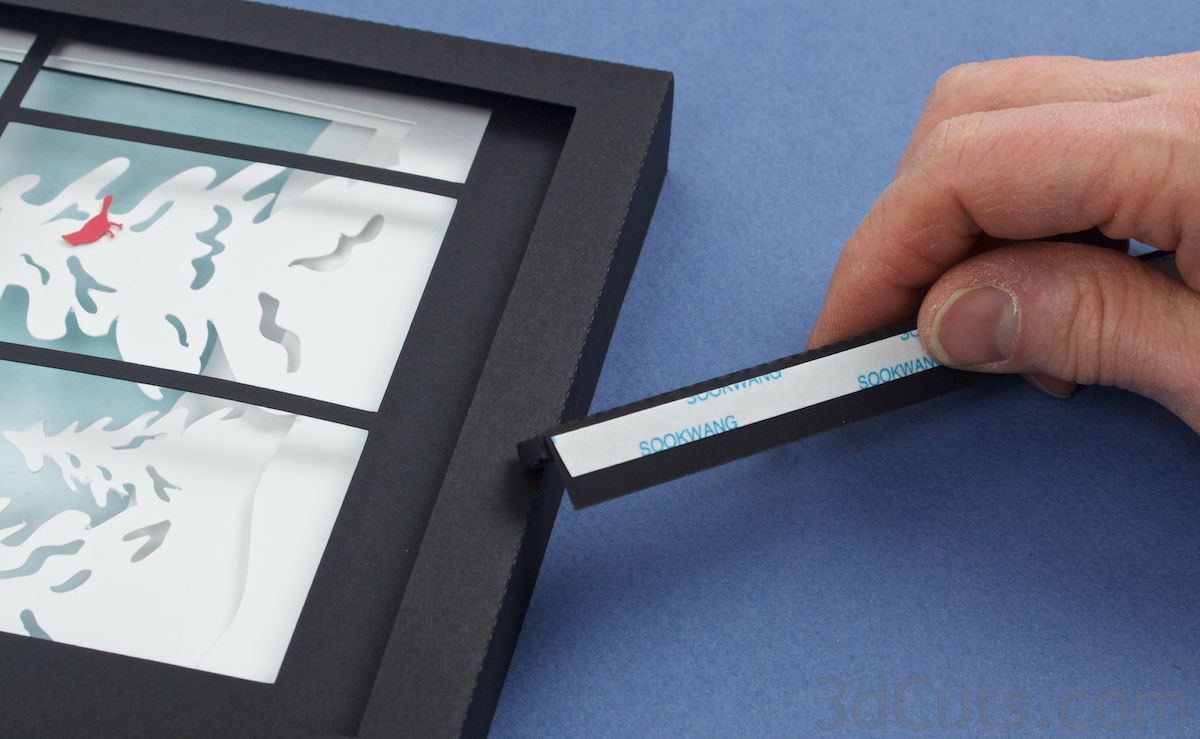
Place a strip of tape adhesive ( I used Scor-Tape) along the edge closest to the front of frame 2.
Only run it in the center leaving about 1" from each end without adhesive.
Leave the backing on.
Add Scor-Tape to all four sides in the same way.
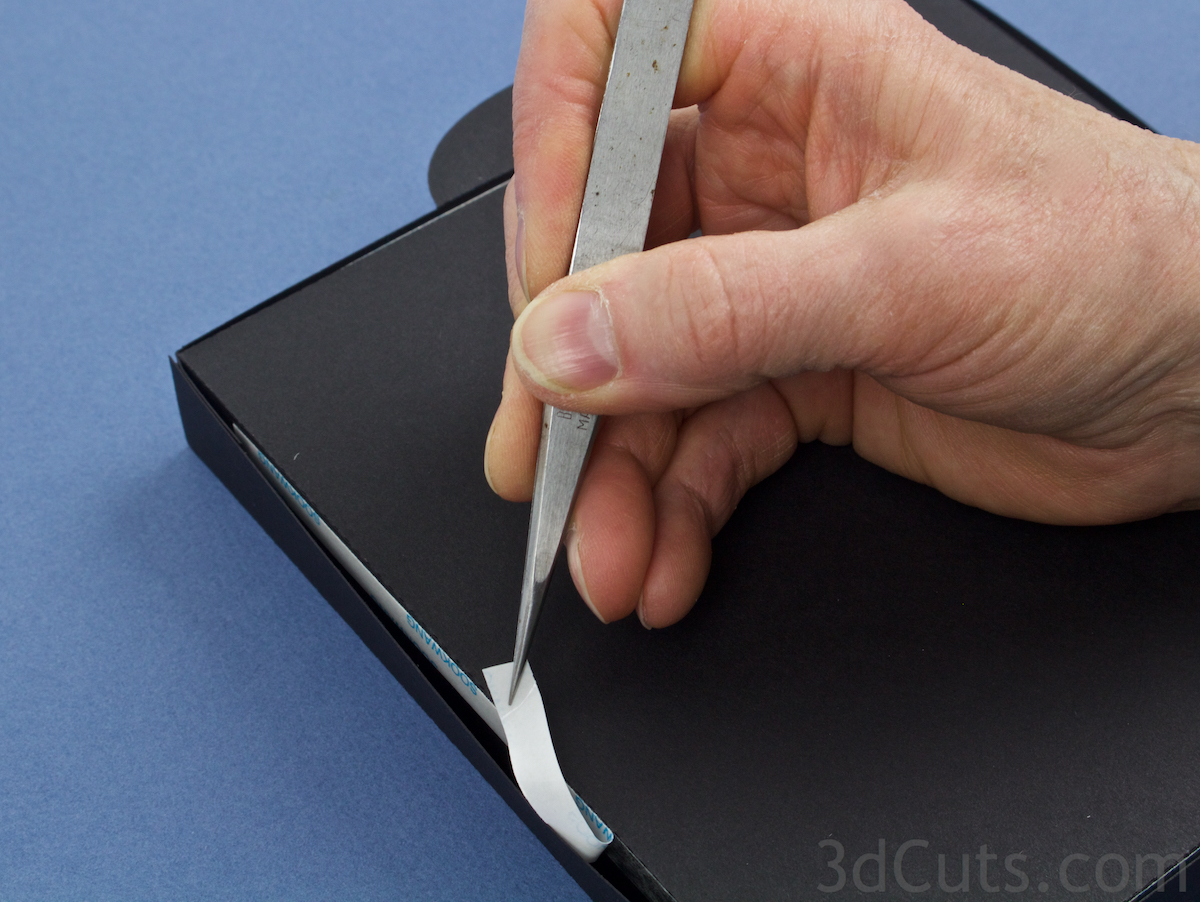
Leaving the back strip on the tape allows you to position the frame and then remove the backing tape. The frame is to be place all the way back in frame 5.
I use tweezers and reach in to catch the backing and peel it off.
Press the side in place.
Repeat on all four sides.

12. Add hanging bracket (optional).
I used Scor-Tape to adhere the hanging bracket to the inside top edge of frame 1.

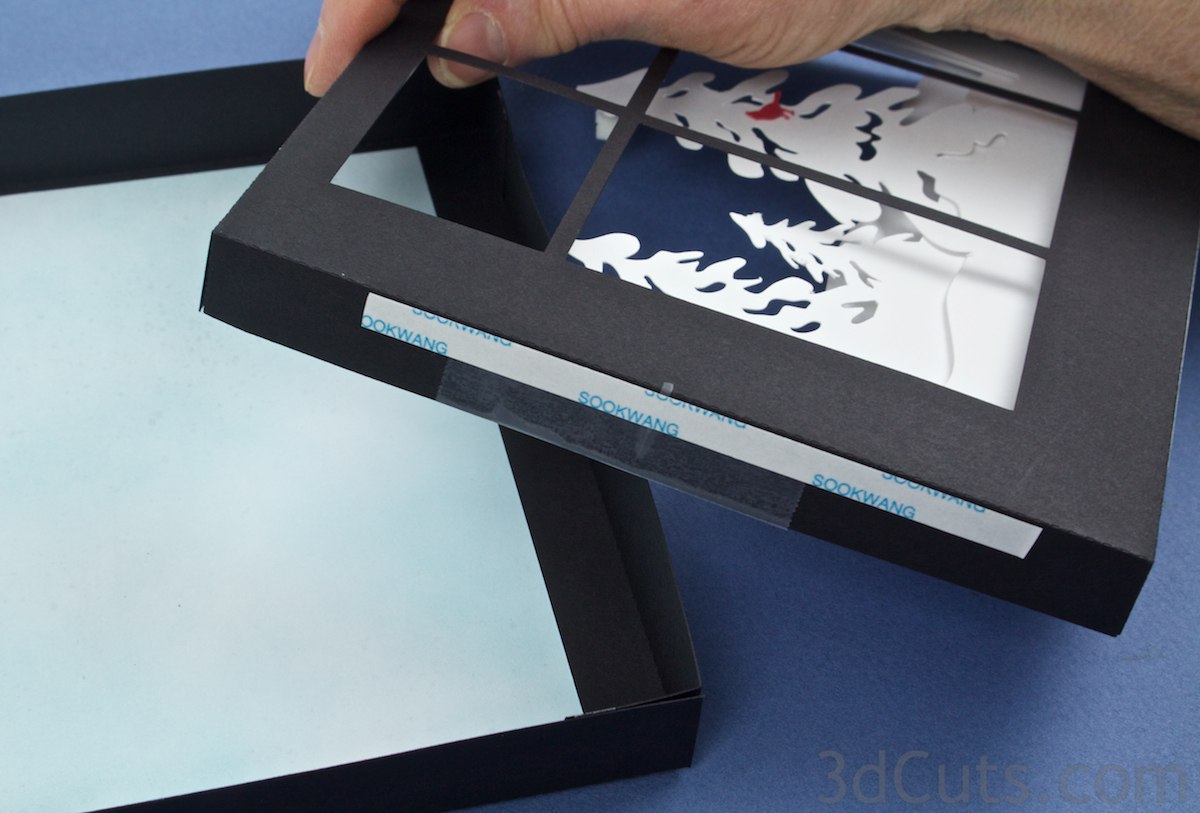
13. Attach frame 1 to frame 5.
1. Apply Scor-Tape along the back edge of each side of frame 5. Place it in the middle leaving the corners without. Leave backing in place.
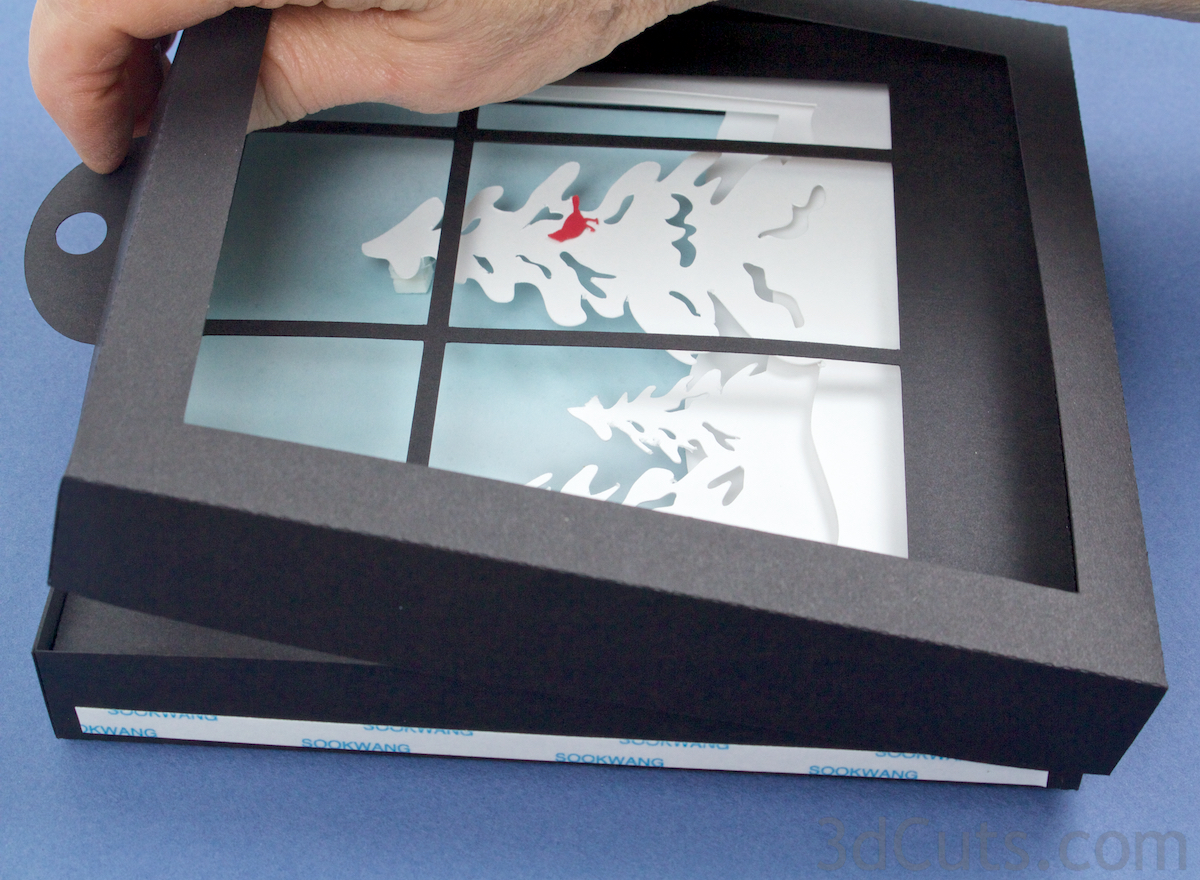
Slide Frame 1 over frame 5.
Use tweezers to remove backing and press sides in place.
14. Construct the Window Ledge.
Cut several rows of glue dots in half. You need tiny glue dots to assemble the window ledge.
Fold the window ledge piece on all score lines. There are 5 long ones and 4 at each end.
Place glue dots on all 3 tabs to hold the end caps in place.Add glue dots along the long end tab which will get folded in and under.
Start folding the window ledge. As you fold it, position both end tabs and glue them in place. They will start to hold the sides as they fold around.
Image 3 below shows how the ledge will be formed. This is an end view showing how the paper folds around.
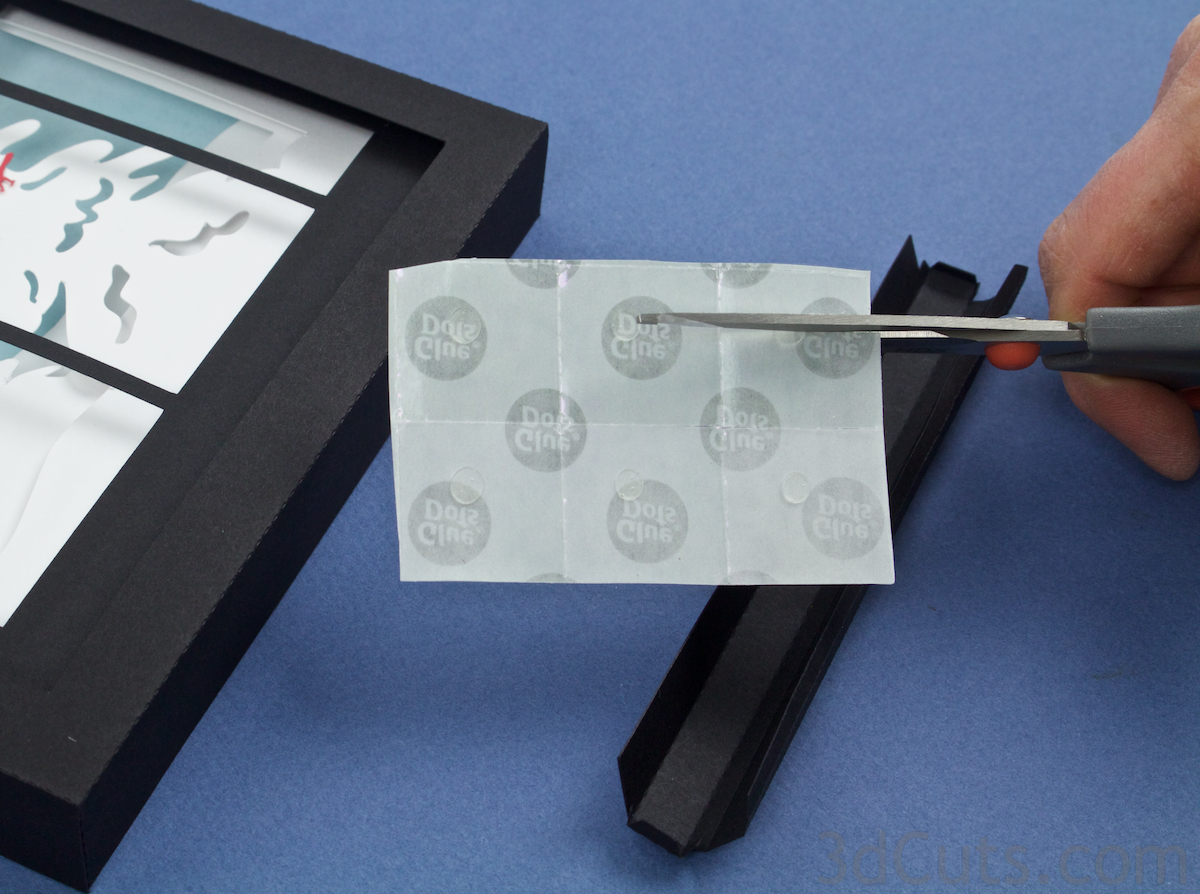
2. Cut and position glue dots.

1. Pre fold on all dotted fold lines.
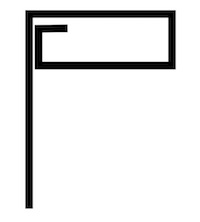
3. Fold the ledge along fold lines. The long tab gets folded up and under. Position the ends as you do this.
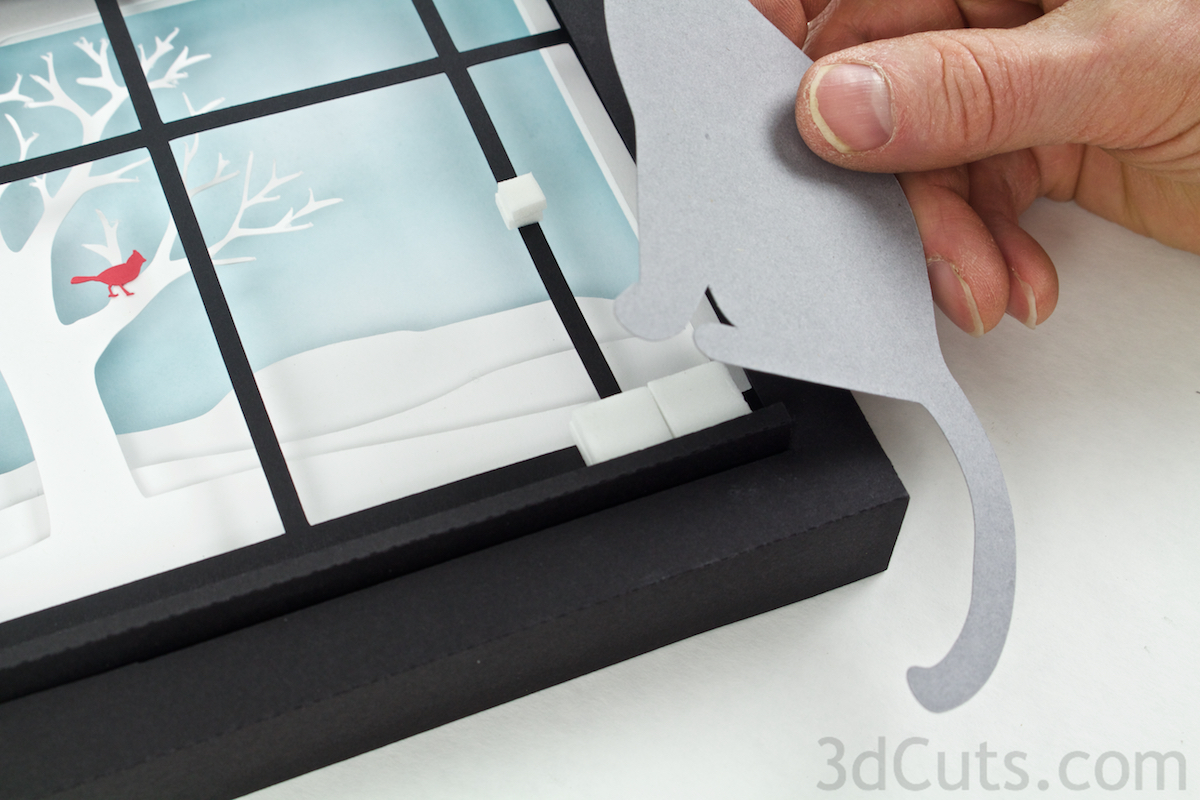
15. Position the window ledge.
The window ledge will rest on the front edge of frame 1 and get adhered to the front of frame 2.
It helps to position it to understand placement.
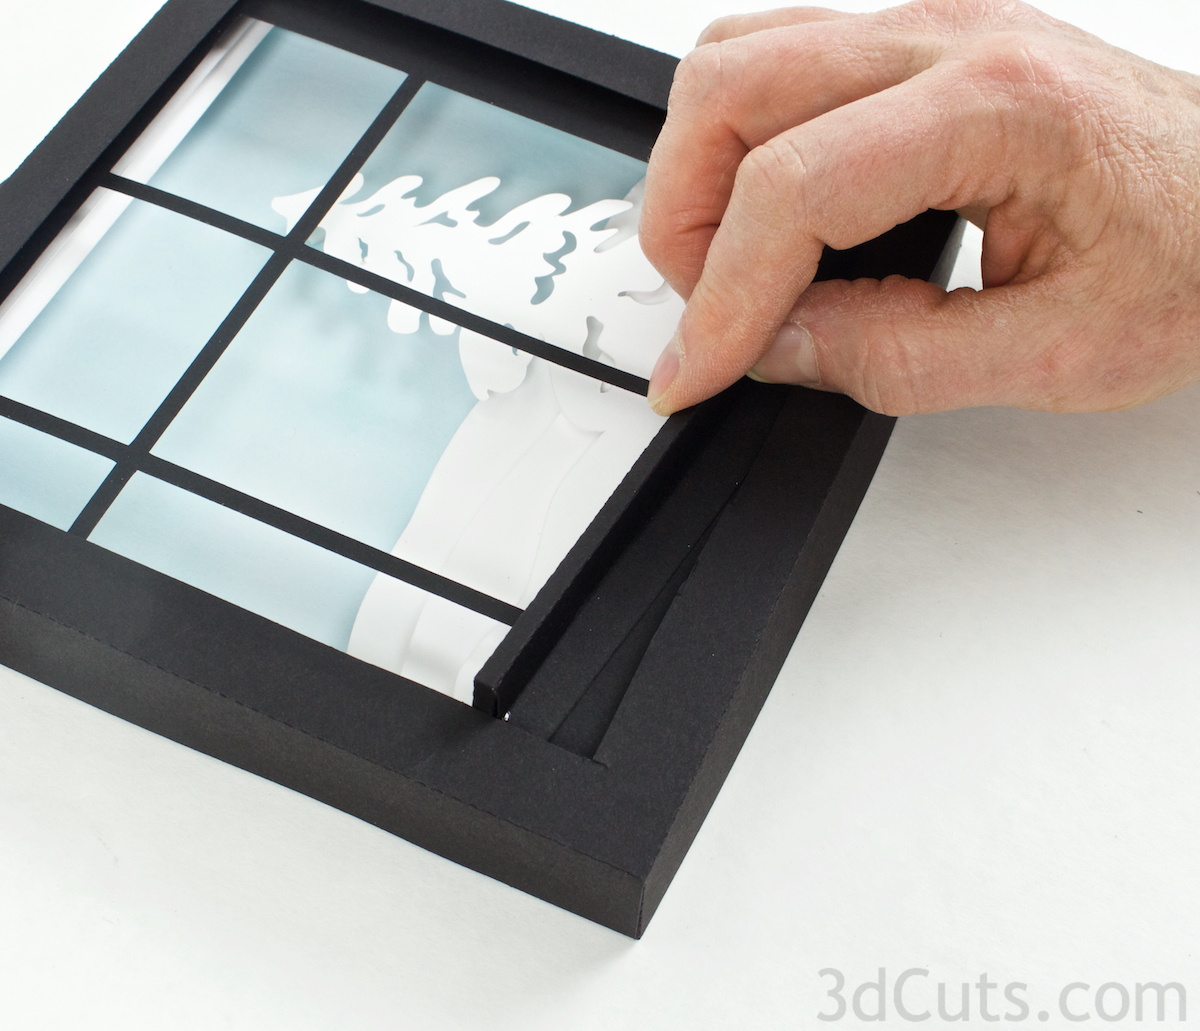
Apple Scor-Tape to the back of the ledge. Peel of the covering, position and press in place.
16. Adhere the kitties into position.
The curled up kitty gets position on the left side of the window ledge facing the largest pine tree.
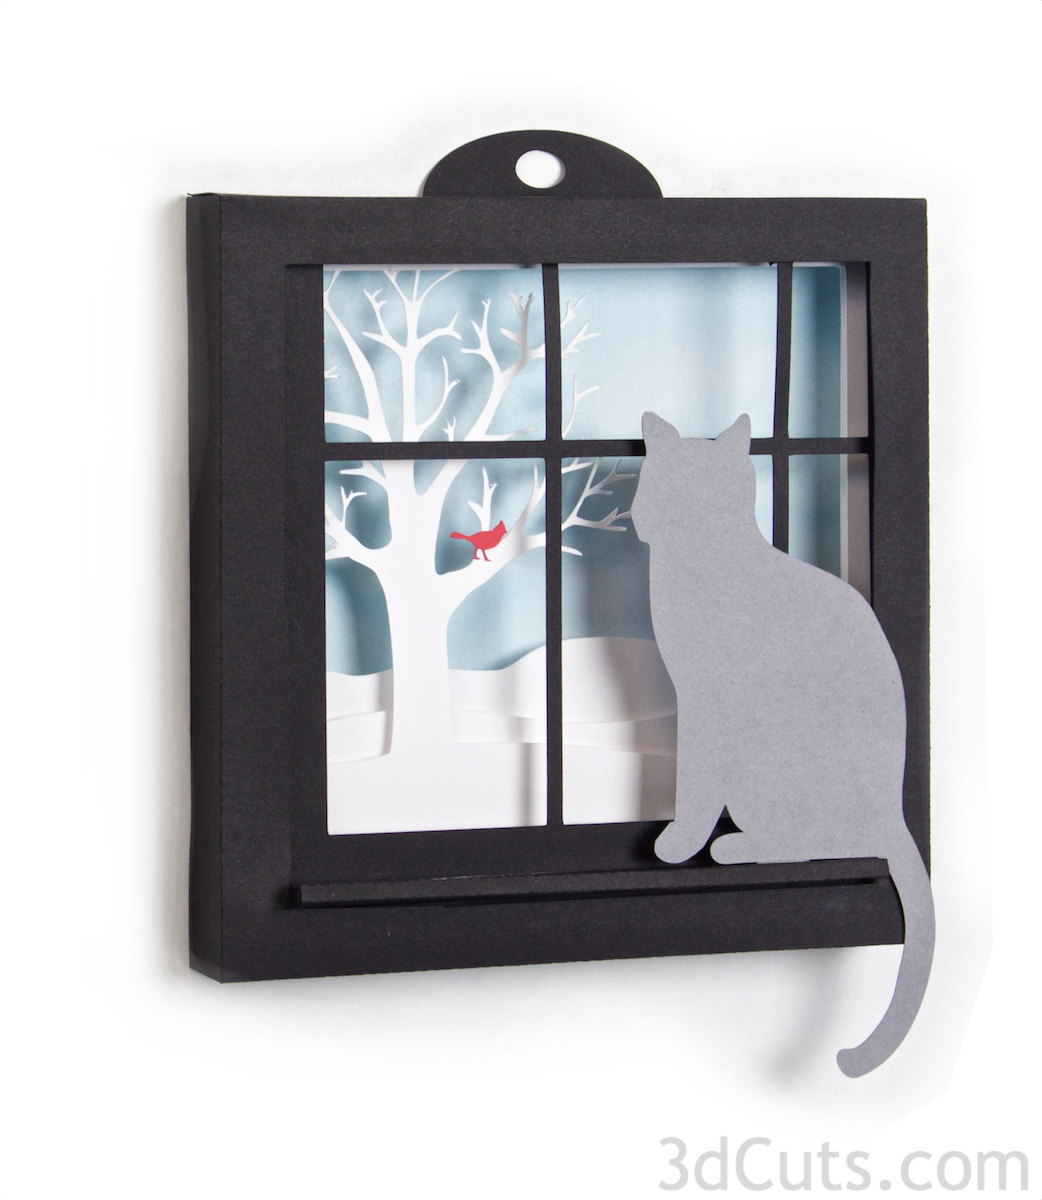
The sitting up kitty gets positioned on the right side of the ledge facing the oak tree.
Each is adhered using self-adhesive glue dots. I stacked up two stacks of two layers of glue dots for the base of each, and one additional stack up behind the head on a window frame.
I also ran a little Scor-Tape behind the back side of the kitty along where it overlaps the frame (not visible in photos).
Place the kitty and press in place.

Your project is complete. Now it is time to assemble the matching one. Enjoy!
©2016 Marji Roy, 3DCuts.com