3D Heart Trees • 2016 • Tutorial
Project Description:
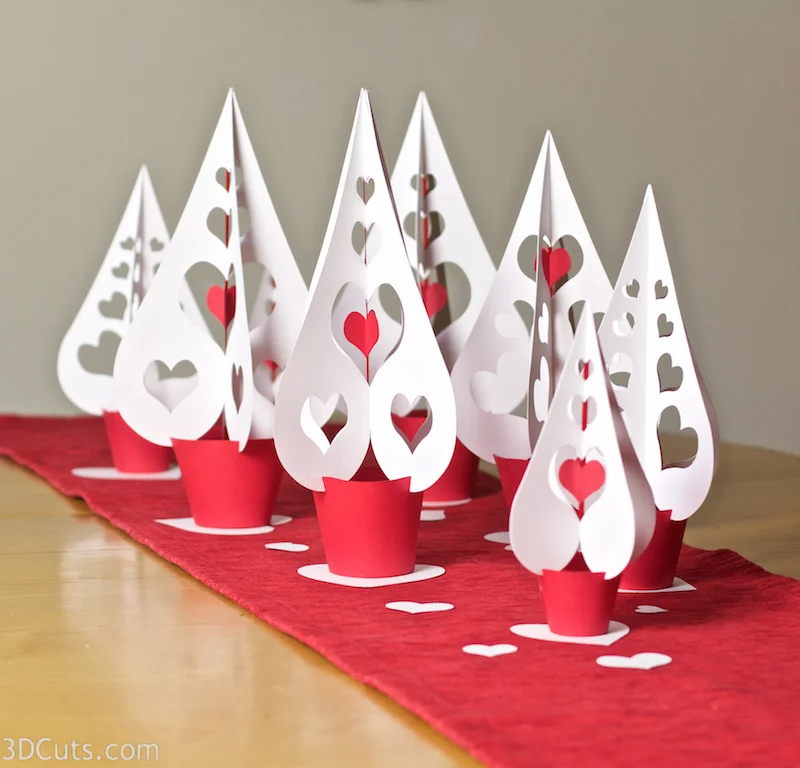
3D Trees are wonderful for seasonal decor. This tutorial is for a trio of heart trees for Valentine's Day or weddings. They make elegant but quick and easy centerpieces.
This is my third series of heart trees. Look for the 2014 and 2015 series as well here.
Supplies Needed:
- Cutting File from 3dcuts.com
- 8.5 x 11" card stock - I used the 65lb Cardstock from Recollections for colored and Neenah 110 Index for the white.
- Spray Glue (Aillen's Tacky Spray)
- Paper Adhesive
- Tape Adhesive (Scor Tape)
- 1/8" Satin Ribbon 9"
Parts sizes:
- Small Tree: 5.4548" w x 8.5364" h
- Small Tree Base Parts: 5.9336" w x 6.1613"h
- Medium Tree: 6.0368" w x 9.4473" h
- Medium Tree Base Parts: 6.8854" w x 8.3253" h
- Large Tree: 6.7024" w x 10.4889" h
- Large Tree Base Parts: 7.5914" w x 9.9688" h
Steps for assembly of the Valentine Trees • 2016
Note: All three files use the same tutorial. This tutorial is only for the 2016 series. There are other tutorials for the 2015 and 2014 trees. Look under the Tutorial menu or click here.
1. Download the cutting files for your cutting machine.
2. Load the files into your cutting software following the steps for your cutting machine.
3. Prepare the files:.
- Click here for detailed steps on how to use .SVG files on your Silhouette (with Design Studio).
- Click here for steps on how to use these .SVG files in Design Space with your Cricut Explore.
4. Cut the shapes.
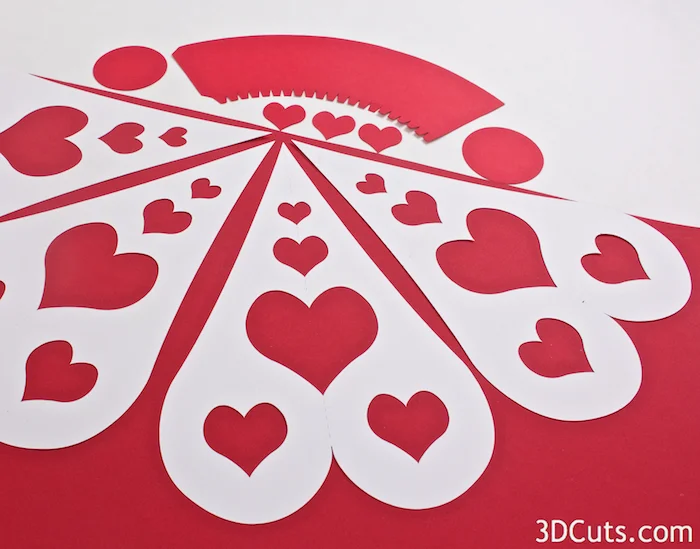
- Cut the 4 trees from the same color.
- Cut the hearts and base from a contrasting color.
5. Assemble the Tree top.
- Fold all triangle tree tops in half along the dotted fold line.
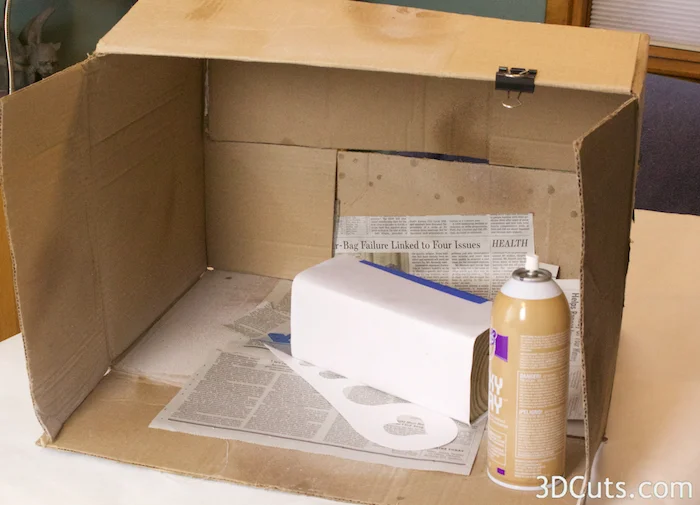
- Spray glue onto one half of one of the tree tops.
- I set up a spray booth in a large box.
- I cover the half of the tree that I don't want to get sprayed with a block of wood. This keeps it clean but also holds the paper in place as I spray.
- I used Aileens Tacky spray glue because it has about a 60 second positioning time. If I am careful I can slide pieces into place.
- Line up this half of the tree with glue on it to a matching half on the next tree piece.
- Place it carefully so that all edges line up together.
- Press together.
- Apply glue to one half of a third tree.
- Line it up to the other two and press in place.
If you are making a tree with no contrasting heart ( the smallest) then skip these ribbon steps.
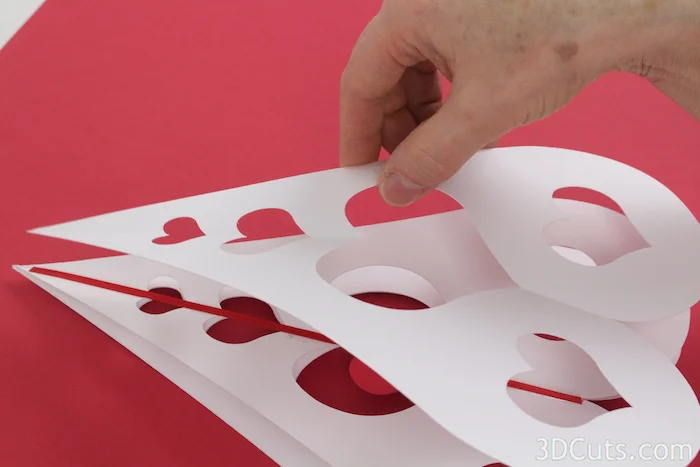
- Open the tree so that the two sides that are only a single thickness are spread open.
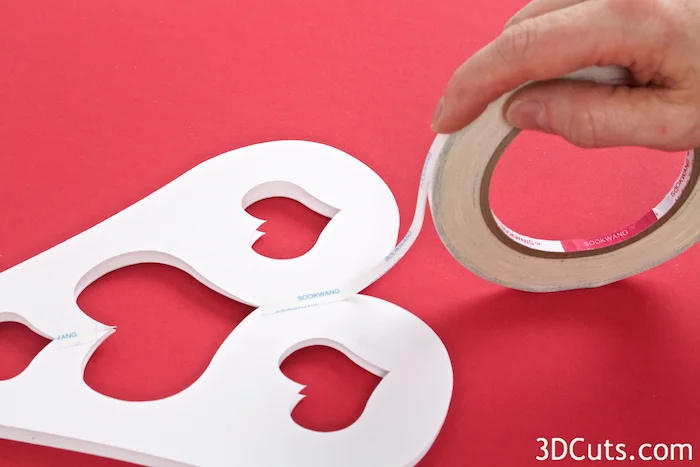
- Apply a strip of ScorTape adhesive up the center seam. I apply it to each section of the center seam and press it in place.
- Peel off the backing 0f the Scor Tape.
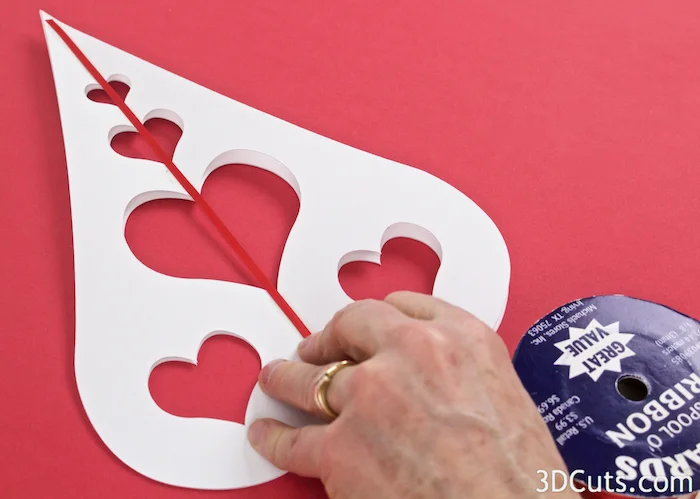
- Press a length of 1/8" satin ribbon along the Scor Tape keeping it straight and in the center.
- Fold the 3 little hearts in half along the dotted fold line.
- Spray them with spray adhesive.
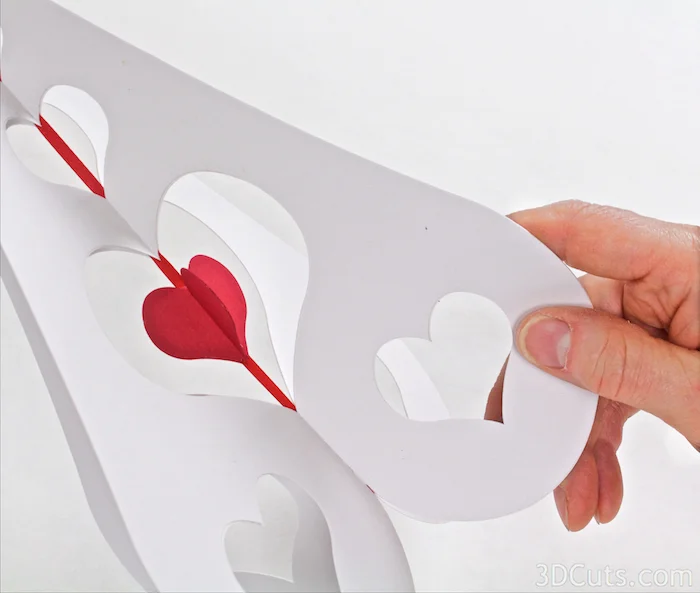
- Glue one right in the center of the largest heart opening on the back side of the ribbon.
- Center it in the space.
- Glue the remaining two hearts to the first back to back making a three part 3d heart.
- Apply spray glue to the entire back of the fourth tree shape and carefully position it onto the tree over the visible ribbon running up the center seam.
- Spread the four trees out at right angles to each other. Also This completes the top of the tree.
6. Make the base.
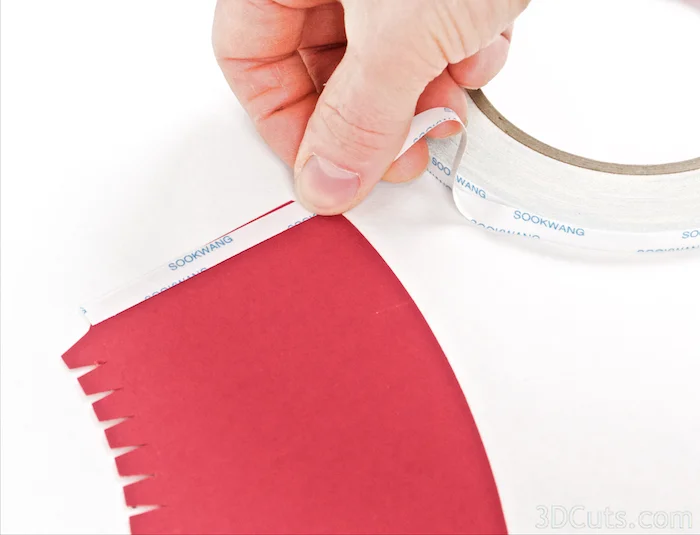
- Apply a strong adhesive to the tab at the end of the base piece. I used Scor Tape. Bend the base by pulling it over the edge of the table to curve the paper in the direction of the curve of the base.
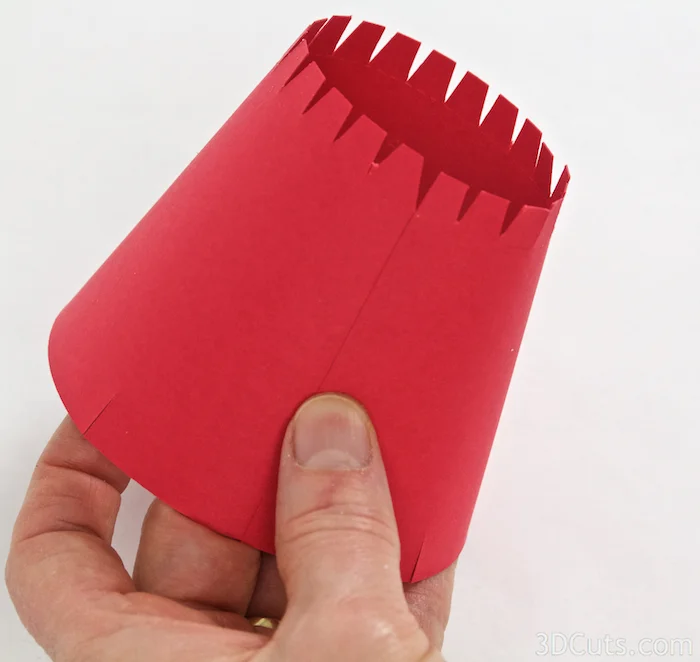
- Peel the backing off the tape and press the tab into the other end of the base piece forming the pot.
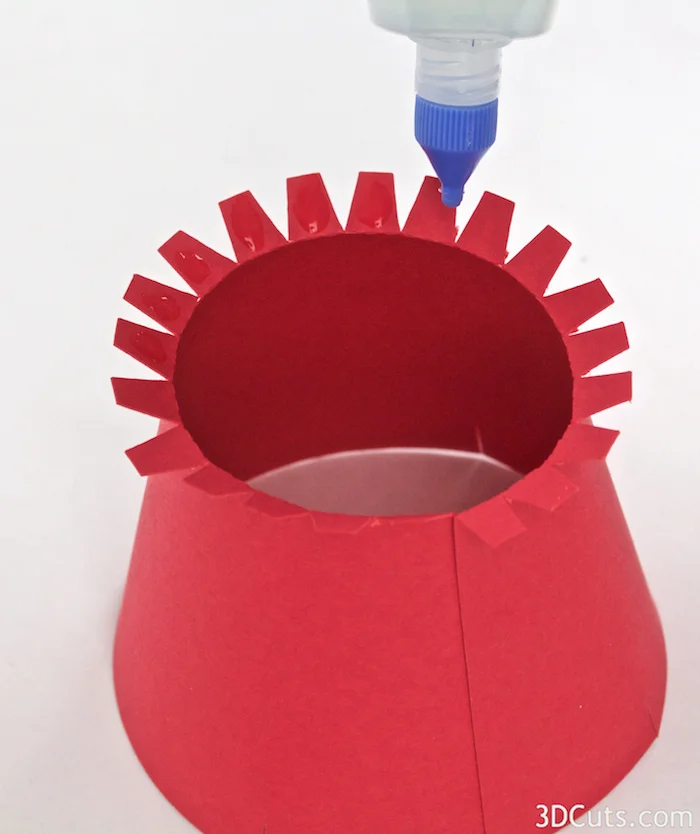
- Fold all tiny tabs on base out and apply a strong paper adhesive to the inside of each tab.
- I used TomBow Permanent Adhesive with the small tip.
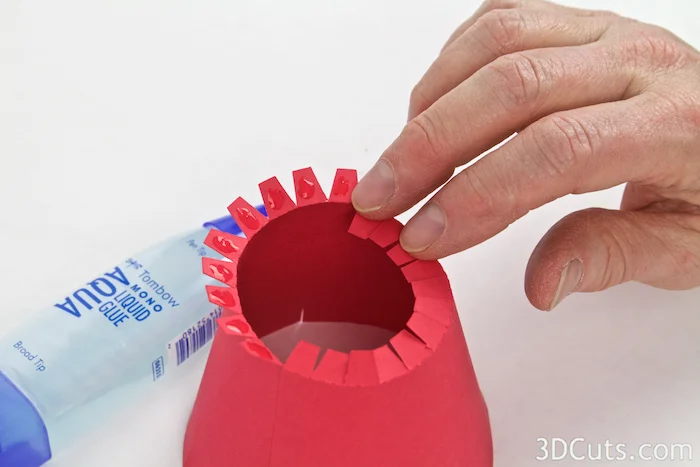
- Fold All the tiny tabs into the center so the glued side is inside.
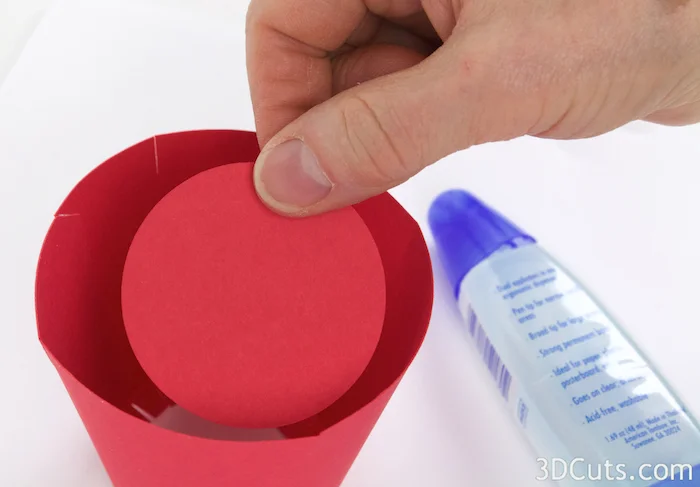
- Place one of the round circles into the cylinder. It will fit perfectly into the bottom and rest on all the glued surfaces of the tabs.
- Press in place.
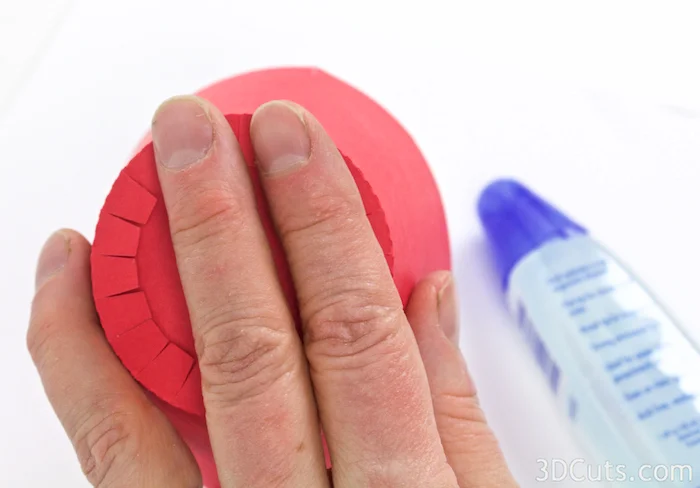
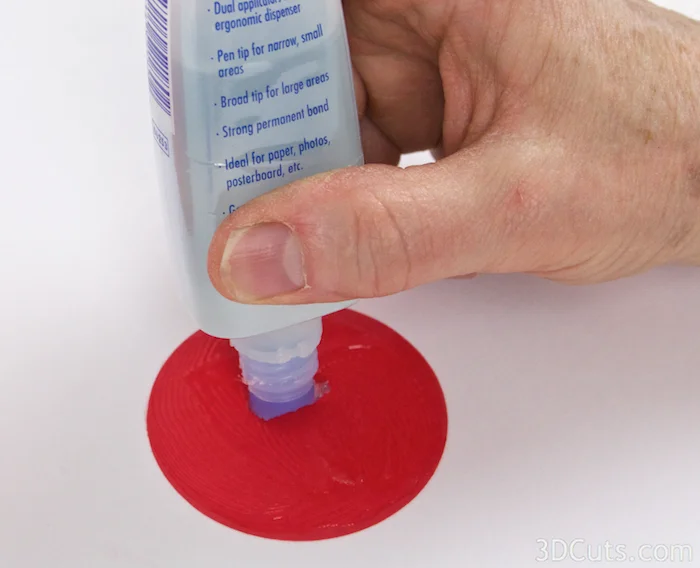
- Cover the last circle with paper adhesive.
- Press on to the bottom covering all the tabs.
- Press from the inside as well.
Optional hint:
- I filled the pot with coins to keep the weight on it while the glue dried.
- Once the base is dry, insert the fins of the tree into the four slots along the top of the base. This takes a little finagling because they all need to slide in together. Work each one a little bit at a time.
- Hint: Pour white sand, rice, beans or red beads into the base. This will give it more weight for display purposes.
- The first of your Valentine Trees is complete. Now try the other designs! Make a series to arrange as a centerpiece or just a few for a mantle display.
Happy Crafting, Marji
©2016 Marji Roy, 3dcuts
