Zig Zag Presents Card - Tutorial
Project Description
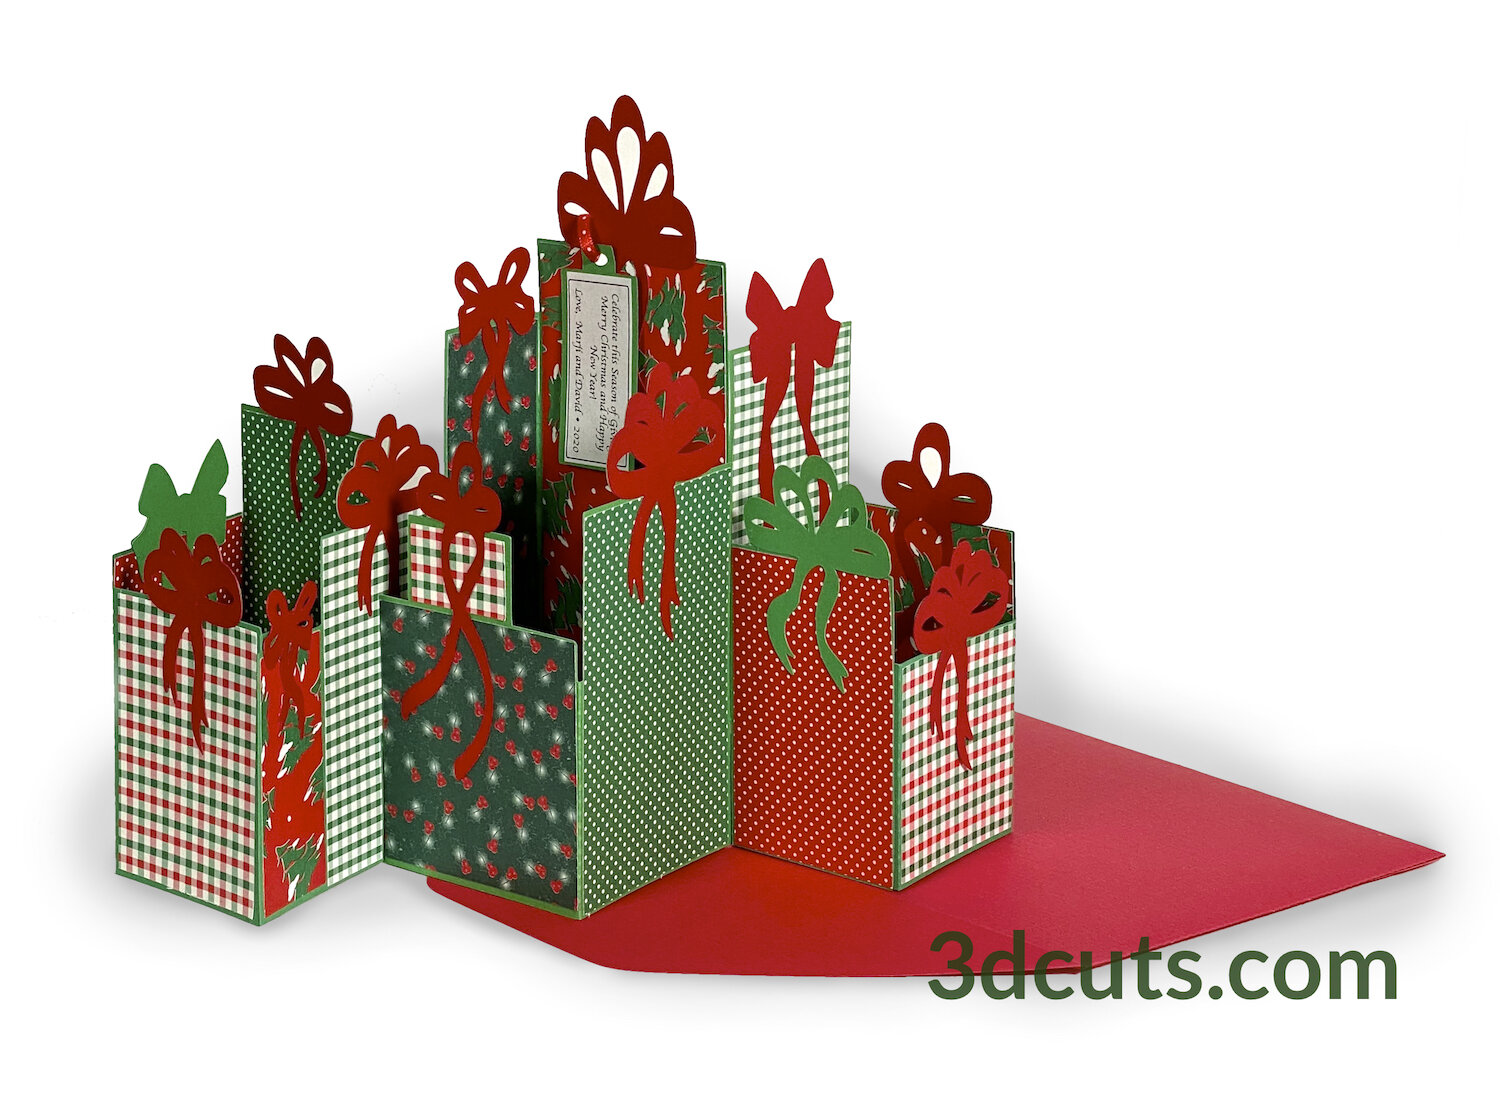
Zig Zag Presents Card, 3DCuts.com, Marji Roy, 3D cutting files in .svg, .dxf, and .pdf formats for use with Silhouette, Cricut and other cutting machines, paper crafting files
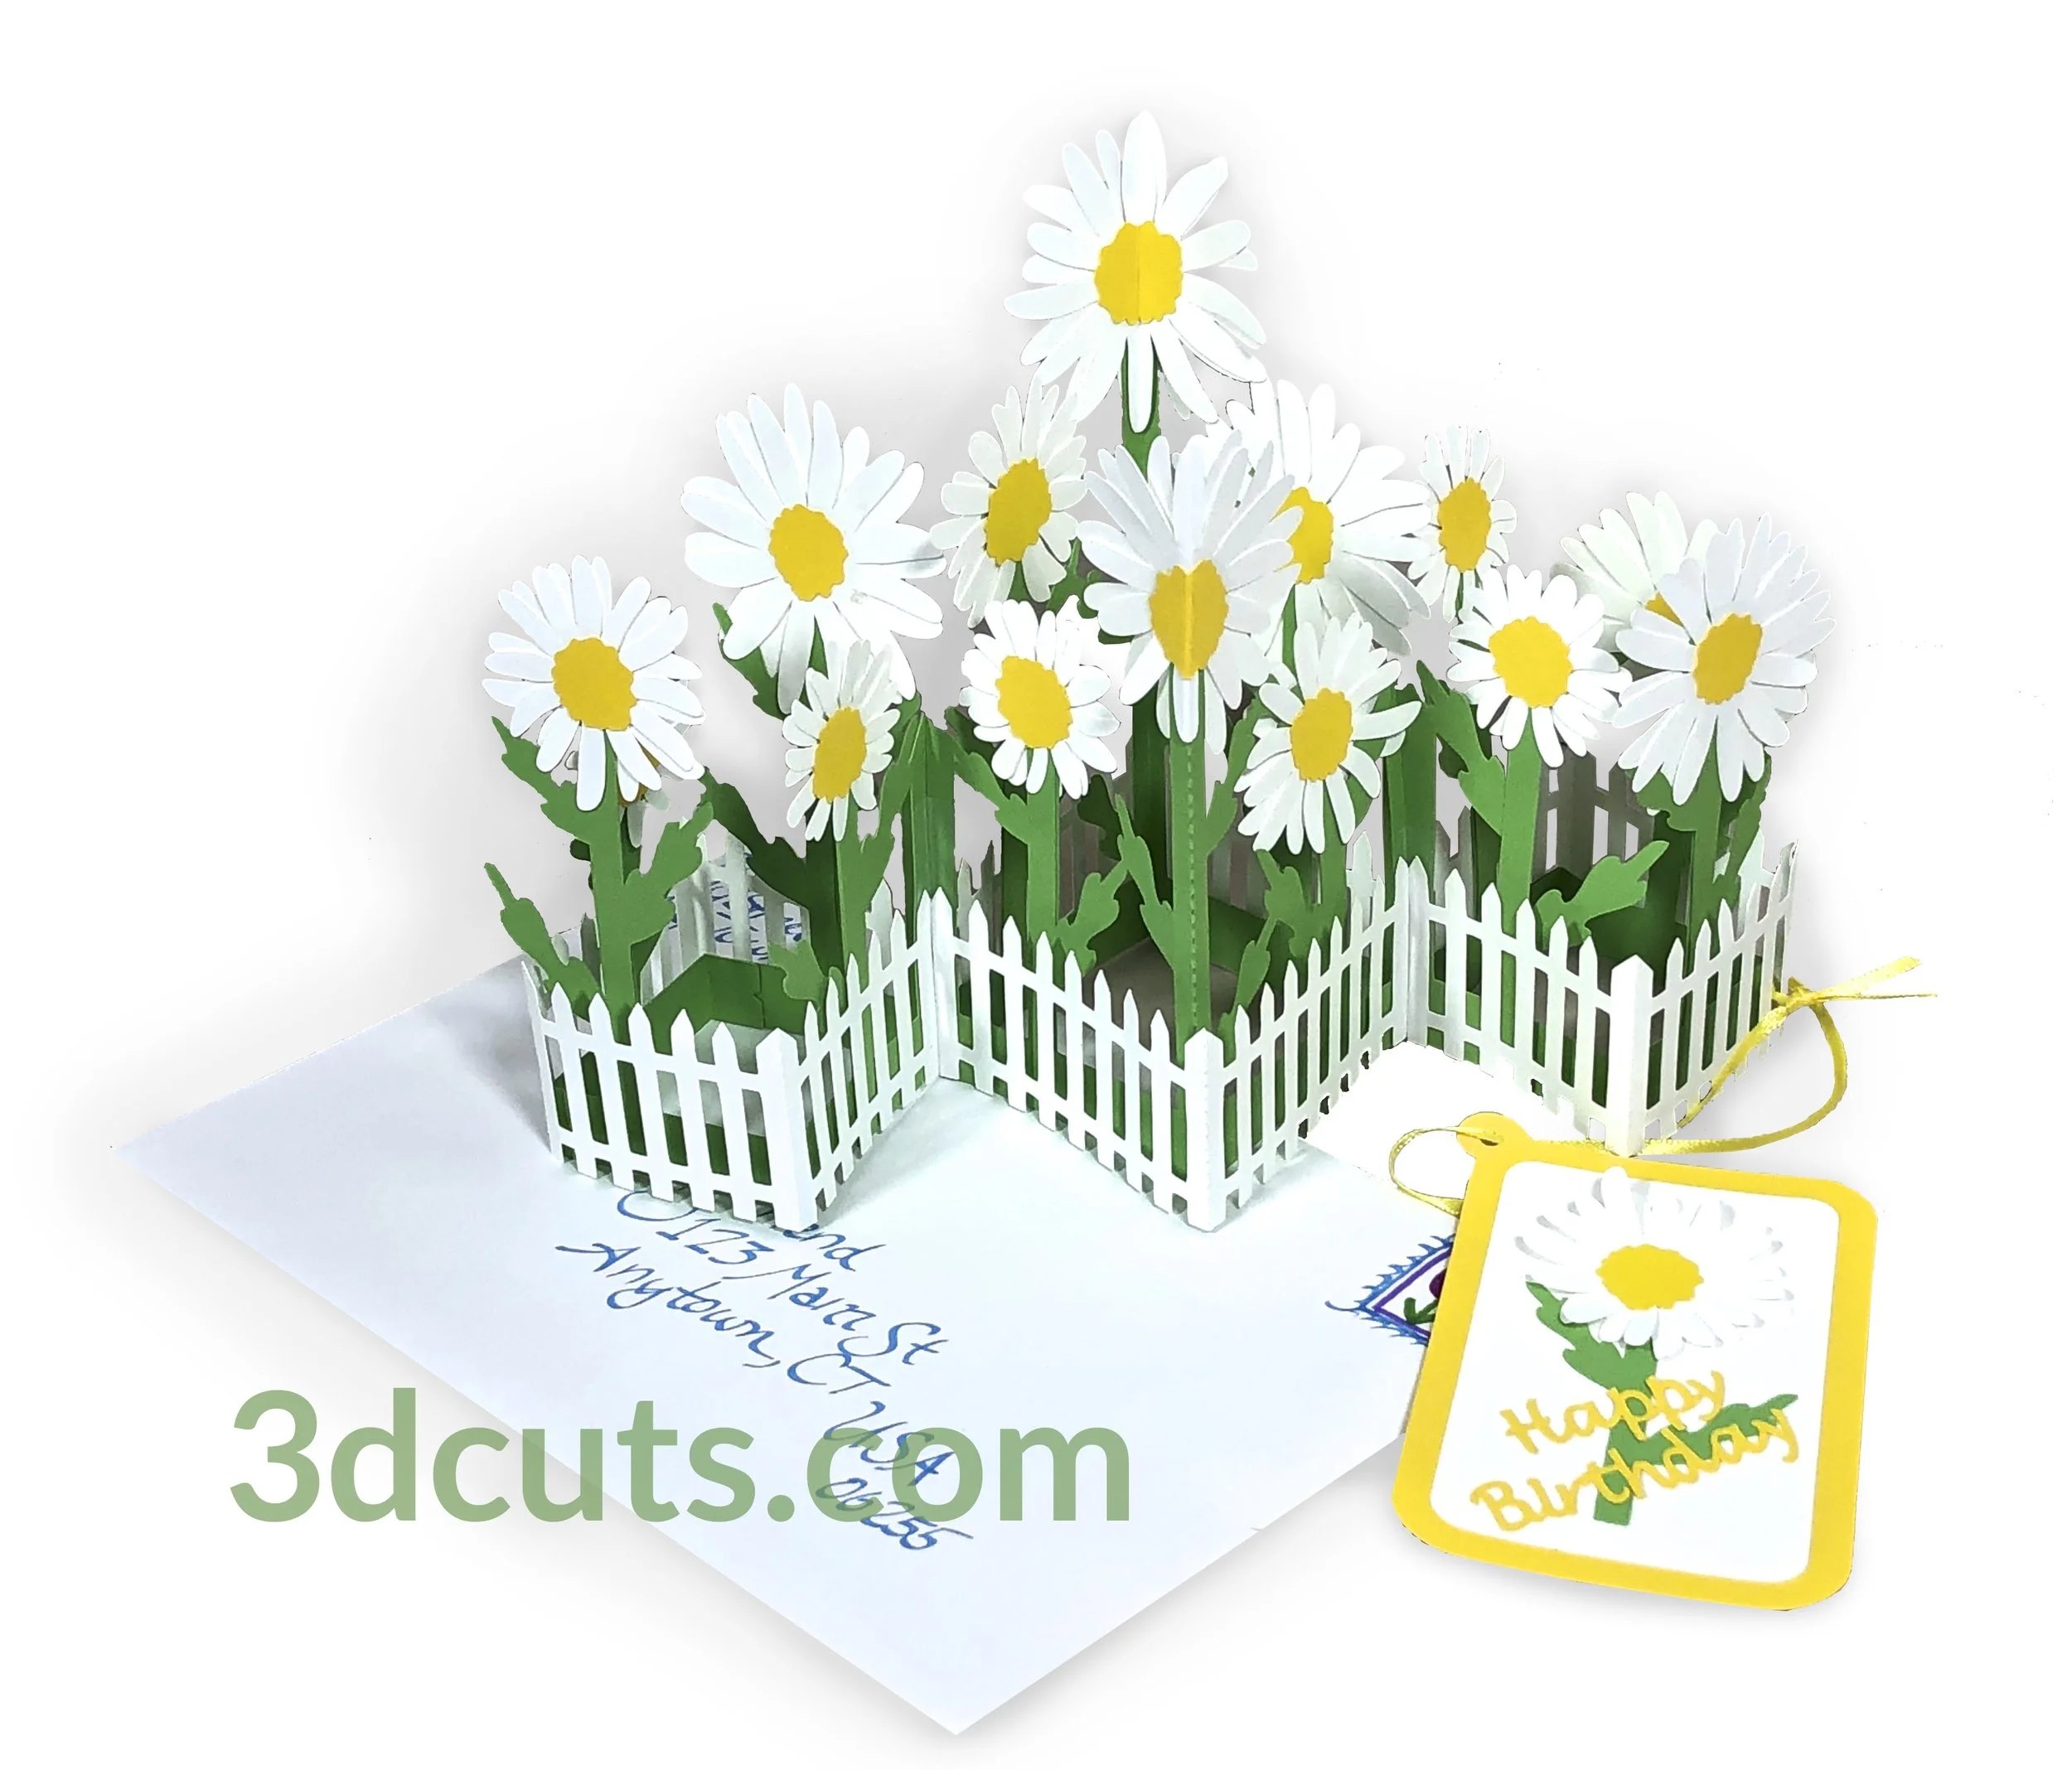
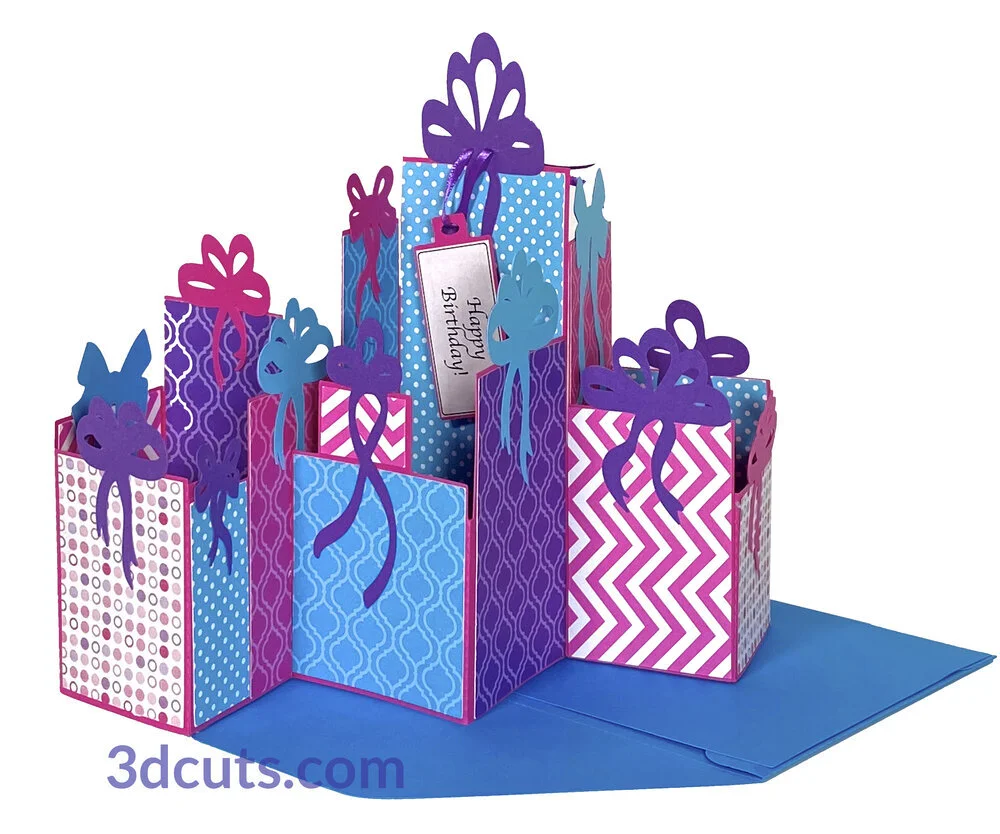
Create this versatile 3D Zig Zag Presents Card to keep or give. The papers you choose to add will dictate the use of the card. Originally designed as a Christmas Card, it works as well for birthdays. It is designed to fold flat for storage or mailing. It fits in a standard 6 x 9” booklet envelope and there is also a pattern for one included if you want to make your own. It is about 10” w and 7” tall.
Construction techniques are a simple version of my other zig zag projects like the Valentine Garden or the Tulip Card. There is a video of the assembly below. Scroll to step 6 to start watching.
Cutting File available here from 3dcuts.com. https://3dcuts.com/christmas-projects/zig-zag-presents
Supplies needed:
Cutting File available here from 3dcuts.com.
8.5 x 11" card stock - I used the 65lb Card stock from Recollections for colors and Neenah 110 Index Card stock from Amazon for white. All 4 bases should be in card stock.
Scrapbook paper. You can use either card stock or scrapbook paper for the various colored packages. If mailing consider paper to keep weight down.
12 x 12” Card Stock is needed for the envelope. I used Recollections from Michale’s
Adhesive - Art Glitter Glue and Scor-Tape 1/4”
Envelopes- Link to right to 6 x 9” booklet envelopes
Ribbon - 12” of 1/8” satin
Scotch Tape
Major Parts Sizes - as download.
Keep grouped for sizing: . Measurements maybe needed if using dxf files.
Card Base 1 - 8.1168" w x 10.0774" h
Card Base 2- 6.3004" w x 10.084 7"h
Card Bases 3-4 and take parts - 6.9944" w x 10.0889"h
Bows grouped - 8.0188" w x 10.3472"h
All Inserts Group: 11.2097" w x 15.0417" h - must be split for cutting
Envelope Parts: 11.0069" w x 16.0156" h - must be split for cutting
Note: Several layers have multiple pieces. Keep them grouped together if you must re-size pieces.
Zig Zag Presents ALL Files - 35.2208” W x 27.5833” H
Note: Not all software and cutting machine combinations can use the ALL file. Some resizes files to fit in a smaller mat area. Import the individual files if your machine has size limitations. I create the ALL file in case you want to re-size everything.
Layout Notes:
The layout below is here to show you how the files are organized. The above sizes match those groupings in the split files. Note: I used colored rectangles to help you identify which presents had the same paper and where the are located. This is totally optional. I used 6 different patterns. You may have only five. Mix and match to your own liking. The colored rectangles will not be in the file download for the bases 1-4 but you can refer to them here to understand locations. You may find it quicker to just mark them from the bases and cut them on a paper cutter. I did it that way.

Steps for completing the Zig Zag Presents Card:
Special Note: I update the instructions online. Check here for adjustments and additional information.
1. Download the cutting files for your cutting machine here from the 3dcuts.com store. https://3dcuts.com/christmas-projects/zig-zag-presents. For those of you that are reading this as a pdf I recommend viewing it online at my tutorials page at this url. https://3dcuts.com/zig-zag-presents-card-tutorial There all the links will be live. The file for the Christmas version and the birthday version are exactly the same - just choose different papers.
2. Load the files into your cutting software following the steps for your cutting machine.
3. Prepare the files:.
For the Silhouette:
SIL Files from upload SVG purchased from 3dcuts.com:
The SVG files may need to be turned into cutting files. Click here for detailed steps on how to use SVG files on your Silhouette. http://www.3dcuts.com/tutorial-upload-svg-silhouette
DXF files can be opened in the basic edition of Silhouette Design Studio but often require modifications. I recommend using the Designer Edition and using svg files. DXF files do not always maintain file sizes and you may need to adjust according to sizes noted above.
For Cricut Explore: Here is a guide for importing into Cricut Design Space. http://www.3dcuts.com/tutorial-adding-3dcuts-files-to-cricut. Remember to ATTACH files before cutting in Cricut.
For Brother ScanNCut: The svg files will need to be transferred to files for your particular machine. You can change SVG files to FCM files at http://www.canvasworkspace.com/ or Google "How to import SVG files into a ScanNCut" for links to tutorials. Some models of Brother Scan N Cut can directly import the SVG files.
4. Cut the files.
All base pieces are cut from card stock. The present wrappings can be scrapbook paper to save on weight or card stock if that is what you have. I have included cutting templates for these although they are simple rectangles. You may find it quicker to just cut them on a paper cutter - especially if you are making a number of cards.
The card files are grouped to fit well on 8.5” x 11” card stock. The measurements match the files in the individual files in the folders (not the ALL file- use the ALL file only if you want to re-size). The envelope requires 12 x 12 for the big piece.
There is a little sentiment card to hang as a tag on the largest gift. I printed those on my printer and cutting the paper cutter to fit on the colored tag. Add a sentiment that reflects what you want to say.
5. Things I would do differently and adjustments:
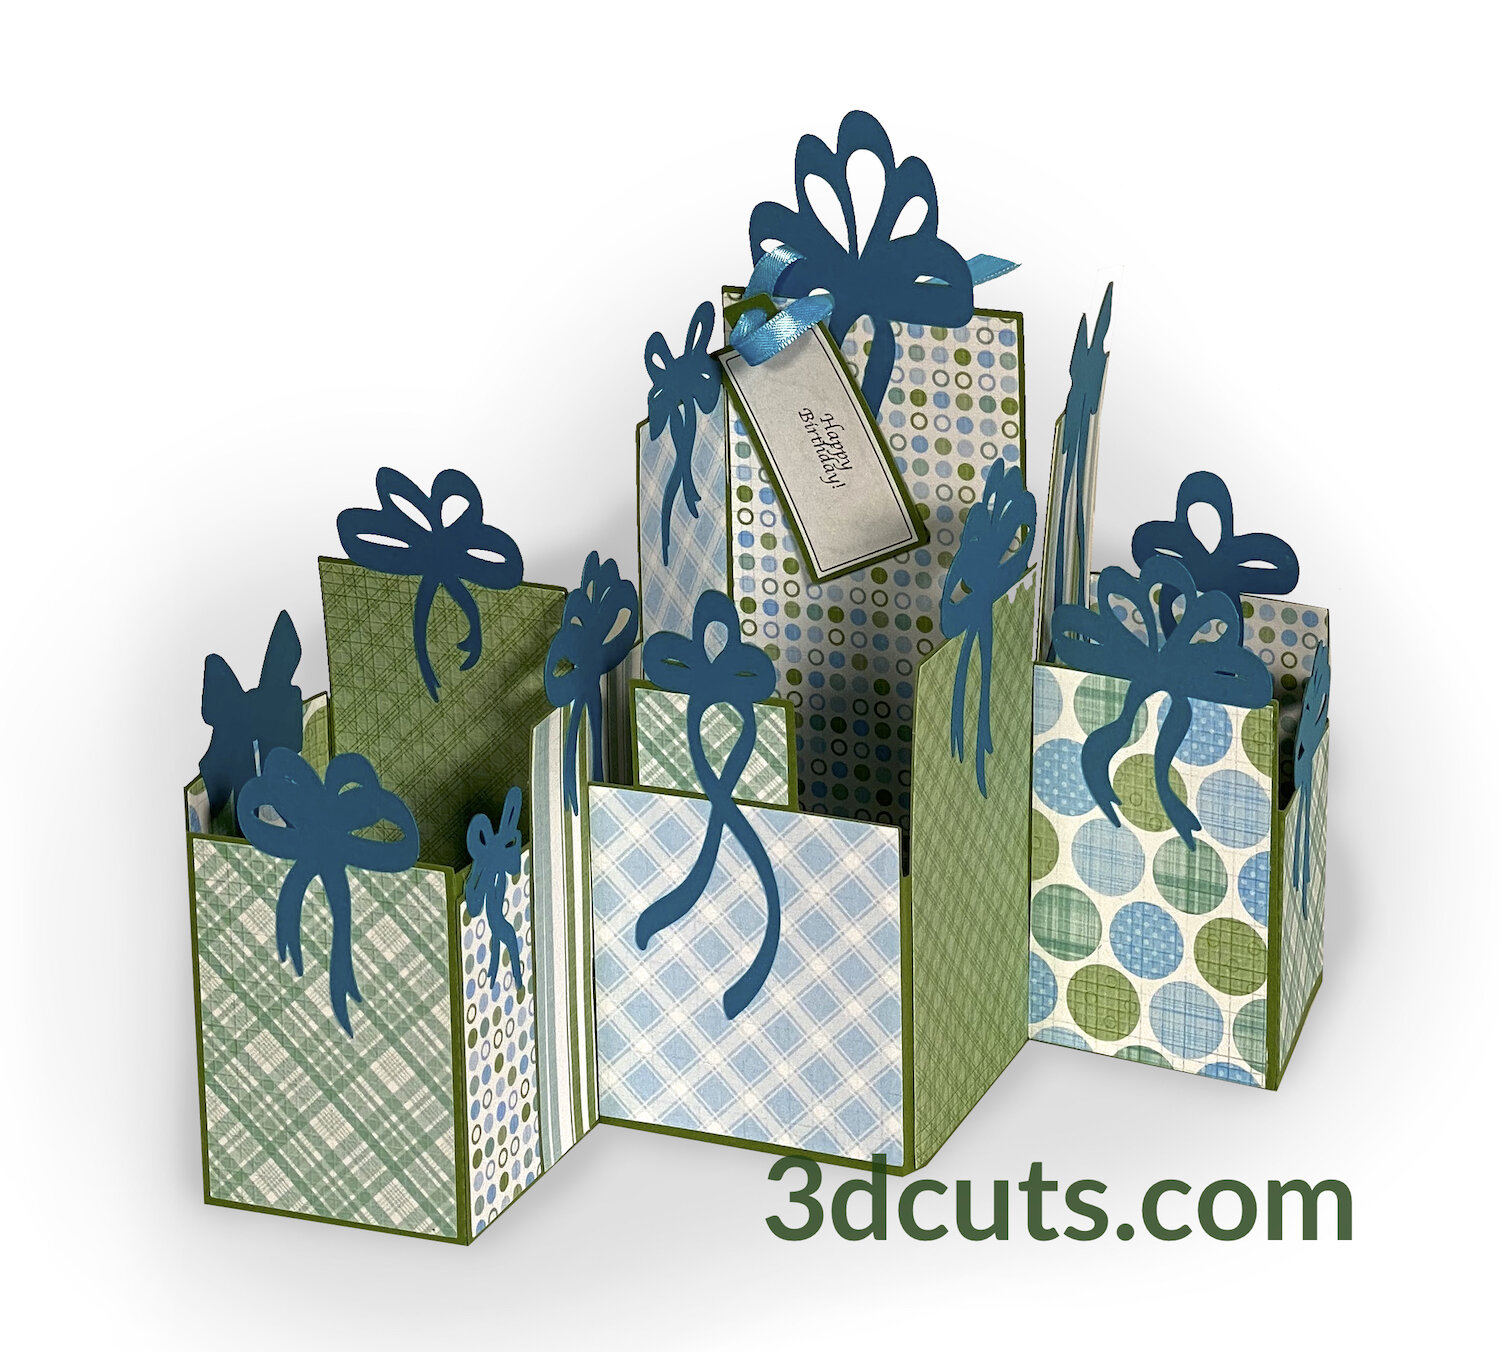
Something to consider- bow color. Do you want them all the same or different. Here is a place to experiment!
6. Assembly
The assembly steps are detailed in the video below. Here is the YouTube url https://youtu.be/LhyeK1T6tDc.
7. Sending the card:
This project is designed to fold flat for storage or to be mailed in a 6" x 9" booklet envelope.
There is an affiliate link in the supplies above for ordering them from Amazon.
Place a cardboard support in the envelope to prevent bending.
It will require extra postage.
There is also a template to cut your own envelope.
Creative Applications:
I will post photos of cards other crafters have made. Send a photo to 3dcuts.com if you have done something interesting with this file.
Zig Zag Birthday Card customized by Lisa McCammon using this file plus adding from other files and some original shapes.

Marianne Krijgt of Germany made this beautiful Presents card using metallic papers. Very special!

Krystal Zilinkas made this beautiful gold and silver glitter set. Perp choice makes so much difference! So elegant.

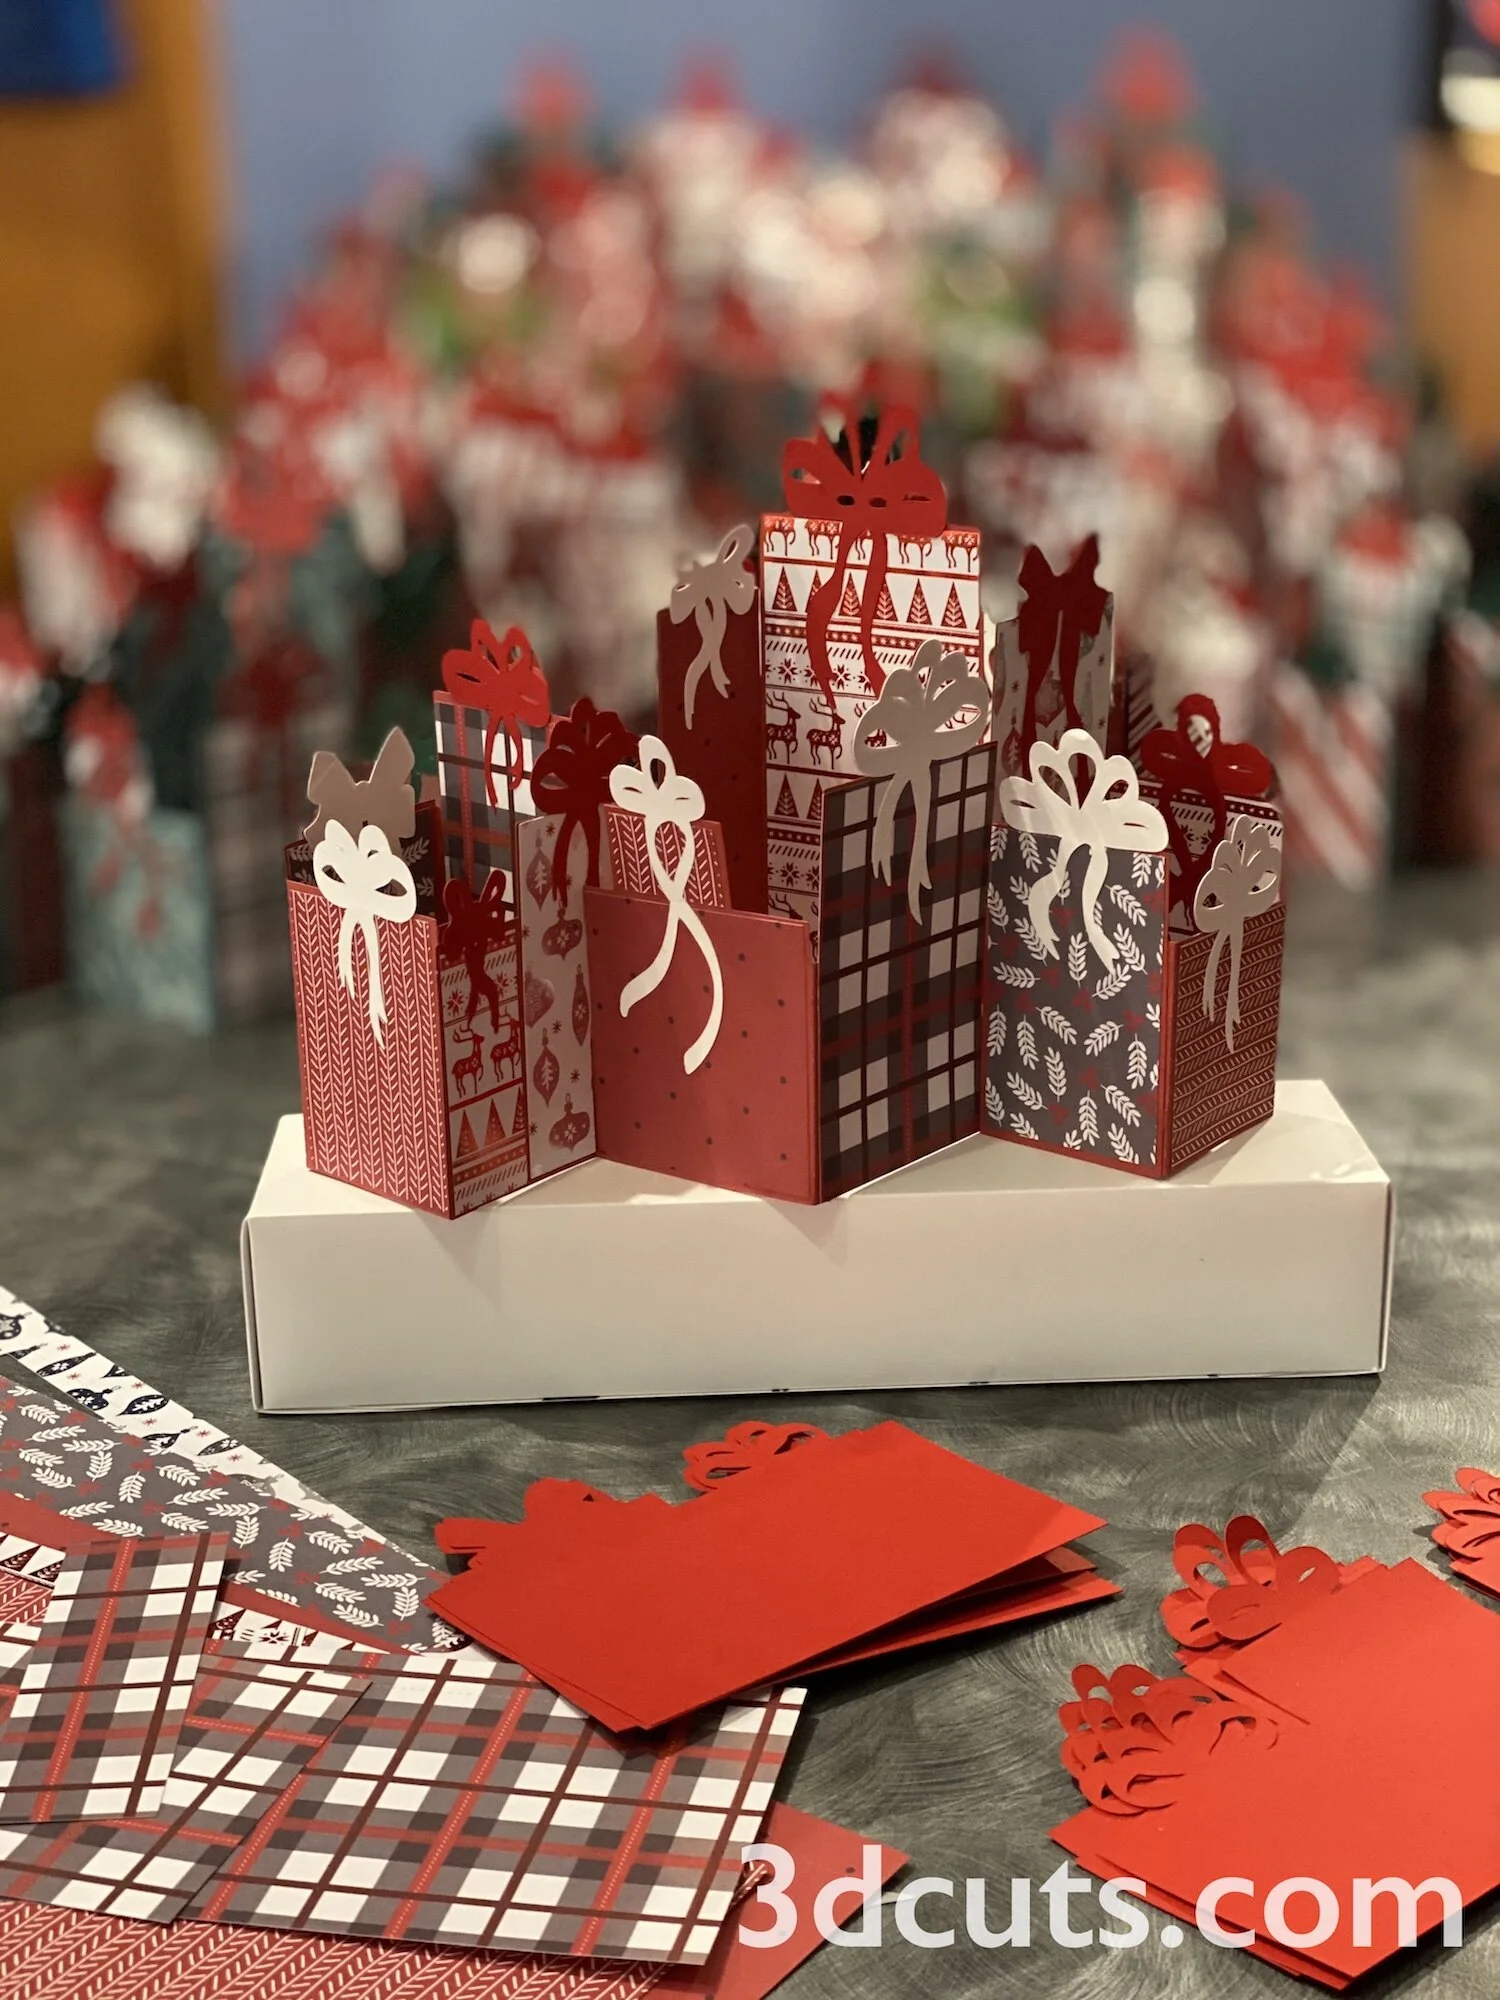
This is my 2020 Christmas Card. I am using the Christmas Card Stock Pads by Michael’s and I got them early in the season when they were buy one get 2 for free. There are so many coordinated papers for different choices. I think I have 6 varieties in the 40 that I have made.
Other Zig Zag Card Designs available from 3dCuts.com -