
3D SnowStar Christmas Ornaments • Vertical Fold -V3

Project Description:
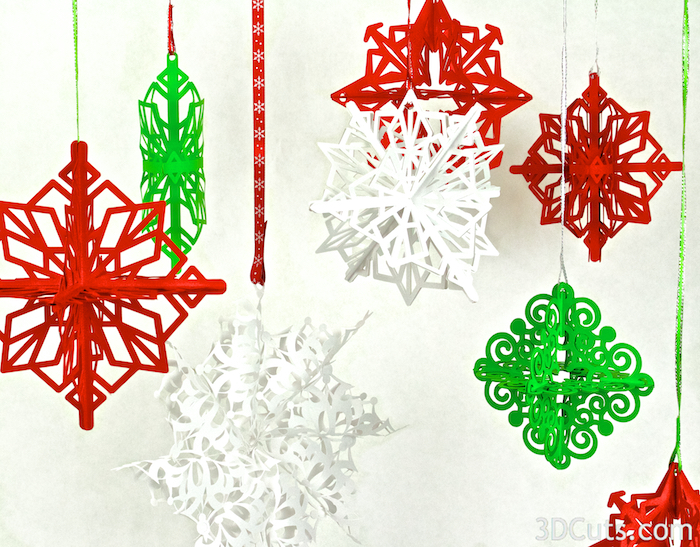
Combine a snowflake with a star, add some 3D geometry and a marvelous 3D Christmas ornament emerges. I have done the geometry in creating the file, all you need to do is cut and assemble using these easy to follow directions.
This snowstar is one of a growing series of files using different designs and varying construction techniques to create a series of intricate ornaments Be sure to check out the expanding collection. Check back because I am adding more.
This assembly technique is a quick one. I especially like it with snowstar patterns that have an open center. It is simply a varying number of folded designs with attached sides an a vertical axis meeting at the center.
This tutorial doesn't match your file? Here are links to all the SnowStar Tutorials:
- http://www.3dcuts.com/tutorial-geometric-snowstar-v1
- http://www.3dcuts.com/tutorial-snowstar-curled-paper-v2
- http://www.3dcuts.com/tutorial-snowstar-vertical-fold-v3
3D SnowStar • Vertical Fold • Version 3

Supplies Needed:
- Cutting File available from 3dcuts.com available here.
- Card stock for each star. I used the 8.5 x 11 65lb Cardstock from Recollections.
- Adhesive - Many will work - ScoreTape, spray adhesive or glue dots can be used although I like the Xyron for this project.
- Ribbon
Parts sizes:
- It doesn't mater as long as you make all shapes identical. You can resize the file. A variety of sizes works well together.
- I have made it large so only 1 piece fits on 8.5 x 11 and I have made it smaller so that 2 or 3 fit per page.
- When large it is about 7.5" wide.

Steps for completing the 3D SnowStar v3:
1. Download the cutting files for your cutting machine.
2. Load the files into your cutting software following the steps for your cutting machine.
3. Prepare the files:.
- Click here for detailed steps on how to use .SVG files on your Silhouette (with Design Studio).
- Click here for steps on how to use these .SVG files in Design Space with your Cricut Explore.
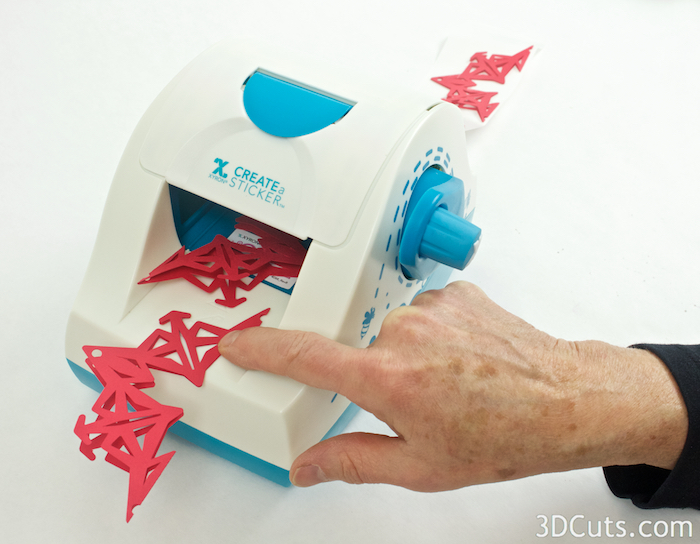
4. Cut the files from the card stock of your choice.
- Important note: These are intricate cuts and you must understand your machine to make intricate cuts. Having a good, clean blade and mat are required. I used the standard card stock settings but also set the Line Segment Overcut option in Silhouette to .2. Not all papers work well with intricate cuts.
- Overcut settings (Silhouette only) are found after you select Card Stock as you material in the cut settings box. Scroll to the bottom and turn ON Line Segment over cut. Then increase both numbers to 0.2. This slows down the speed of the job but makes clearer cuts on the corners.
5. For this assembly technique you need to cut the same shape a multiple of times. The number will vary depending on the diameter you choose.
- If you can fit one per sheet and the design is roughly 7.5" across, cut 8.
- If you fit 3- 4 per sheet and the diameter is about 4-5" you only need to cut 6 shapes.
- Fold all the shapes in half along the dotted fold line.

Fold each piece in half along the dotted line.
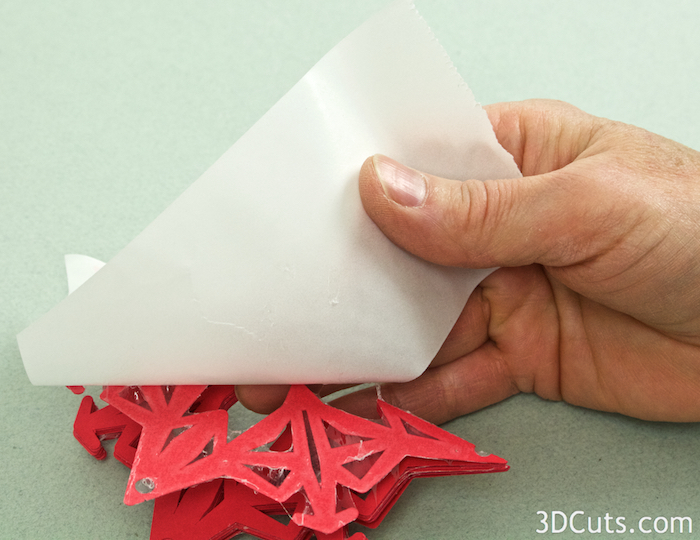
6. Add adhesive to one side of all shapes.
- For the larger design I used my 5" Xyron. For the smaller shape I used the 2.5" one. I fed the triangles in alternating directions which allowed for efficient use of the adhesive.
- If you don't have a Xyron, spray adhesive is a good choice. Put a piece of scrap paper between the layers and spray just one half. You can also use other adhesives but it will become more time consuming.

- Leave the backing covering the adhesive on the first shape. Separate the shape from the backing on the second one and all the others as you place them.

View 1
- Some hints for using the Xyron and minimizing the glue strings:
- Rub a plastic tool over both sides of the shape before separating it from the backing (view 1)
- As you peel off the backing, use the plastic tool to separate the adhesive. The adhesive wants to stick to itself so many of the strings will snap back if you just touch them with the plastic pointer.
- If adhesive stretches across open areas, take the plastic tool and poke it. The adhesive will snap back to the edges or stick to the tool. (view 3)
- Clean the tool with GooGone.
- You can also rub with a glue eraser after it is assembled.

View 2

View 3
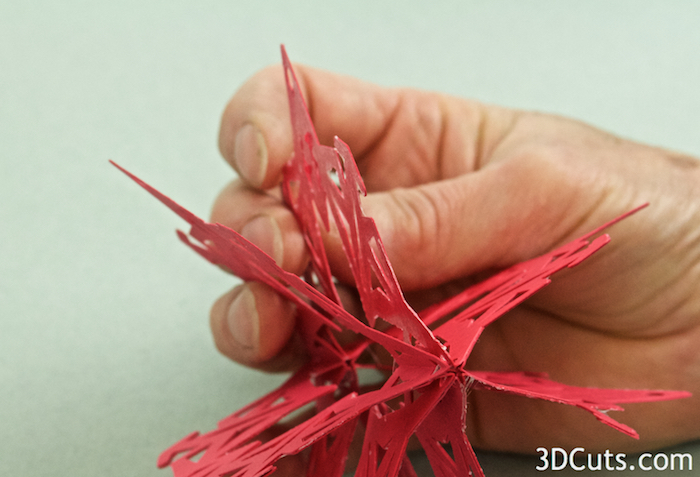
7. Adhere each shape carefully on top of the previous on in a matching stack.
- Each of the shapes gets adhered to the stack.
- Line up the design carefully.
- The final stack will have 6-8 shapes depending on how many you made.


8. Glue the final sides together.
- The top gets folded around the vertical axis and gets glued to the back.
- First peel the adhesive backing off the back.
- Then bring the top level around and carefully line it up, pressing in place.
- If using spray adhesive, put a scrap paper between the level you are spraying and all others, then wrap it around and press into place.
- Add ribbon for hanging.
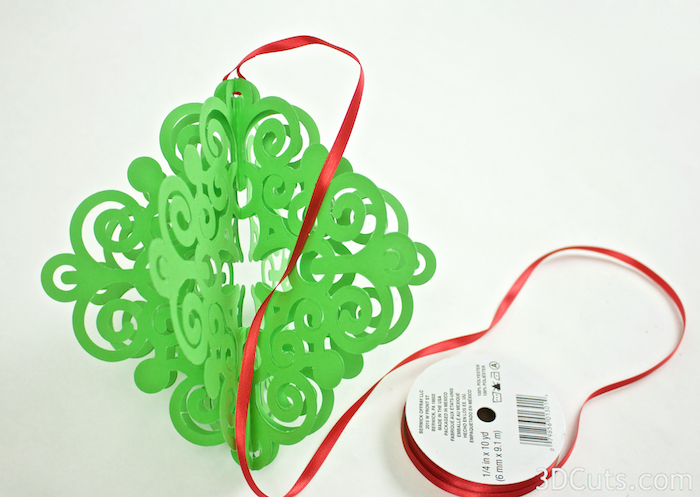
- Your SnowStar is complete. Hang it on your tree and make some others.
- Check out 3dcuts.com for additional patterns and tutorials for other types of SnowStars.

© 2015 Marji Roy, 3DCuts.com