Stacked Bats Shadow Box - Tutorial
Project Description
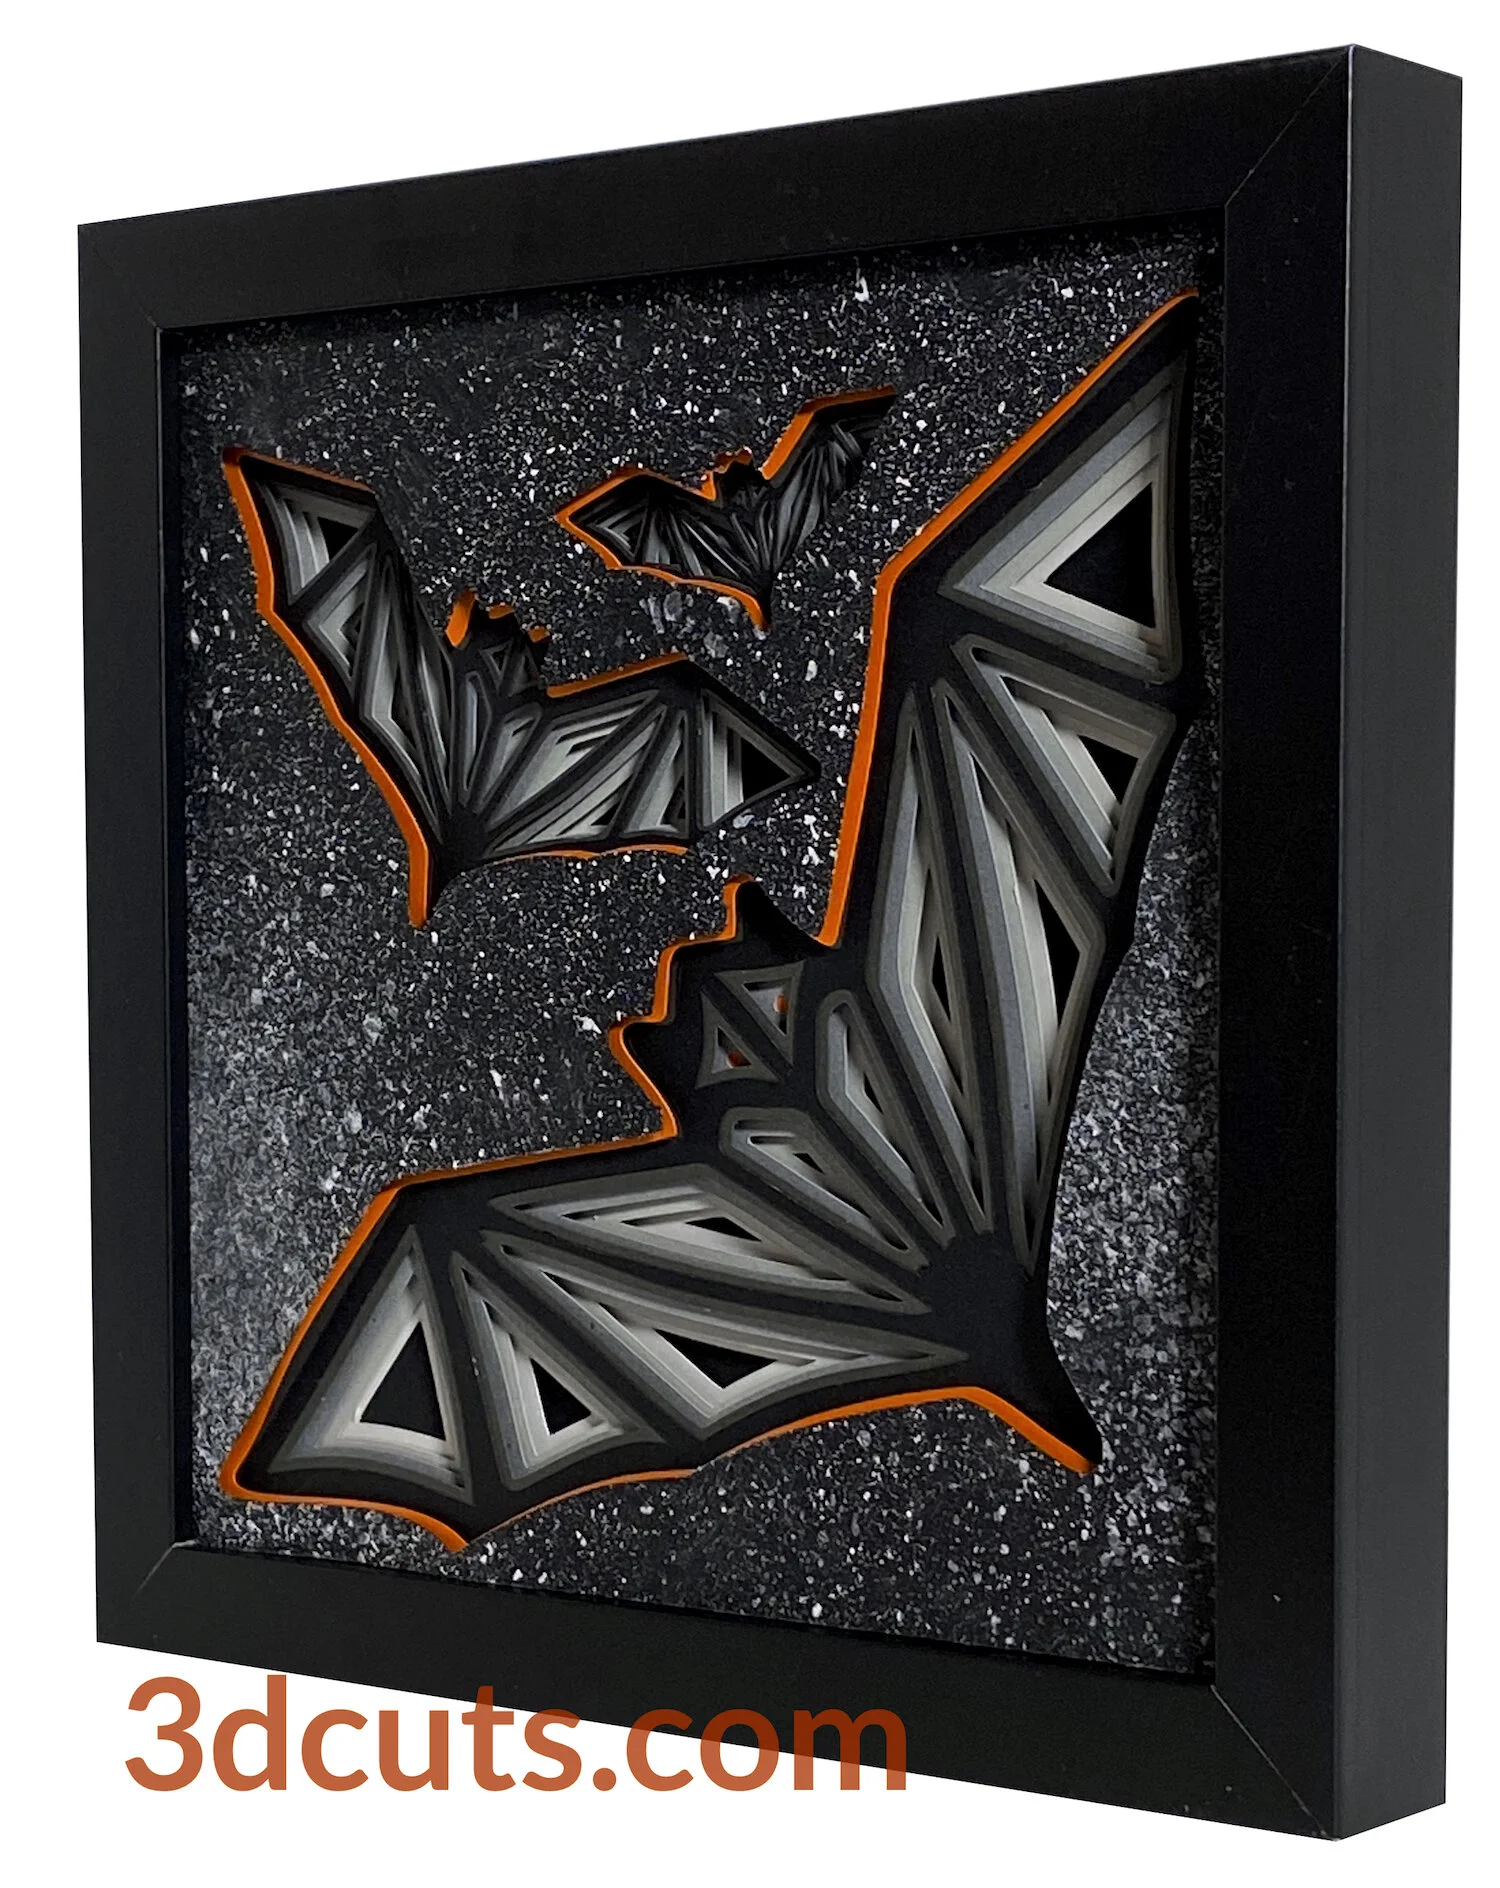
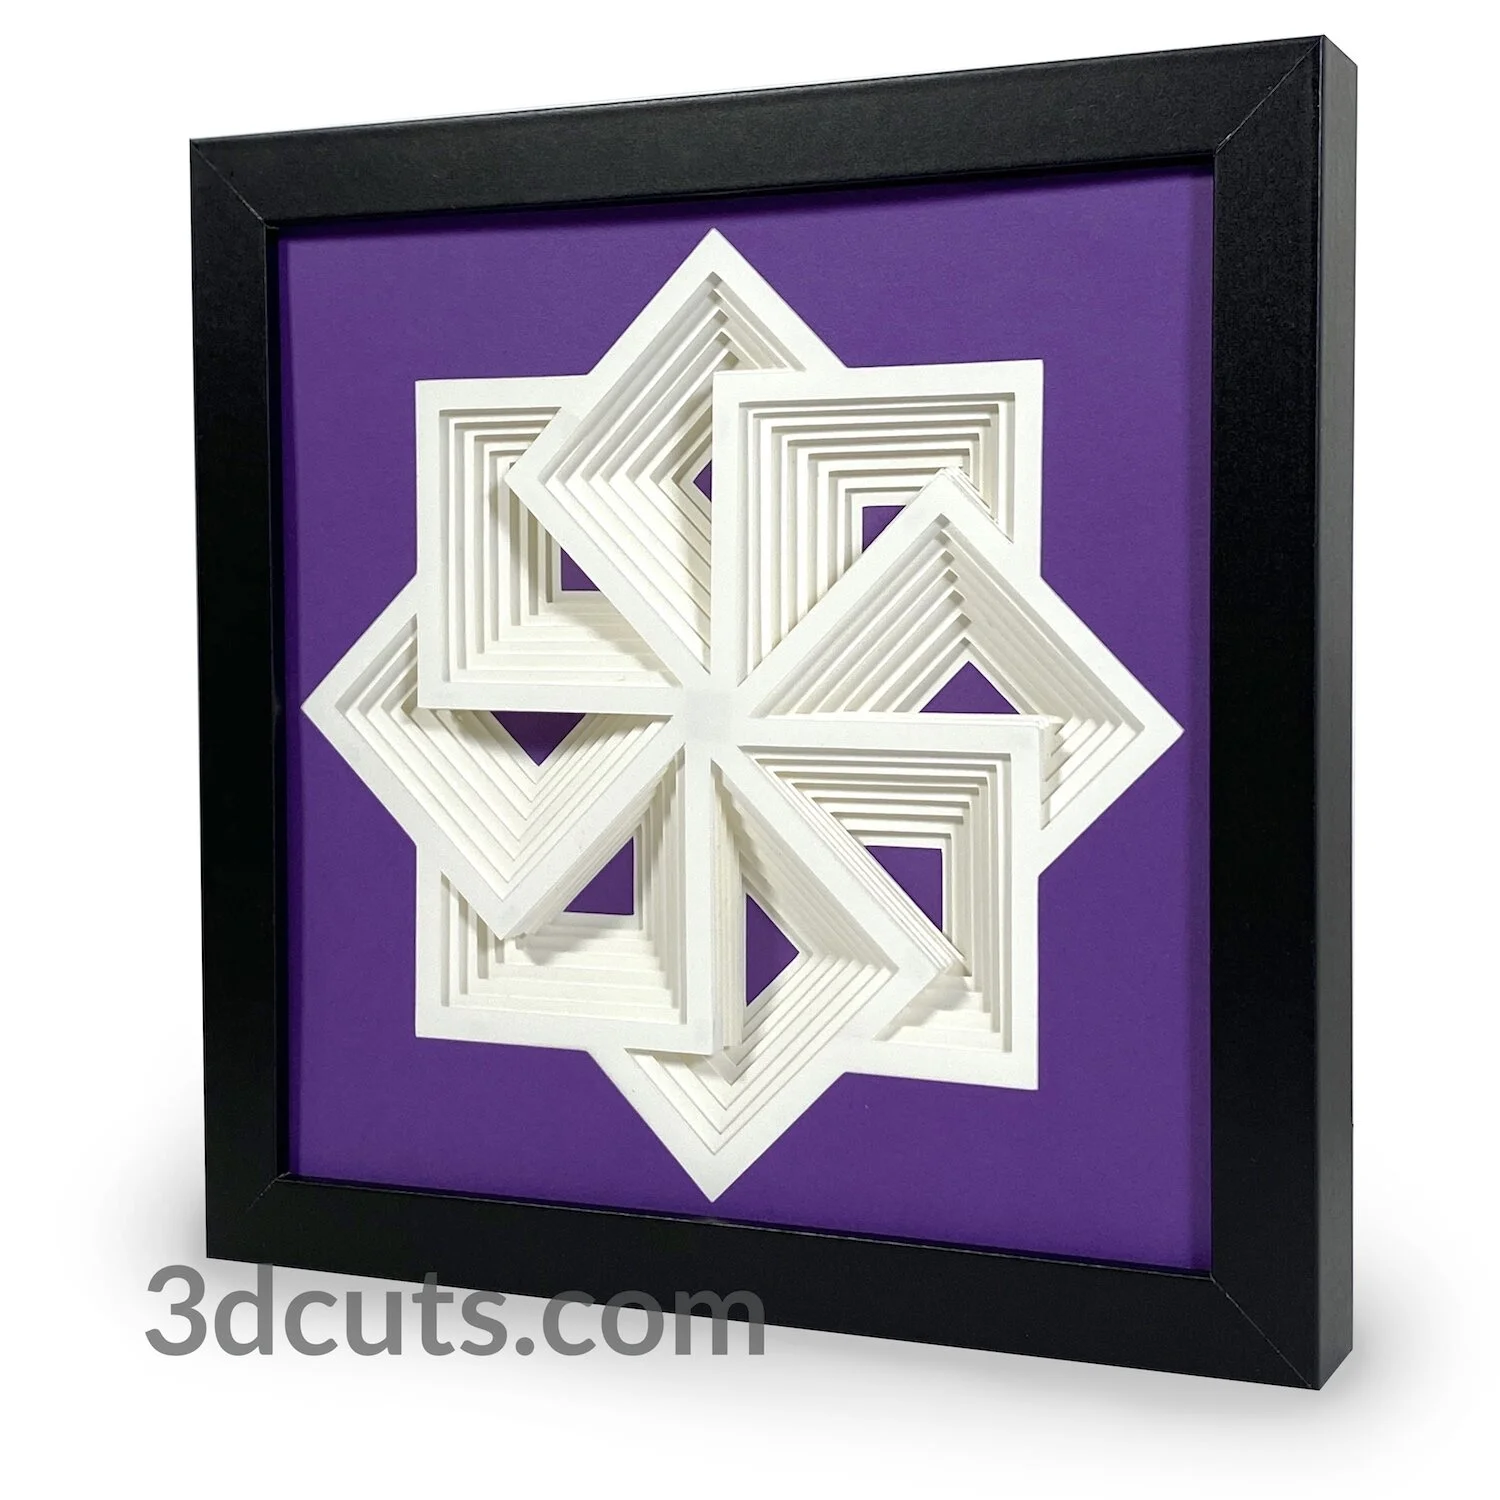
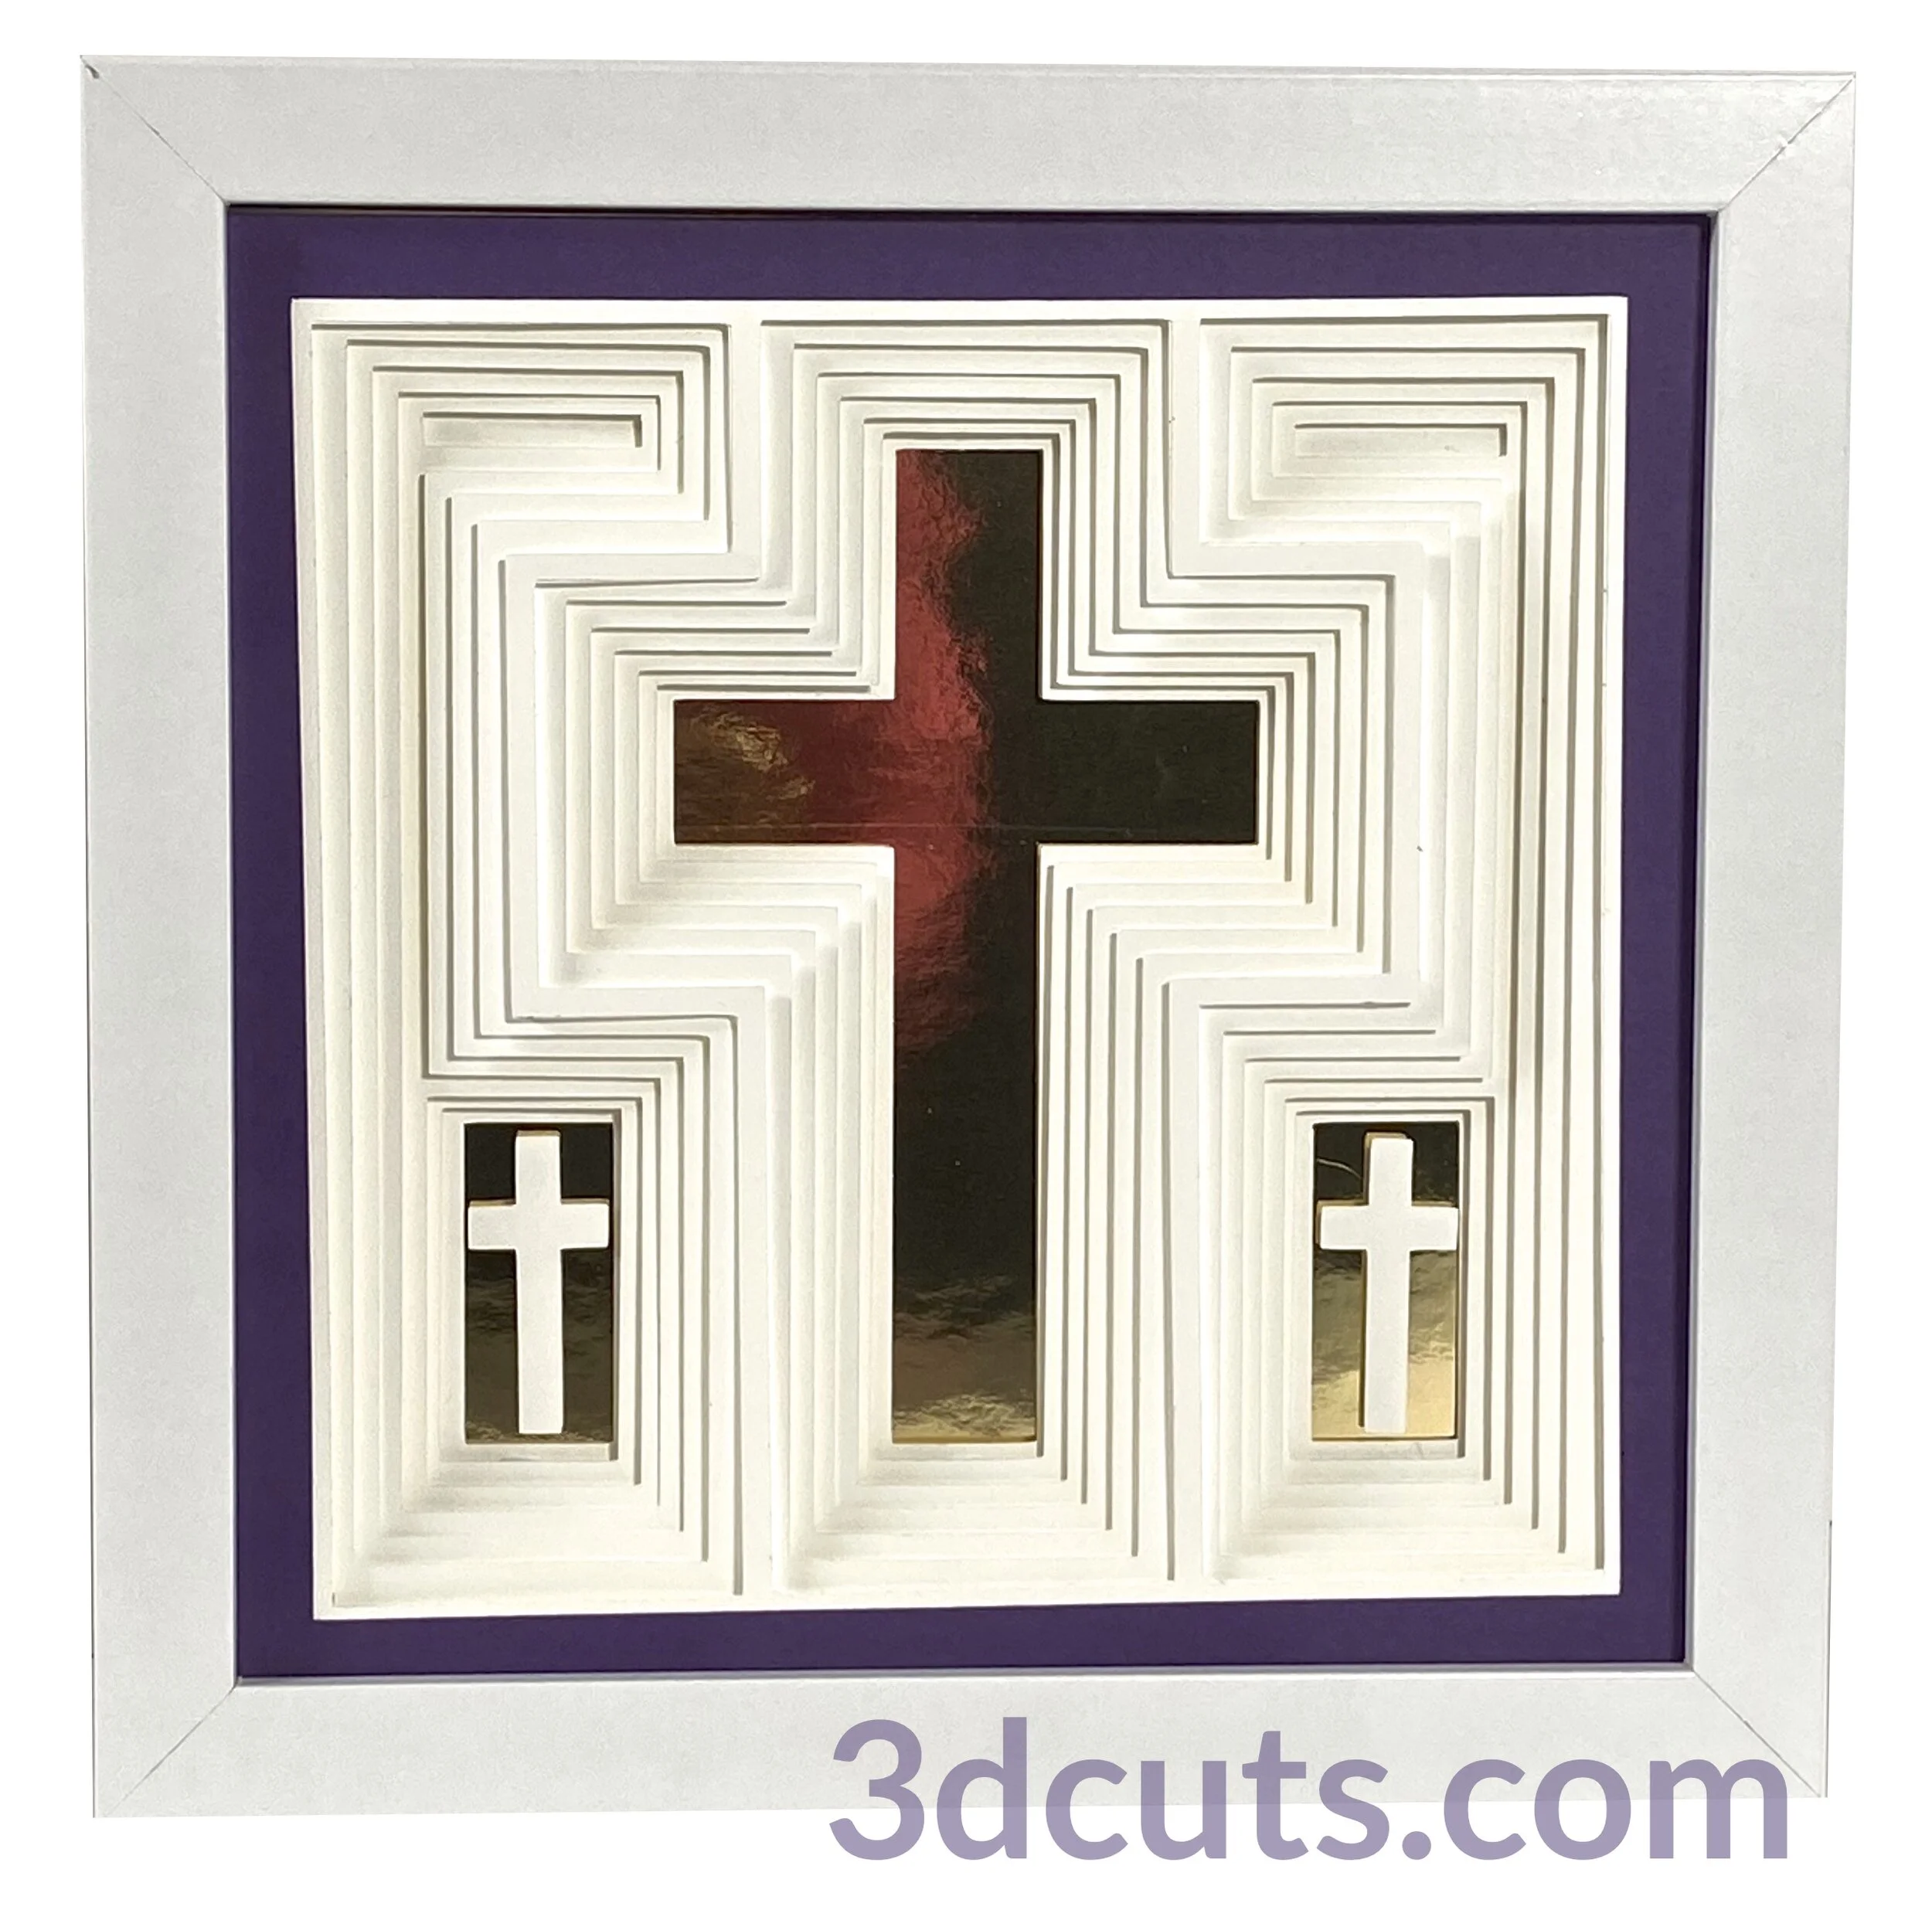
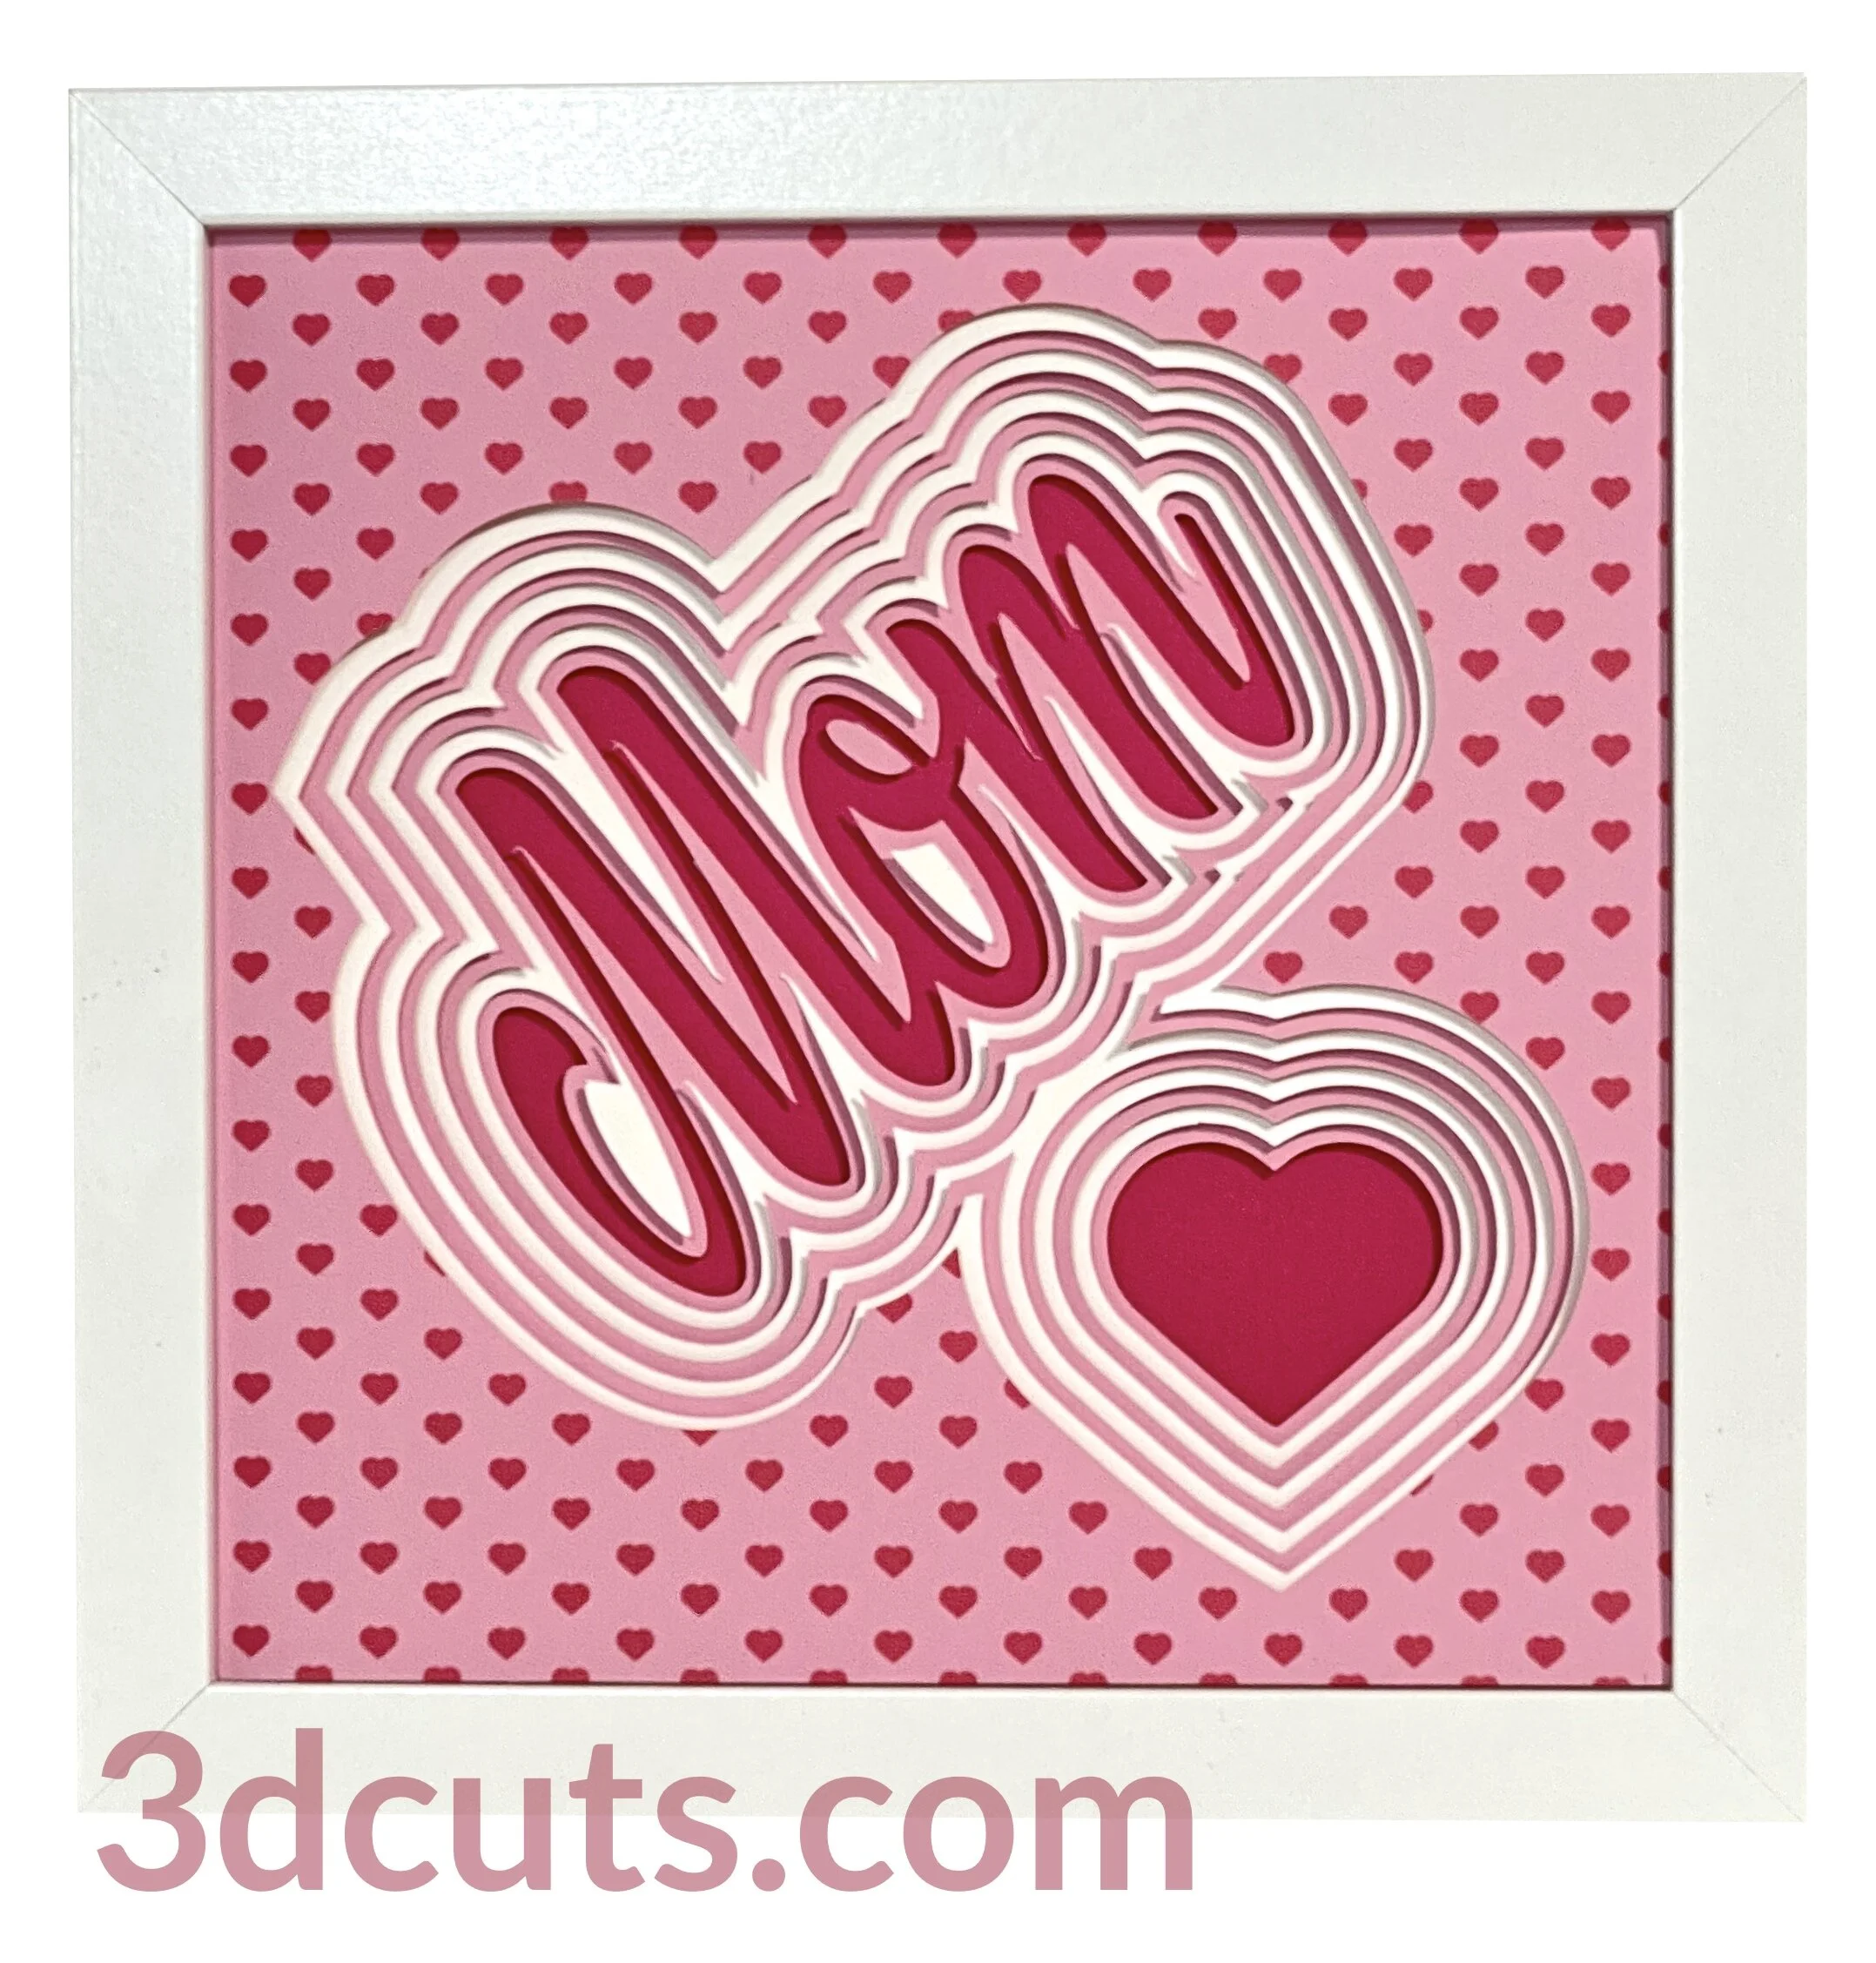
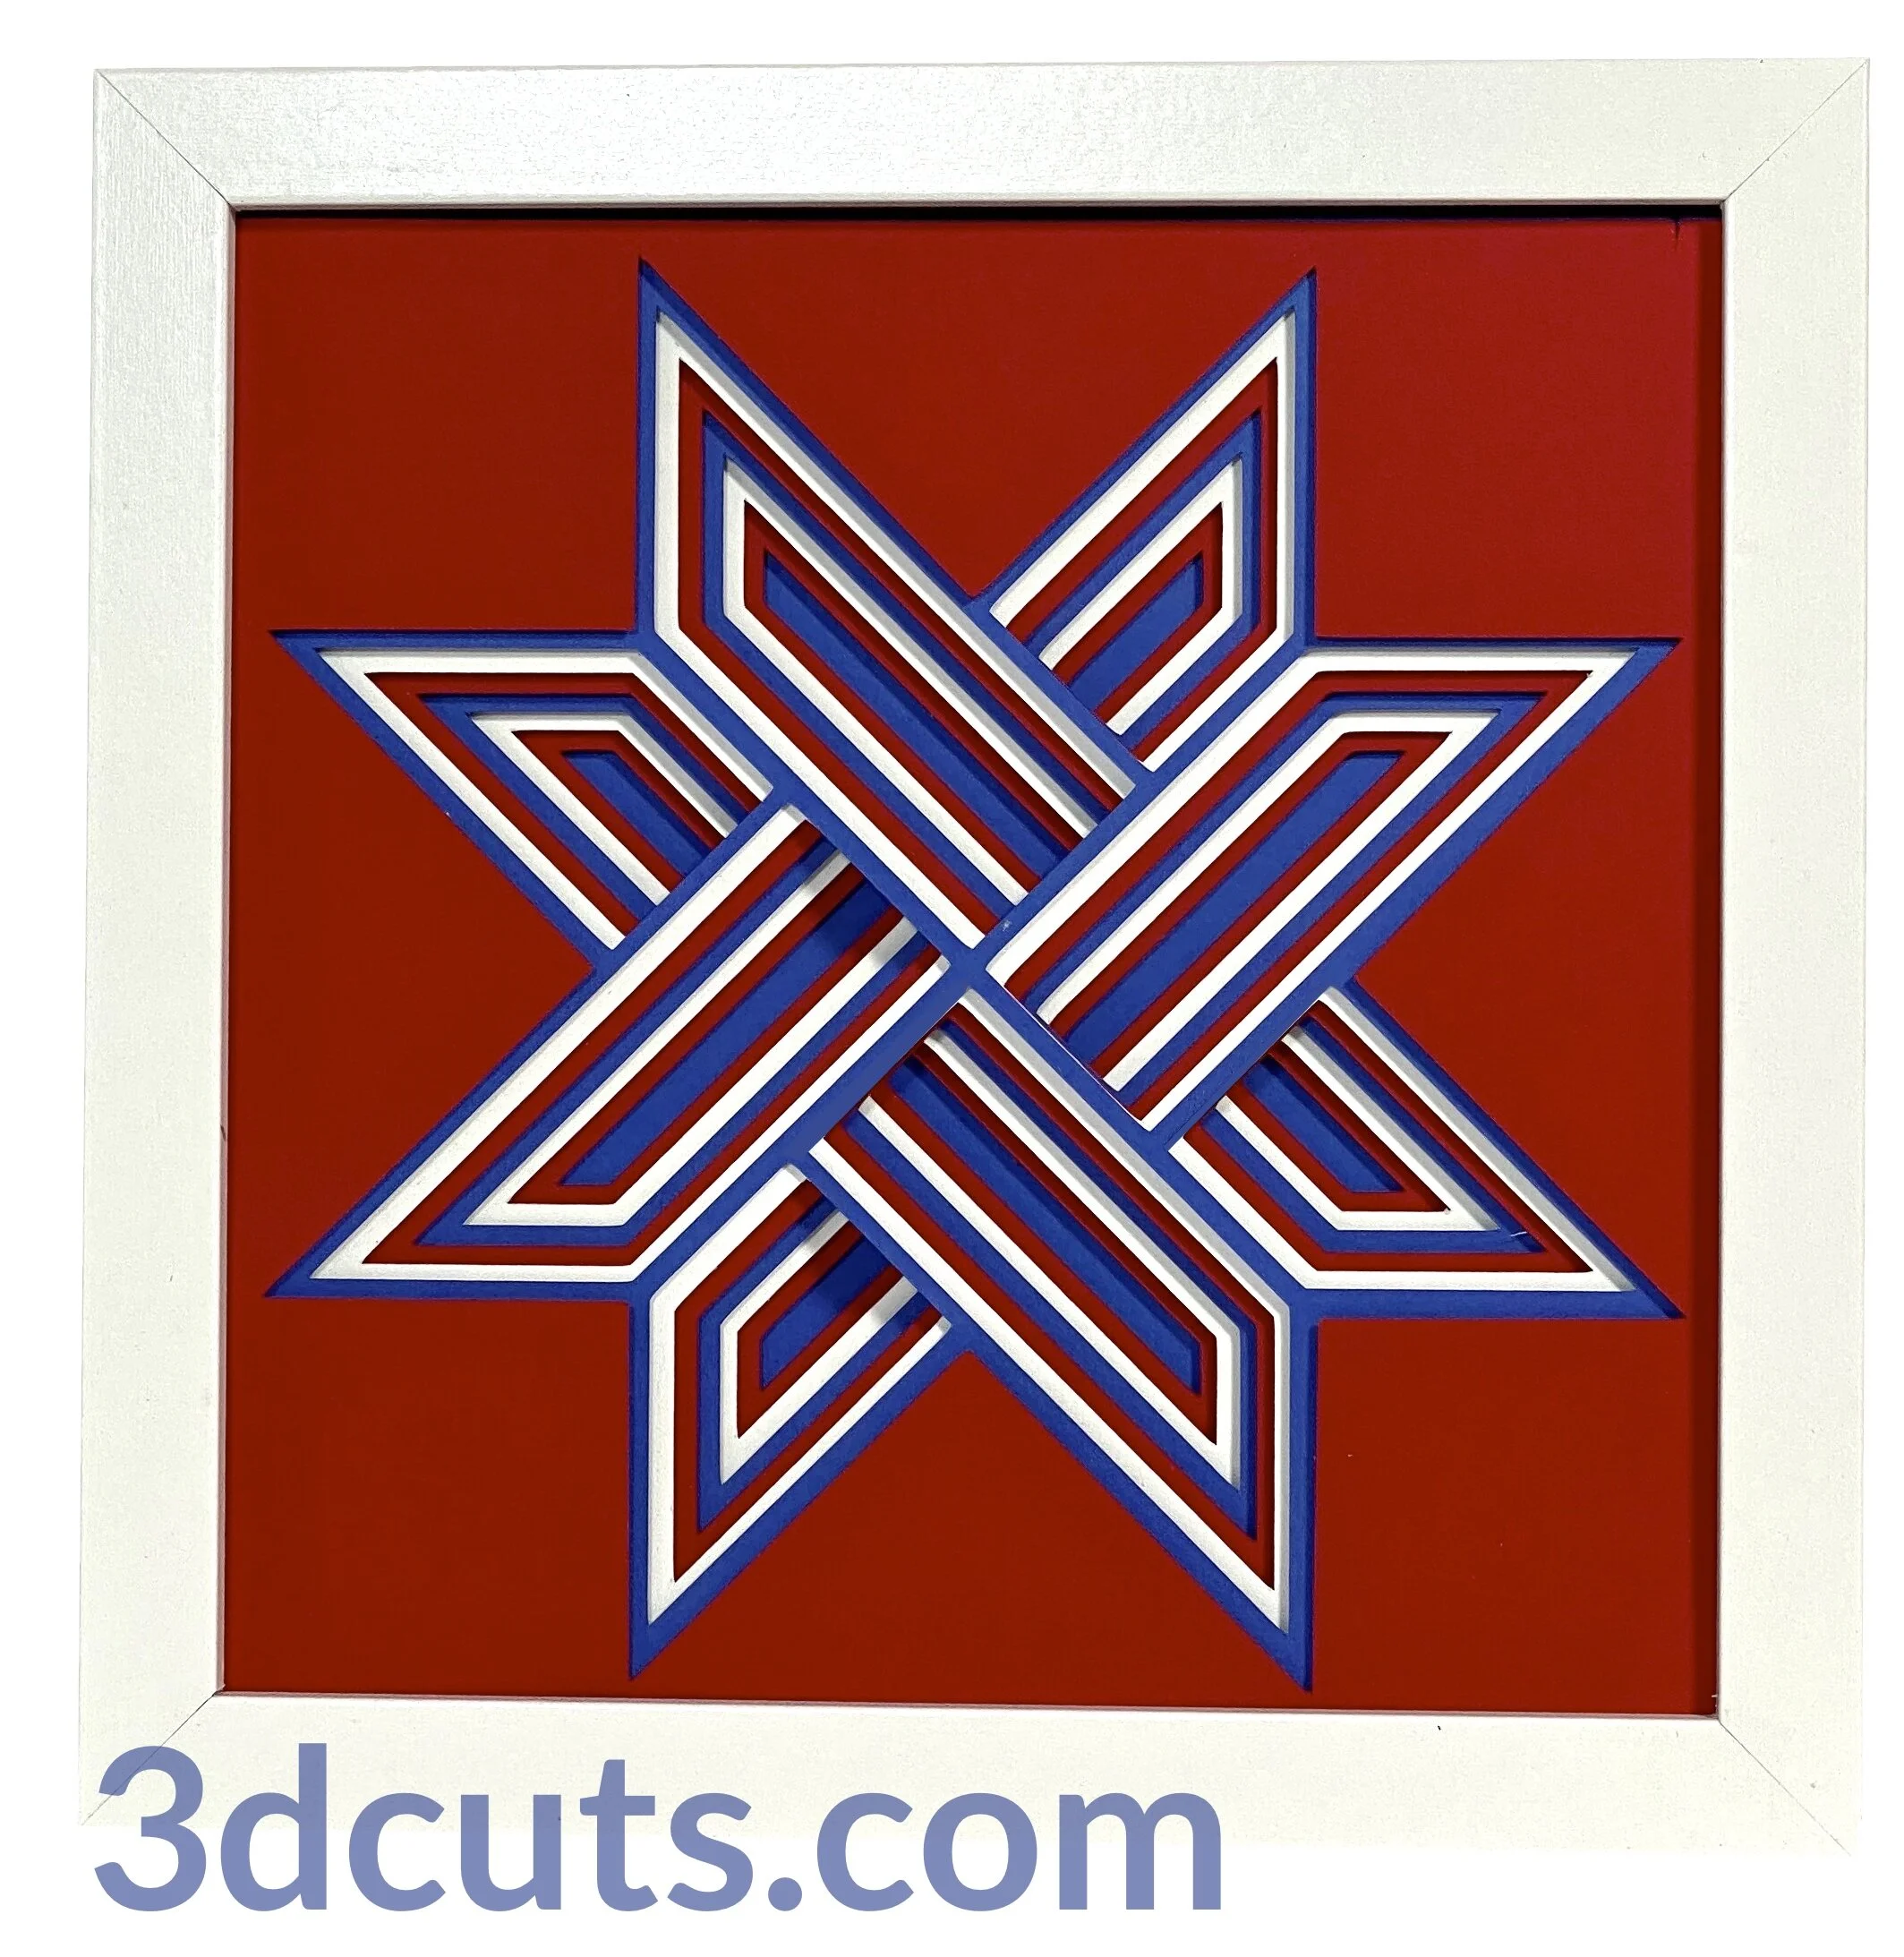
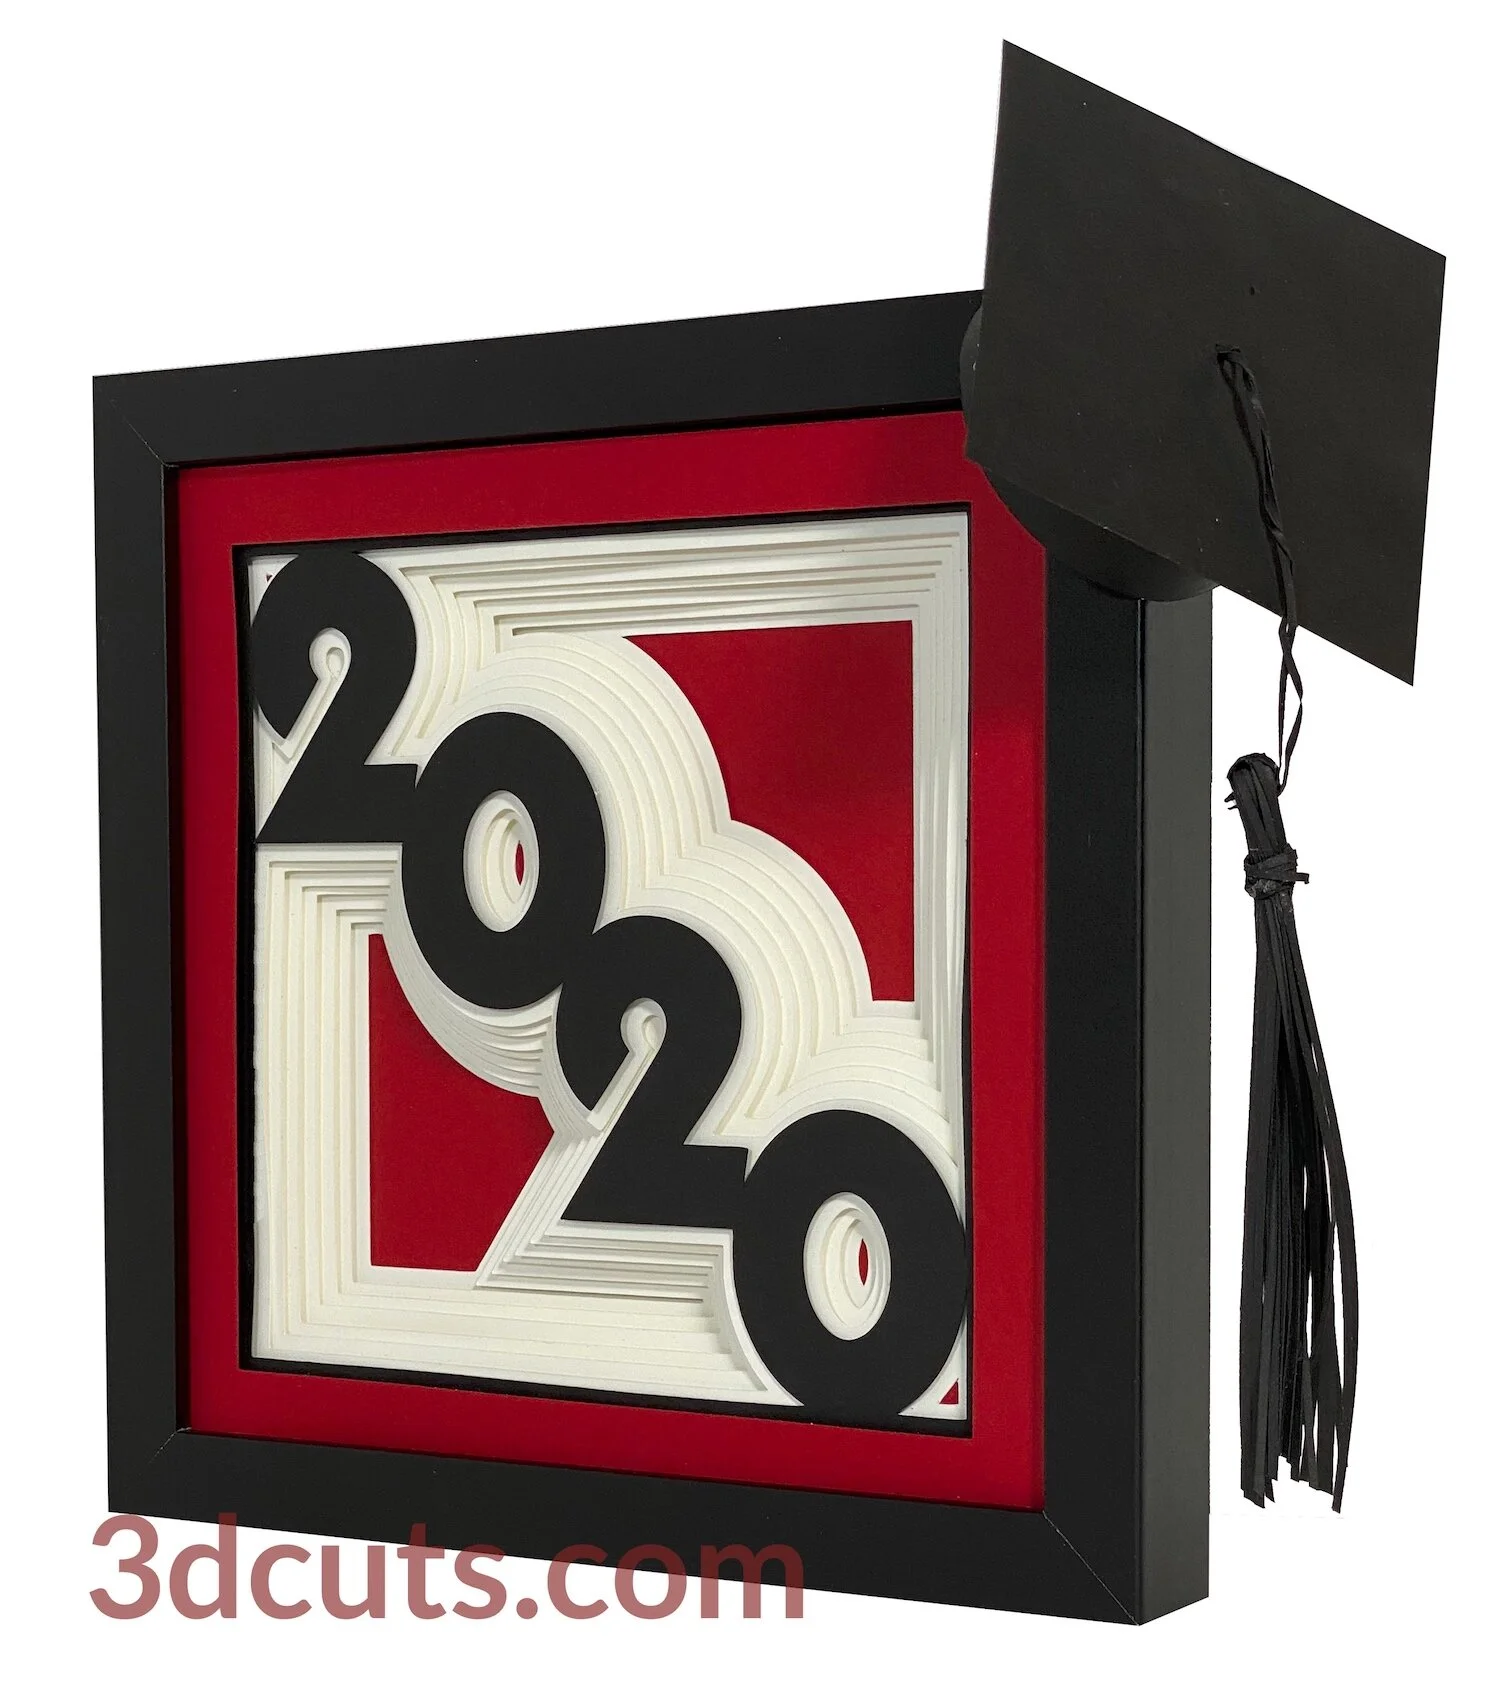
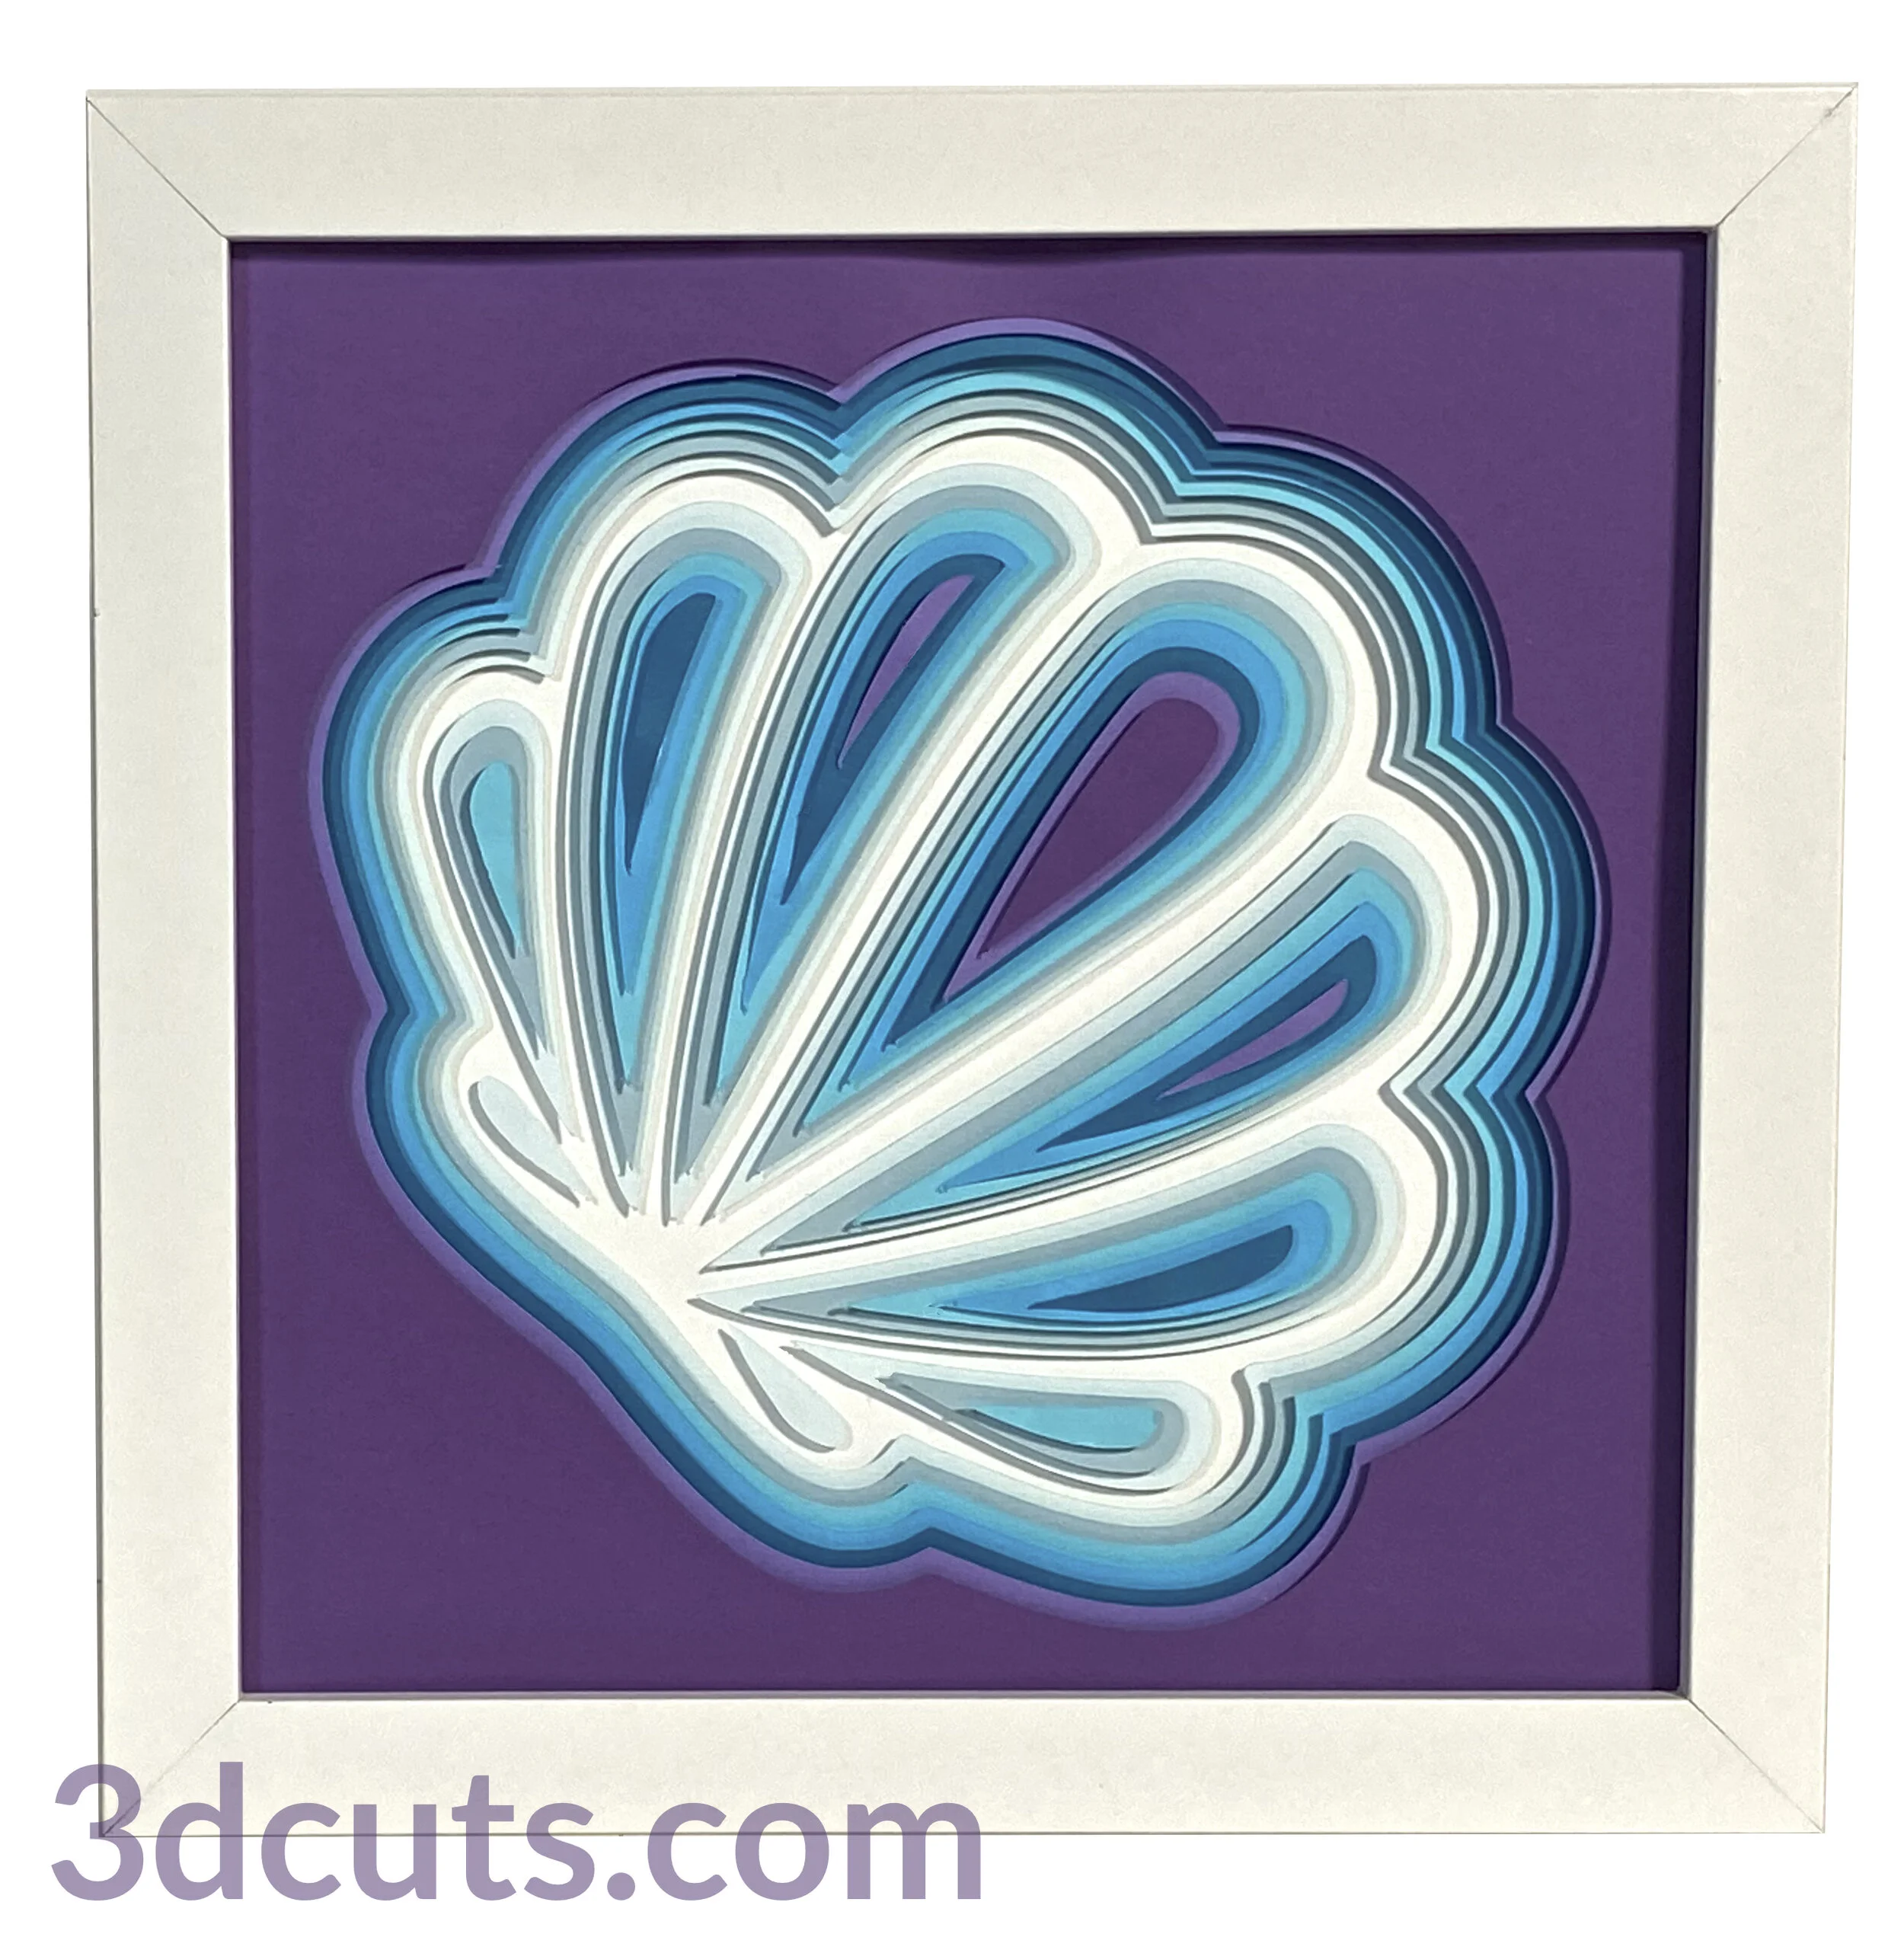
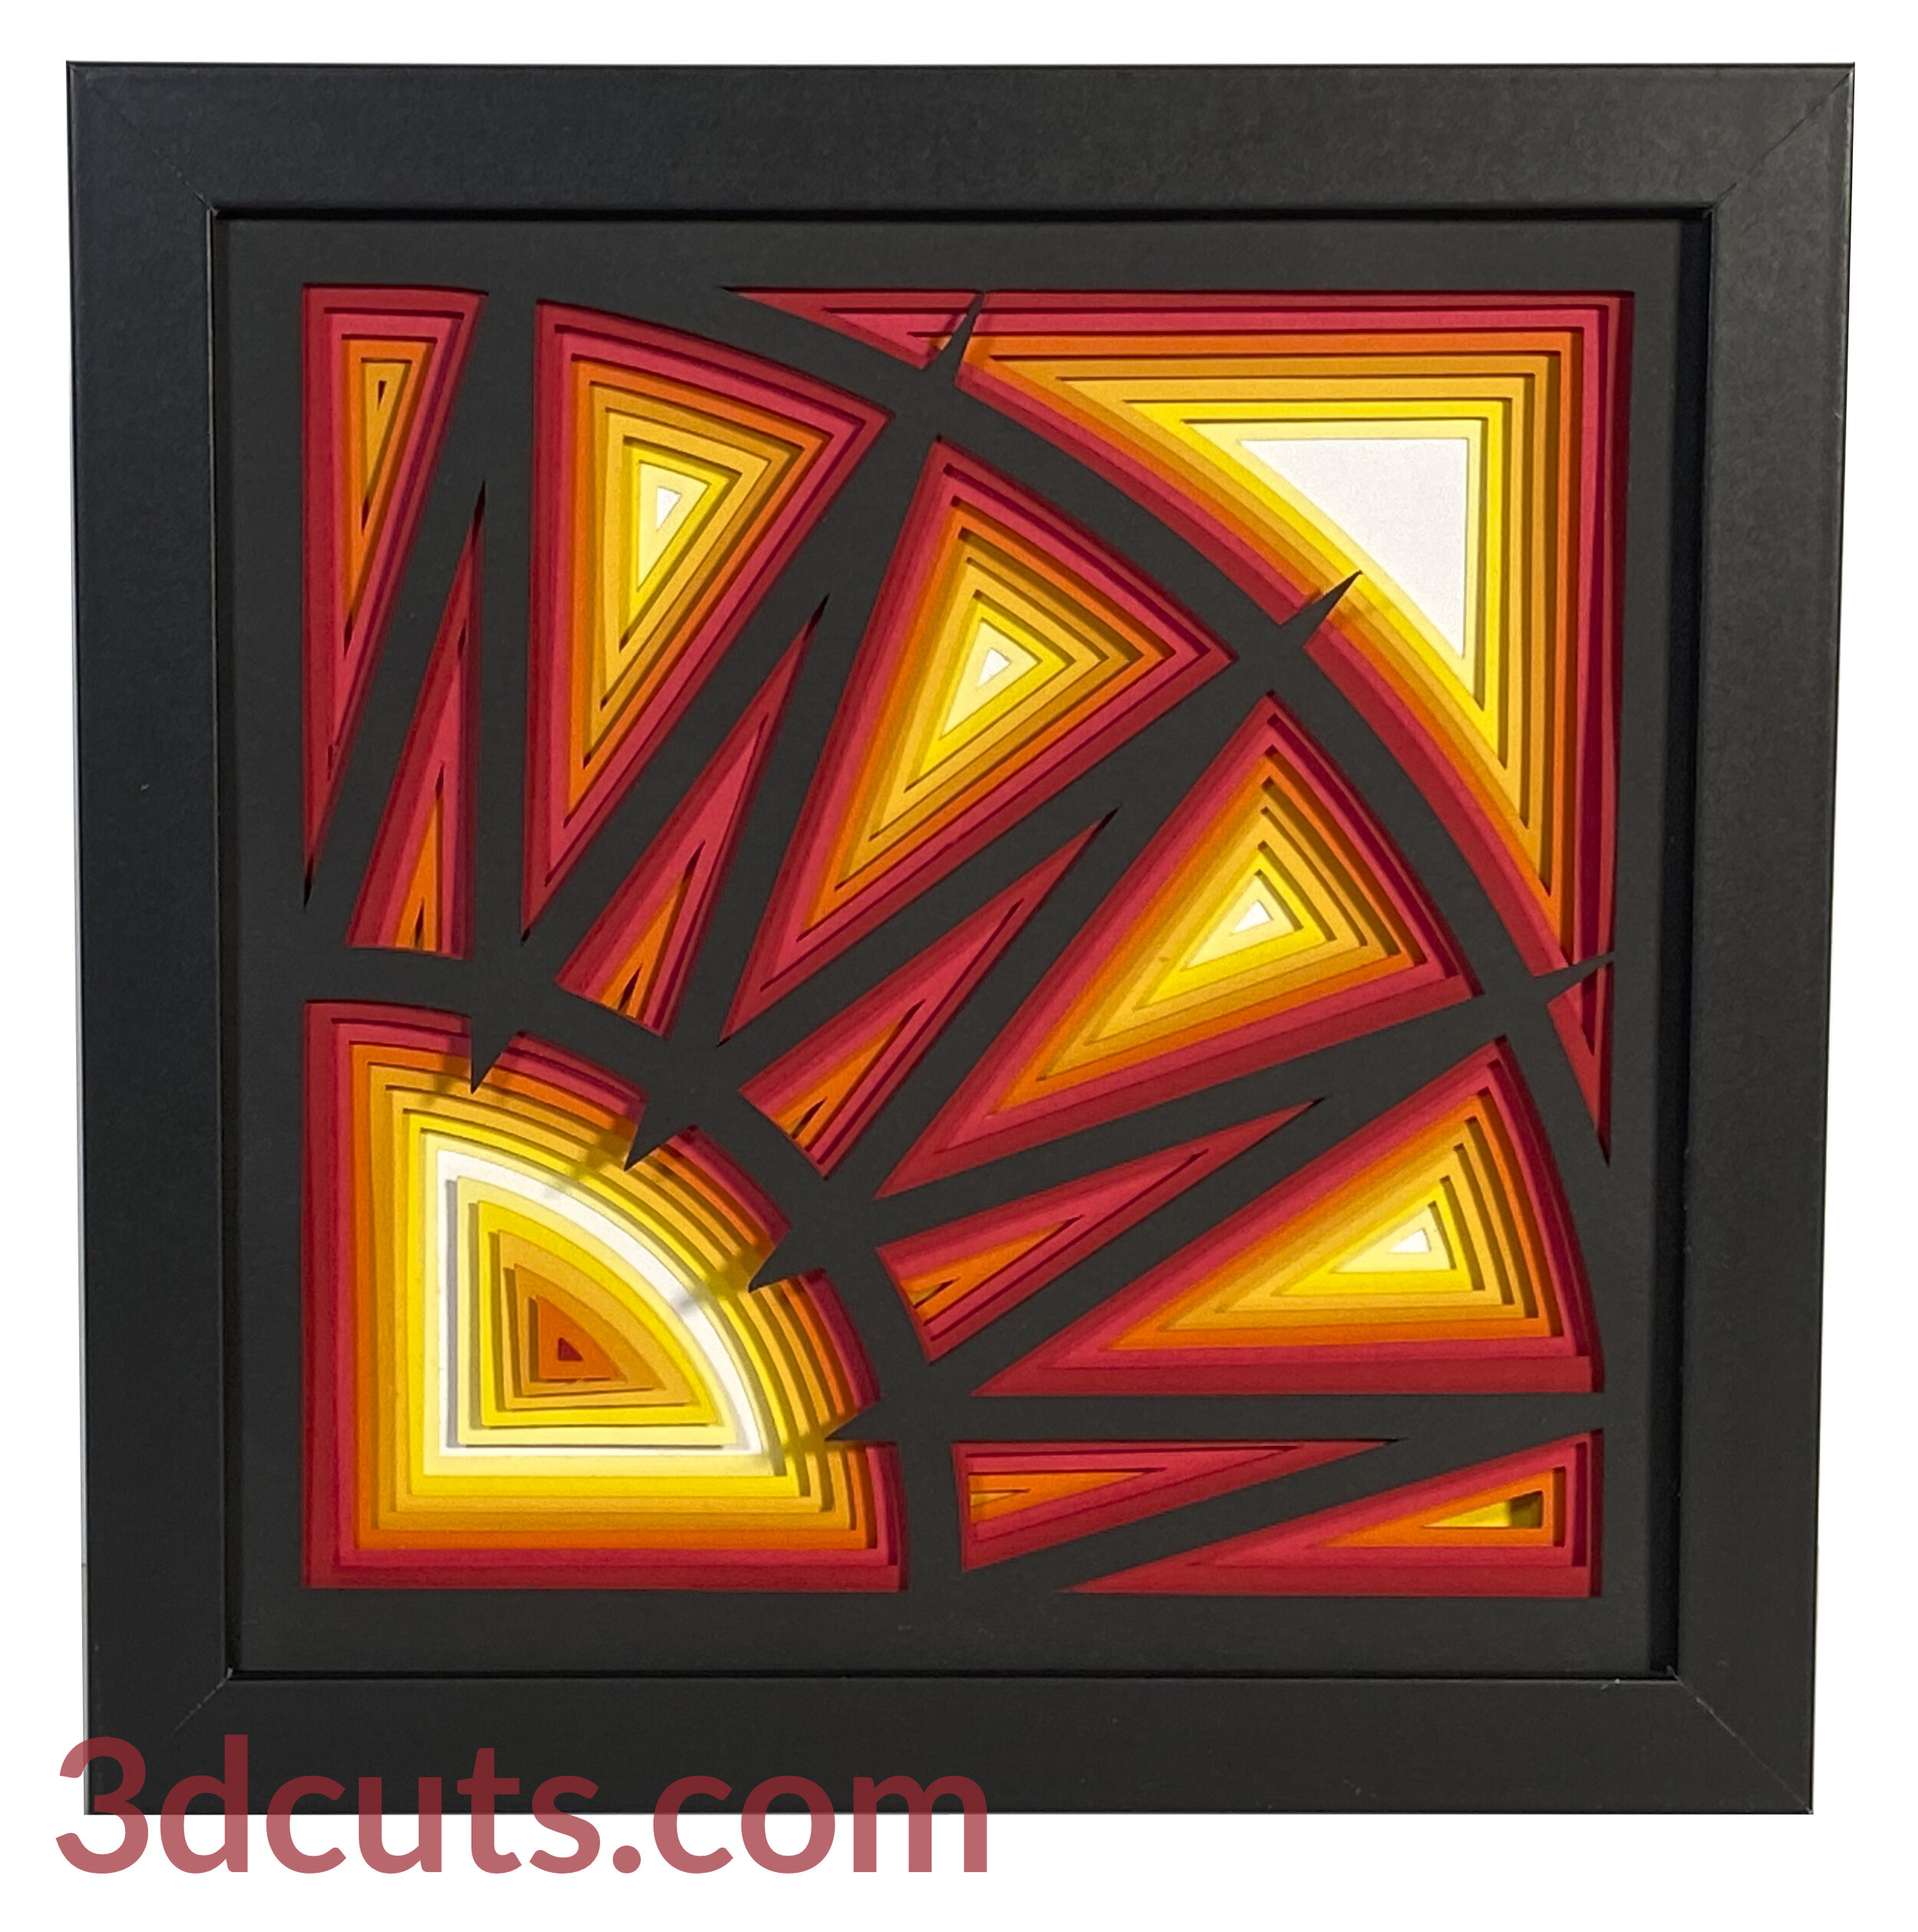
Here is another wall decor item using the stack and spacer layer technique I first developed in the Valentine project. This technique is so easy to do and has a stunning visual impact.
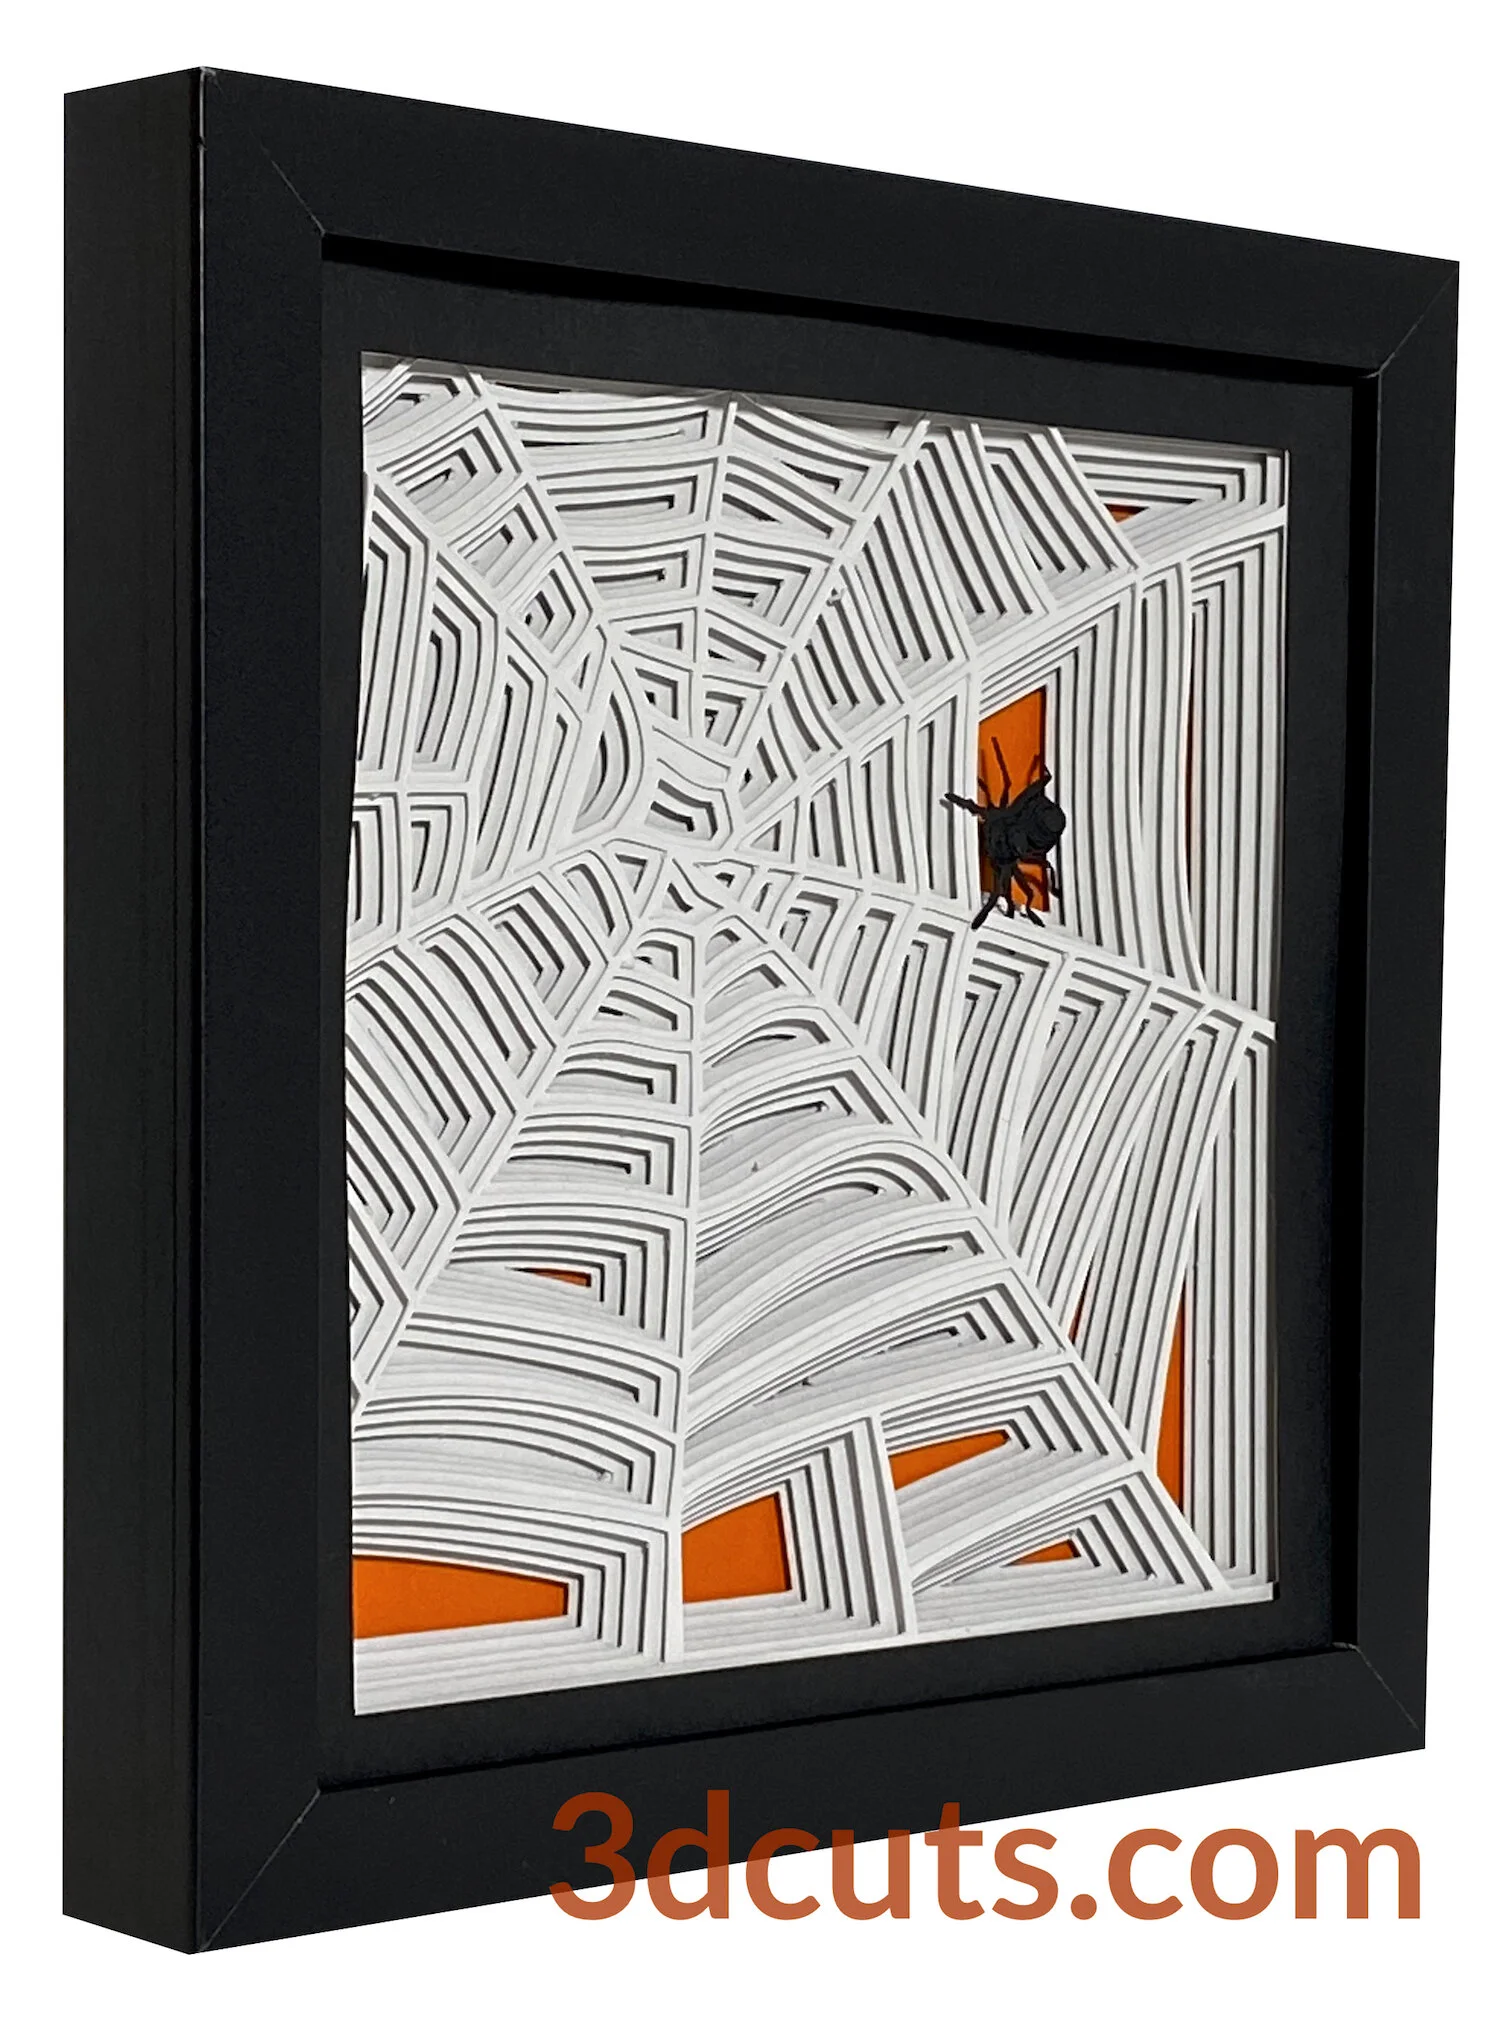
There is a whole collection of these shadow boxes, many based on classic quilt designs or calendar themes. This is a spooky bat design for Halloween. It pairs well with the Stacked Spider Web here. These card stock constructions are designed for standard purchased shadow box frames and can be re-sized to fit yours.
Cutting File available here from
https://3dcuts.com/stacked-shadow-boxes/stacked-bats
Supplies needed:
Order supplies from Amazon:
(Affiliate links work for USA customers only. Other countries will need to search in their local Amazon for the products.)
Order from Amazon: Adhesive Foam Square Mount - Dual-Adhesive 3D Pop Dots, 0.2-Inch (Affiliate Link)
Order from Amazon: (Precision Tip Applicator Bottle) for use with Glitter Glue
Order from Amazon: Art Glitter Glue with metal tip (Affiliate Link)
Order from Amazon: Darice Essentials Black Shadow Box: 8 x 8 inches, 3 Pieces (Affiliate Link)
Order from Amazon: Premium Silhouette Blade (Affiliate Link)
Cutting File available here from 3dcuts.com.
Card stock - The colors are all from Michael’s Recollections collection. I used 8.5 x 11”. It required 3 sheets of black, one of orange and a gradation of 4 different grays.
Foam dots thin (1/16”)
Art Glitter Glue
Spray Snow
Frame - I recommend you watch the video for the measurements on the frame. I purchased an 8 x 8 frame. It is really 8.75 x 8.75 outside measurements but the interior space was 7.625 x 7.625”. You can re-size to fit any square frame.
Major Parts Sizes - as download.
Measure the inside of your frame first. Cut all layers to match that. Mine were 7.5” square. I used an 8” x 8” shadow box that had an interior measurement of just over 7.5 x 7.5” Measure your space BEFORE you start cutting
All square layers • 7.5” square
All 3 bats together as shown - 6.9966” w X 6.8568”h
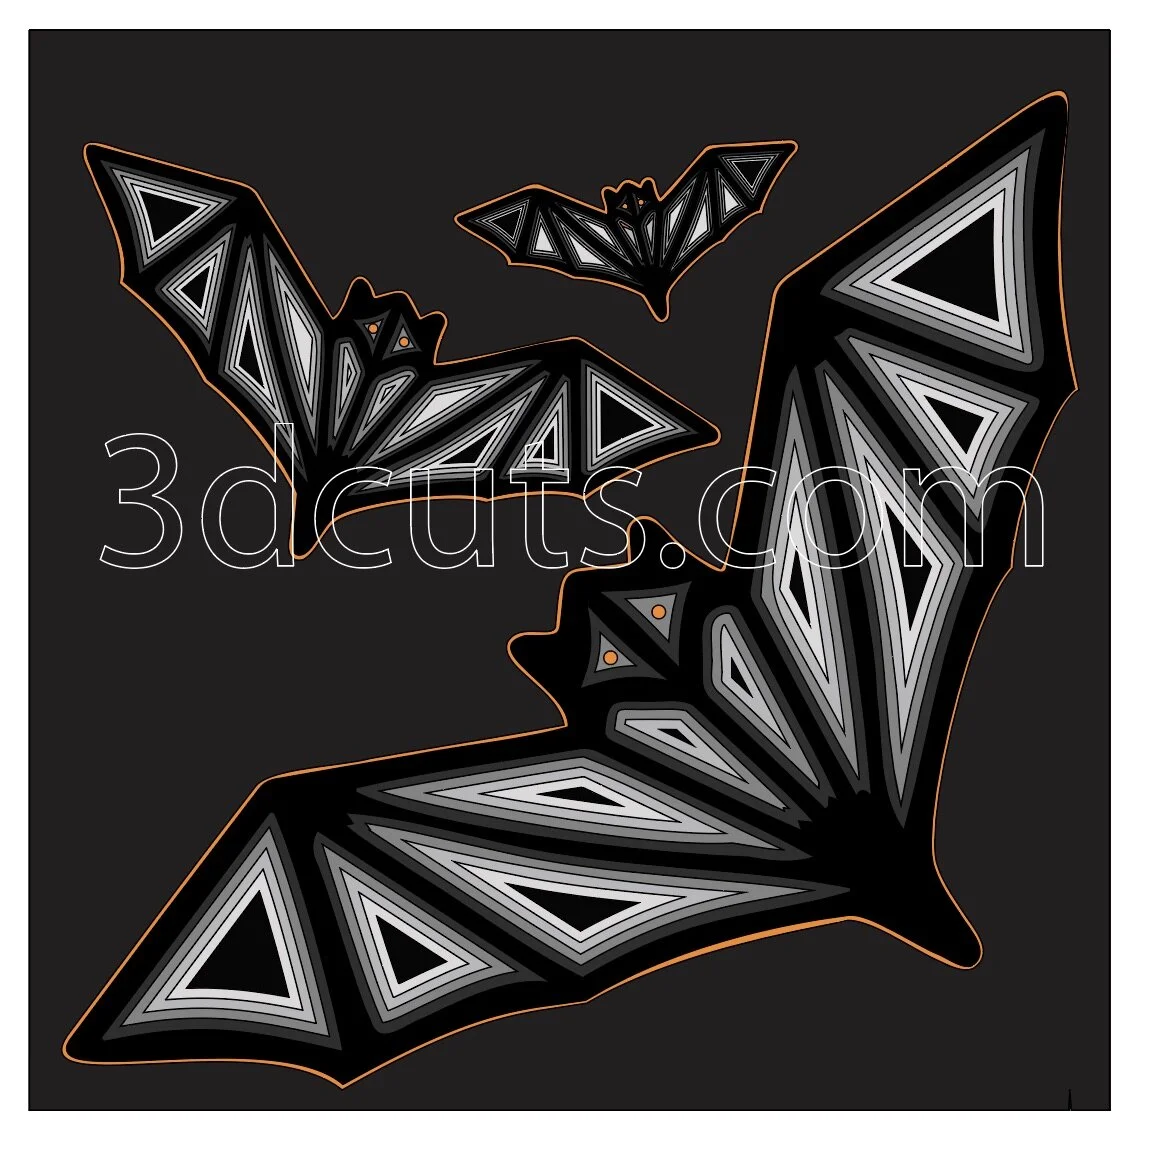
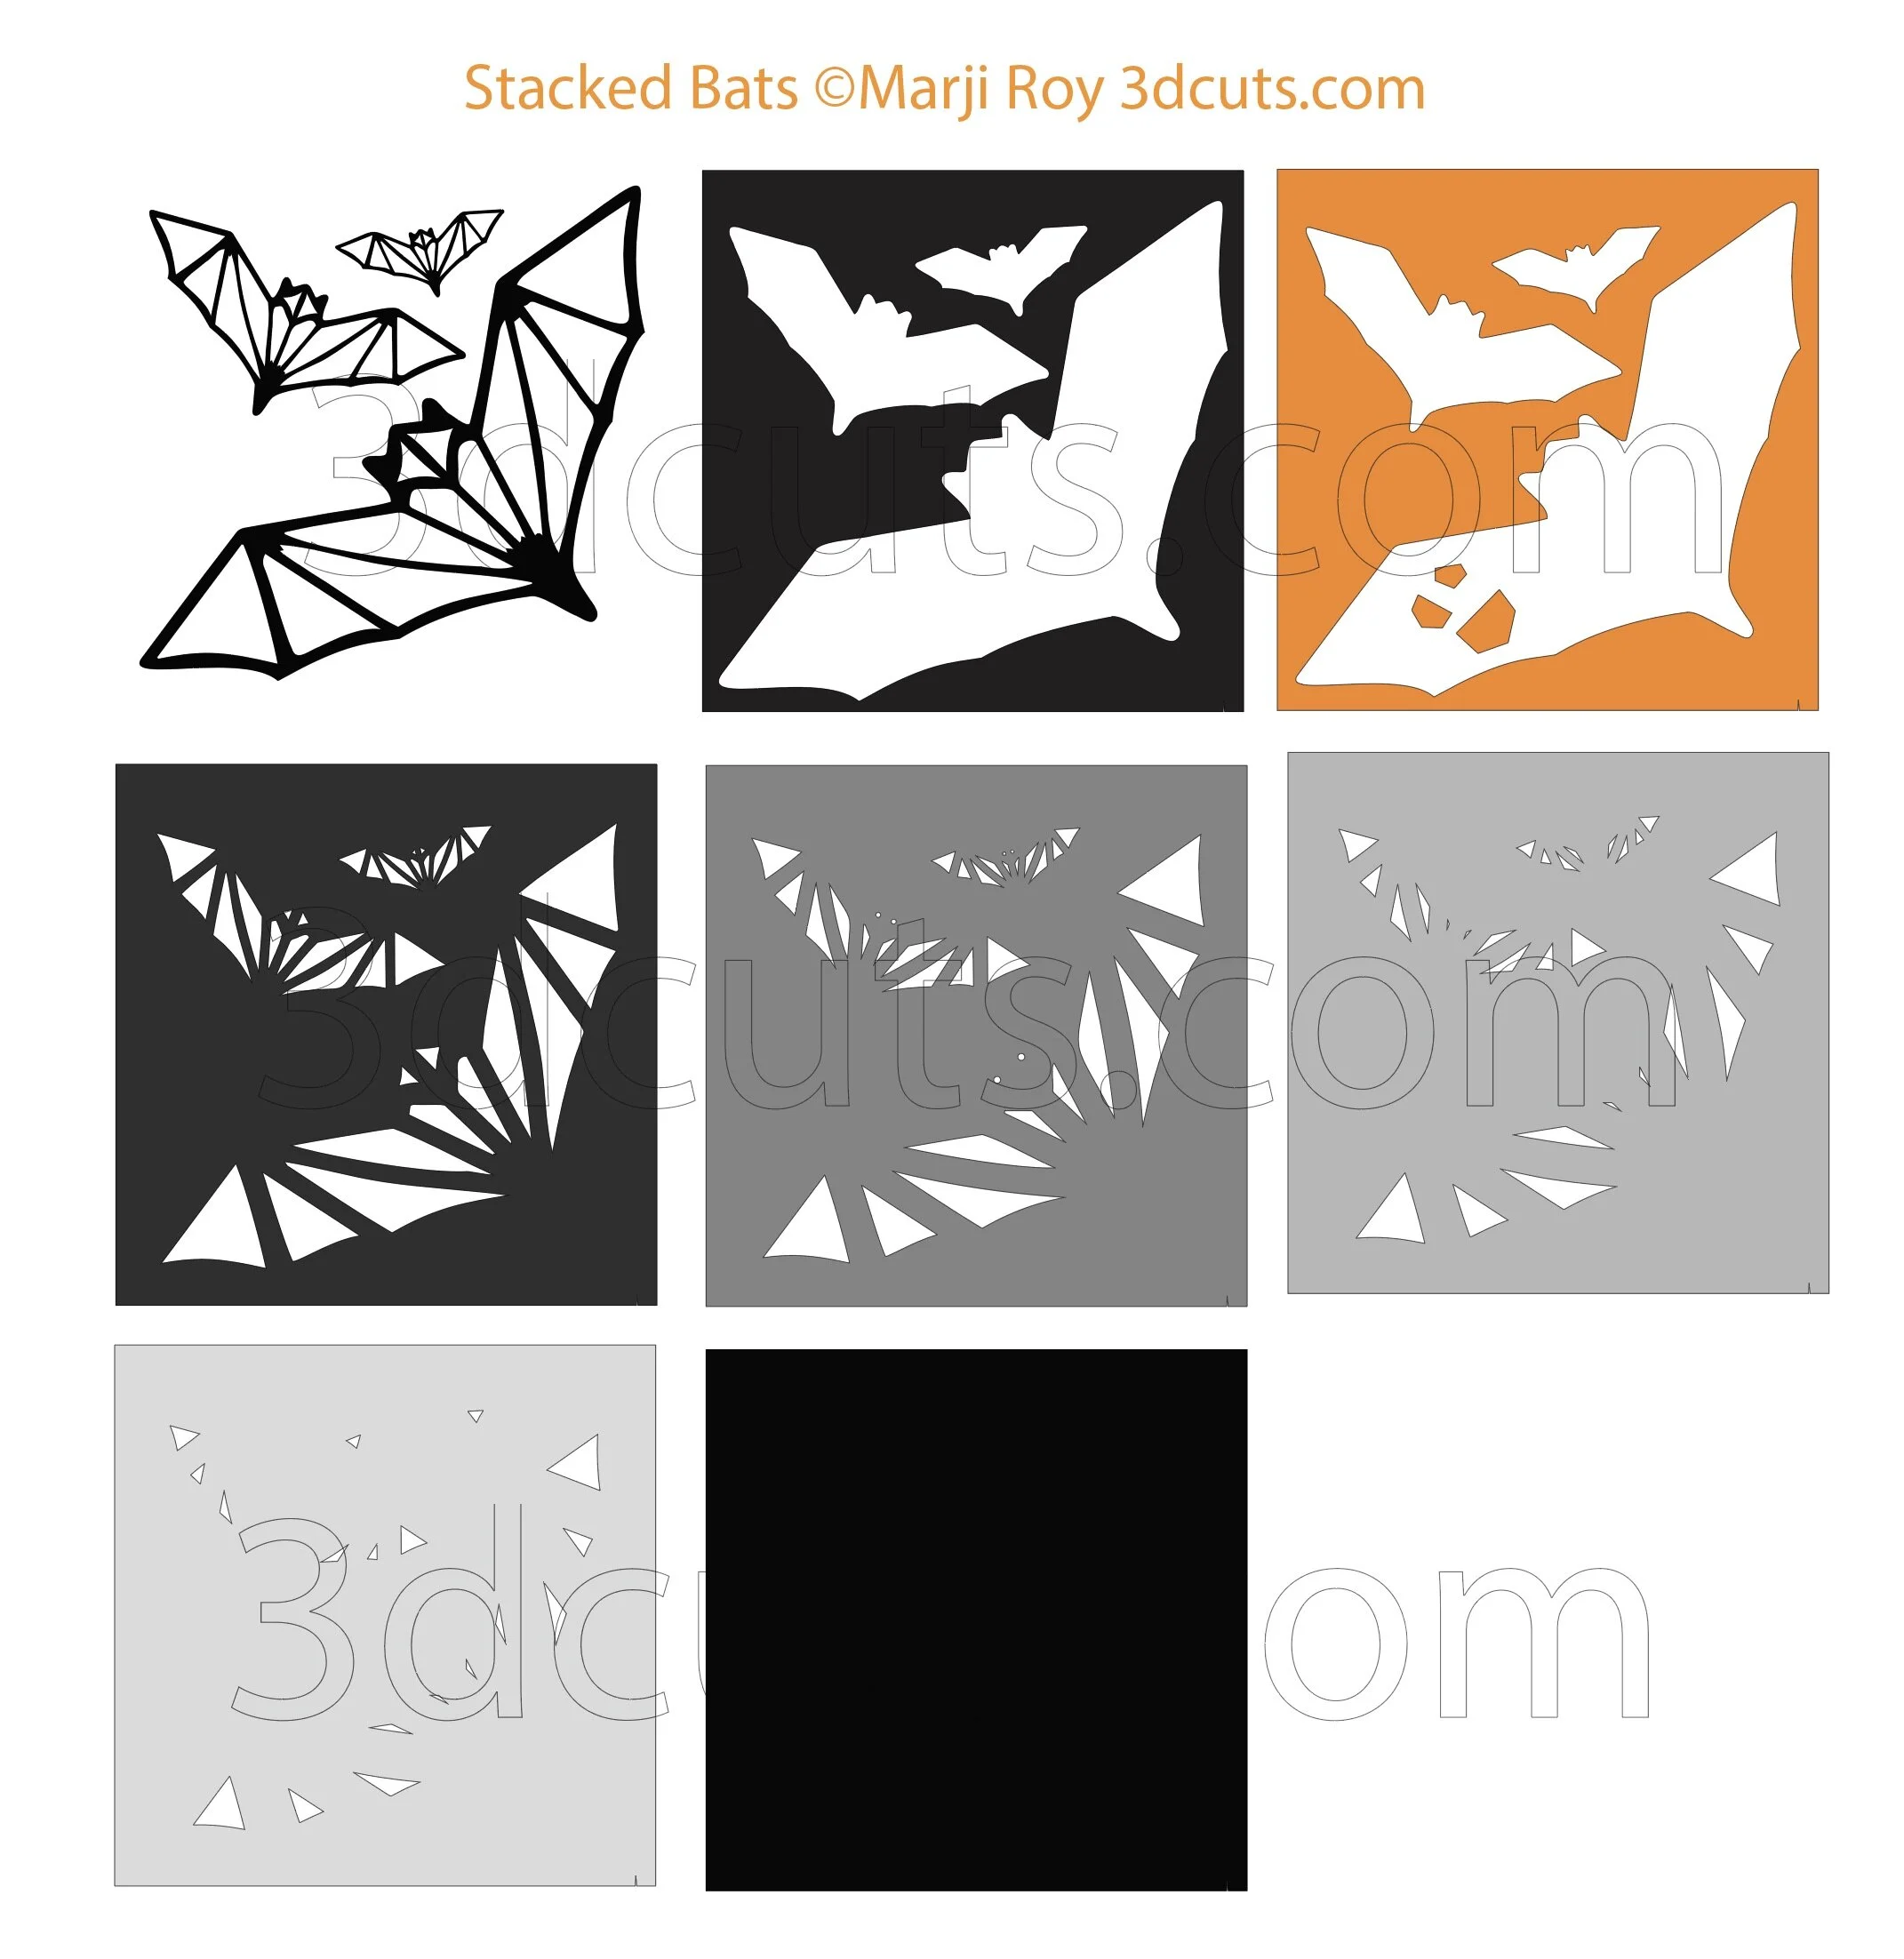
The download will include the 8 layers of the design in two different svg formats. One is in one stack as shown to the right. You will need to separate those to 8 different cuts as shown below but resize before you do. If you need to resize for your frame, group all together, resize proportionally, ungroup and separate. Precision is important to this design.
The second svg file has the layers all separated for those that don’t have the ability to ungroup. You only need to use one of the svg files. Choose the one that matches your need.
You will need to cut a 7.5” square for the back layer.
If your frame is deep you might need optional back supports. I would use corrugated cardboard squares to fill the space.
The download also includes the files in dxf, png and pdf formats for those that use them.
Steps for completing the Stacked Bat Shadow Box:
Special Note: I update the instructions online. Check here for adjustments and additional information.
1. Download the cutting files for your cutting machine here from the 3dcuts.com store. https://3dcuts.com/stacked-shadow-boxes/stacked-bats . For those of you that are reading this as a pdf I recommend viewing it online at my tutorials page at this url. https://3dcuts.com/stacked-bats-tutorial - There all the links will be live.
2. Load the files into your cutting software following the steps for your cutting machine. Re-size if necessary and then ungroup and separate all layers. If re-sizing isn’t necessary open the SPLIT layer and use that one.
For the Silhouette:
SIL Files from uploaded SVG purchased from 3dcuts.com:
The SVG files may need to be turned into cutting files. Click here for detailed steps on how to use SVG files on your Silhouette. http://www.3dcuts.com/tutorial-upload-svg-silhouette
DXF files can be opened in the basic edition of Silhouette Design Studio but often require modifications. I recommend using the Designer Edition and using svg files. DXF files do not always maintain file sizes and you may need to adjust according to sizes noted above.
For Cricut Explore: Here is a guide for importing into Cricut Design Space. http://www.3dcuts.com/tutorial-adding-3dcuts-files-to-cricut . Remember to ATTACH files before cutting in Cricut.
For Brother ScanNCut: The svg files will need to be transferred to files for your particular machine. You can change SVG files to FCM files at http://www.canvasworkspace.com/ or Google "How to import SVG files into a ScanNCut" for links to tutorials. Some models of Brother Scan N Cut can directly import the SVG files. Some files are on 12” mat so you may need to select 12 x 24” mat for correct sizing.

3. Cut the files after separating layers.
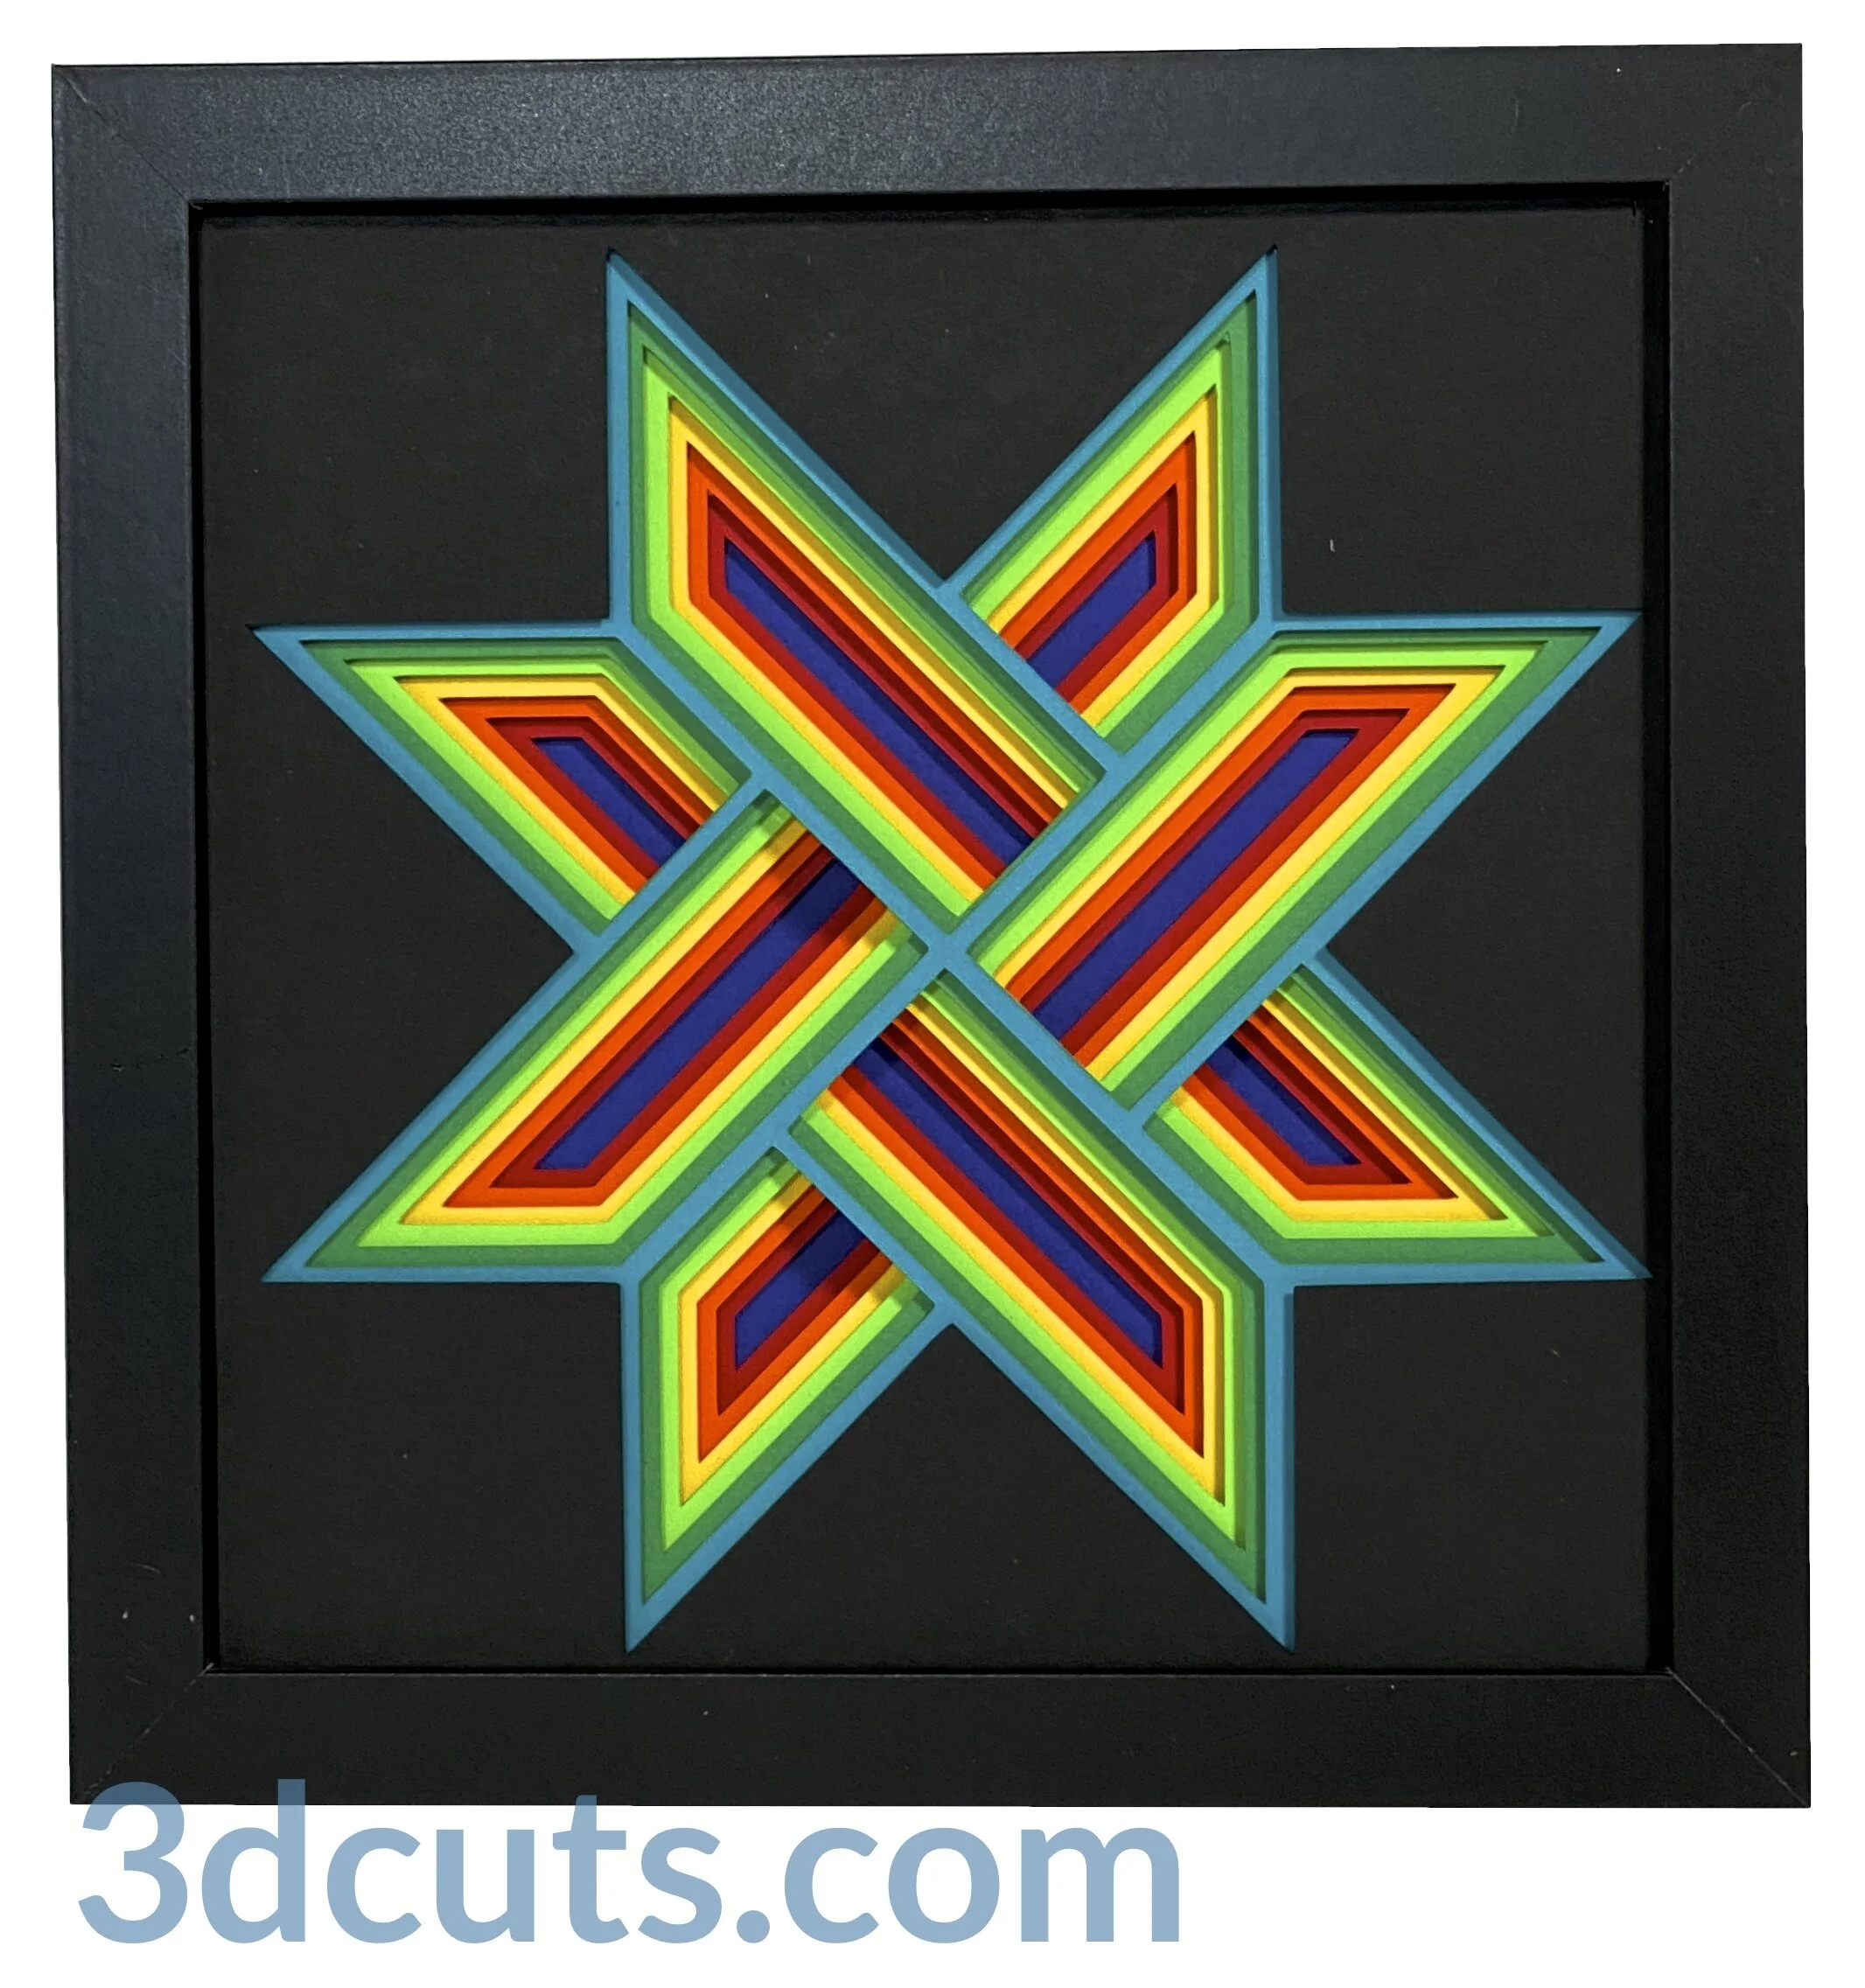
It is best to have good quality card stock and a good blade and clean, sticky mat. I use the Premium blade and the Nicapa mat. There are many different color combinations you can experiment with using this file. The one to the right eliminates the black layer and just uses each color twice.
4. Assembly
The assembly steps are detailed in the video below. Here is the YouTube url https://youtu.be/s-eAel25OyI The steps for making these shadow boxes are all the same. It makes no difference which shapes you are using.
5. Additional Hints for this shadow box design:

This shadow box does have some unique features from others in the series which aren’t covered in the video.
Complete these steps before putting the layers together as shown in the video.
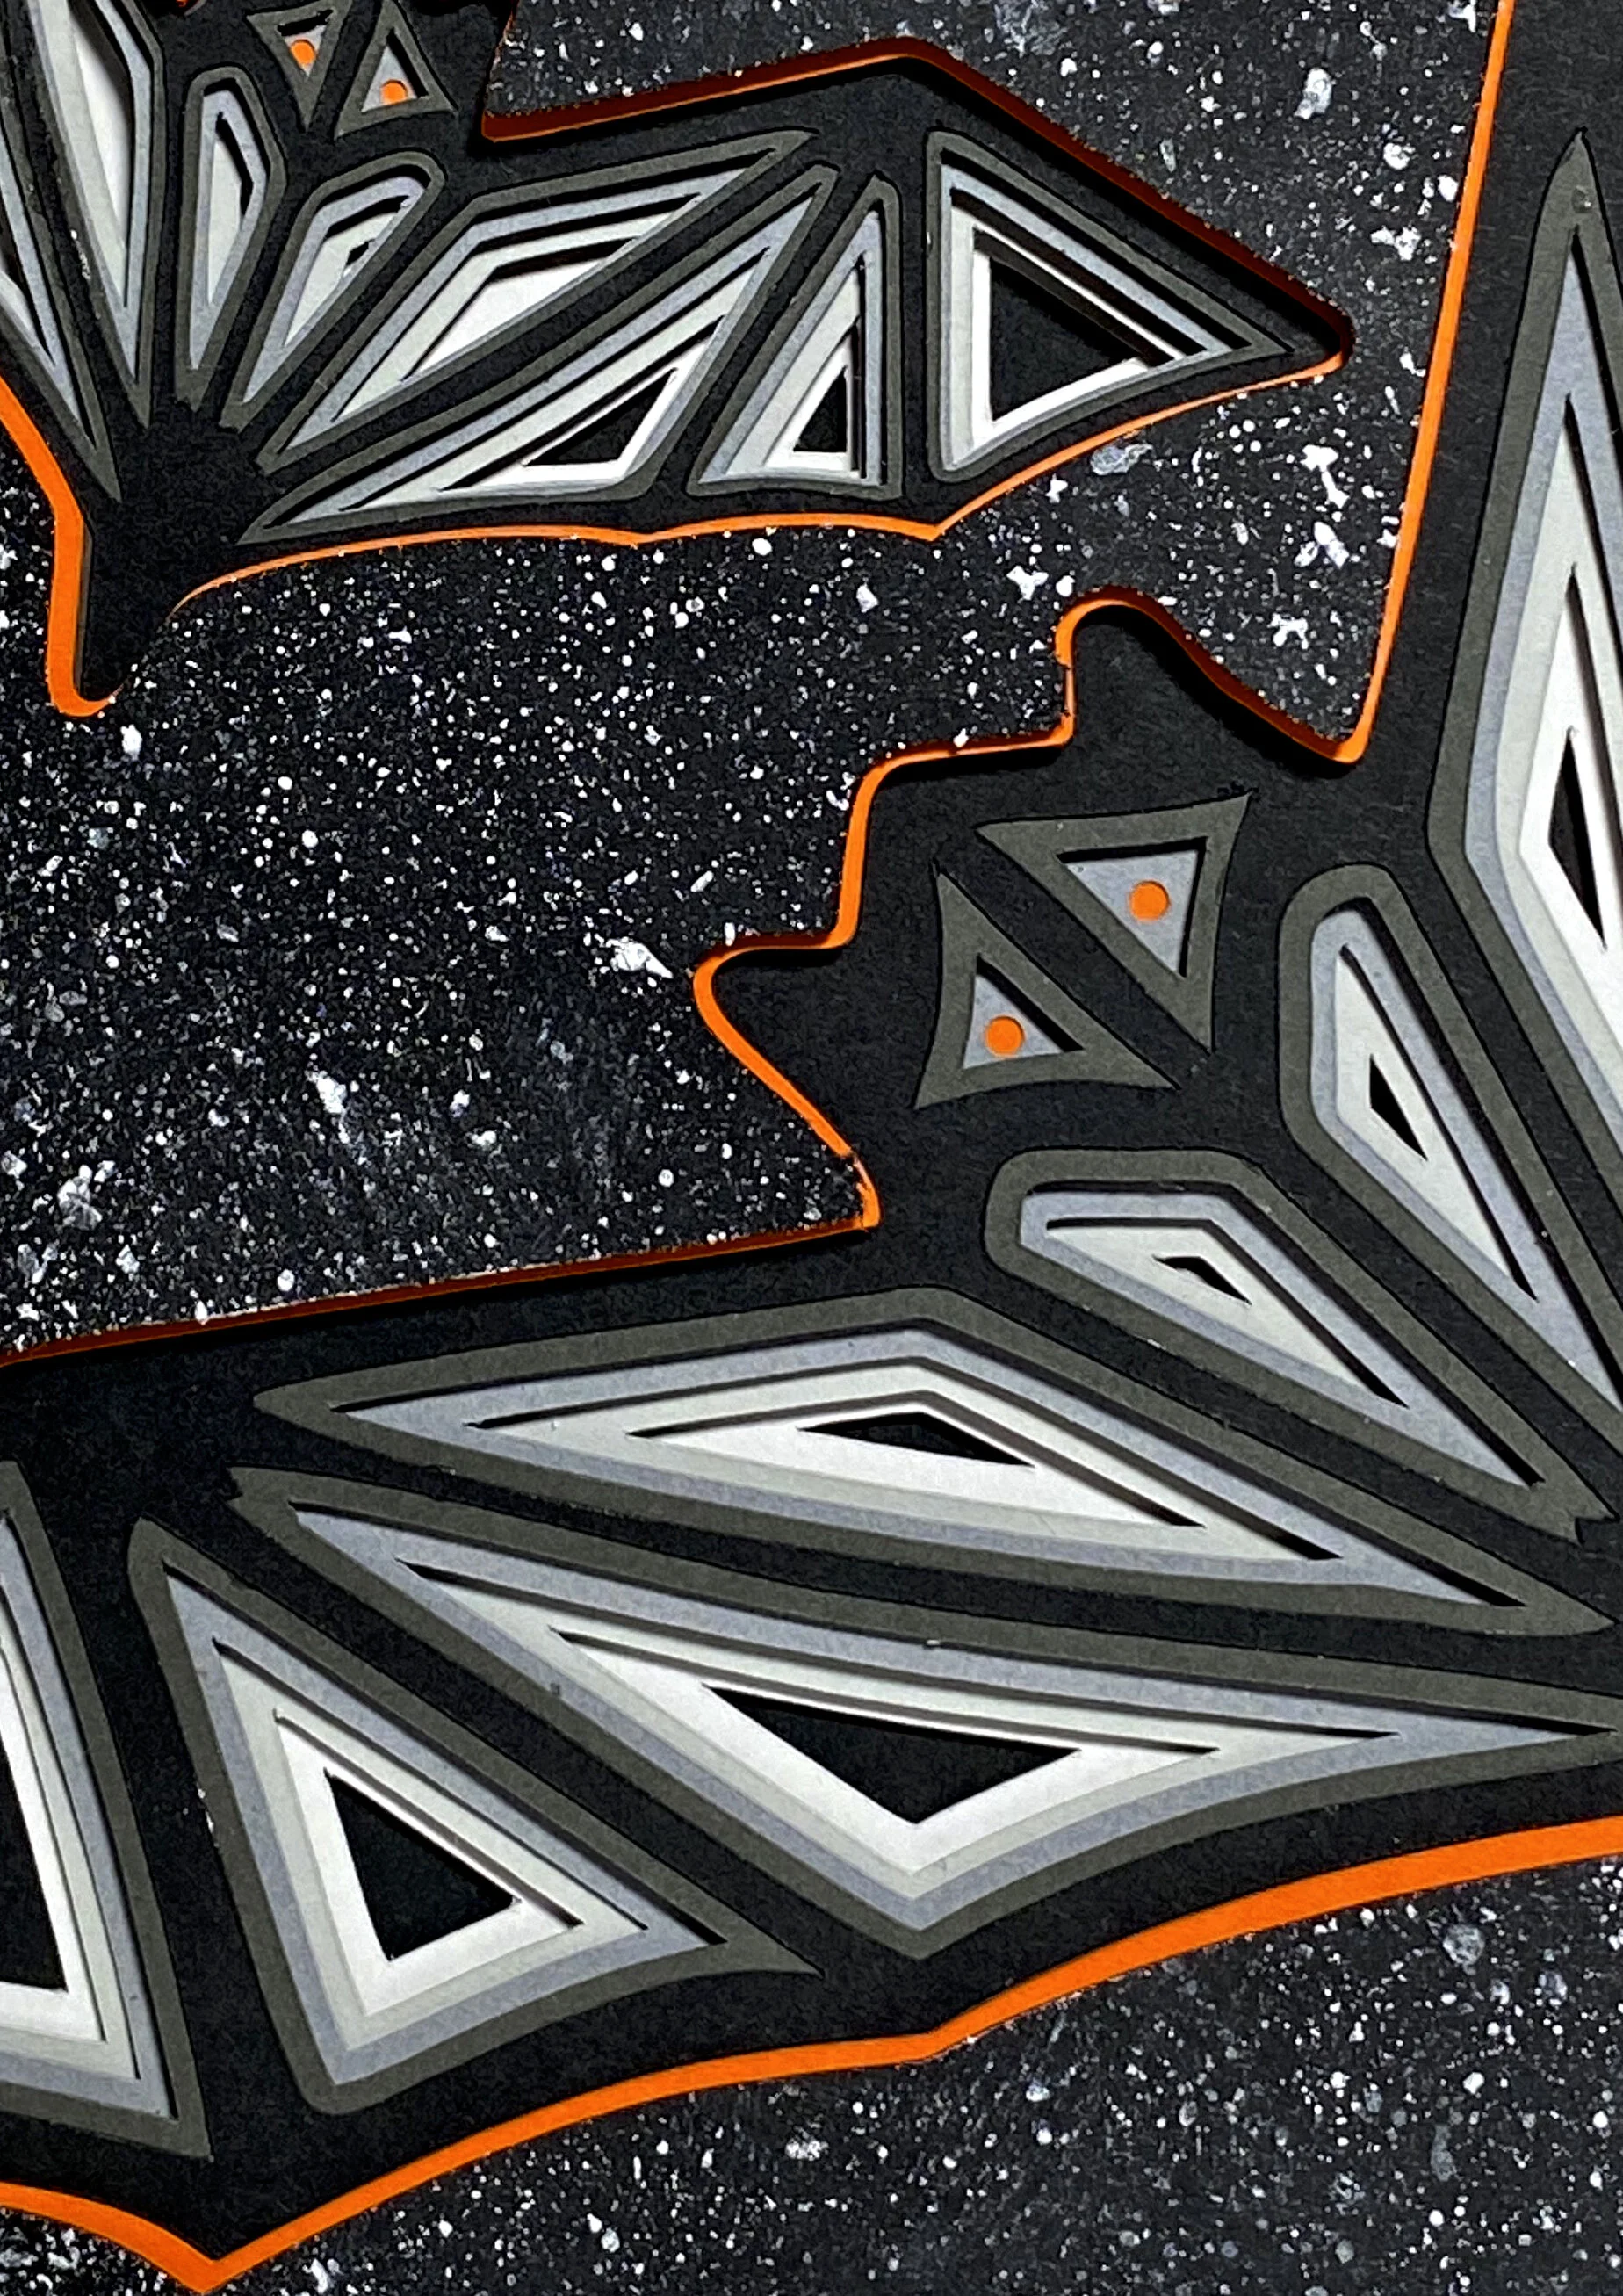
The top layer is black. I added the “stars” by using a quick hit of spray snow from the craft store. The effect was perfect. Let it dry.
The assembly order of this shadow box from front to back -
Front layer is the black with snow.
Layer 2 is the orange layer
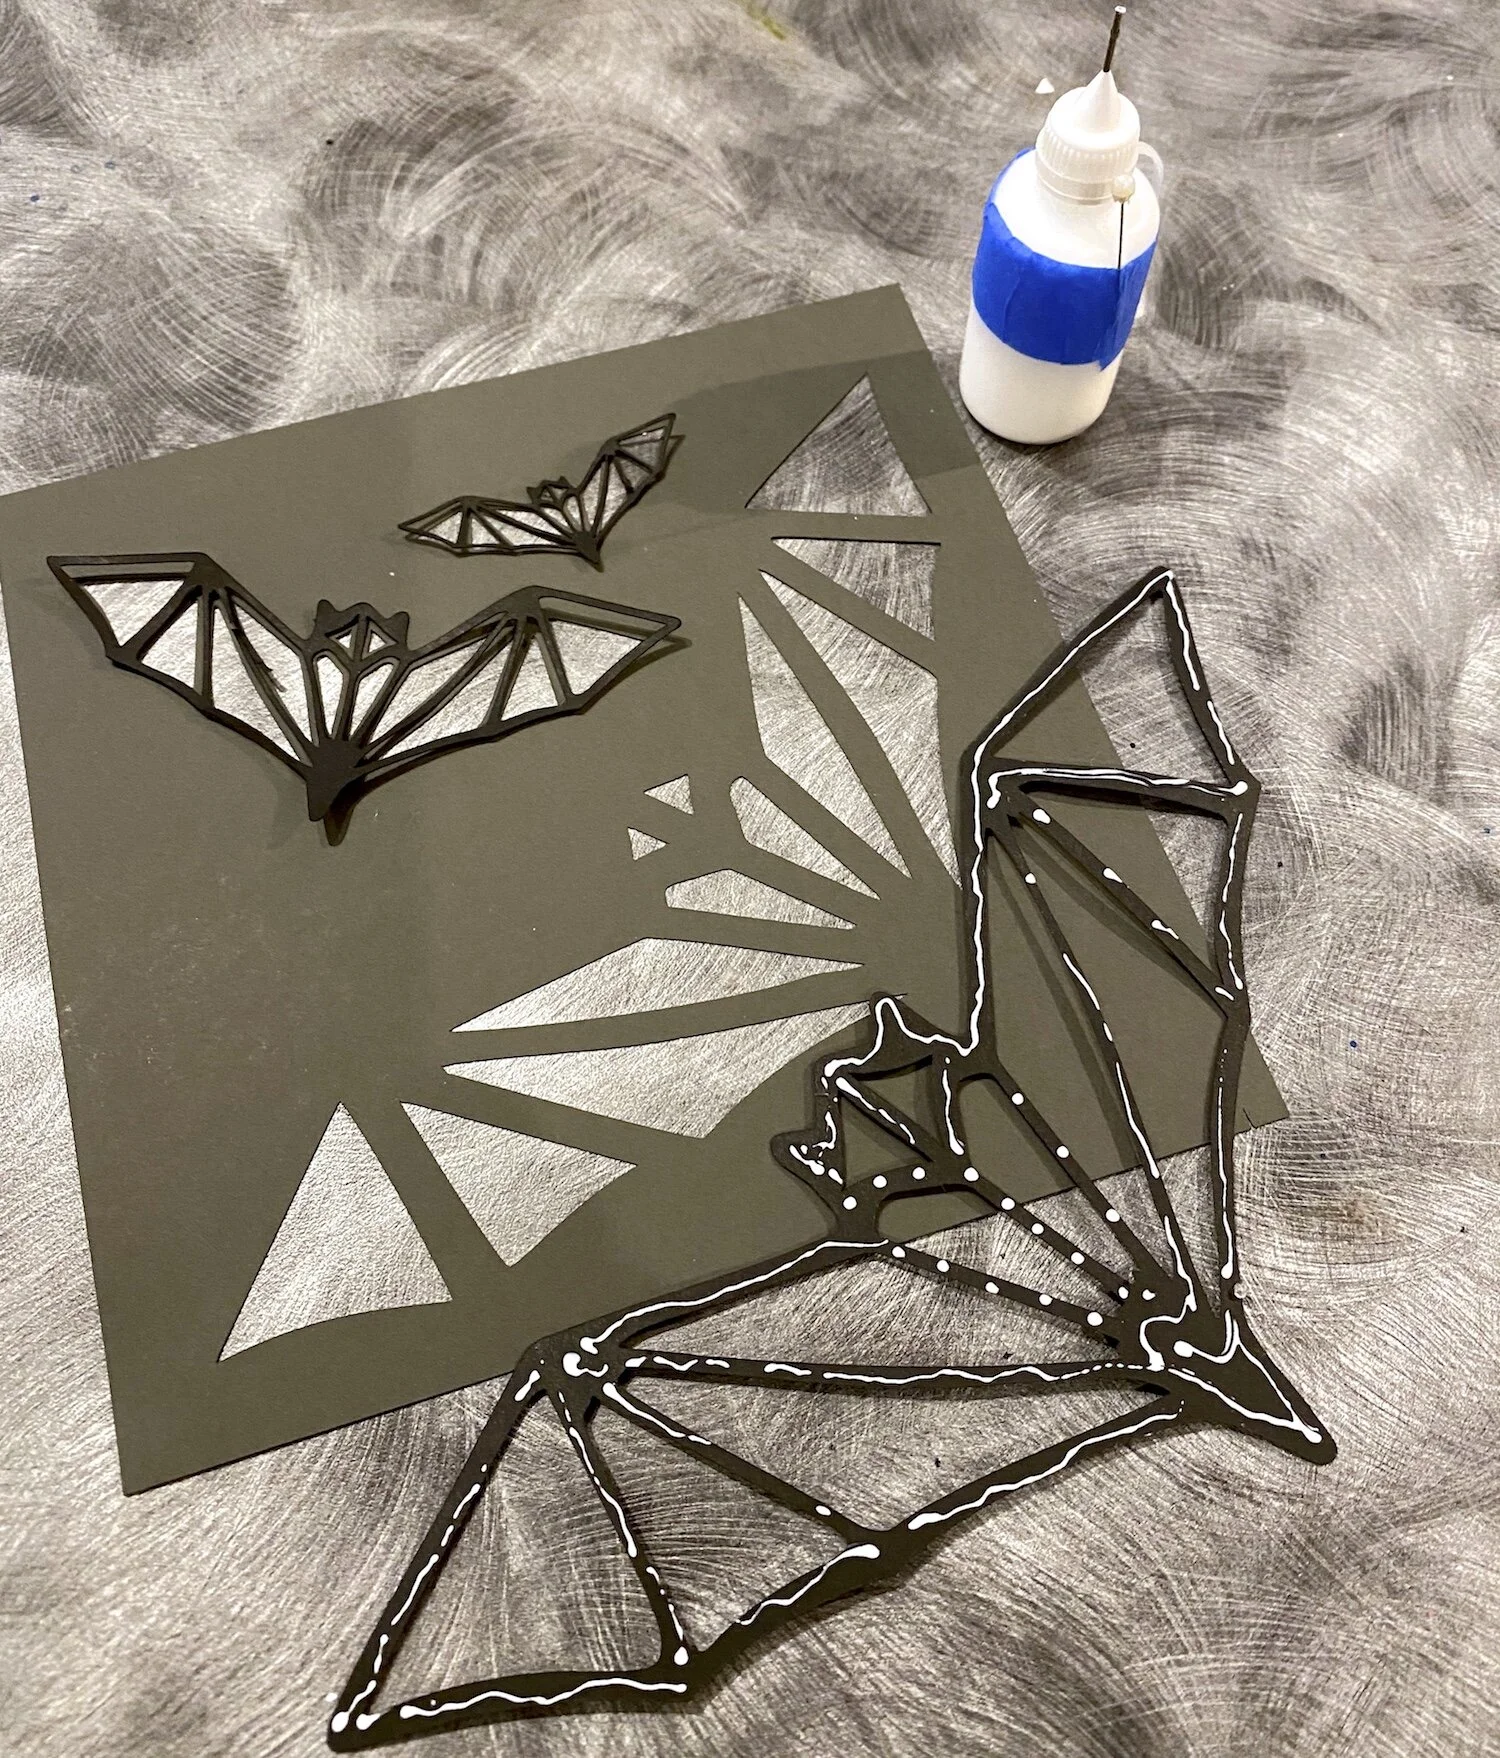
Layer 3 Is the first dark grey layer. I glued the black bats to the front of this layer. They are too fine to use foam spacers and the effect was fine without them.
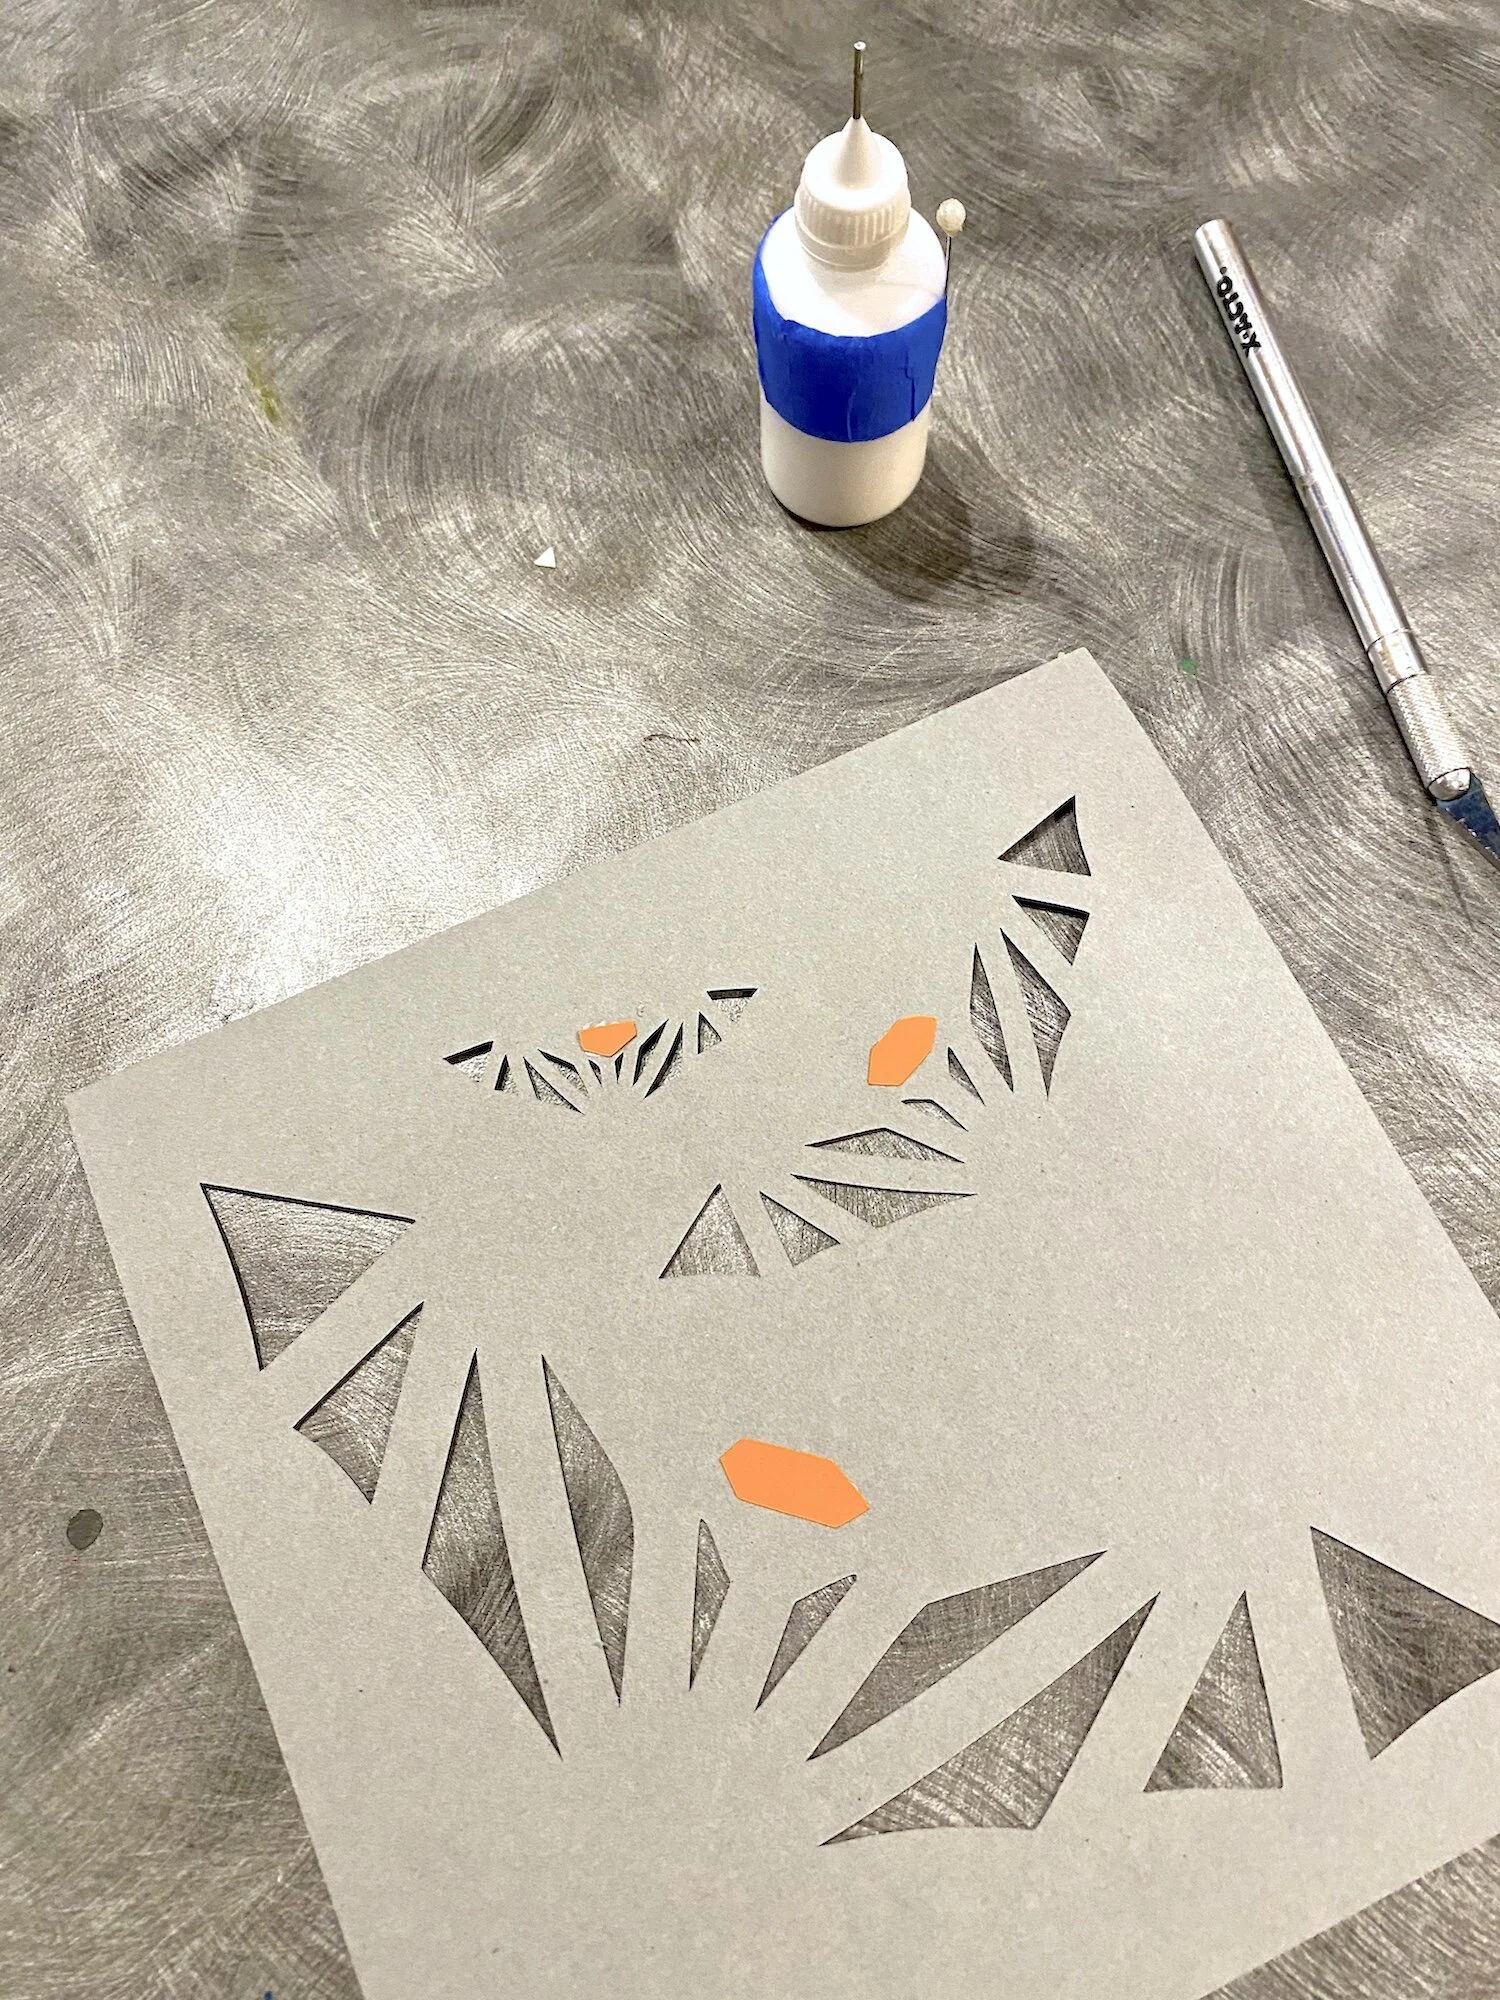
Layer 4 is the medium gray layer and it is the one with the 6 bat eyes as little circles. I glued an orange backing behind all the eyes on this layer.
Below is the step by step assembly video. This video is a generic video for most of my stacked shadow boxes. They go together in the same way.
6. Share
I love to see your finished projects. Please send photos to me at marji@3dcuts.com or share your photos on facebook, facebook crafting groups, pinterest and instagram.
7. Give
Who are you making this for? Enjoy giving.
If you try something new please share it. You can also send it to me at marji@3dcuts.com.
Other variations of the stacked shadow boxes……