Easy Rider Shadow Box Series - Tutorial
Project Description
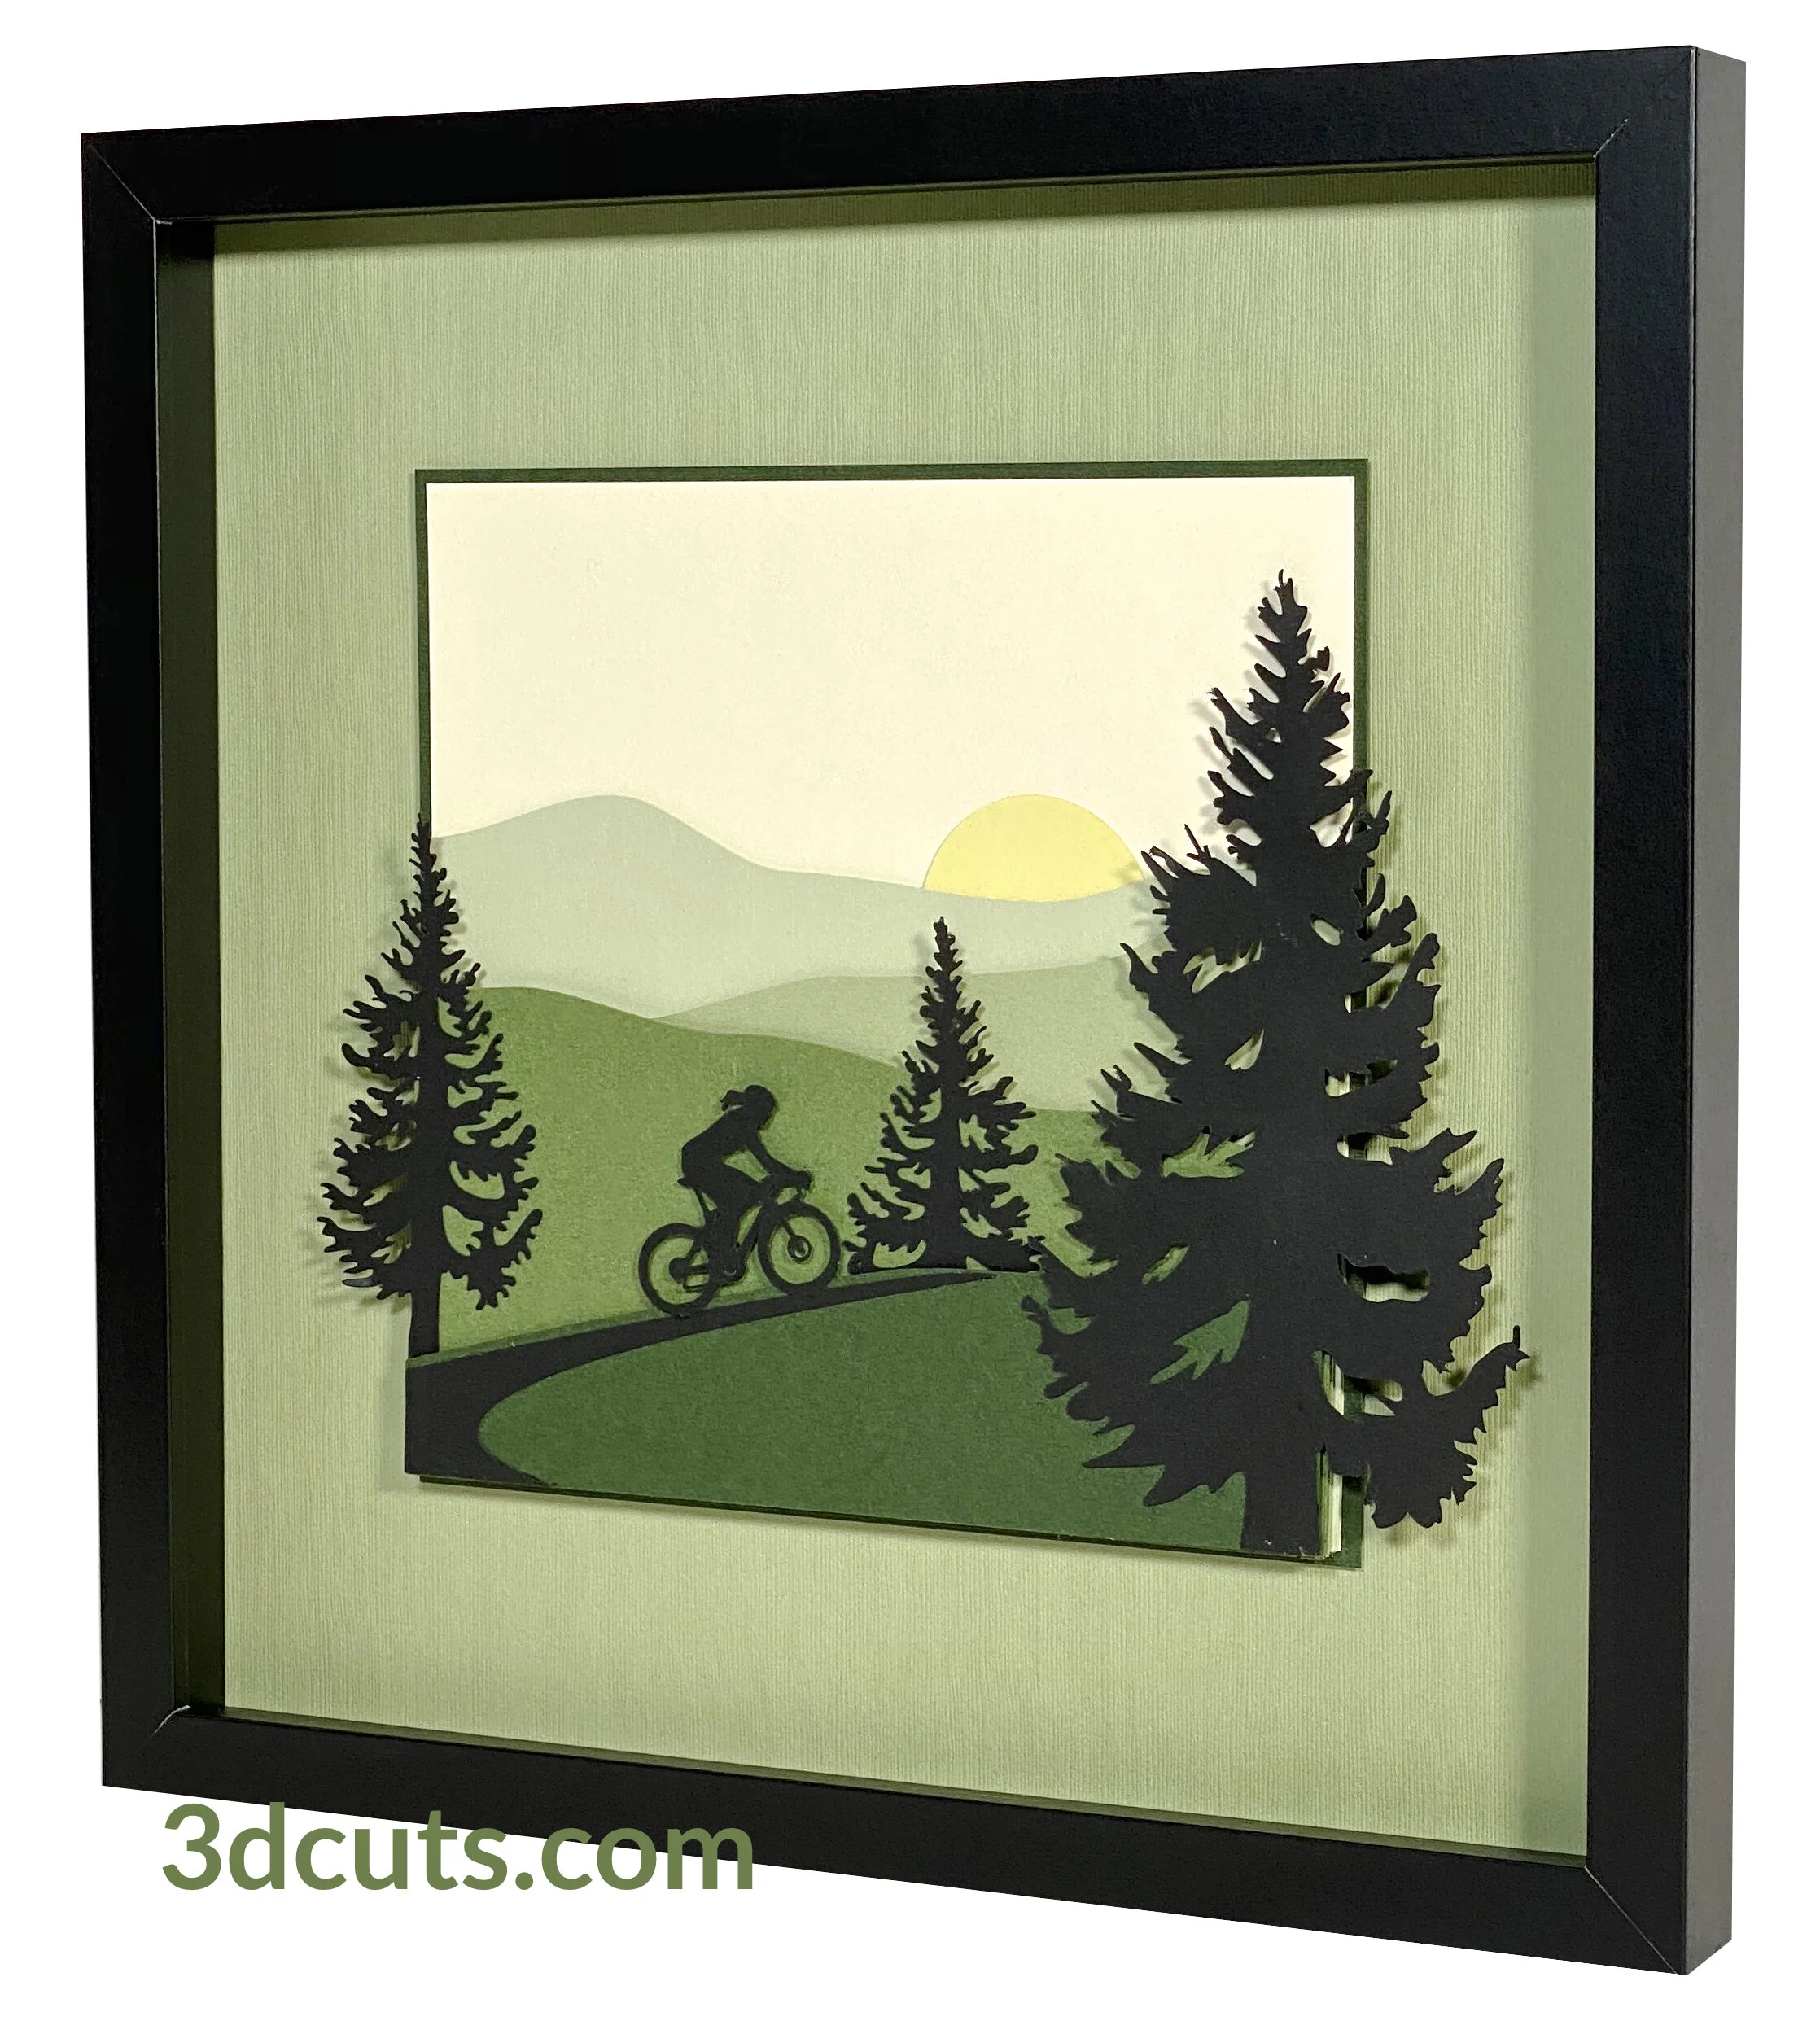
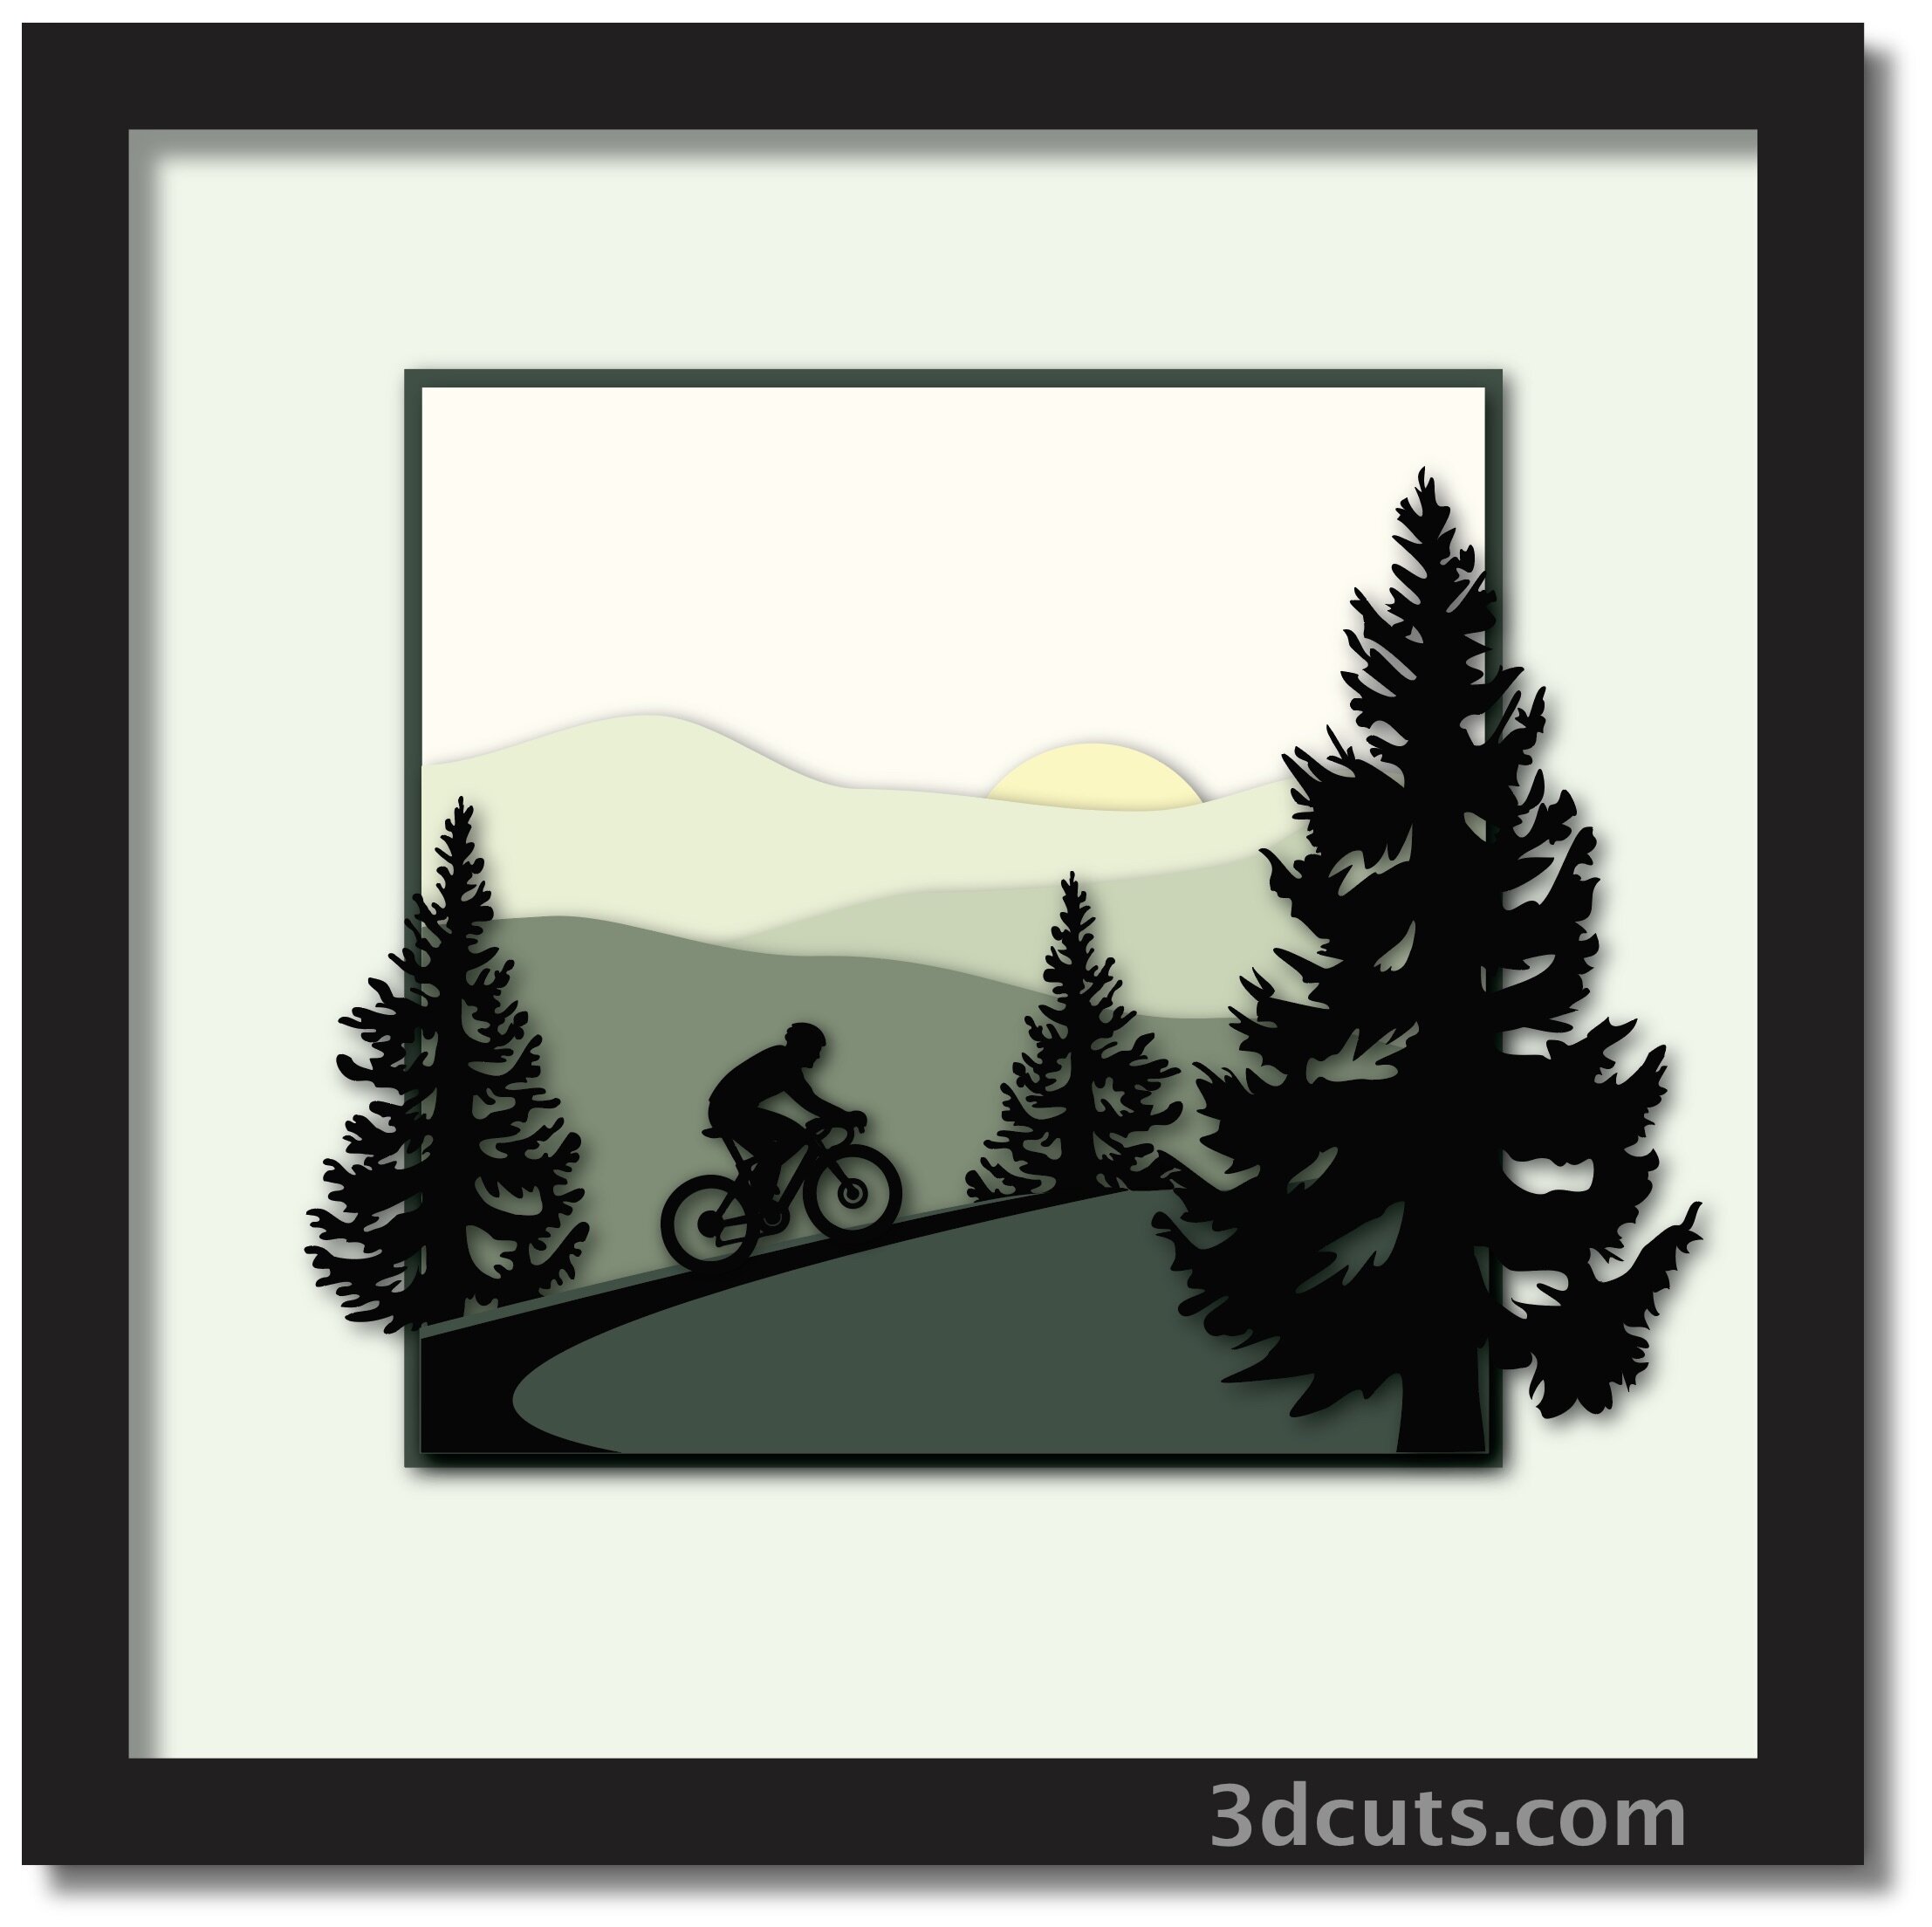
This tutorial is for all of the designs that come with the Easy Rider Shadow Box series. It includes files for 4 different choices riding through a mountain landscape. You can choose a male bicyclist. a female bicyclist, a man on a motorcycle or a couple all a motorcycle. Each is out on the open road.
The files is designed to fit a purchased 12 x 12” shadow box as shown but there is an option for the 8 x 8” size as well. Construction techniques are easy.
Cutting File available here : https://3dcuts.com/shadow-boxes-people-sports/easy-rider-series
Scroll down for assembly video.
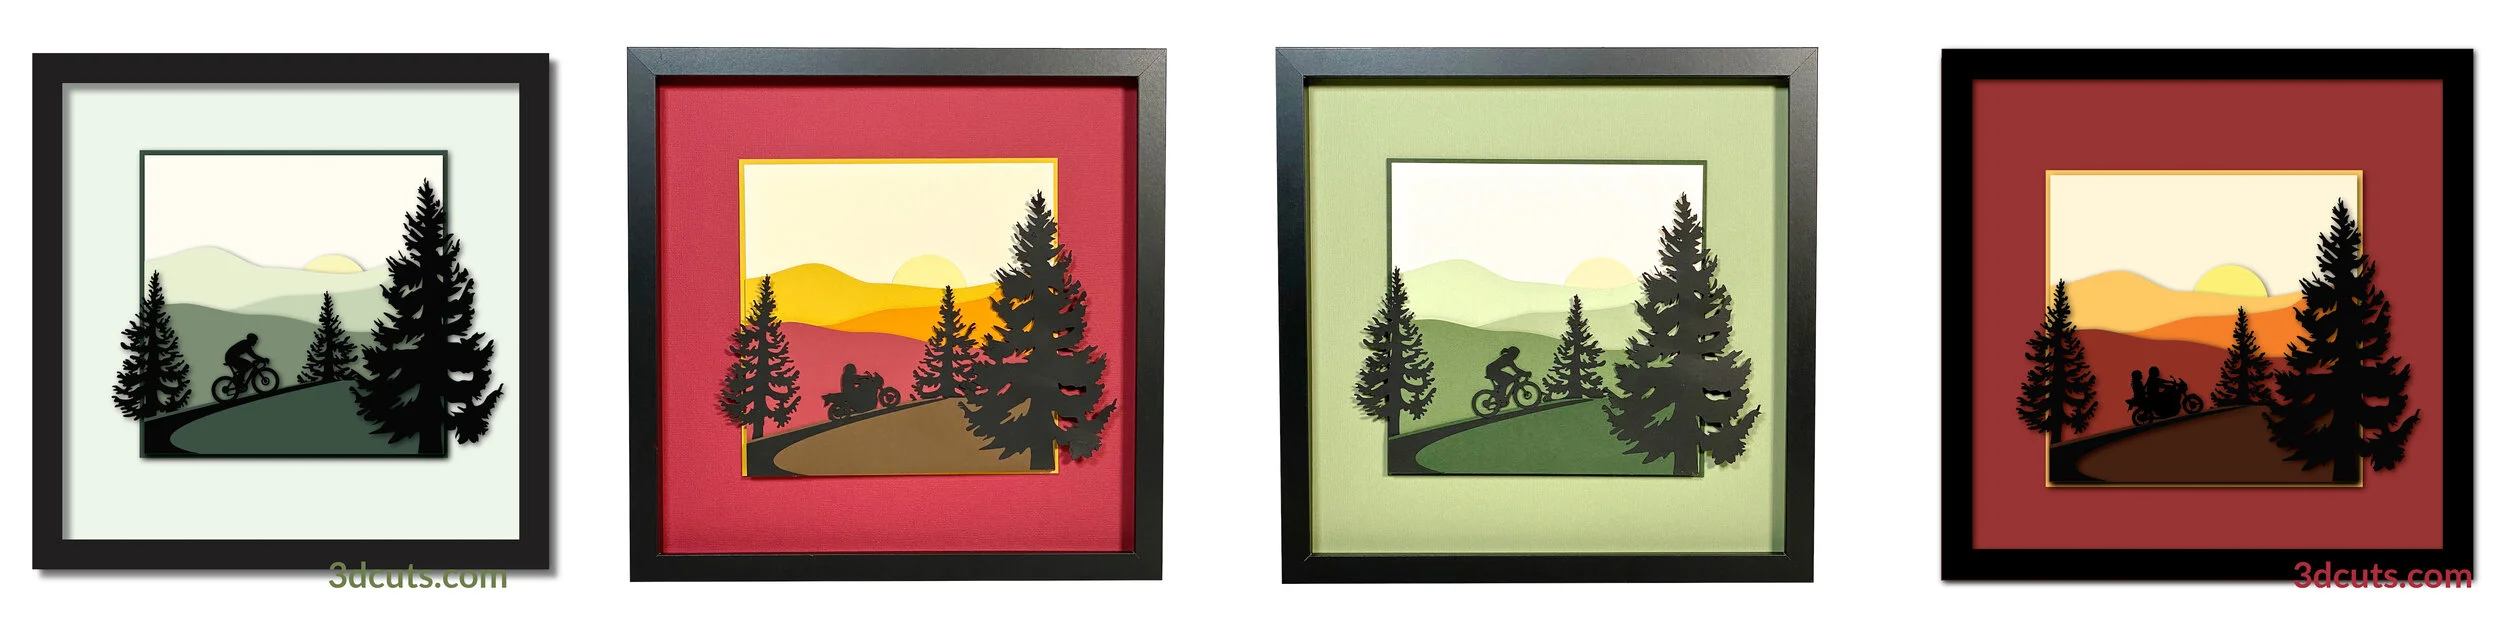
Below are closeups of the 4 different riders included in the Easy Rider download.

Supplies needed:
Order supplies from Amazon:
(Affiliate links work for USA customers only. Other countries will need to search in their local Amazon for the products.)
Frame is 12 x 12” Studio Decor frame from Michael’s (2 pack)
Paper is 12 x 12” Bazzill from 12 x 12 card stock - Colors I used
Avocado
Nixon - Mono
Lily Pond
Spring Breeze
Order from Amazon: (Precision Tip Applicator Bottle) for use with Glitter Glue
Order from Amazon: Art Glitter Glue with metal tip (Affiliate Link)
Alternative frames: I also use Michaels 8 x x 8” Fundamentals by Studio Decor - 3 pack.
Order from Amazon: Premium Silhouette Blade (Affiliate Link)
Cutting File available here from 3dcuts.com.
Card stock - I used Bazzill Card stock for the gradated green colors because they have so many beautiful greens to choose from. Bazzill is a little harder to cut so I did not use that for black. The black layer and all the layers in the red series are from Michael’s Recollections 8.5 x 11 card stock.
Frame - I recommend you watch the video for the measurements on the frame. I purchased a 12 x 12” Studio Decor frame from Michaels (2 pack) that was about 1 1/8” deep. Its outside measurement is 13” x 13”. I also used the Fundamentals Studio Decor Michael’s 8 x 8” frame for the sample without the mat. It is really 8.75 x 8.75 outside measurements but the interior space was 7.625 x 7.625”. You can re-size to fit any square frame - but don’t go tiny. You will lose the details for the riders..
3M Foam Tape
Art Glitter Glue
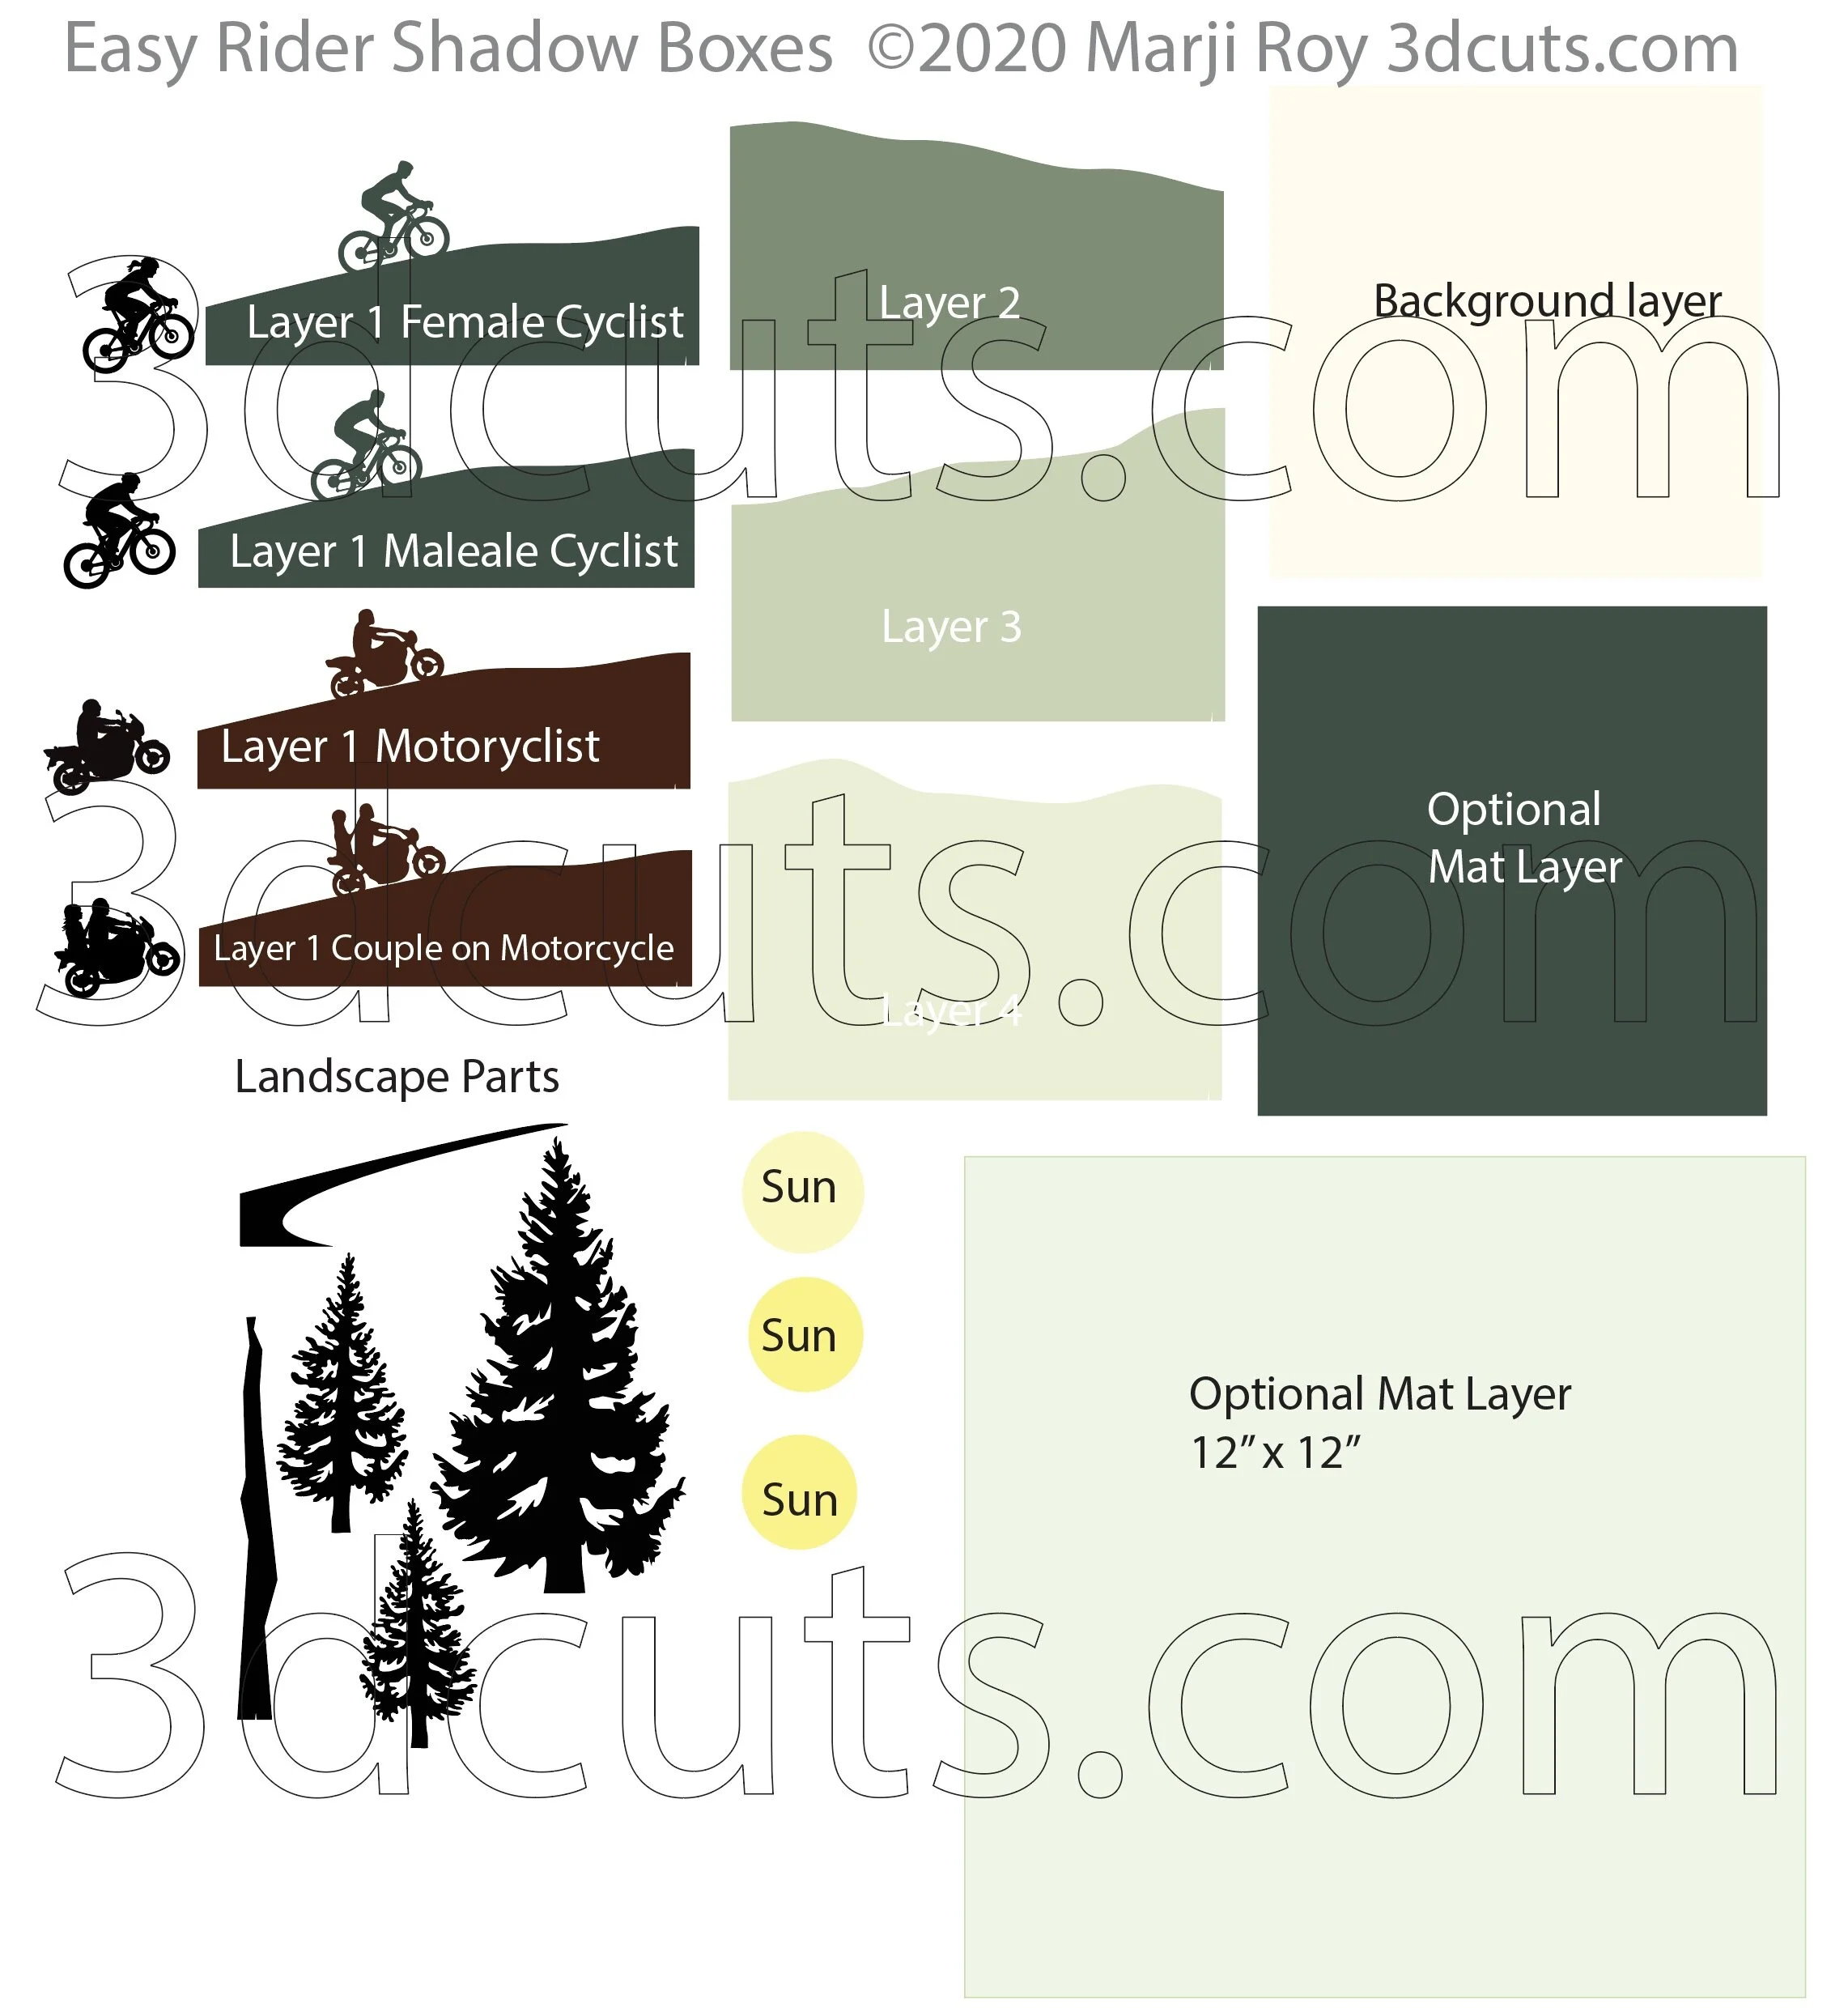
Major Parts Sizes - as download.
Layer 1 with riders (all) - 11.0236”w X 11.179”h
Layer 2 - 7.5”w x 3.7747” h* (adjusted 3/16/2022 -there was an error in this piece is the original upload. Re-size to this.)
Layer 3 - 7.5” w X 4.7628” h
Layer 4 - 7.5” w X 5.1947” h
All Landscape Parts Together as shown 7.926” w X 9.9748”h
Layer 5- Back- 7.5” square
Front Mat - 7.75” square
Back Mat - 12” square
The download will include the layers of the design in 4 different formats. They are split into multiple files. The parts are pictured below. All the riders come with layer 1 in 1 12 x 12” file. After verifying size, select the one you want and delete the others.
You can move the black rider to cut with the other black shapes. Be sure to select a high quality black paper that works well with detailed cutting.
Steps for completing the Easy Rider Shadow Box:
Special Note: I update the instructions online. Check here for adjustments and additional information.

Easy Rider Shadow Boxes • 2020, 3DCuts.com, Marji Roy, 3D cutting files in .svg, .dxf, and .pdf formats for use with Silhouette, Cricut and other cutting machines, paper crafting files
1. Download the cutting files for your cutting machine here from the 3dcuts.com store. https://3dcuts.com/shadow-boxes-people-sports/easy-rider-series . For those of you that are reading this as a pdf I recommend viewing it online at my tutorials page at this url. https://3dcuts.com/easy-rider-series-tutorial - There all the links will be live.
2. Load the files into your cutting software following the steps for your cutting machine. Re-size if necessary and then ungroup and separate all layers. If re-sizing isn’t necessary open the SPLIT layer and use that one.
For the Silhouette:
SIL Files from uploaded SVG purchased from 3dcuts.com:
The SVG files may need to be turned into cutting files. Click here for detailed steps on how to use SVG files on your Silhouette. http://www.3dcuts.com/tutorial-upload-svg-silhouette
DXF files can be opened in the basic edition of Silhouette Design Studio but often require modifications. I recommend using the Designer Edition and using svg files. DXF files do not always maintain file sizes and you may need to adjust according to sizes noted above.
For Cricut Explore: Here is a guide for importing into Cricut Design Space. http://www.3dcuts.com/tutorial-adding-3dcuts-files-to-cricut . Remember to ATTACH files before cutting in Cricut.
For Brother ScanNCut: The svg files will need to be transferred to files for your particular machine. You can change SVG files to FCM files at http://www.canvasworkspace.com/ or Google "How to import SVG files into a ScanNCut" for links to tutorials. Some models of Brother Scan N Cut can directly import the SVG files. Some files are on 12” mat so you may need to select 12 x 24” mat for correct sizing.
3. Make decisions and choose.

Customized design using this file by Marji Roy.
Which rider will you cut? Cut that one plus its matching layer 1. You do not need to cut the others.
Choose your paper selection. Find a gradation that goes from dark to light to enhance the feeling of depth.
Custom design: You can take a photo of someone riding their cycle in silhouette, import it into your design program of choice, and trace it. Fill it with black. Take layer 1 and remove the existing rider and weld a silhouette of yours there. Cut both pieces and use in place of layer 1.
4. Cut the files.
It is best to have good quality card stock and a good blade and clean, sticky mat. I use the Premium blade and the Nicapa mat.
T
5. Assembly
The assembly steps are detailed in the video below. Here is the YouTube url https://youtu.be/VB0uJHrtkJg The steps for making these shadow boxes are all the same. It makes no difference which rider you are using.
Below is the step by step assembly video.
6. Framing

I have framed these shadow boxes in two different ways. The first is in the 12 x 12 inch shadow boxes on a floating mat. I like this method visually. They also fit into an 8 x 8” shadow box frame without a mat if you slice off the extra tree edge as shown to the right. This i smaller and simpler and might be right for you.
7. Share
I love to see your finished projects. Please send photos to me at marji@3dcuts.com or share your photos on facebook, facebook crafting groups, pinterest and instagram.
8. Give
Who are you making this for? Enjoy giving.