How to upload 3dcuts.com files to Cricut Design Space on an iPad
Lauch the Cricut Design Space application on your iPad.
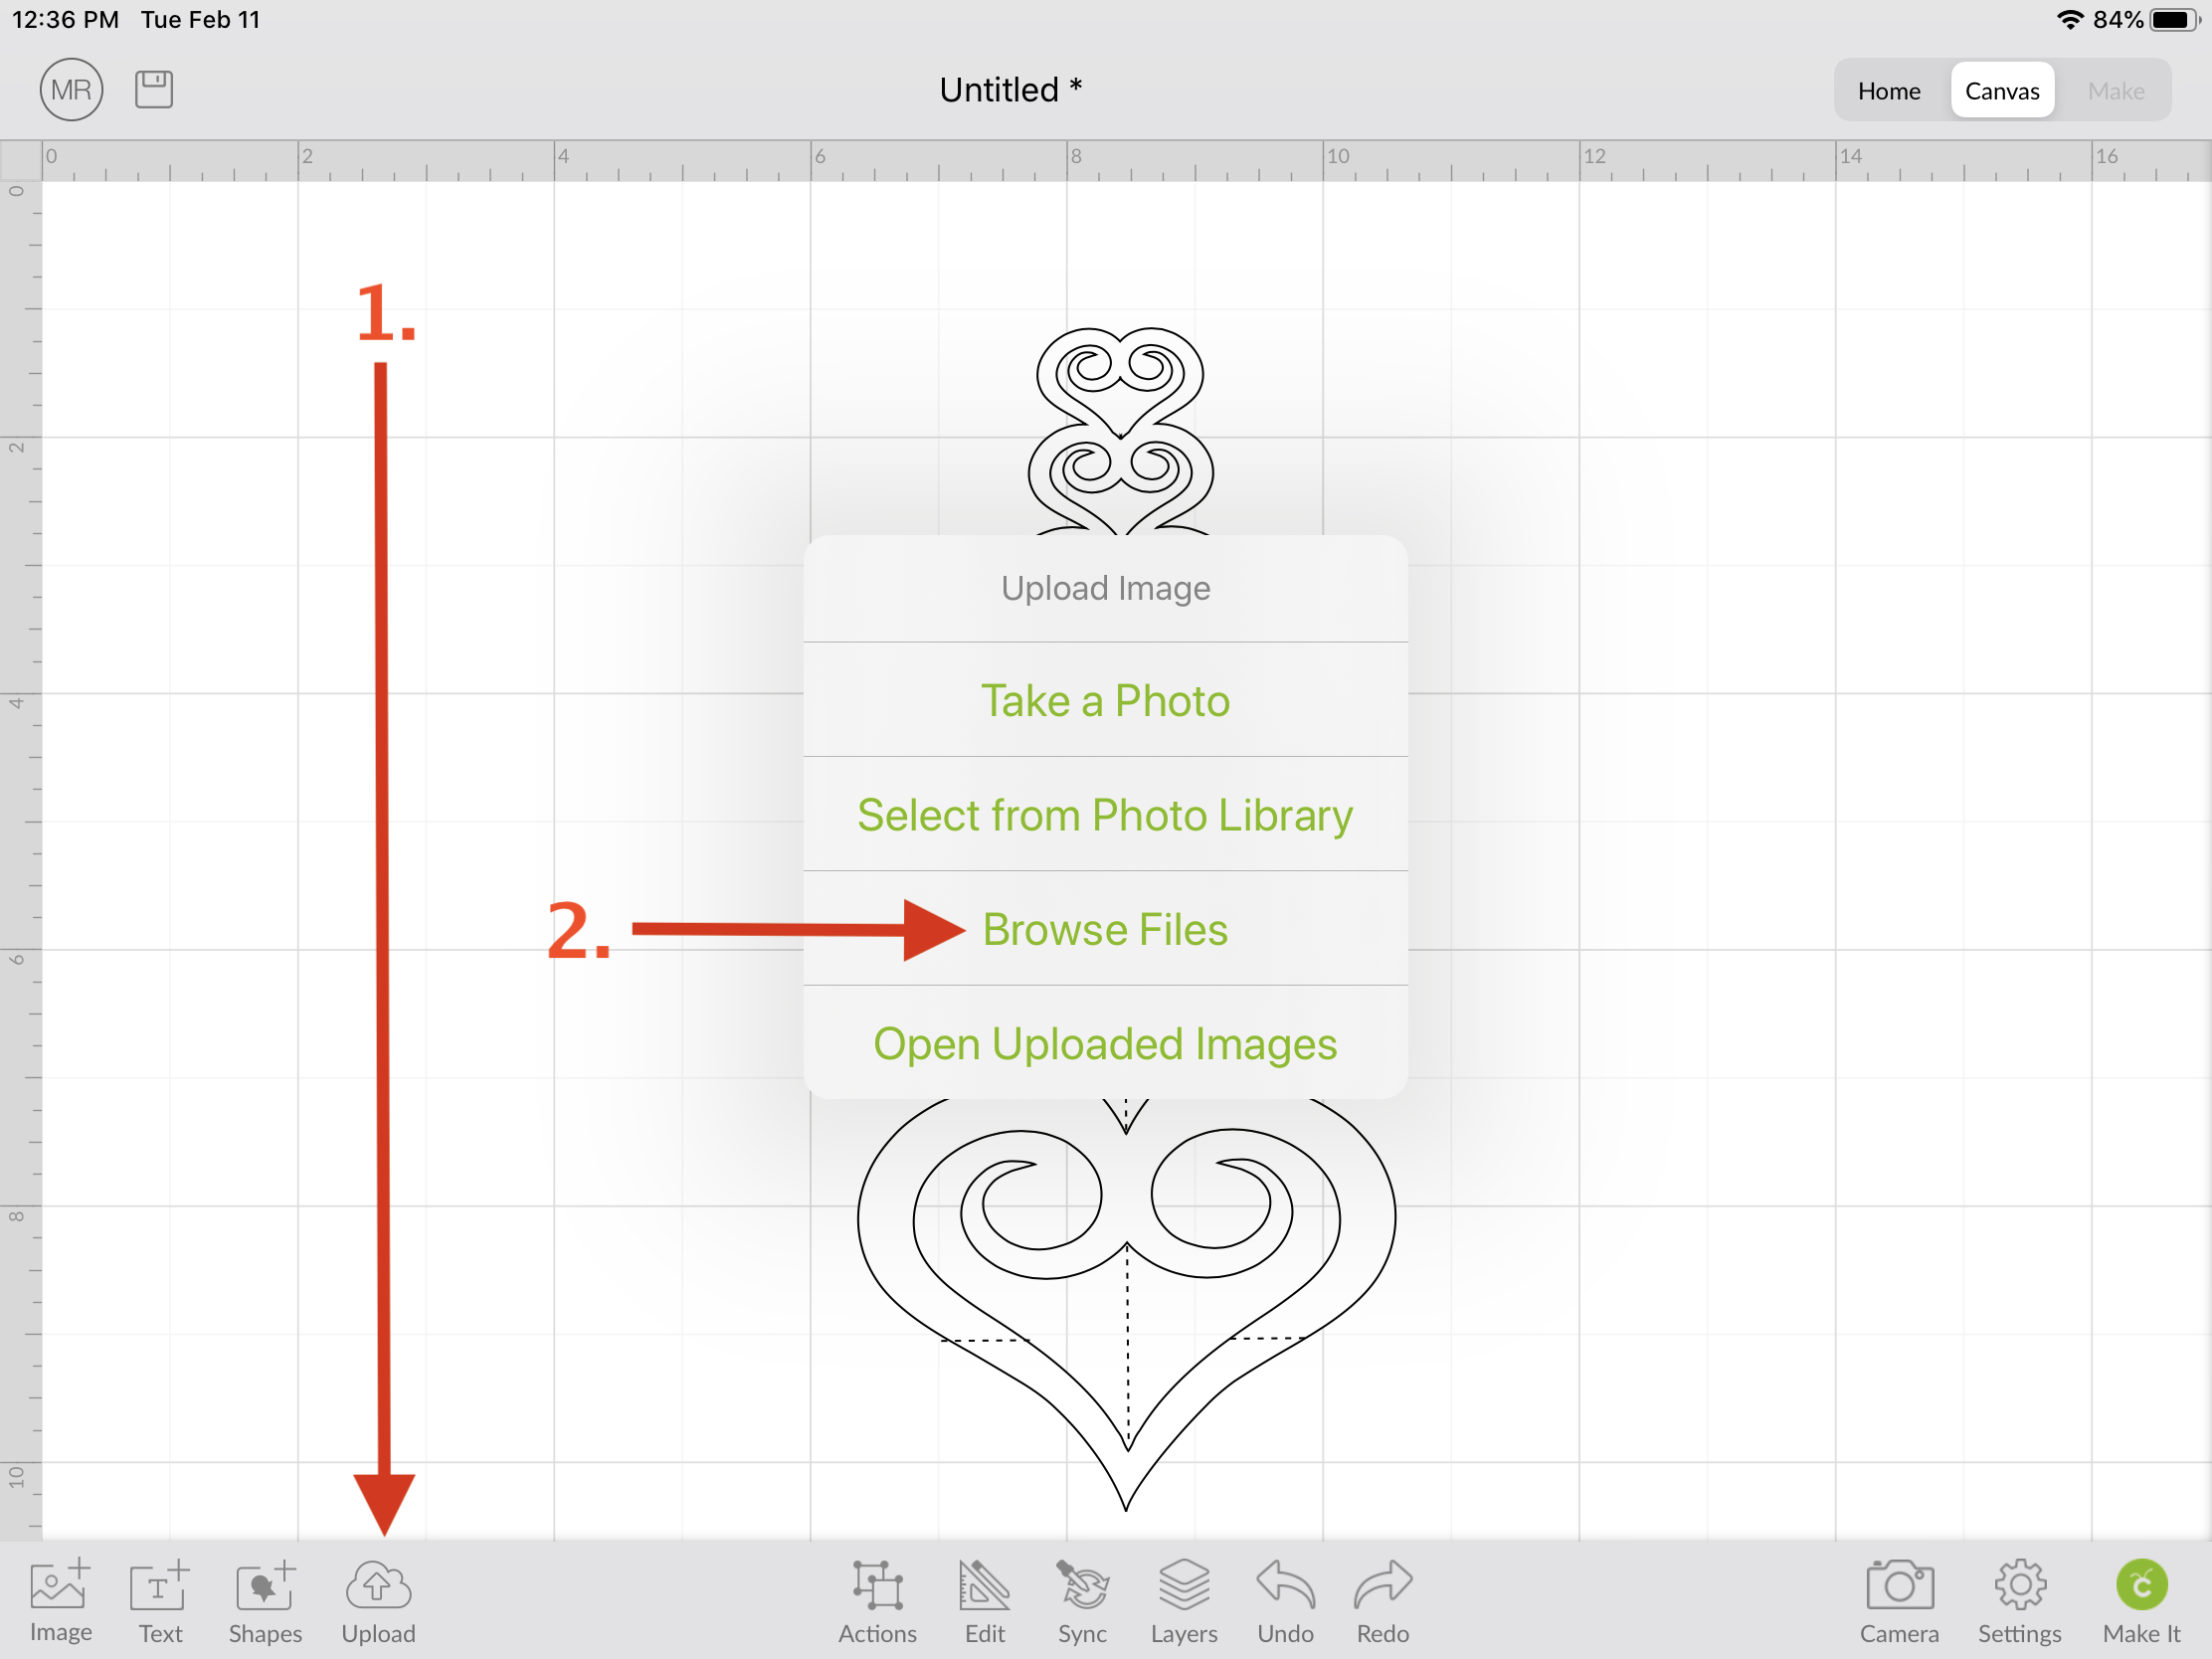
Click the upload button as shown. (1)
Select Browse Files. (2)
This will bring up the Browse Files window.
Make sure you are in Browse view by clicking on Browse at the bottom of the screen.
In the left column select the location where you have stored the downloaded and unzipped files from 3dcuts.com. (If you don’t know how to do this start with this tutorial.
Mine are on my iCloud Drive in a folder called Downloads. I selected iCloud drive in the left column.

Locate the Downloads Folder and tap on that to open it.

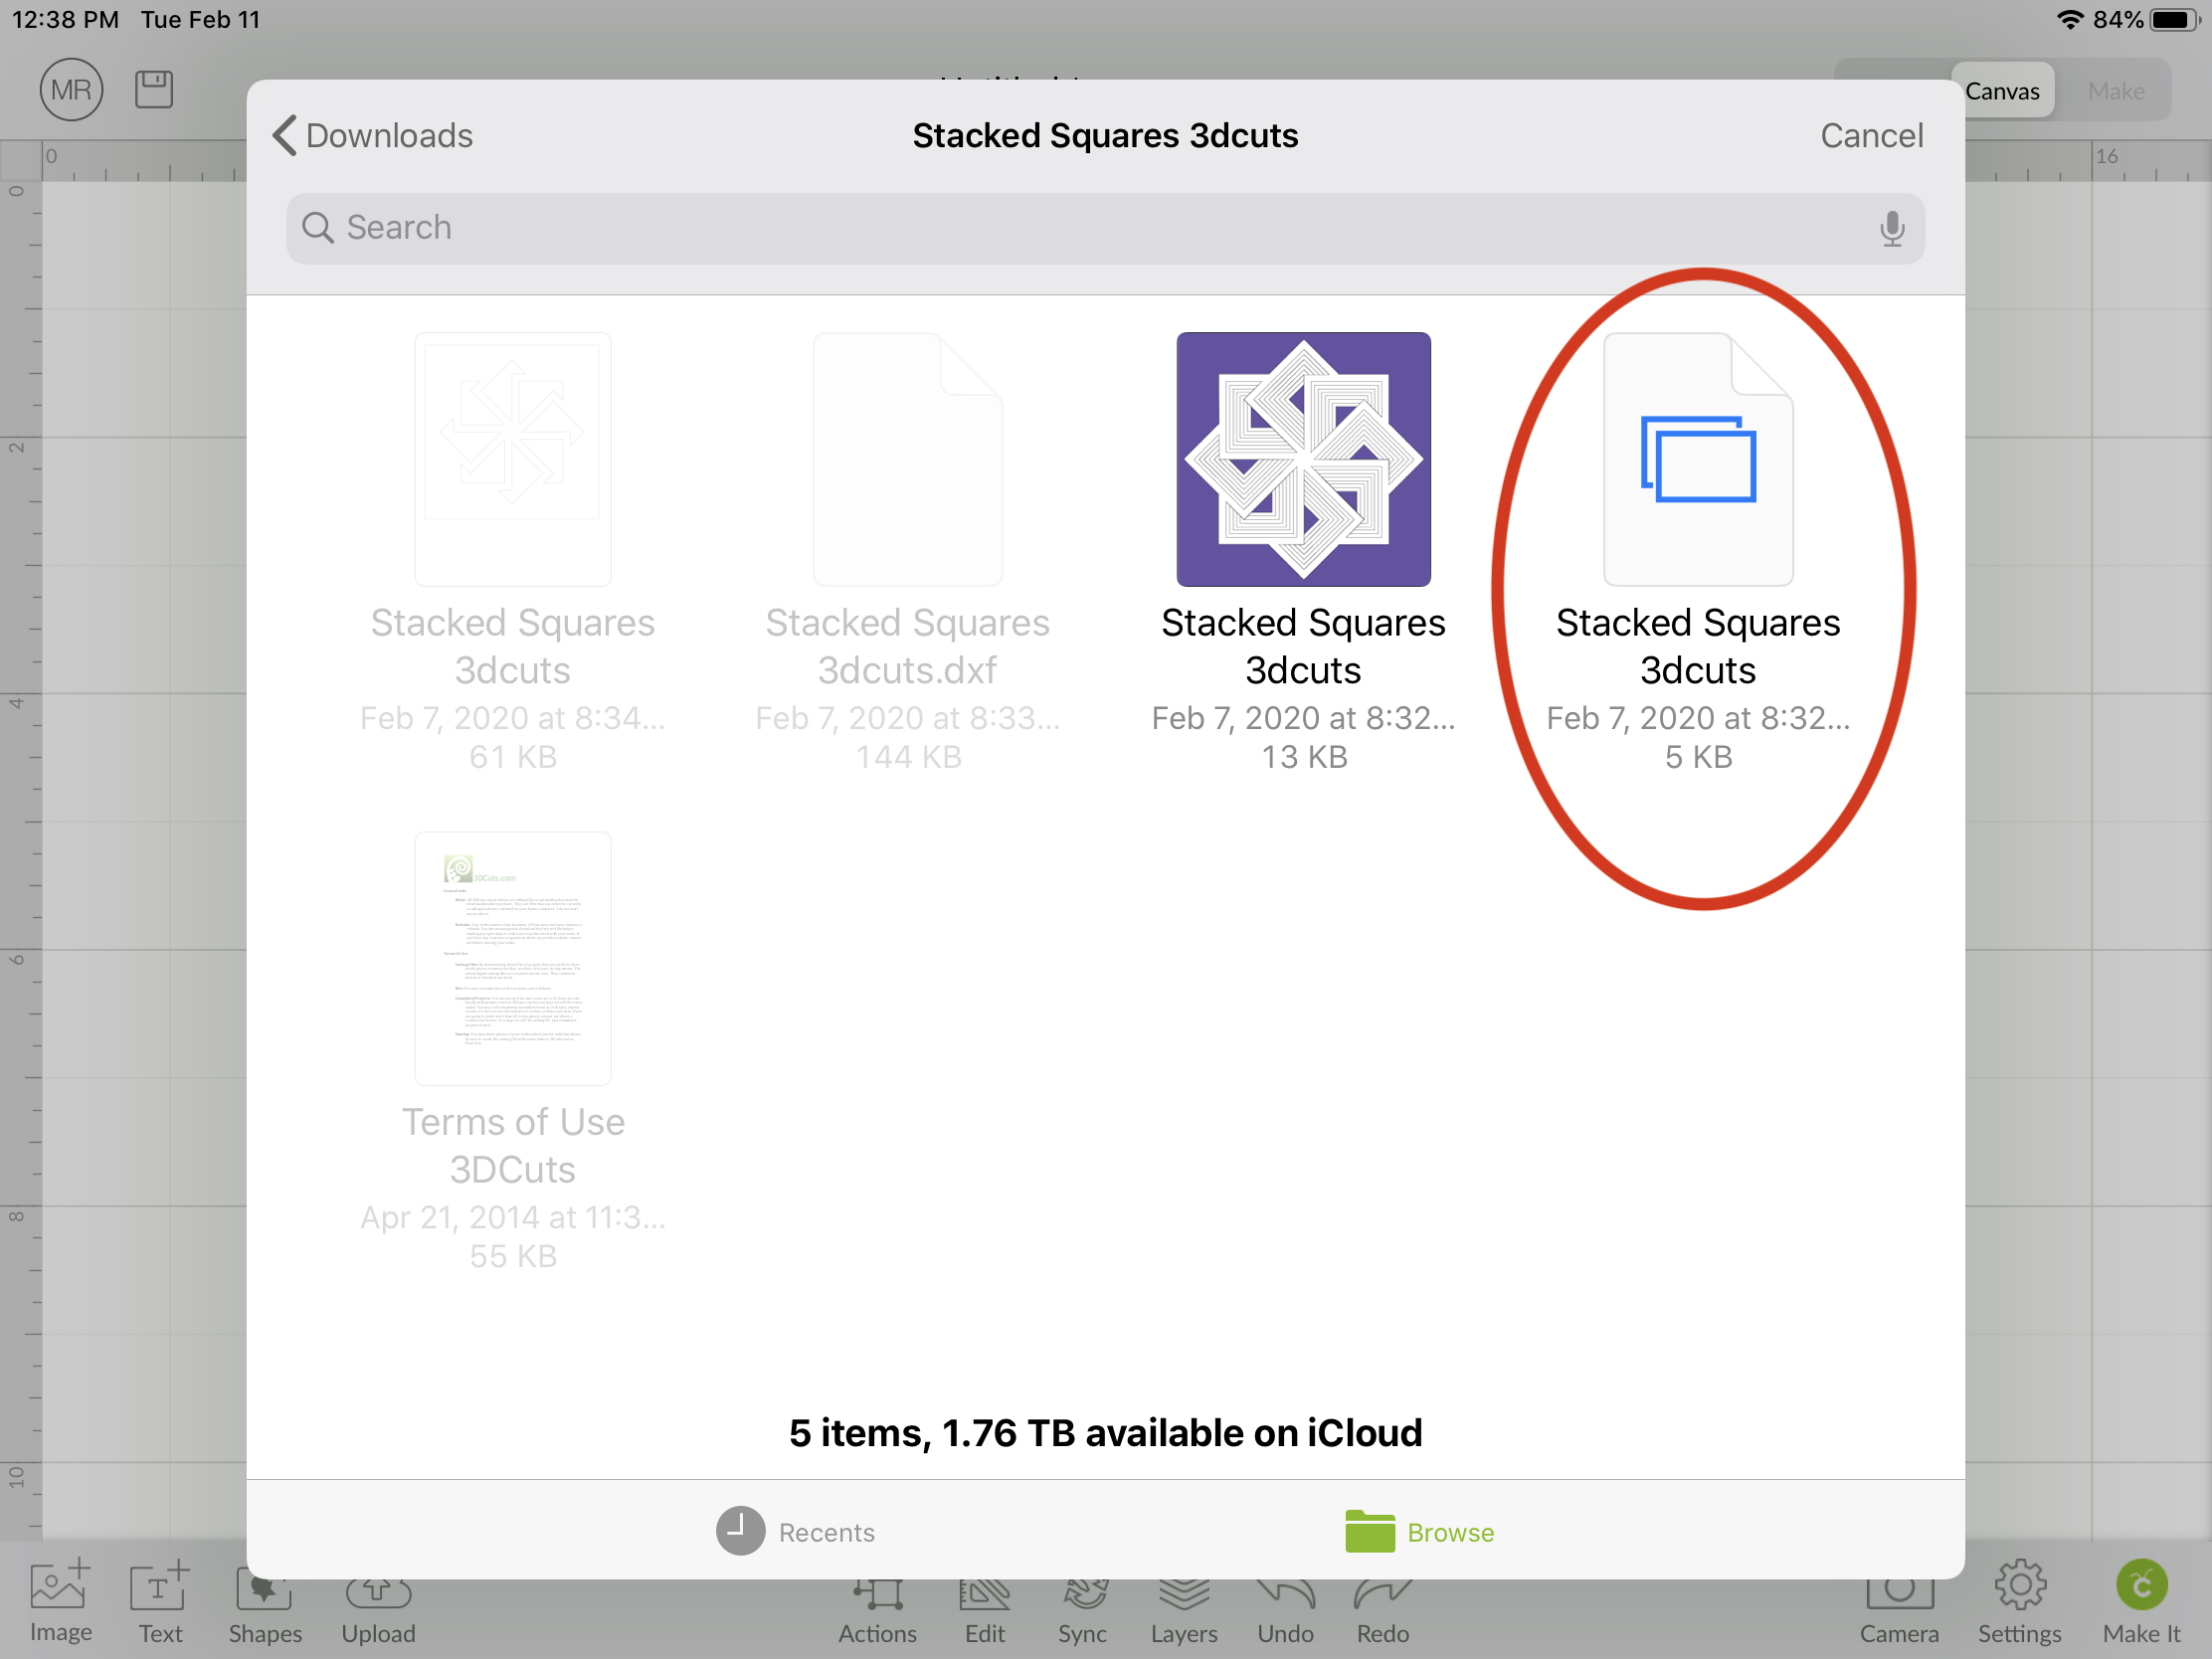
Located the folder for the project you are planning to work on and tap on it.

You want to select the svg file however iOS doesn’t show the file extenders. Select the one that is two blue rectangles.That is the svg file.
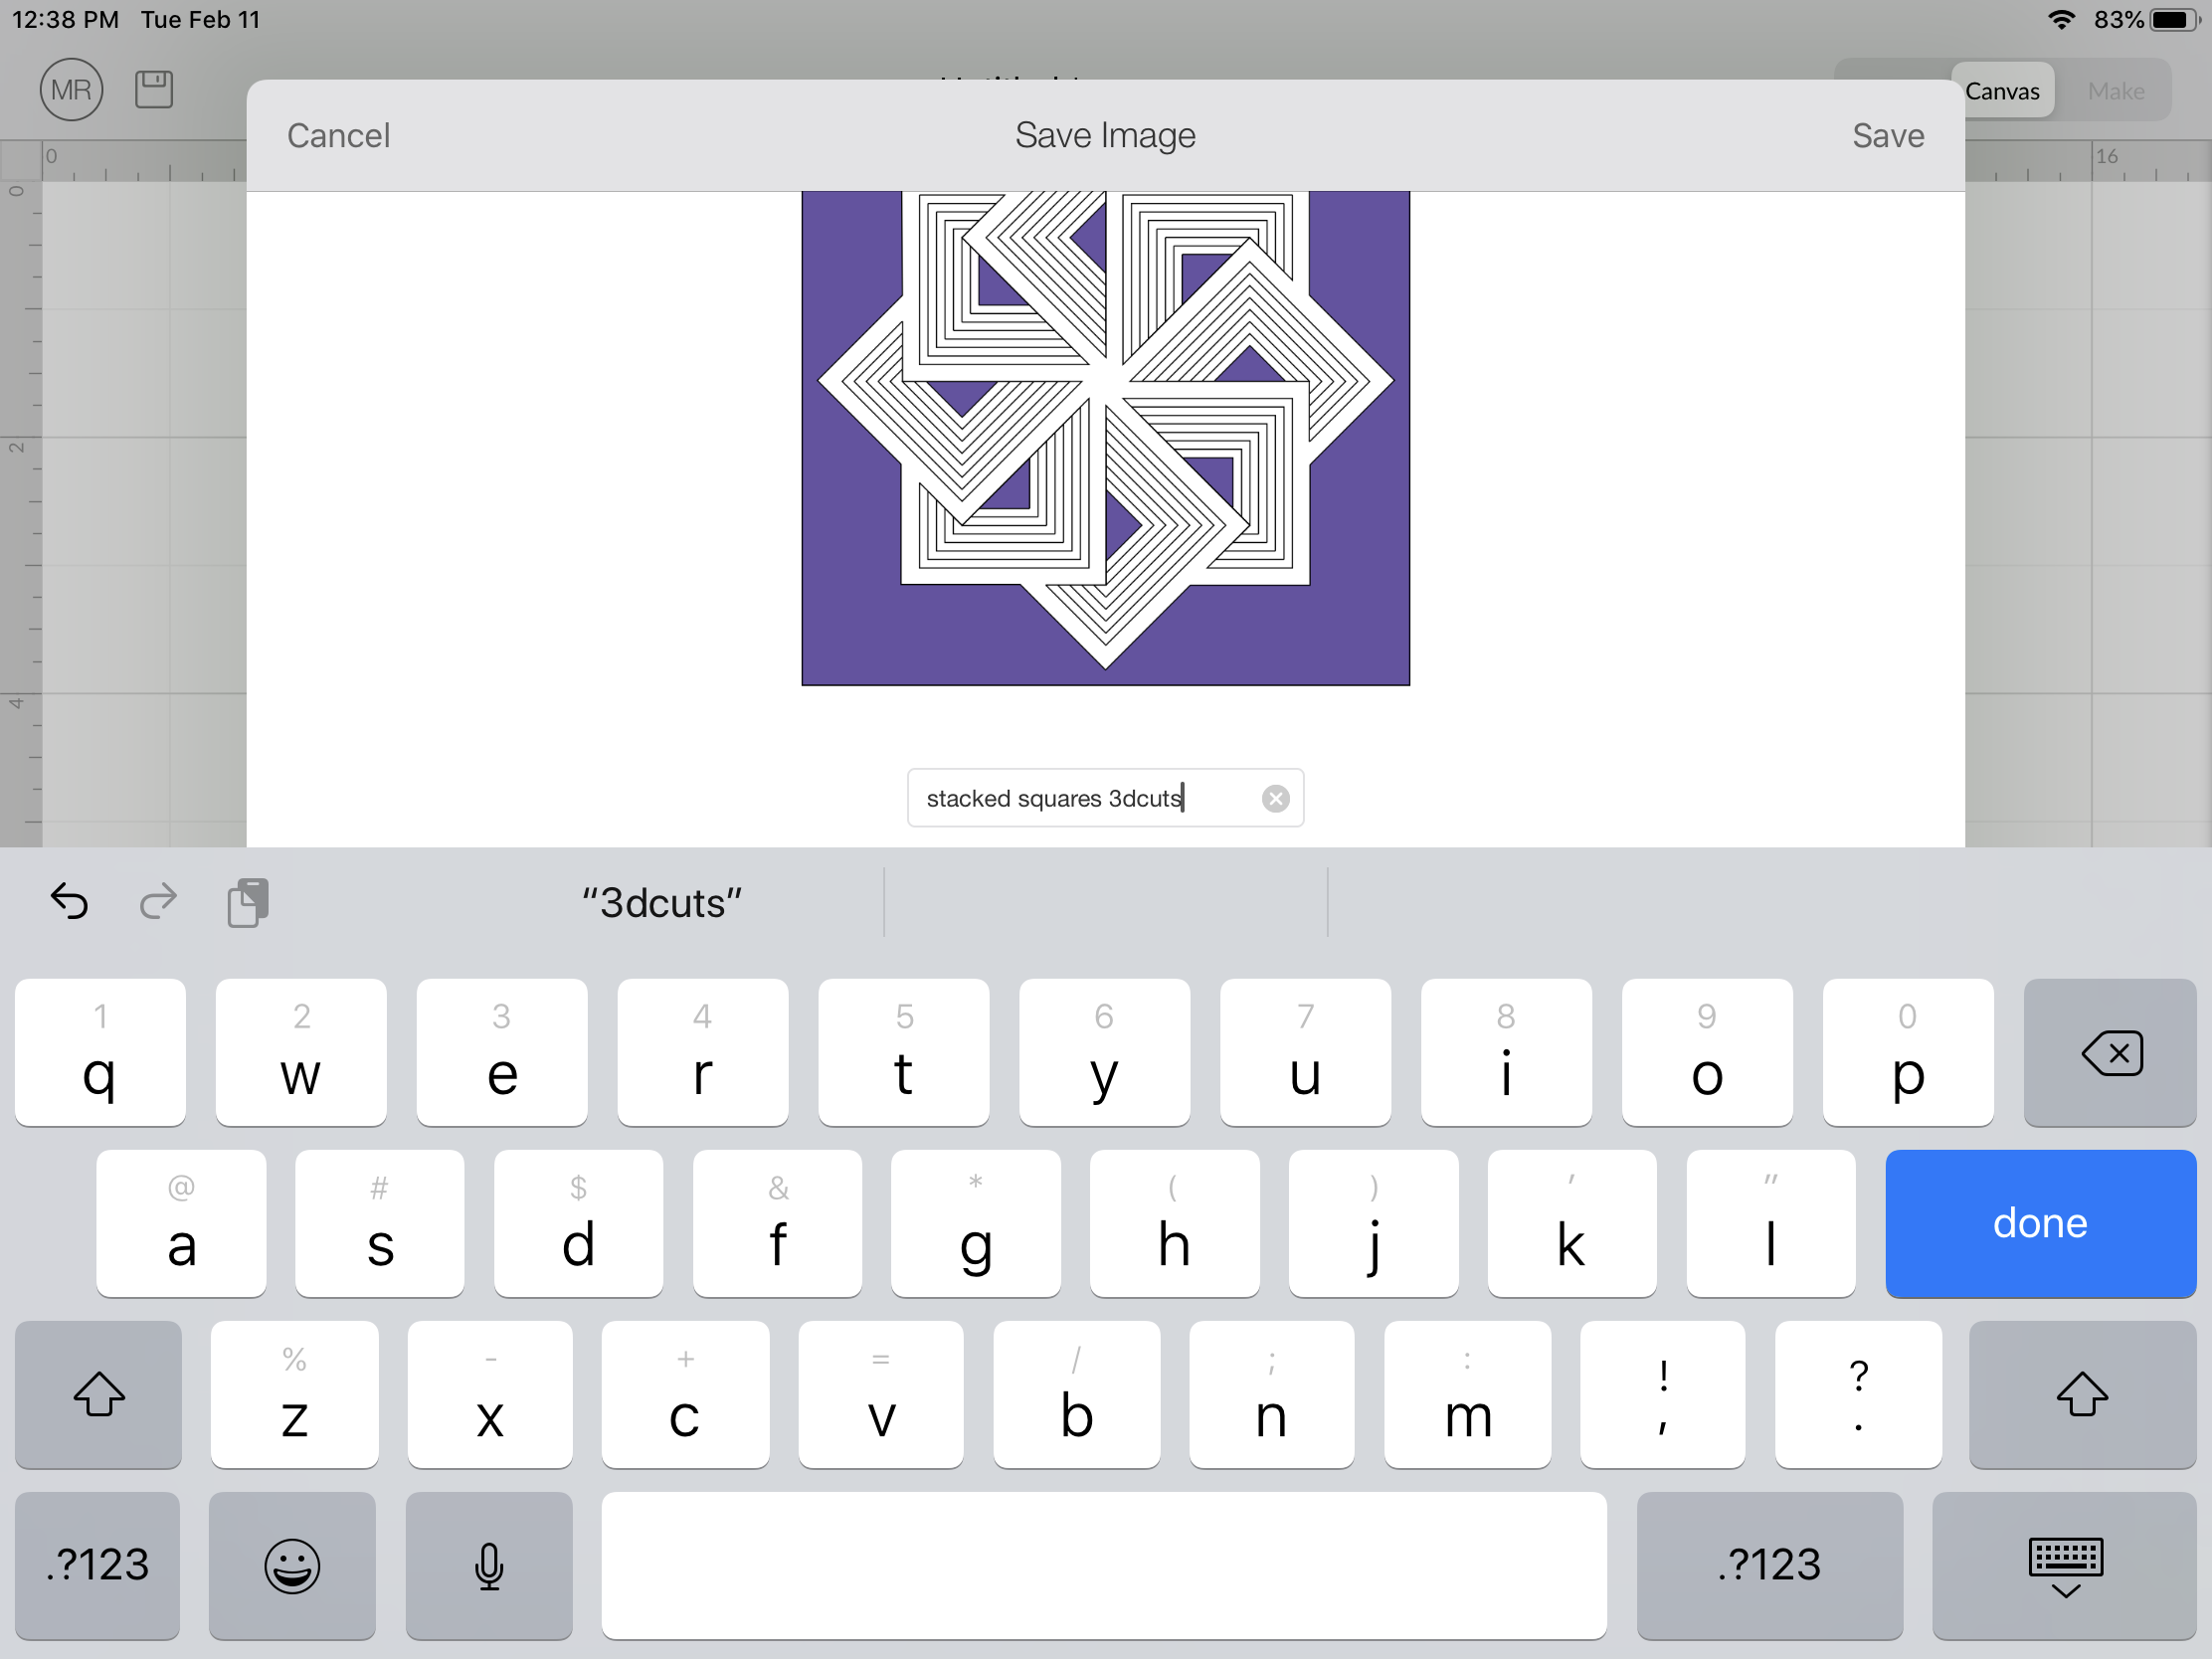
You can name it. I recommend putting in the name followed by 3dcuts so you can remember where you got the file and where to look for a tutorial. Click DONE. You might need to click on the keyboard icon to get it to disappear.
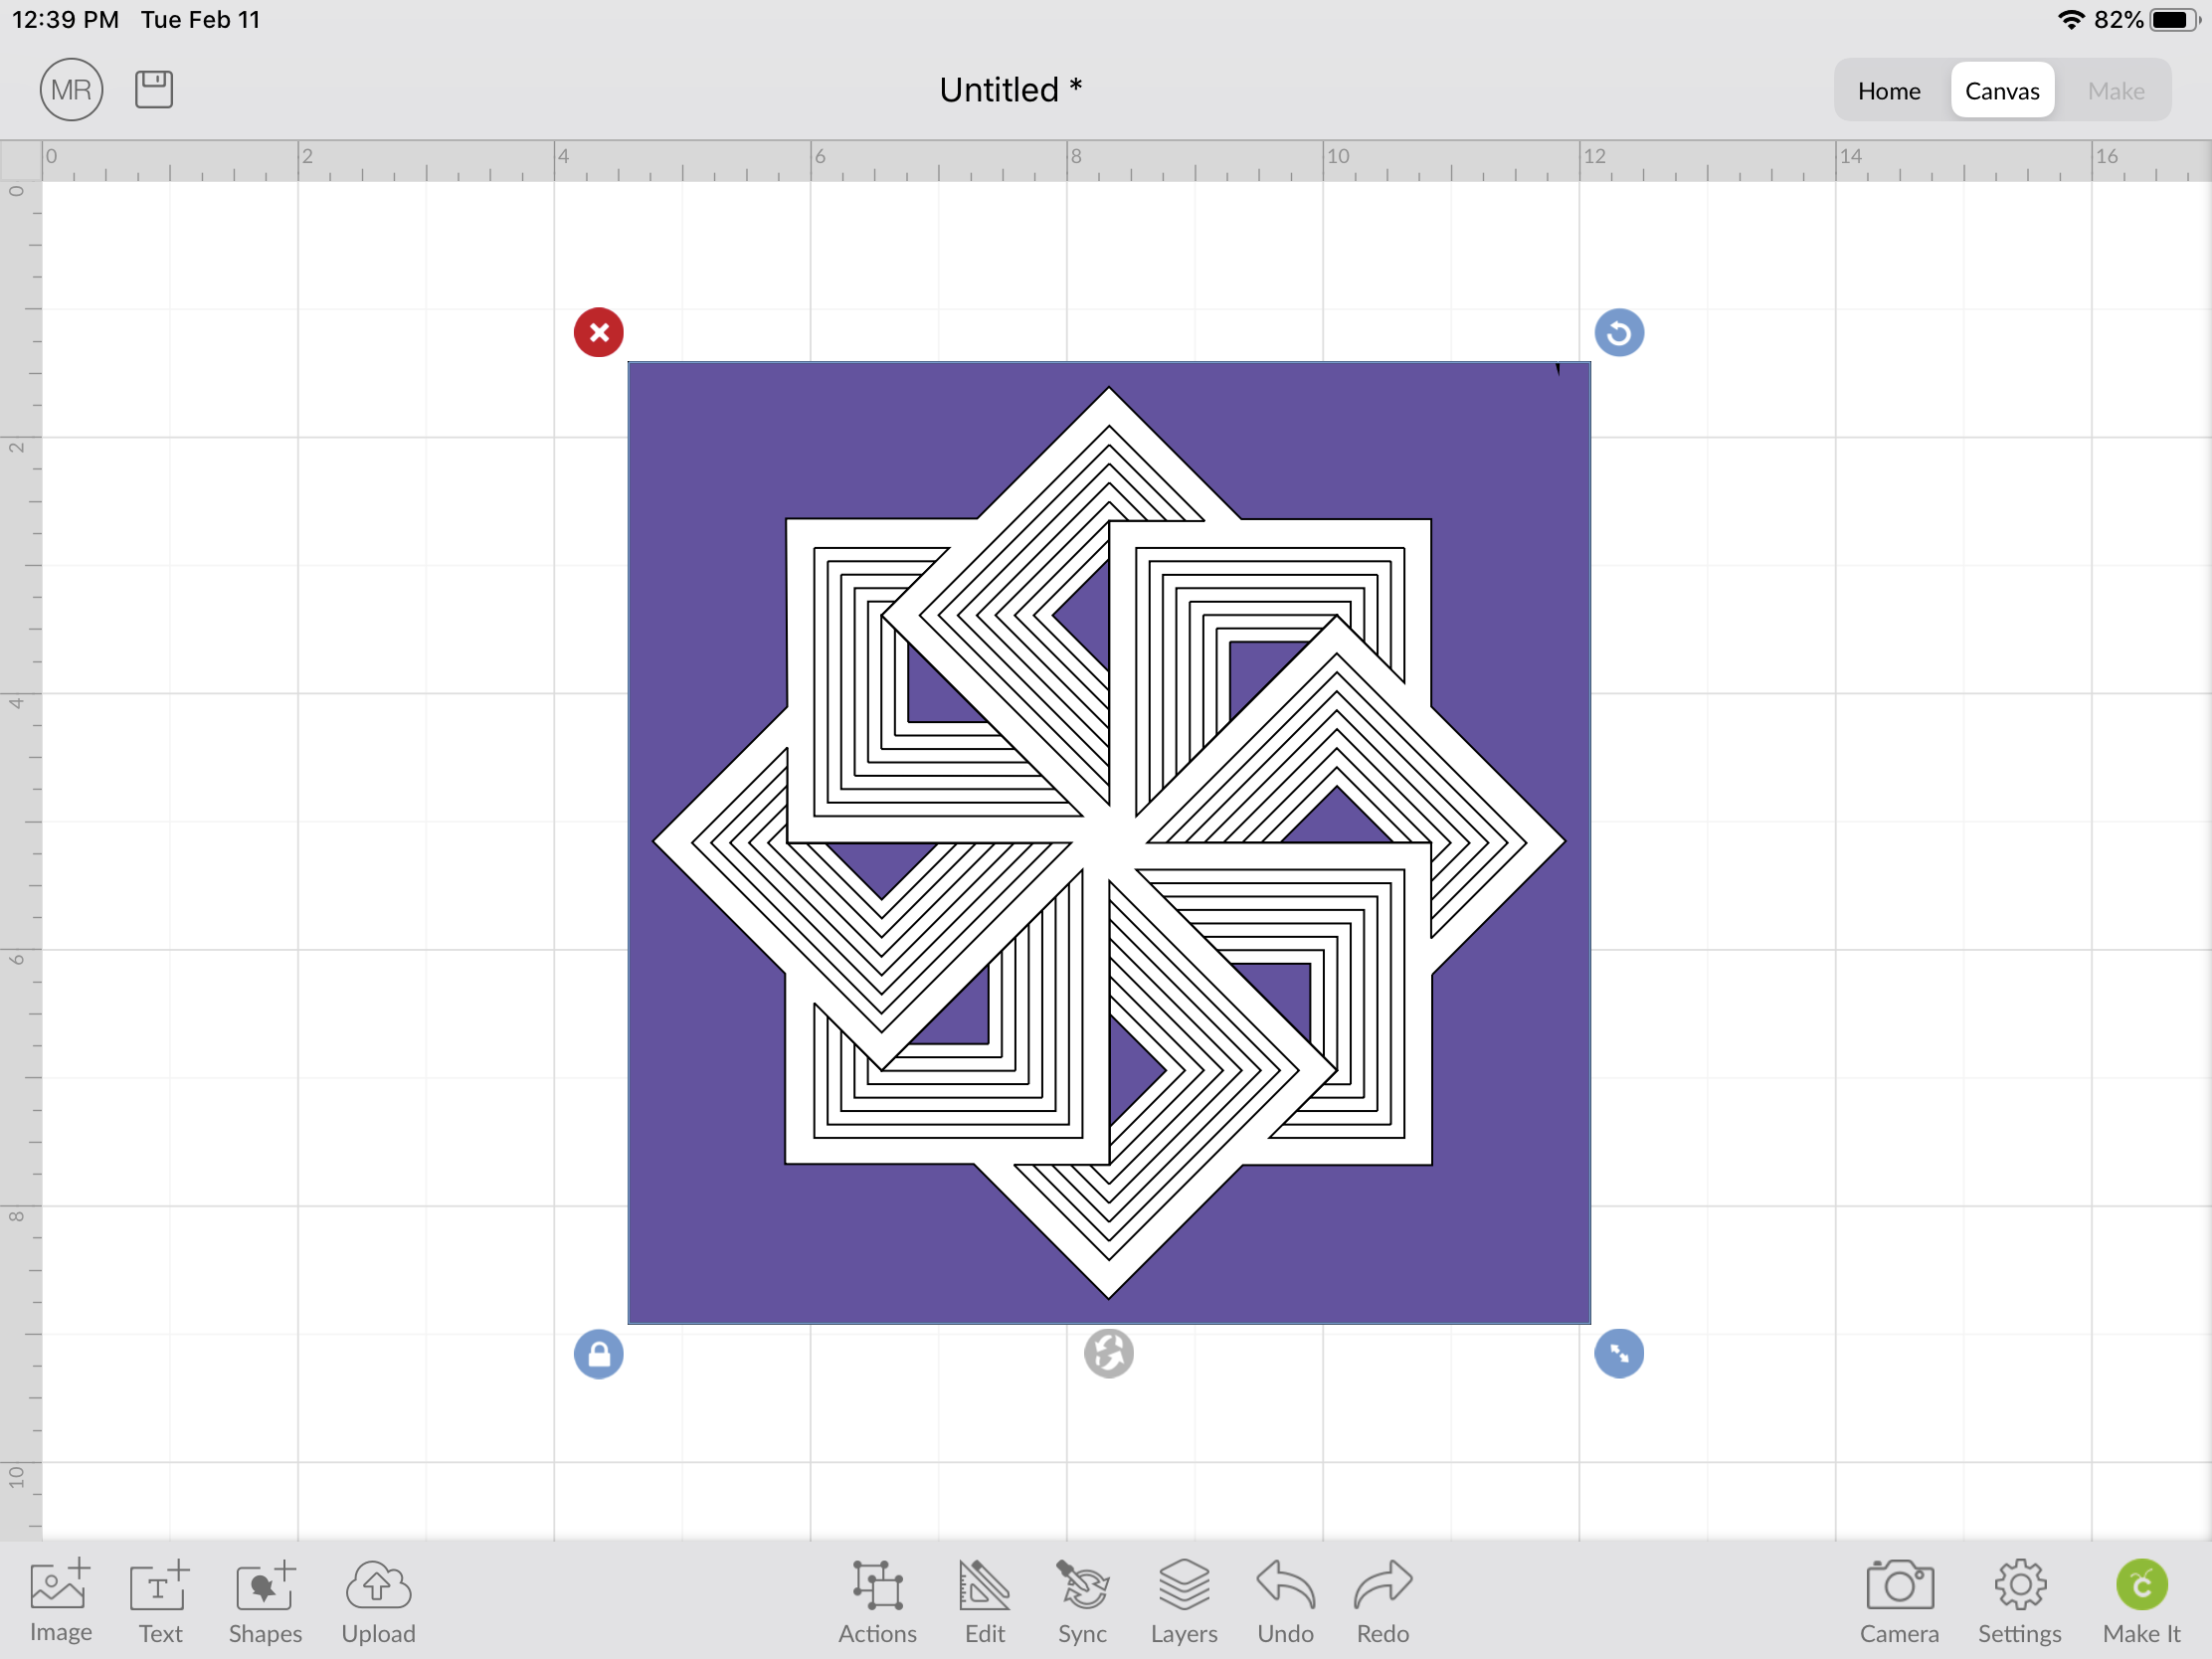
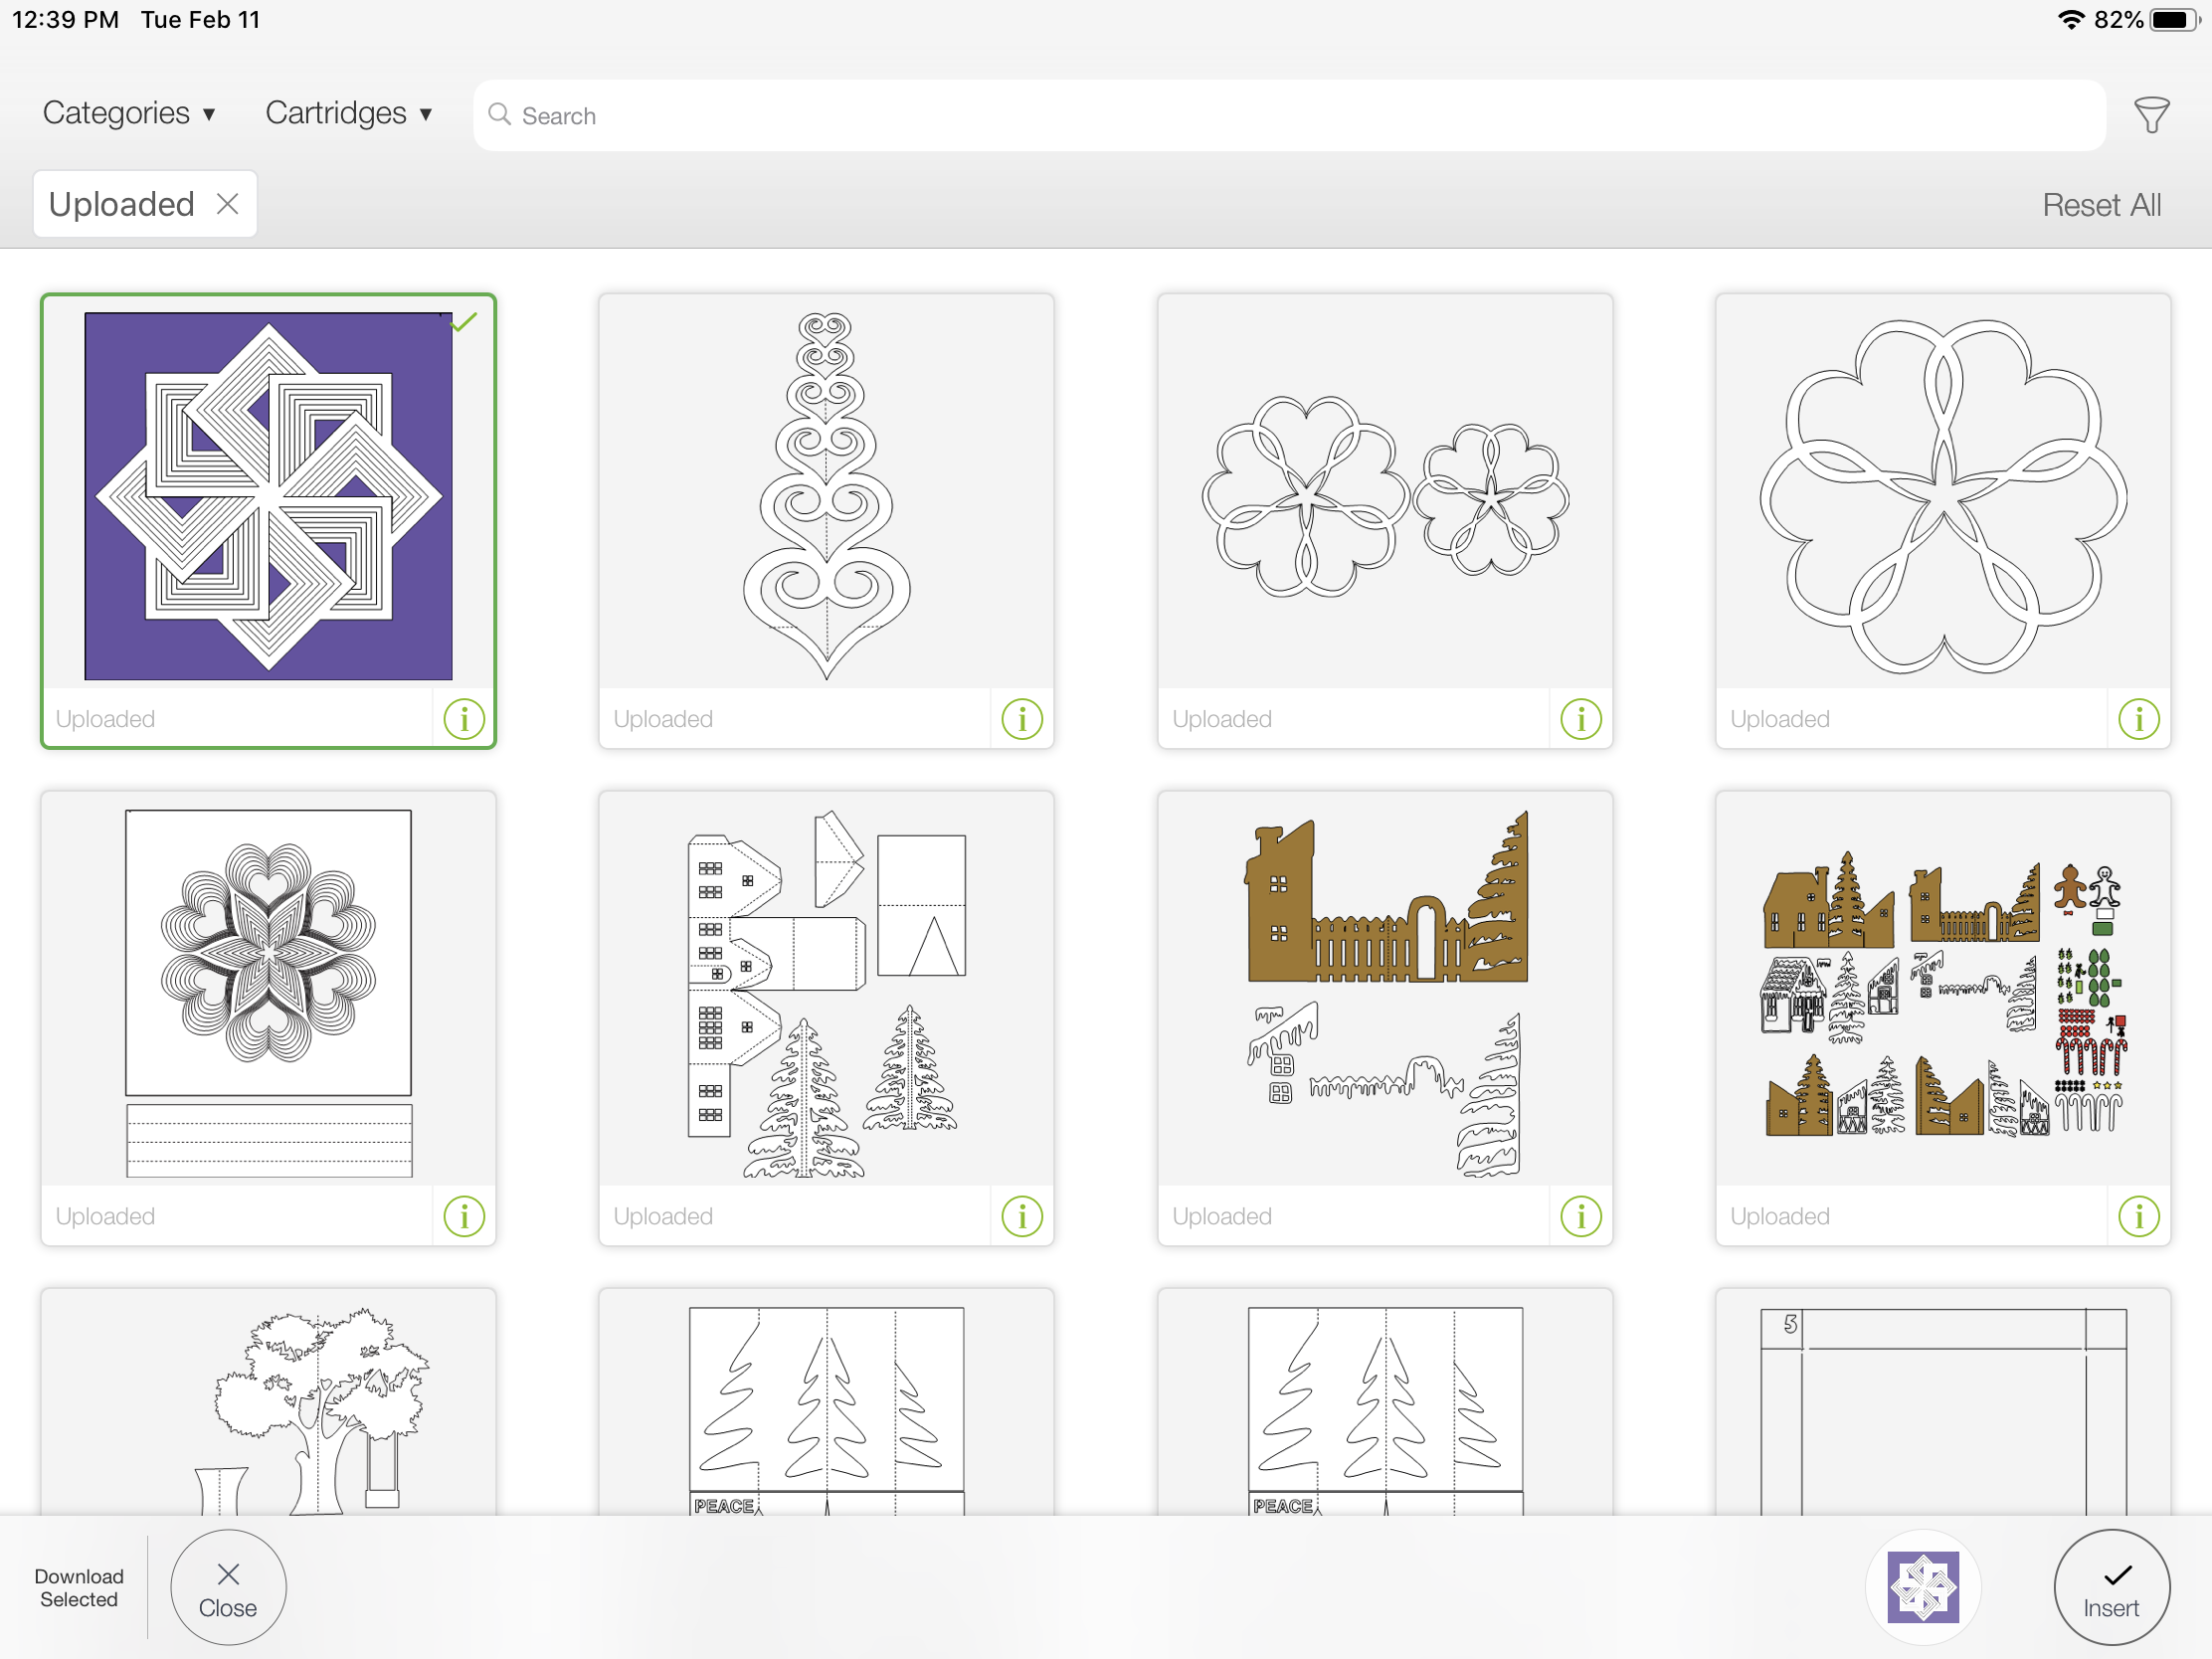
The project is now in Design Space. Select it by tapping on it. It will get a green line around it when selected. You can select multiples if you need to for the specific project.
Click on the INSERT button in the lower right.
The project is now inserted into the workspace. You can proceed with the tutorial for the specific project. Project tutorials for 3dcuts projects are here.