Candle Cake Card - Tutorial
Project Description
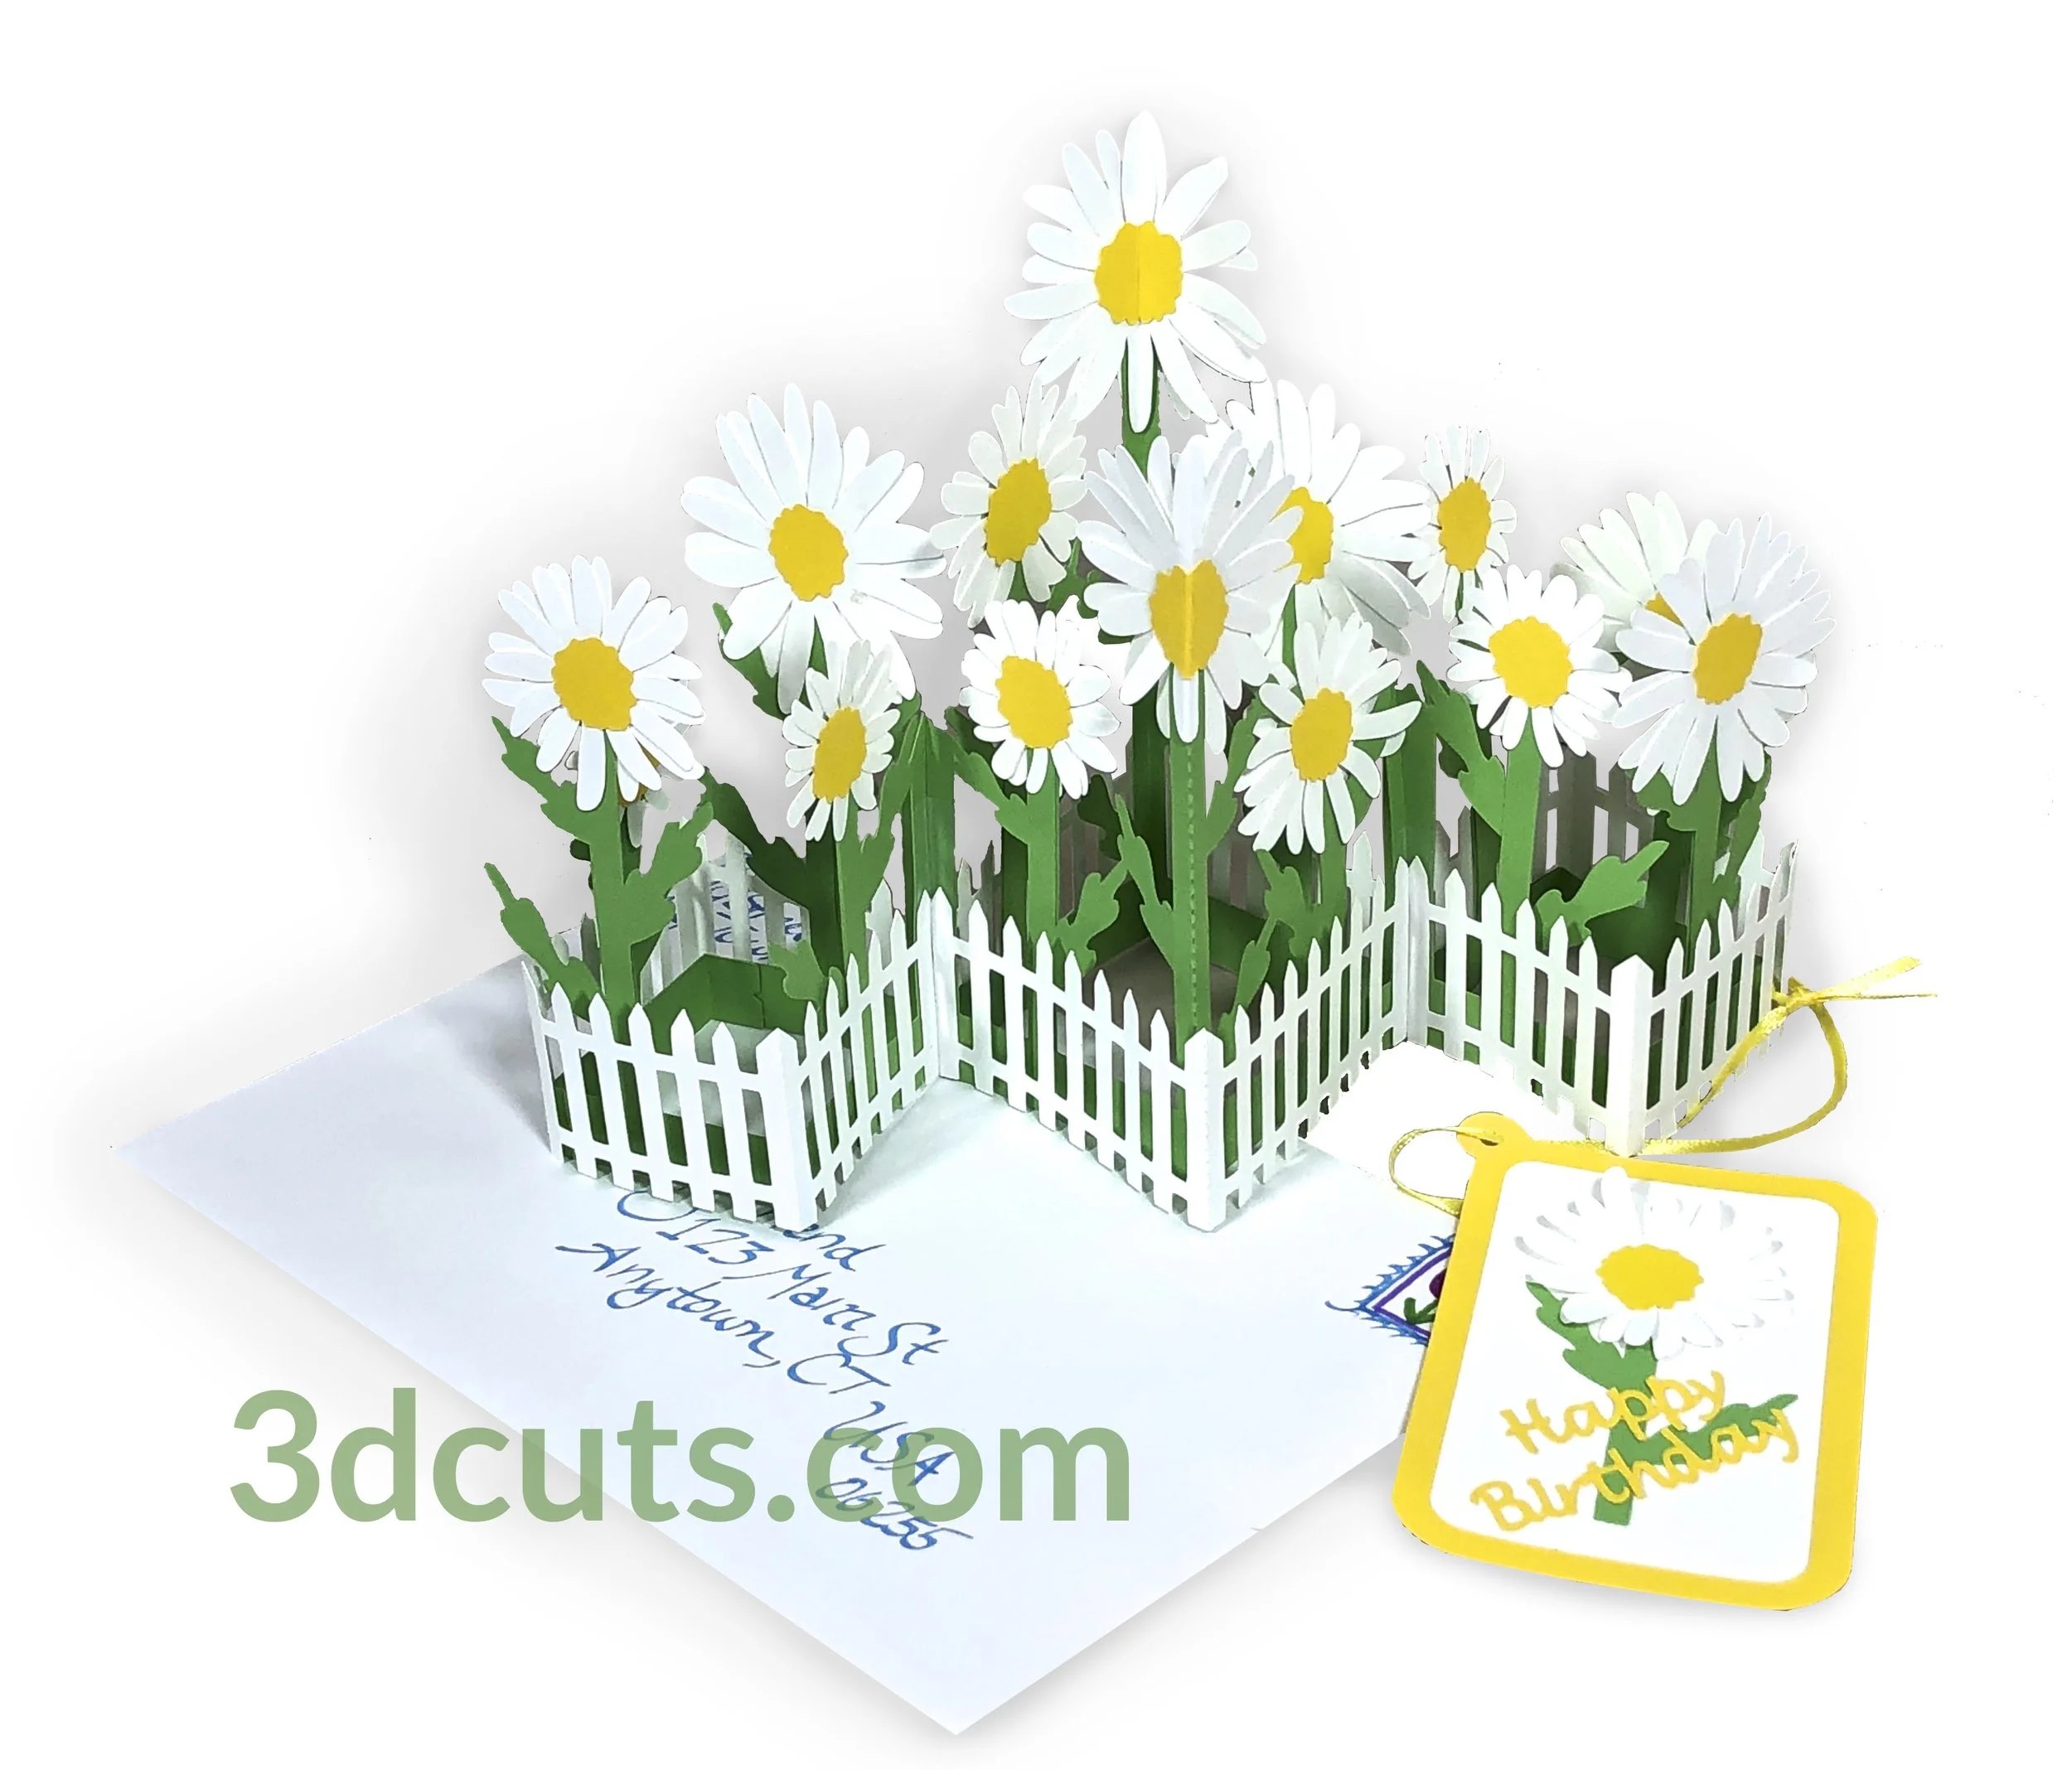
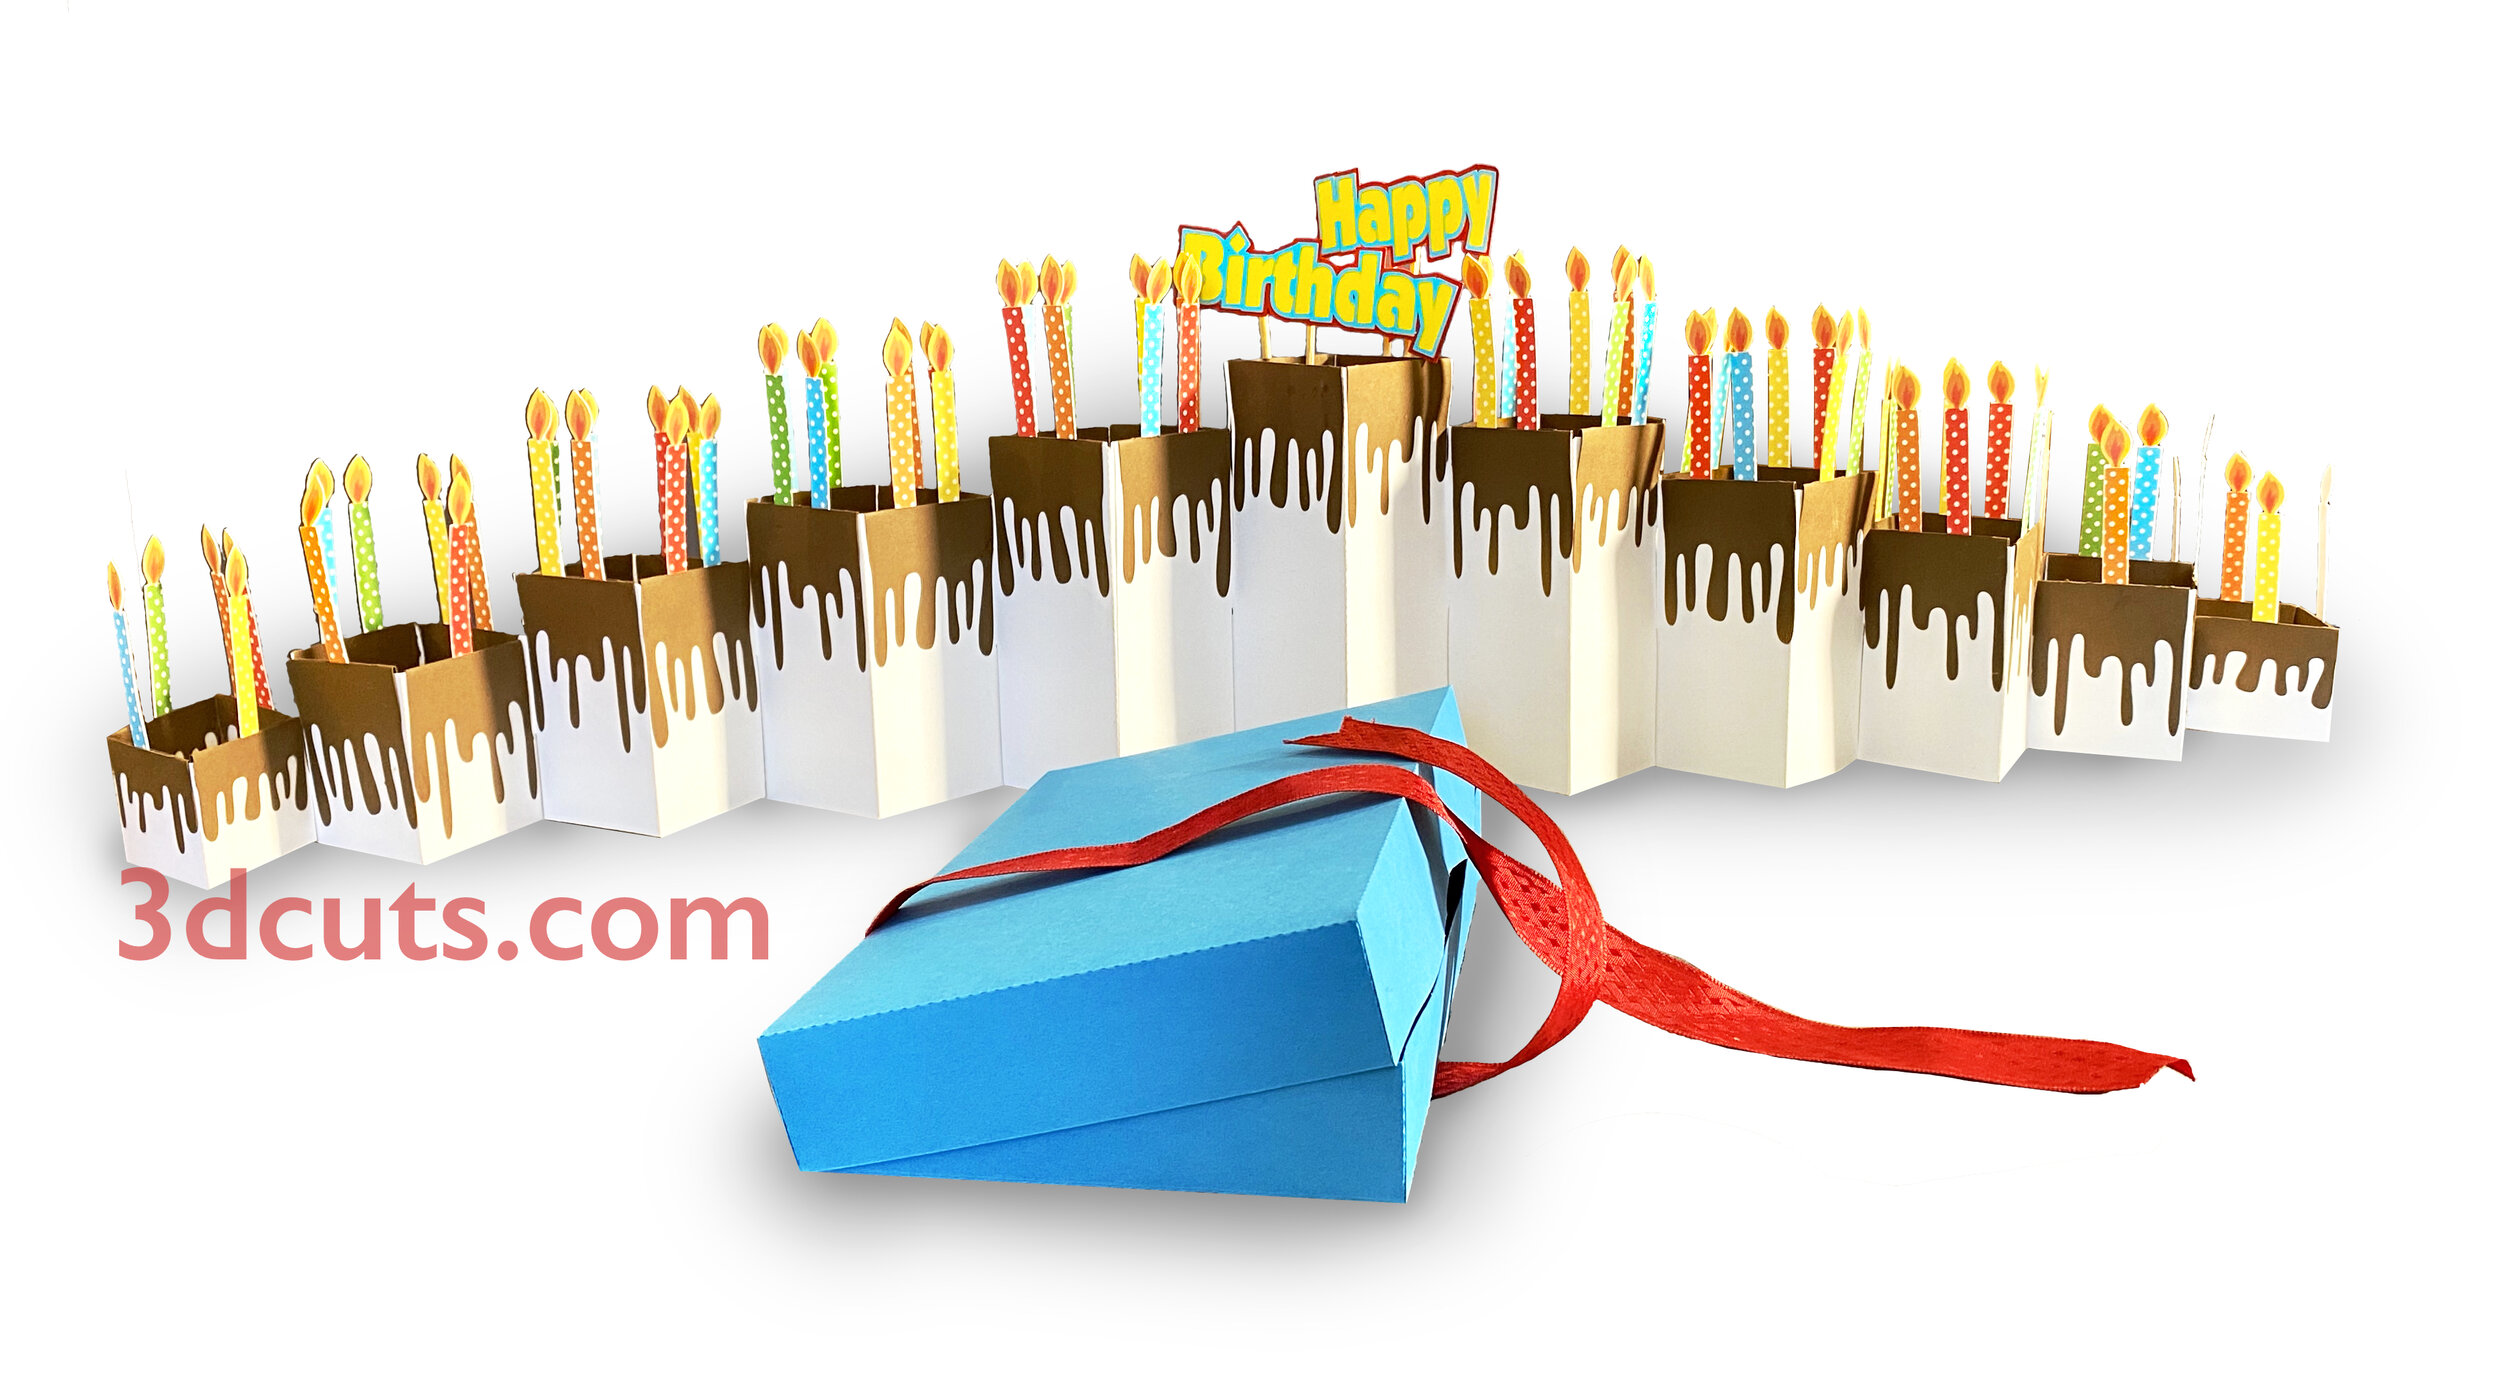
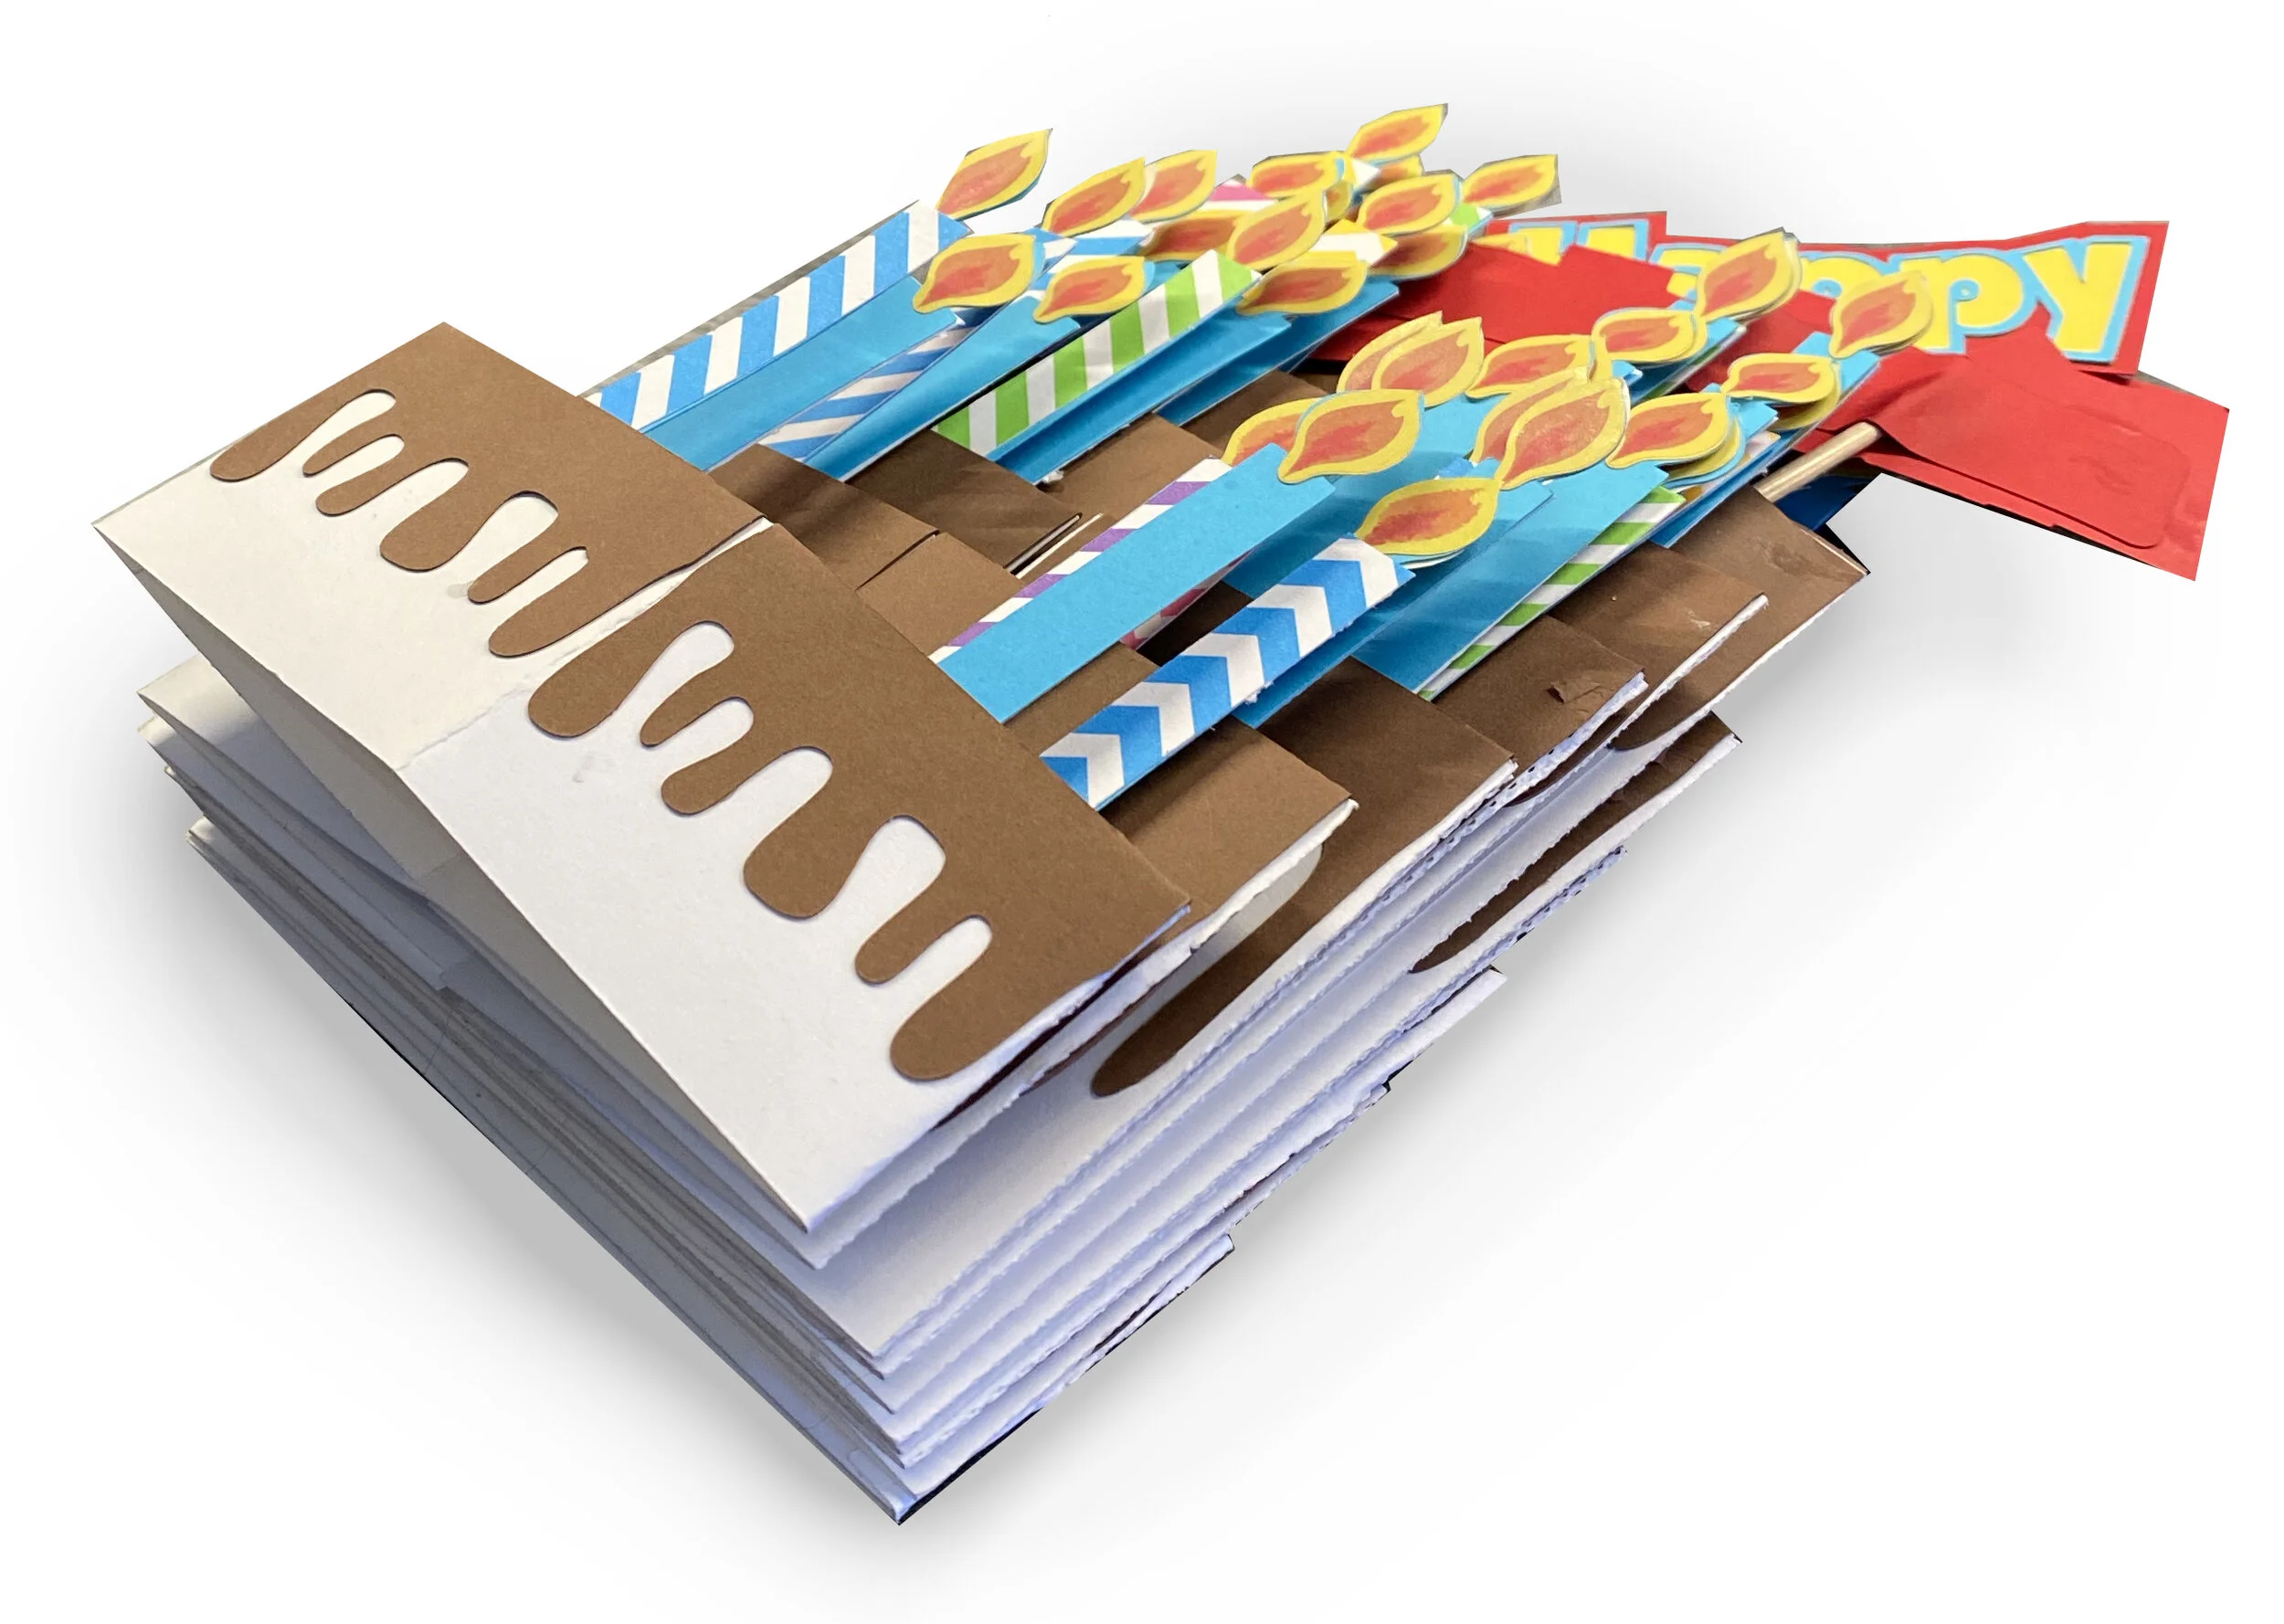
Create this impressive customizable birthday card for someone special. The card which is an accordion fold is 36” long and 9” tall when open but will fold flat for storage or mailing. The tutorial includes instructions for adjusting the number of candles. It also includes the cutting file for the gift box. It is designed to fit in a standard USPS Priority Mail box for easy mailing. If you have made my WOW card then you need to make this one, too!
Cutting File available here from 3dcuts.com. https://3dcuts.com/birthday-celebrations/candle-cake-card

Supplies needed:
Links to supplies on Amazon:
Cutting File available here from 3dcuts.com.
8.5 x 11" card stock -
6 pieces Neenah 110 Index Card stock from Amazon for bases - white
7 pieces brown Recollections card stock for chocolate drippings
Colored card stock for candle backing - varies depending on number of candles - It took 4 for 70.
Brightly colored paper or card stock for candle faces. I used 5 different colors of dots or stripes.
2 12 x 12” Card Stock is needed for the box. I used Recollections from Michael’s
Adhesive - Art Glitter Glue,
Xyron Creative Station (optional)
Ribbon - 18” of 1” satin
Scotch Tape
2 sheets 8.5 x 11” Sticker Paper (Optional)
color printer if using cut and print
Major Parts Sizes - as download.
Keep grouped for sizing: . Measurements maybe needed if using dxf files.
Note: Files have multiple pieces. Keep them grouped together for these sizes
Panels Group 1 - 8.1592” w x 8.9444” h
Panels Group 2 - 7.2778” w x10.1014” h
Panels Group 3 - 7.3681” w x 10.1181” h
Panels Group 4 - 8.1139” w x 8.9333” h
Panels Group 5 - 7.2667” w x 9.9028” h
Panels Group 6 - 7.3778” w x 10.0569” h
Candles Group - 7.7174” w x 10.2746” h
Assorted Pieces - 7.8153” w x 8.9167” h
Short Chocolate Group - 7.0863” w x 8.2462” h (cut 1 of 8 pieces)
Long Chocolate Group - 7.0323” w x 9.9229” h (cut 6 with 6 each - total 36)
Box Top - 9.0986” w x 11.7403” h
Box Bottom - 7.7986” w x 11.5097” h
Note: Not all software and cutting machine combinations can use the ALL file. Some resizes files to fit in a smaller mat area. Import the individual files if your machine has size limitations. I create the ALL file in case you want to re-size everything.
Candle Cake Card ALL - 37.4549” w x 60.4781” h
Layout Notes:
The layout below is here to show you how the files are organized. The above sizes match those groupings in the split files.

Steps for completing the Candle Cake Card:
Special Note: I update the instructions online. Check here for adjustments and additional information.
1. Download the cutting files for your cutting machine here from the 3dcuts.com store. https://3dcuts.com/birthday-celebrations/candle-cake-card . For those of you that are reading this as a pdf I recommend viewing it online at my tutorials page at this url. https://3dcuts.com/candle-cake-card-tutorial . There all the links will be live.
2. Load the files into your cutting software following the steps for your cutting machine.
3. Prepare the files:.
For the Silhouette:
SIL Files from upload SVG purchased from 3dcuts.com:
The SVG files may need to be turned into cutting files. Click here for detailed steps on how to use SVG files on your Silhouette. http://www.3dcuts.com/tutorial-upload-svg-silhouette
DXF files can be opened in the basic edition of Silhouette Design Studio but often require modifications. I recommend using the Designer Edition and using svg files. DXF files do not always maintain file sizes and you may need to adjust according to sizes noted above.
For Cricut Explore: Here is a guide for importing into Cricut Design Space. http://www.3dcuts.com/tutorial-adding-3dcuts-files-to-cricut . Remember to ATTACH files before cutting in Cricut.
For Brother ScanNCut: The svg files will need to be transferred to files for your particular machine. You can change SVG files to FCM files at http://www.canvasworkspace.com/ or Google "How to import SVG files into a ScanNCut" for links to tutorials. Some models of Brother Scan N Cut can directly import the SVG files.
4. Adjustments before cutting - candles and flames - choices
Candles:

Decide on how many candles will be on your card. Use the Candle Count worksheet included as a pdf in the download to layout out your plan and identify how many candle groupings you need. The files comes with groups of 1,2, or 3 candles and the number you cut for each will be different. There is a section in the video showing you how to use the worksheet.
Build your candle cut files as shown in the video and cut those.
Candle coverings :

Each candle gets covered with a patterned paper. There are two sets of files for these in the download. One has the candles connected at the end, the other has them all as separate rectangles. If you have a xyron use the connected ones and feed those through the xyron to apply adhesive. If you do not then cut the separate ones and use art glitter glue to adhere. You only need to cut one type of candle not both. Both options are demonstrated in the video.
Flames:
Will you be using print and cut for the flames? If so duplicate those and print and cut. There is a section in the video demonstrating. It is your choice to put flames on one side or both sides.
If not using print and cut then cut the various flames parts and assemble. Note- you may choose to use solid gold or yellow to save time here if you do not have print and cut capabilities.
5. Cut the files:
It is best to have good quality card stock and a good blade and clean, sticky mat. I use the Premium blade and the Nicapa mat.
6. Assembly
The assembly steps are detailed in the video below. Here is the YouTube url https://youtu.be/glVoSan2ihM .
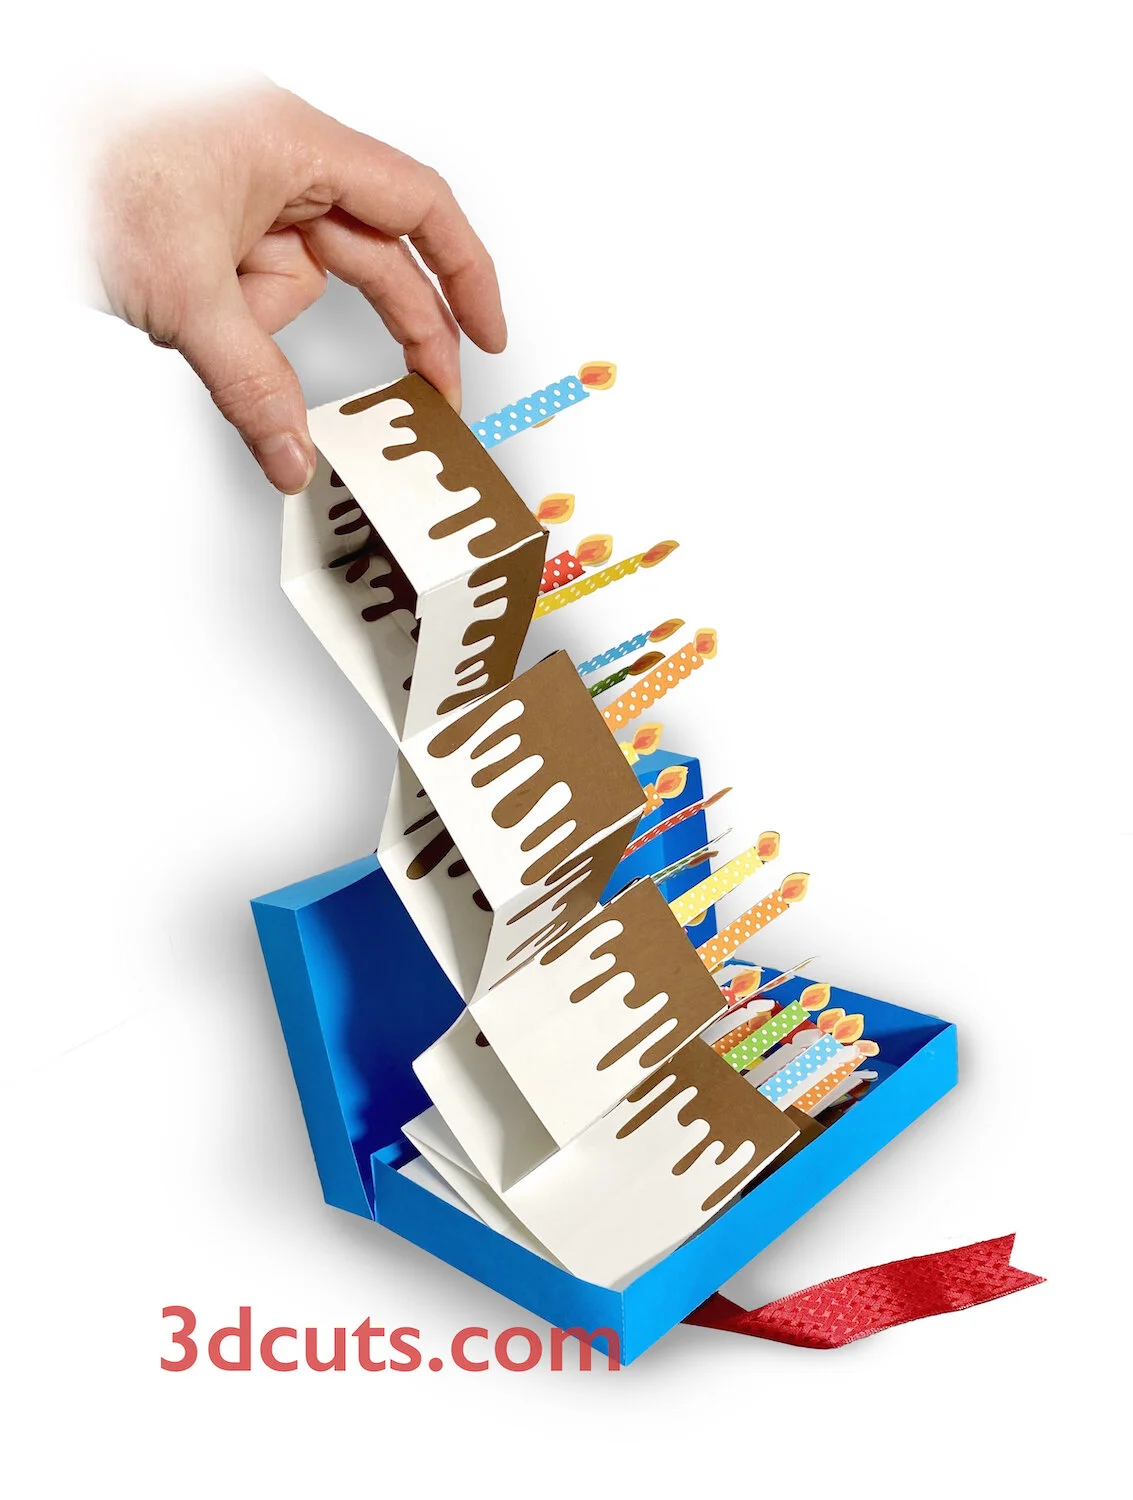
7. Sending the card:
This project is designed to fold flat for storage or to be mailed in a 6" x 9" USPS Priority Mail box
There is also a template to cut your a gift box included in the download.
Creative Applications:
I will post photos of cards other crafters have made. Send a photo to marji@3dcuts.com if you have done something interesting with this file. And share your heart warming stories about those you have made them for in the crafting groups on facebook.

July 4th themed version of this card by Judi Clock Russo

Detail of card by Judi Klook Russo
From Terri Adams -
For the base paper I used a metallic embossed Kraft cardstock and embossed the icing cardstock with a swirly pattern. The flames are cut from holographic paper. To decorate the solid color cardstock used for the candles I had my cricut draw dots with a metallic marker. Lastly, I created a folding topper layer with a number and a print-and-cut happy birthday banner and attached to the center section.

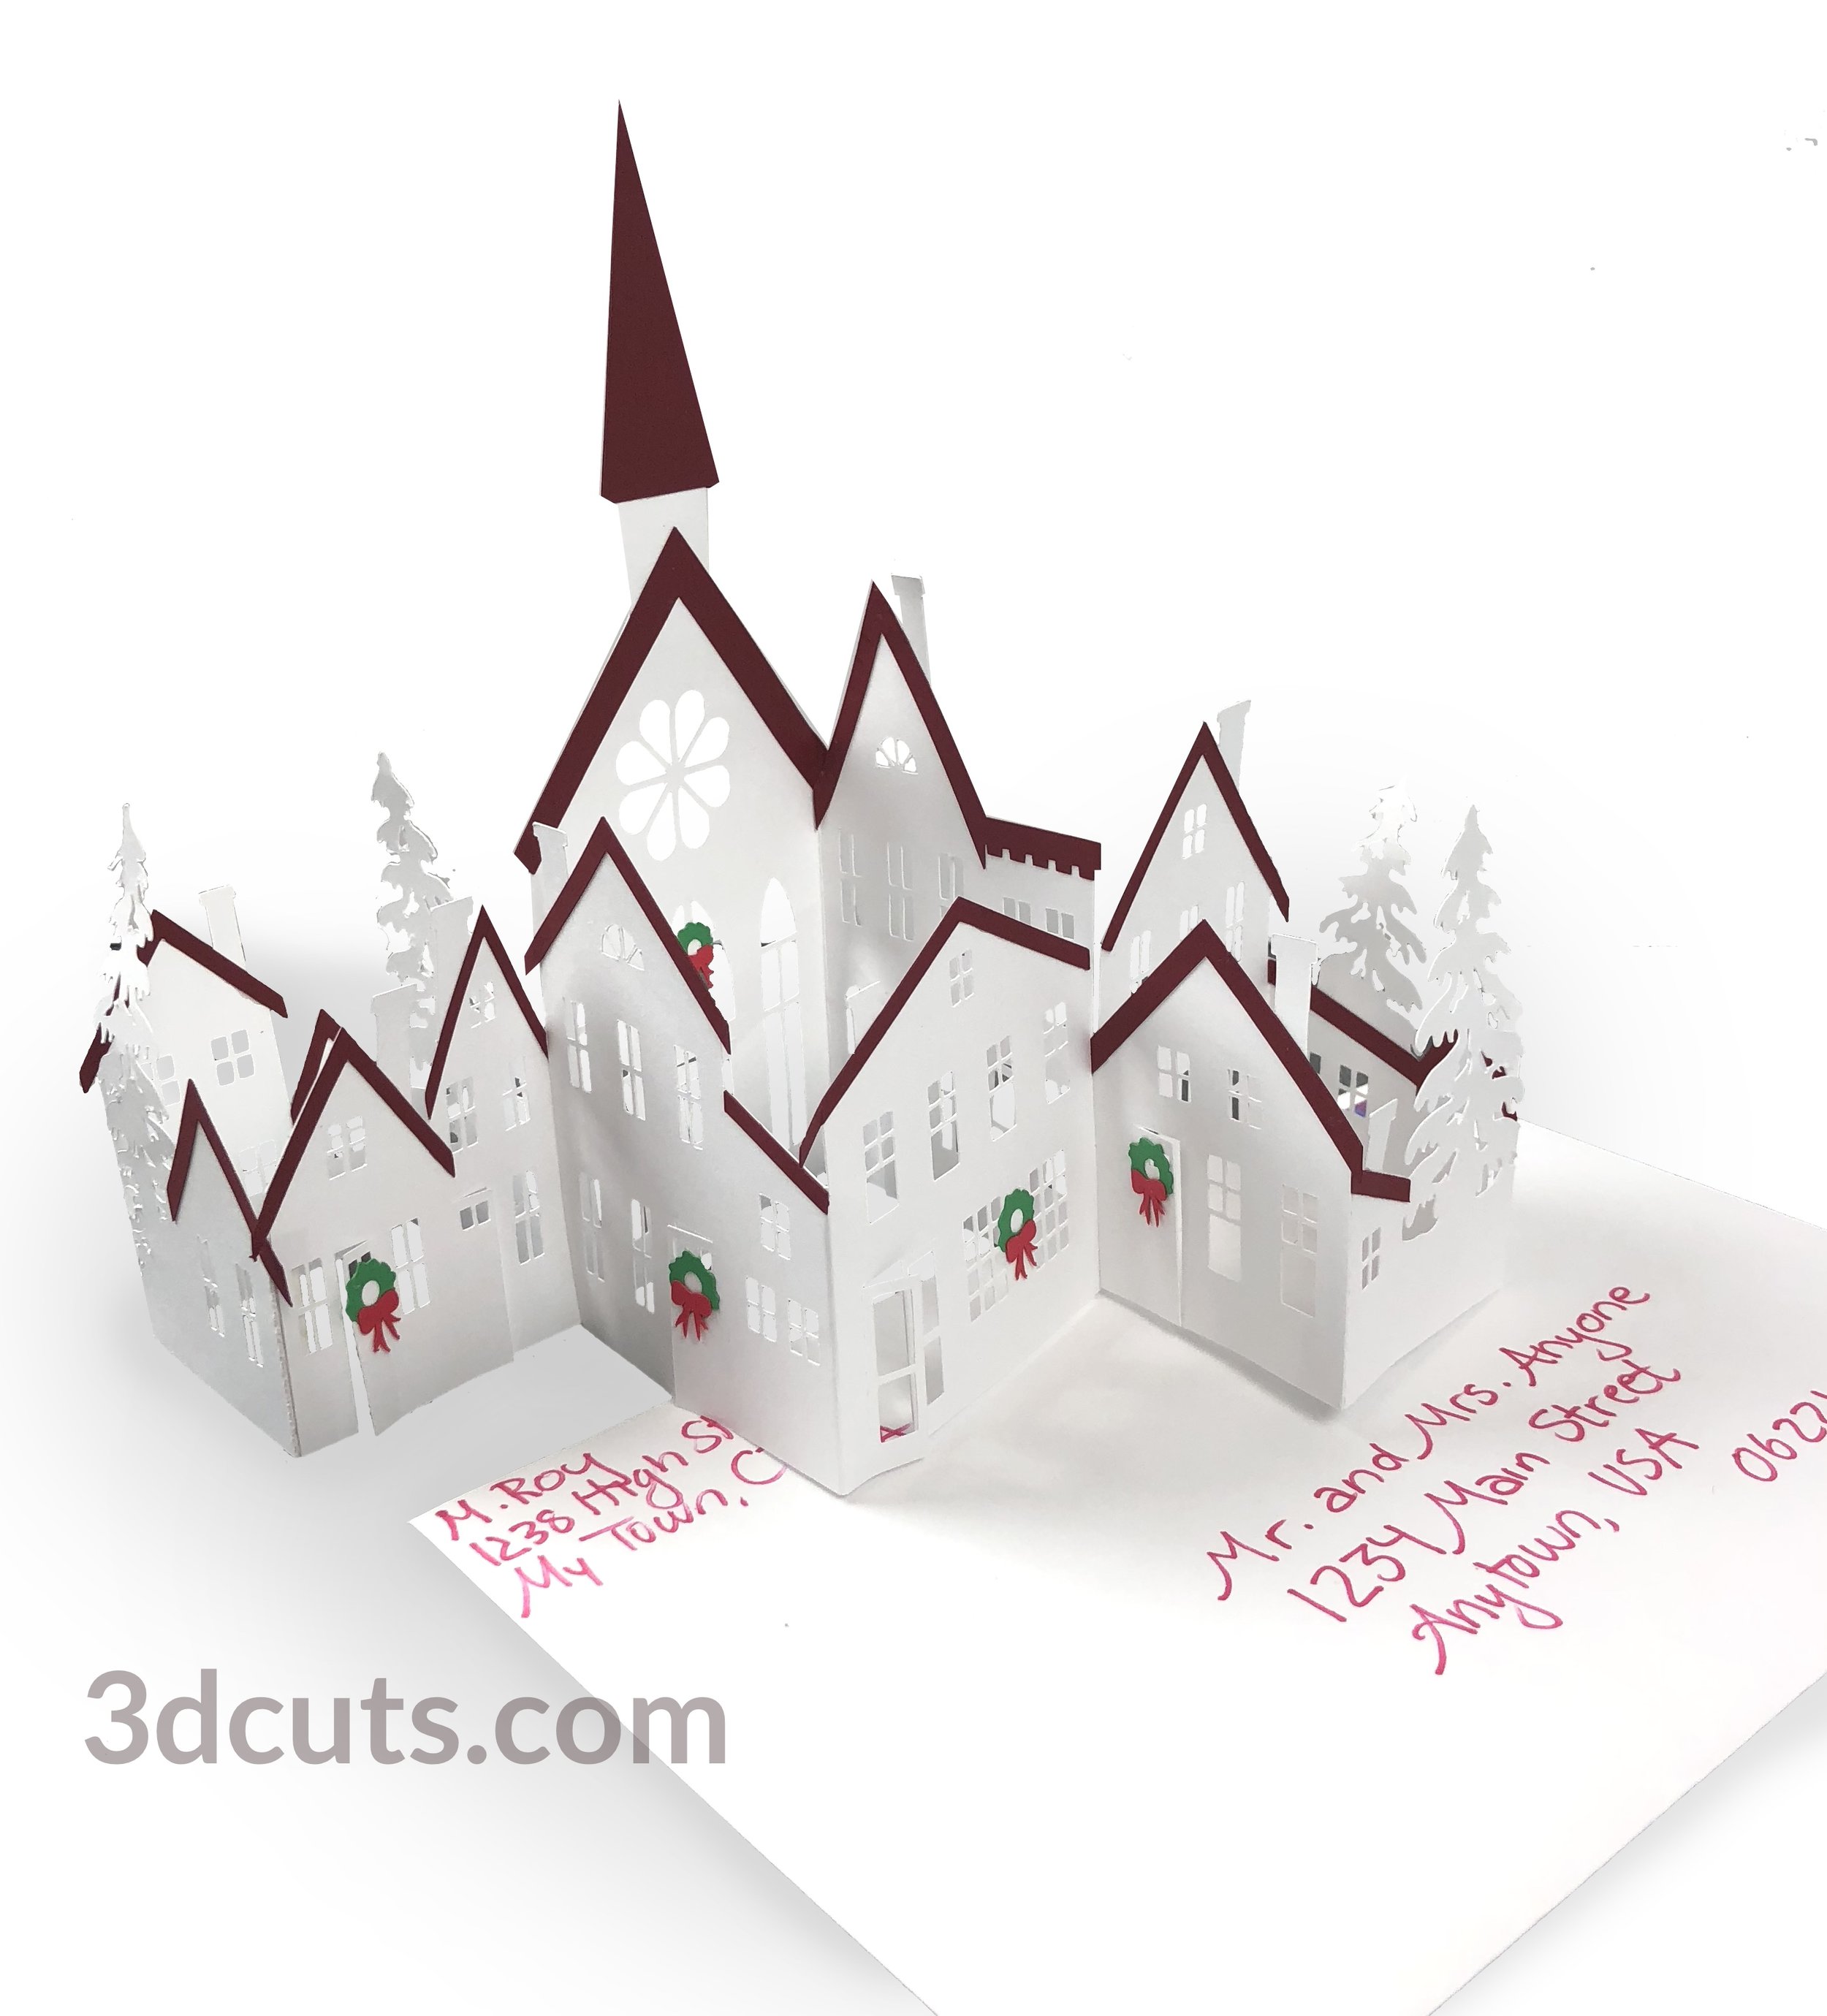
Other Zig Zag Card Designs available from 3dCuts.com -