
3D 5 Layer Shadow Box - Falling Leaves - Tutorial
Falling Leaves Shadow Box
Project Description:
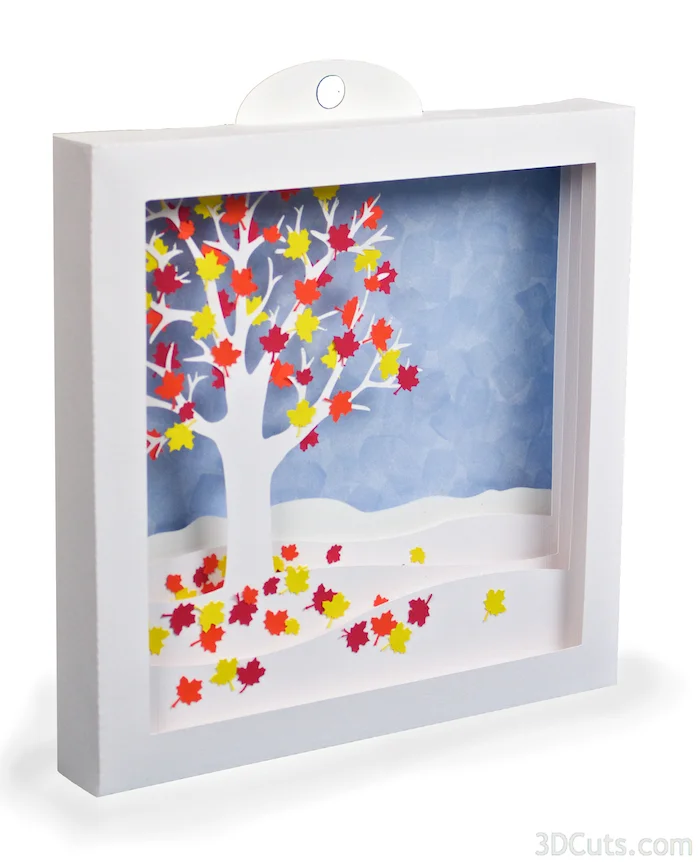
This tutorial is for the 5 layer shadow boxes designed by 3dcuts.com. The Falling Leaves file was used and demonstrated in detail.
This file is available in 2 sizes. The large size fits on 12 x 12" paper and the finished design is about 8.5" square. The smaller version is designed for use on 8.5 x 11" paper and the finished design is a little over 6" square.
3D 5 Layer Shadow Box Tutorial
Supplies Needed:
- Cutting File from 3dcuts. com.
- 6 pieces of Card stock - I used the 65lb Cardstock from Recollections for 8.5 x 11. I used Bazzill for the 12 x 12.
- 1 background paper for sky
- Adhesive - I use Scor-Tape, Zig 2-way glue, and glue dots although other adhesives would work.
- Scotch tape
- Spray adhesive
- Foam adhesive dots

Steps for completing the shadow box:
1. Download the cutting files for your cutting machine from the 3dcuts.com store.
2. Load the files into your cutting software following the steps for your cutting machine.
3. Prepare the files:.
- For the Silhouette: The SVG files from this site will need to be turned into cutting files. Click here for detailed steps on how to use SVG files on your Silhouette. http://www.3dcuts.com/tutorial-upload-svg-silhouette
- For Cricut Explore: Here is a guide for importing into Cricut Design Space. http://www.3dcuts.com/tutorial-adding-3dcuts-files-to-cricut
4. Cut the shapes.
- There are 5 box layers, 1 back ground piece and an optional hanger plus leaves in three colors and an extra layer inset. I have made the large file using all what except for the sky and leaves. I then made the smaller version using colors for the shadow boxes.I'd love to see what colors others try.

5. Construct all 5 box frames.
- Notice there is a cut-out number in one corner of each frame. Use this a guide. It will help in identifying the layers, identifying front or back, and knowing which corner should be in the upper left.
- I universally design these so that the number is always in the upper left. On some frames it doesn't matter but on others it does. If you always have the number in the upper left as you work you will know you are assembling things correctly.
- The frames are numbered as they will be when complete. Number 1 is the front frame, then 2, 3 and 4 and 5 in the back. You will not assemble them in that order though.

- Start with frame 5.
- Place the 5 in the upper left corner and fold on all dotted fold lines. You will fold the 4 edges TOWARD you on frame 5. (All other frames fold in the opposite direction.)
- Make nice, crisp folds.

- Use your adhesive of choice to glue the tabs inside of each corner. I like to use Scor-Tape or Glue Dots because it keeps my fingers clean. Other adhesives works as well.
- Note- frame 2-5 will be inside each other and out of sight. You can use a single glue dot in each corner. Frame 1 is the outside frame and I recommend good glue coverage on this layer. I used Scor-tape here.
- Now glue frames 1,2,3 and 4.
- These frames all get folded Away from you on the fold lines.
- Make sure the edges line up.It is important to make good, even square corners.
- You should now have all 5 shadow box frames folded and glued together.


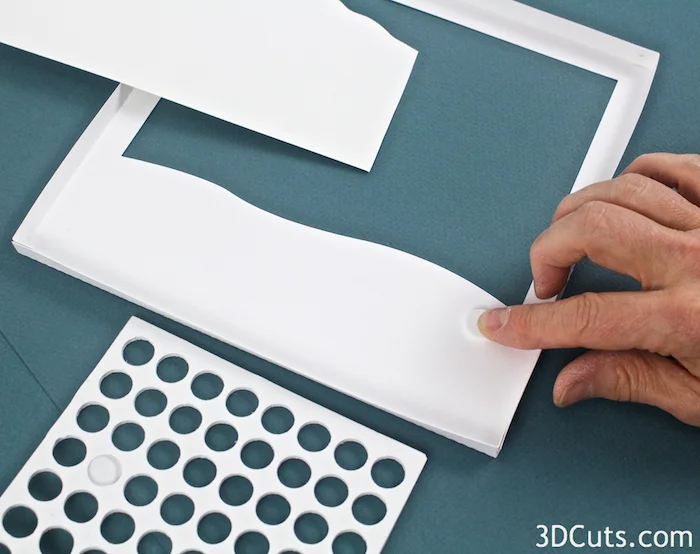
6. Attach the additional mountain layer.
- This is the piece which isn't a frame. It is the distance mountains and can be attached behind layer 4. (Or you could choose to put in front of the back ground on layer 5. Artist's choice.)
- I put foam adhesive dots on the back of layer 4 and placed the mountains on that. The bottom lines up with the bottom of the shadow box.

7. Attach leaves.

Image 1
- You have cut a large pile of leaves to be added to this project. (Image 1). You do not need to use them all.
- Start on the back side of Layer 3. Using a fine glue applicator, apply a small dab of glue and add a variety of leaves. (Image 2). Mix colors and sizes. It will increase the longevity of your shadow box if you use leaves to bridge some of the gaps between the finer branches. This is especially true for the unsupported long branches on one side of the design. Just glue one side of the leaf to the branch and the other to the frame or another branch. You will feel the floppier branches stiffen up with these added leaf connectors.
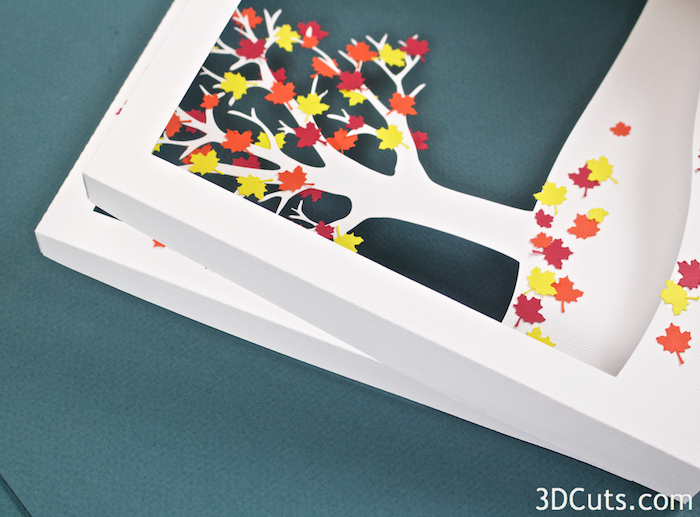
- Turn Layer 3 over and add additional leaves to the front. (Image 3).

Image 2

Image 3
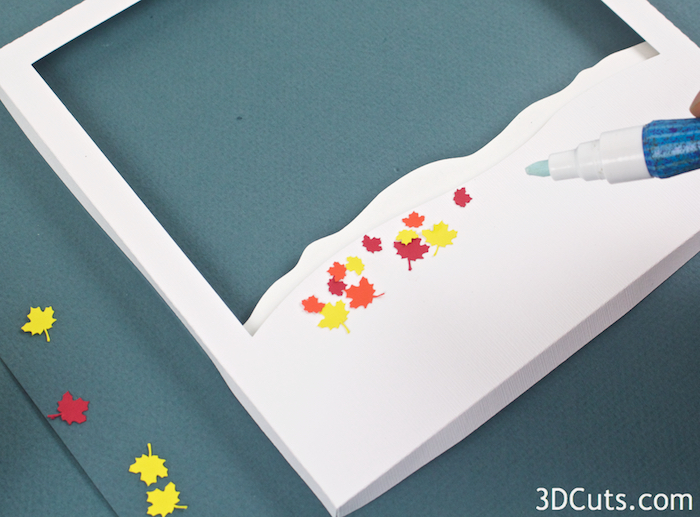
8. Add leaves to the ground on layers 2, 3, and 4.
- Use some of the smaller leaves on layer 4 because that is in the "distance" and larger leaves on layer 2 because that will be closer.
- Use your own artistic judgement on how many and location. There are no rules!
Falling Leaves 3d Shadow box by 3dCuts.com, Falling Leaves, Marji Roy, 3D cutting files in .svg, .dxf, and .pdf formats for use with Silhouette and Cricut cutting machines


Falling Leaves 3d Shadow box by 3dCuts.com, Falling Leaves, Marji Roy, 3D cutting files in .svg, .dxf, and .pdf formats for use with Silhouette and Cricut cutting machines
9. Glue the background sheet into frame 5.
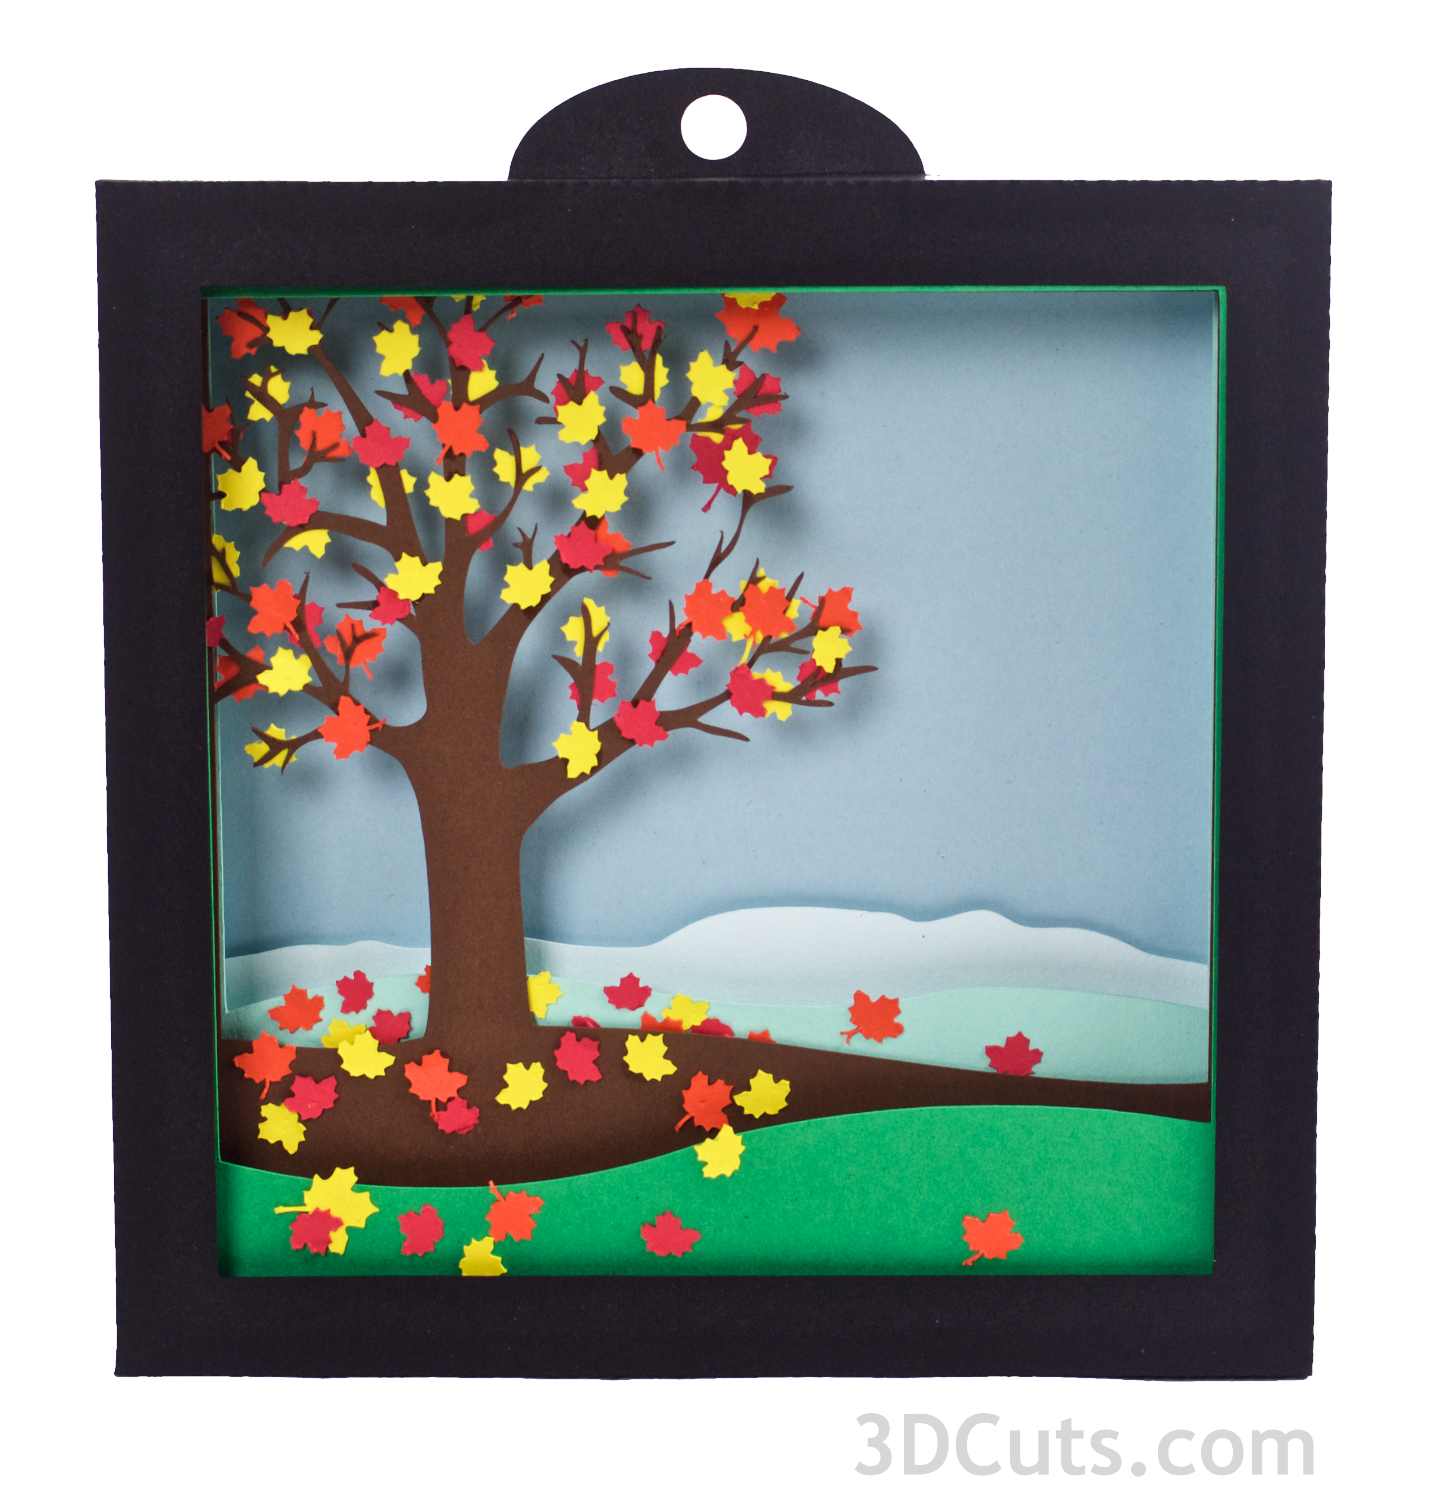
- This is just a square of paper. It can be a pattern as shown here, or a solid as shown in the smaller colored version. Or take a look at some of the painted skies I made in my sunrise and moonrise shadow boxes here.
- I used spray glue on the entire back and glued it in place.

- All 5 shadow boxes are complete and ready to be connected.
10. Attach frames 2, 3, and 4 together .
1. Place frame 2 over frame 3. Align back edges so there is a space between the two front panes.

2. On the backside apply scotch tape to the inside edge, fold it over and tape the back edges together. Do this on all four sides. Be sure to keep the back edges aligned.

3. Place the combined 2 and 3 frames over frame #4.

4. Again, tape all four sides being sure to keep the back edges aligned.
11. Combine layers 2,3,4 and 5.
- The combined 2,3 and 4 layers will be glued inside frame 5 on top of the background.
- I like to use Scor-Tape for this step. I apply Scor-tape to all 4 outside edges of frame 2 but leave the backing on the Scor-Tape.
- I then place it in frame 5 and using tweezers, I reach into the seam and pull off the Scor-Tape backing.
- I then press it in place.
- I have also used hot glue for this step. It is messier but works.

12. Hanger
- An optional hanger is included in the cutting file.
- This gets glued inside the top of frame 1. It is optional. The shadow boxes are easier to hang on the wall with the hanger but can also be placed on a shelf.

13. Attach Frame 1
- Put Scor-Tape on the 4 outside edges of frame 5 leaving the backing in place.
- Slide frame 1 over it.
- Pull the backing off the Scor-Tape using tweezers and press in place.
- Congratulations. Your project is complete.

I made 2 different variations. Share pictures if you did anything unique with your shadow boxes.

©2015 Marji Roy, 3dcuts.com