Valentine Garden - Tutorial
Project Description
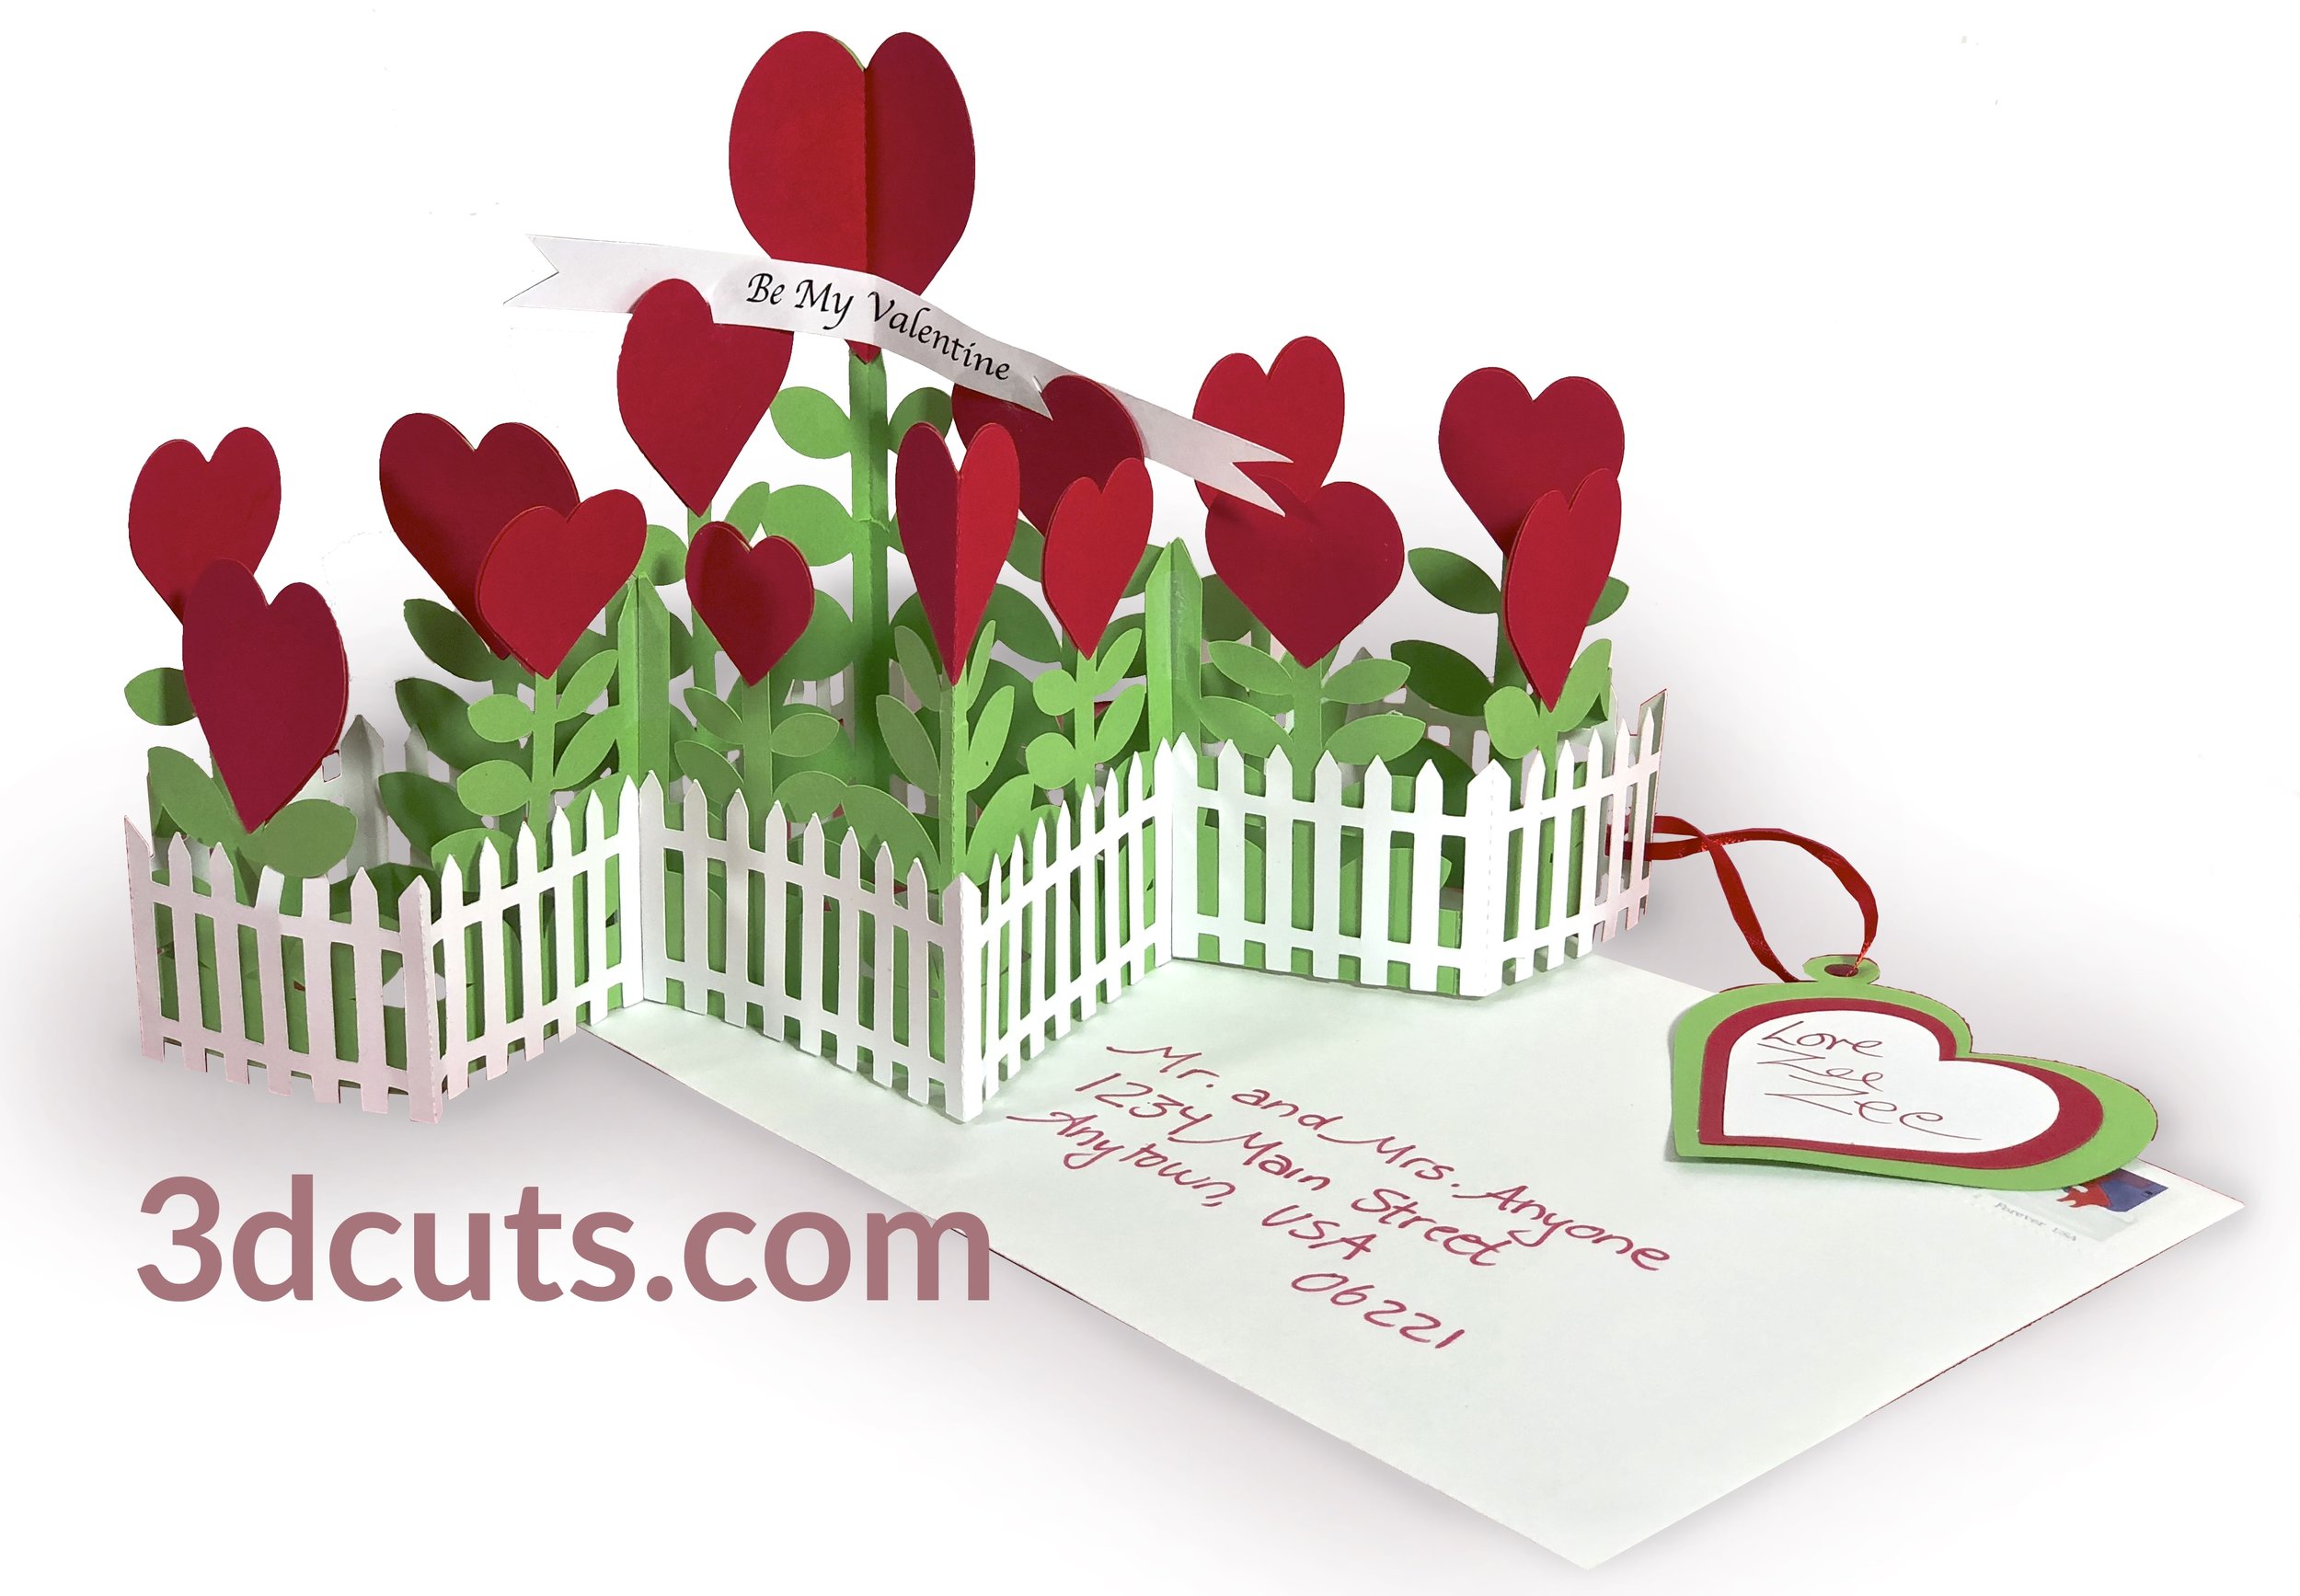
Create this charming 3D Valentine Garden to keep or give. It is designed to fold flat for storage or mailing. It fits in a standard 6 x 9” booklet envelope. It is about 10” w and 6.5 “ h when standing.
Construction techniques are a simple version of my other zig zag projects like the quick village. There is a video of the assembly below. Scroll to step 5 to start watching.
Cutting File available here from 3dcuts.com.
Supplies needed:
Cutting File available here from 3dcuts.com.
8.5 x 11" card stock - I used the 65lb Cardstock from Recollections for colors and Neenah 110 Index Card stock from Amazon for white. It requires 2 sheets of green and 1 sheet each of red and white.
Adhesive - Scoth Quick Dry Adhesive Scor-Tape 1/2” and 1/8”
Envelopes
Ribbon - 8” or 1/8” satin
Major Parts Sizes - as download. Keep grouped for sizing:
All white pieces together: 7.1889" w x 9.6306" h
Green sheet 1 with 1 side and heart: 7.0309" w x 9.4678" h
Green sheet with 3 side pieces: 7.6431" w x 10.0222"h
Banner: 6.25" w x .5 "h
All hearts togetherr: 8.0208" w x10.4857"h
Links to supplies on Amazon:
Order from Amazon: Neenah Exact Index Card Stock 110lbs. 250 sheets (Affiliate Link)
Order from Amazon: Scor-Tape 1/8" X 27yds (2 Rolls) (Affiliate Link)
Order from Amazon: 6 x 9” envelope RED 25 count (Affiliate Link)
Order from Amazon: Scotch Quick Drying Tacky Glue (Affiliate Link)
Order from Amazon: Scotch Quick Drying Adhesive (4 Pack) (Affiliate Link)
Order from Amazon: Premium Silhouette Blade (Affiliate Link)

Steps for completing the Valentine Garden:
Special Note: I update the instructions online. Check here for adjustments and additional information.
1. Download the cutting files for your cutting machine here from the 3dcuts.com store. http://3dcuts.com/heart-valentine-projects/valentine-garden
2. Load the files into your cutting software following the steps for your cutting machine.
3. Prepare the files:.
For the Silhouette: The SVG files from this site will need to be turned into cutting files. Click here for detailed steps on how to use SVG files on your Silhouette. http://www.3dcuts.com/tutorial-upload-svg-silhouette
DXF files can be opened in the basic edition of Silhouette Design Studio but often require modifications. I recommend using the Designer Edition and using svg files. DXF files do not always maintain file sizes and you may need to adjust according to sizes noted above.
For Cricut Explore: Here is a guide for importing into Cricut Design Space. http://www.3dcuts.com/tutorial-adding-3dcuts-files-to-cricut. Remember to attach files before cutting in Cricut.
For Brother ScanNCut: The svg files will need to be transferred to files for your particular machine. You can change SVG files to FCM files at http://www.canvasworkspace.com/ or Google "How to import SVG files into a ScanNCut" for links to tutorials. Some models of Brother Scan N Cut can directly import the SVG files.
4. Cut the files.
All pieces are cut from card stock. I recommend a lighter weight card stock for the red hearts. If you use heavy card stock for the red then be sure to double up the stems as demonstrated in the video tutorial.
The files are grouped to fit well on 8.5” x 11” card stock. I recommend keeping them grouped as is. The measurements listed above are by group.
Cut the red hearts last and leave them on the mat to prevent mixing them up. Cut them all from the same color red. I have shown them with color variation to addd you with placement.
The white banner for the sentiment is designed to be made separately so you can individualize the message. Use the on in the cut file as a size template in making your own.
5. Assembly
The assembly steps are detailed in the video below. Here is the YouTube url https://youtu.be/uafzSNUwTdk.
6. Sending the card:
This project is designed to fold flat for storage or to be mailed in a 6" x 9" booklet envelope.
There is an affiliate link in the supplies above for ordering them from Amazon.
Place a cardboard support in the envelope to prevent bending.
It will require extra postage.
Creative Applications:
I will post photos of cards other crafters have made. Send a photo to 3dcuts.com if you have done something interesting with this file.
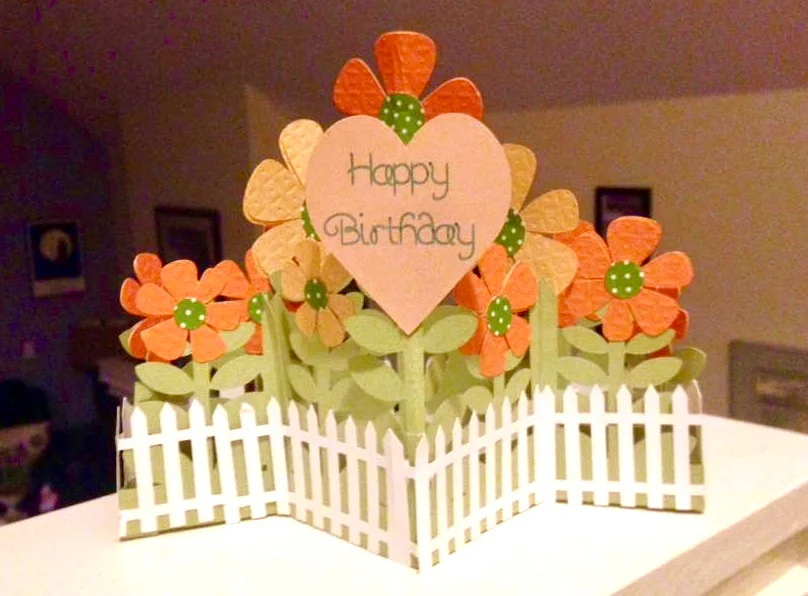
Here is the first one in from Jane Kyle. She left off the hearts and made a birthday card out of the file. I love how she added texture to the petals.