
3D Shadowbox Christmas Tree Ornaments
Project Description:
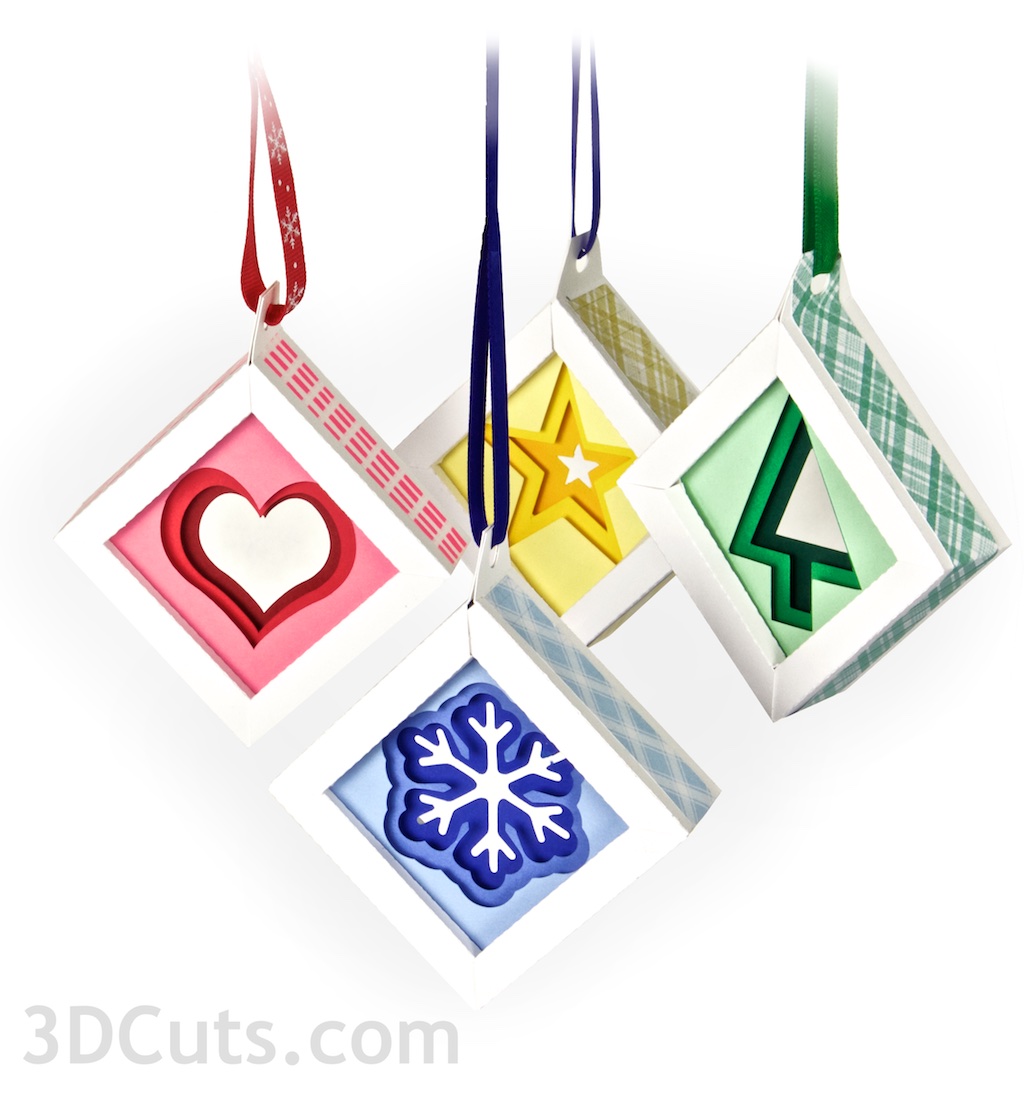
Create a collection of ornaments for your Christmas tree using these cutting files and card stock in gradated colors. The series includes a snowflake, heart, star and Christmas tree. The center is created by layering 5 cutouts with a center negative space opening. It is surrounded by a one piece shadow box cleverly designed for easy construction.
All four designs are assembled using the same set of steps. I photographed myself constructing the snowflake but the same steps apply to the star, heart and tree designs as well.
3D Shadow Box Tree Ornament Tutorial

Supplies Needed:
- Cutting File available here.
- 8.5 x 11" card stock - I used the 65lb Cardstock from Recollections in gradated colors.
- Adhesive - I used Scor-Tape, Glue Dots and Tombow tape adhesive for this type of project
- 16 1/8" thick foam pop dots
- Coordinating patterned paper (Optional)
- Ribbon (Optional)
Steps for completing the 3D Shadow Box Tree Ornament:
1. Download the cutting files for your cutting machine.
2. Load the files into your cutting software following the steps for your cutting machine.
3. Prepare the files:.
- Click here for detailed steps on how to use .SVG files on your Silhouette (with Design Studio).
- Click here for steps on how to use these .SVG files in Design Space with your Cricut Explore.
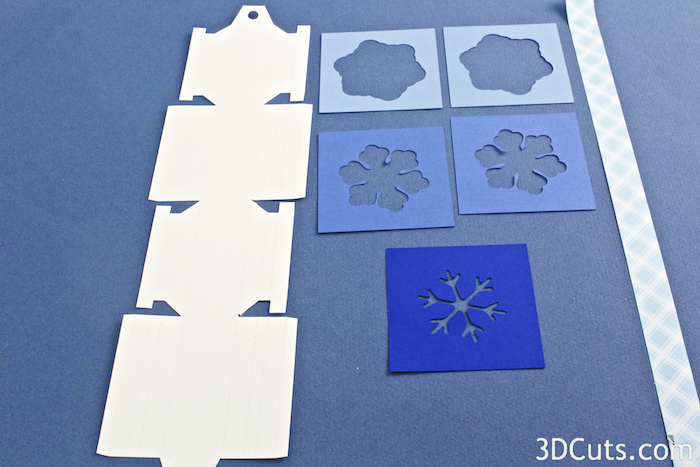
4. Cut the files from the card stock of your choice.
- Cut 1 square with the smallest hole from card stock that is a deeper shade.
- Cut 2 squares of the mid-sized hole from a medium shade.
- Cut 2 squares of the largest hole from a lighter shade.
- Cut the shadow box piece (1) from a contrasting color. I used white but black could be effective..
- Cut the strip from a coordinating pattern paper. This is 5/8 x 10.5" if you just want to cut it on the paper cutter

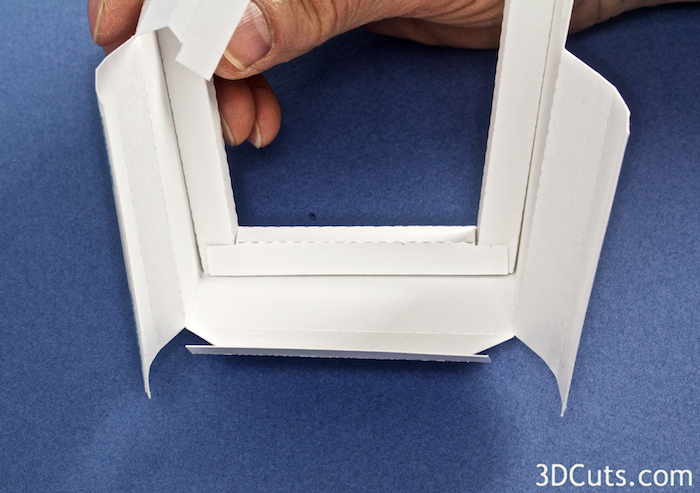
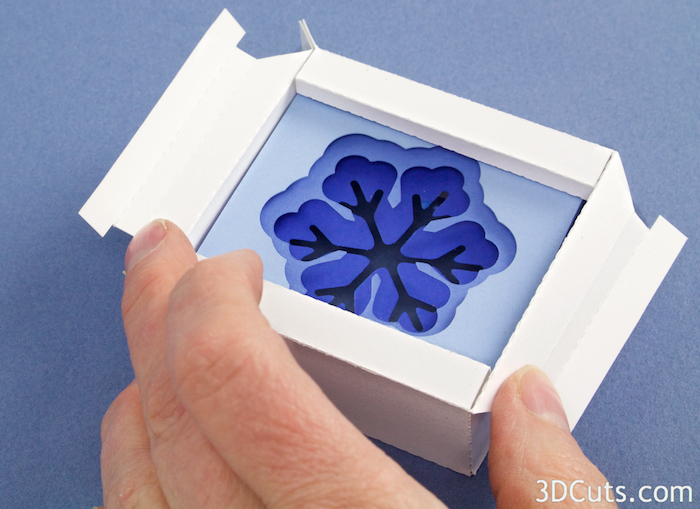
5. Identifying sides of the shadow box.
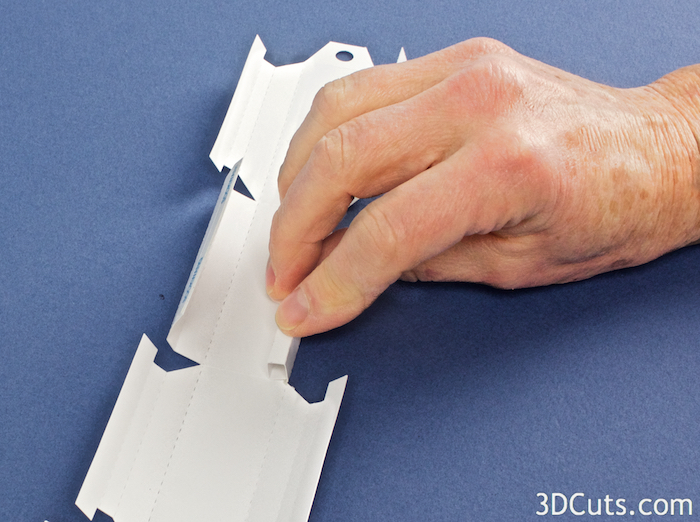
- The shadow box files is not perfectly symmetrical. One edge has smaller gaps as shown by my fingers in the photo. You are to assemble the side with the smaller gap first. In the photo it is the side toward the back. Work on that edge first.

- Fold along all dotted fold lines. All folds are in the same direction except for the hanging tabs at the ends. Those fold in the opposite direction.

- Run a line of Score-Tape along the 4 outside edges of the rectangular portions of the shadow box (as shown by the red arrows in the photo). Leave the backing on the ScoreTape.
- Again identify the first side of the shadow box that you will assemble. It is the side with the smaller gaps between tabs.
- You will building all of one side of the shadow box frame, inserting the center parts, and then building the other side of the frame to enclose it.
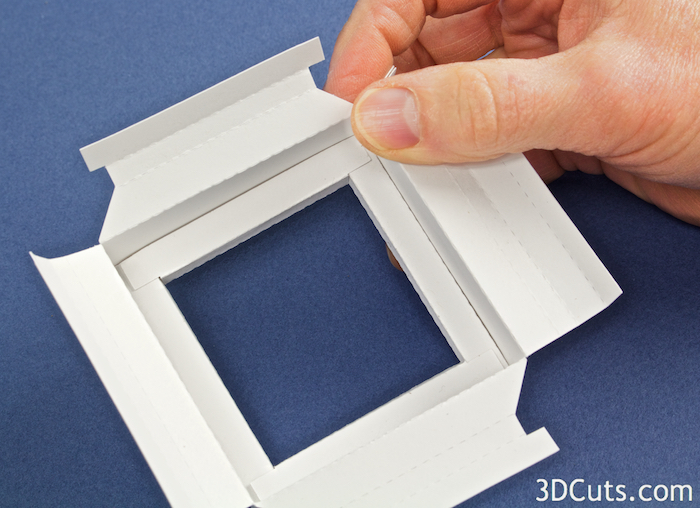
- Peel the backing from 1 piece of ScoreTape and fold the side of box frame into the center, sticking the ScoreTape edge to wider center area.
- The image below shows the end position of this fold. The red is the paper and the blue is the ScoreTape. When glued in place it forms the first frame edge of the shadow box.

- Repeat this same fold and glue for the second frame edge along the same side.
- You can use something long and thin ( I used a chopstick) to reach inside the frame and press the bottom side to adhere.
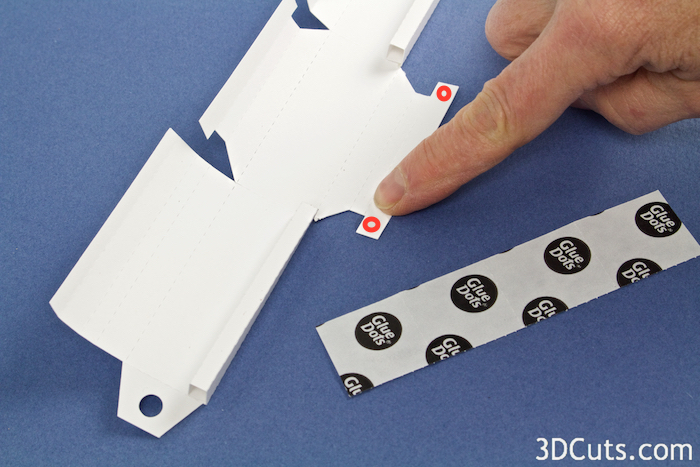
- Apply a glue dot to the inside of each of the tabs along the same side of the shadow box. There are 4 tabs.
- Remember you are still working along 1 edge only.
- Glue dot locations shown in red.

- Fold the shadow box side into a right angle.
- Fold the frame section with the tab in toward the center placing the tab (with glue dot) inside the existing frame section created in the previous step.
- Press in place to adhere.
- This will hold the two sides of the shadow box at a 45º angle.

- Apply 4 glue dots to the inside of one of the hanging tabs. It doesn't matter which one.
- Fold another right angle along the dotted line into the shadow box edge.
- The next section of the frame is to slide in between the other frame section with the tab with the glue dot and be pressed in place.

- Fold another right angle along the dotted line into the shadow box edge bringing the two hanging tabs around to meet.
- As you do this, be sure to fit the edge in front of the glue dot tabs to hold the edges in place.

- Work to align the two holes in the hanging tabs together and press in place.
- The first half of the shadow box frame should now be complete with nice square corners.
6. Construct the filing of gradated papers.
- There are five layers to the center of this ornament. The middle one is the one with the smallest design hole. Only 1 of this design was cut.
- Place a 1/8" thick foam dot in each corner.
- Hint: It is fine to cut the foam pop dots in half.
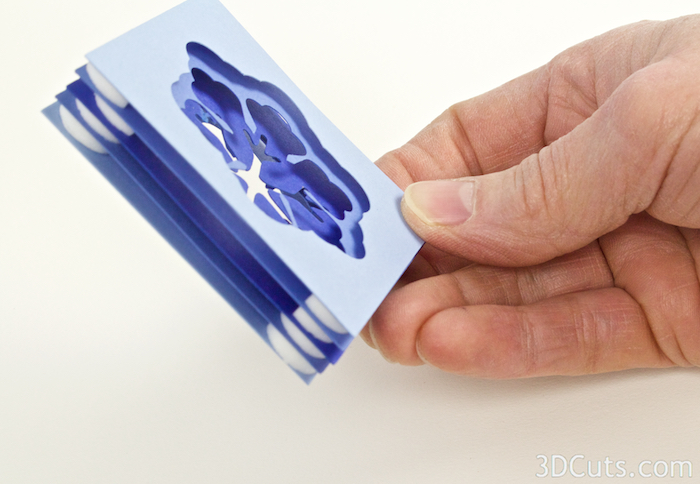
The center is 5 layers separated by pop dots. The darkest layer is in the center.

- Adhere the next layer on top being carefully to match the design orientation and line up the edges.

- Add more foam pop dots and then the outside colored design. It is the one with the largest whole.
- Again, be sure to match designs and align edges.

- Repeat on the other side.
- Turn over the center stack. Add each of the two colors to the other side again using pop dots and matching edges.
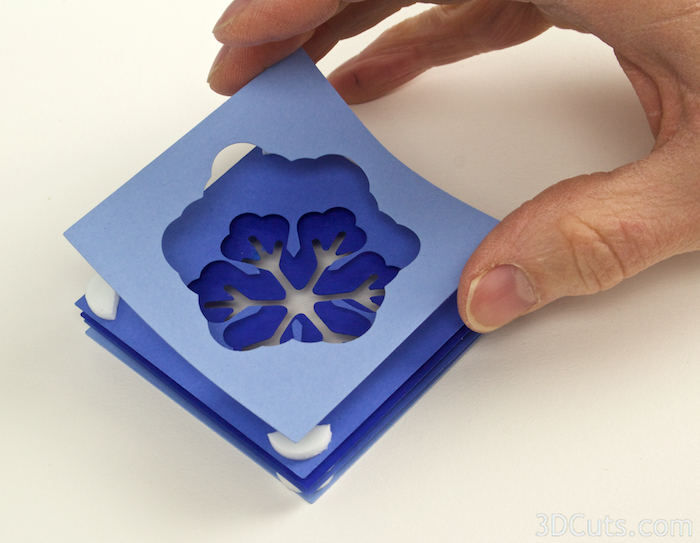
- The complete center has 5 layers.

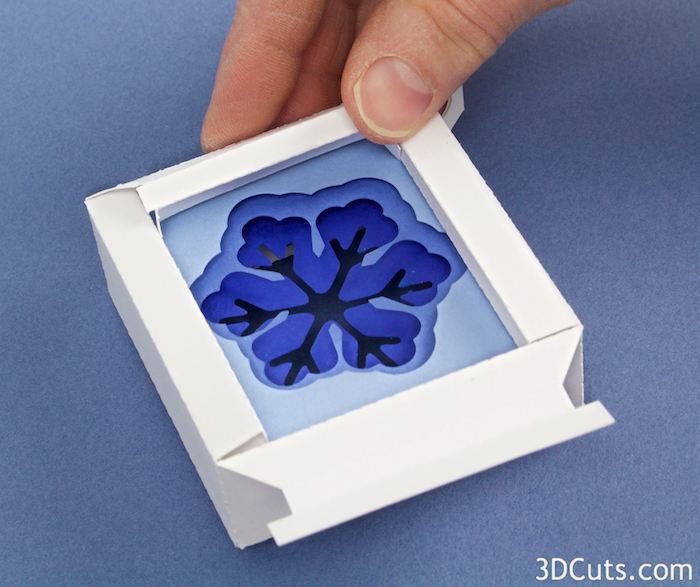
- The center stack gets placed inside the half finished shadow box frame.
- Place the top of the design in the corner with the hanging tab.

7. Complete the second side of the shadow box frame..
- Peel off the backing of the ScoreTape you applied earlier,
- Fold in the frame edge in so the ScoreTape meets with the frame edge.
- Press to hold. This is a poor hold and only temporary. The other sides will hold it in place when done.


- Repeat with the opposite edge of this frame.
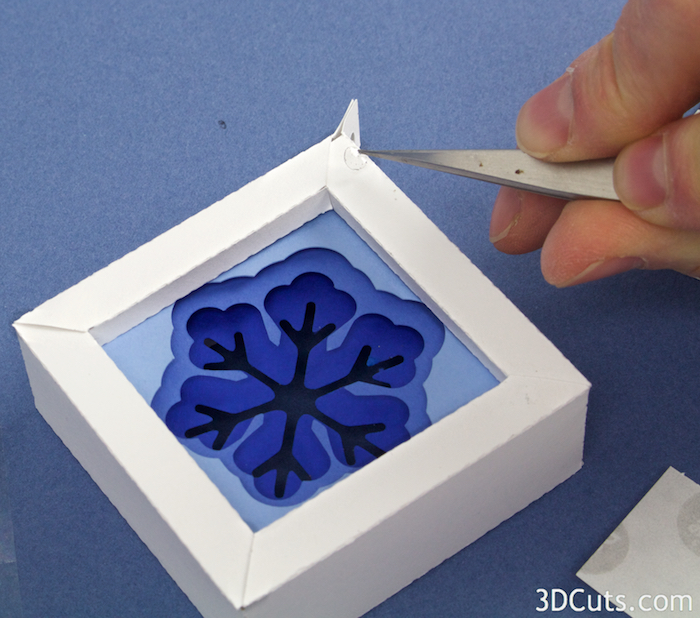
- The final 2 edges of the frame are the most difficult to place.
- You fold them in and under themselves.
- The small tabs on the edges have to be coaxed under the side rails.
- I bend them down and then use pointed tweezers to urge them into place.
- Do this for both last edges.
- Once they are in place, the frame stays together.
- Using tweezers, slide a small glue dot under the corners of these last edges on the last 2 sides to firmly hold them in place.
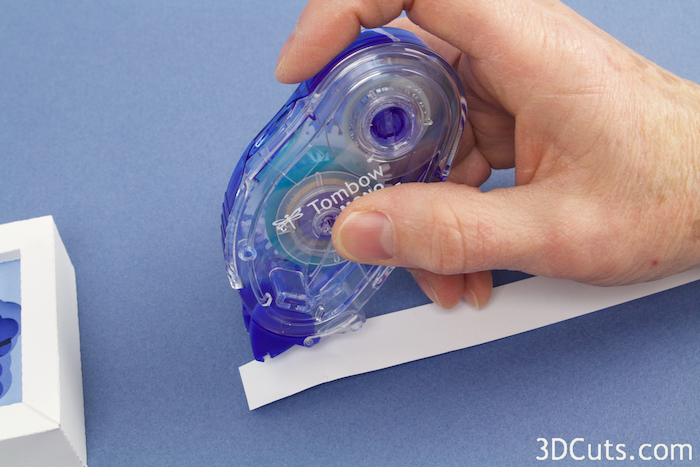
9. Add the optional banding.
- Hint: Washi tape works nicely for the banding strip.
- Apply adhesive to the back of the long paper strip in contrasting color.
- Place it along the center of the outside edge of the frame on all 4 sides.

10. Add a ribbon for hanging.
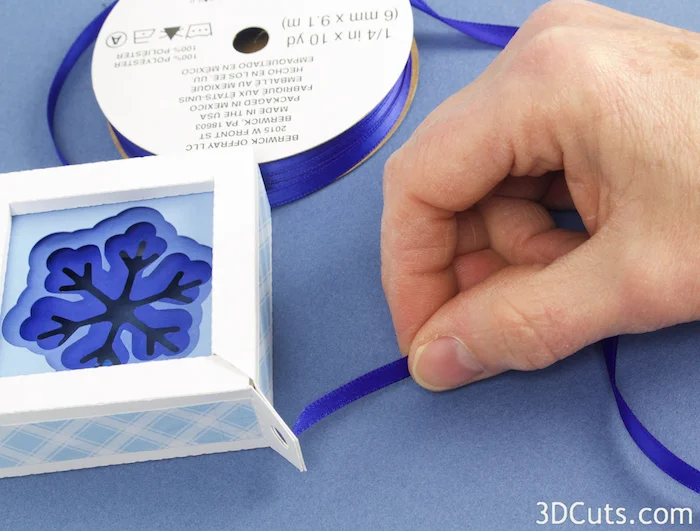
- I used 1/4" satin ribbon.
Make the entire collection for your tree or as a lovely gift.
Happy crafting everyone!

© 2015 Marji Roy, 3DCuts.com