Tutorial - Ledge Village Trees and Shrubs
Project Description:
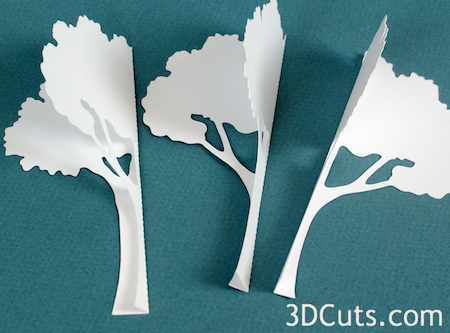
The Ledge Village is series of 3D buildings and accessories that can be combined in a mix and match fashion to build tiny villages on small ledges around your home. The buildings are thin, with all detail on the front so they fit on small trim ledges. There are a variety of trees for the village and this is the tutorial for all variaties.. A growing number of files for Ledge Village can be found at 3dcut.com
Supplies Needed:
- Cutting File downloaded on 3DCuts.com
- Your preferred adhesives
- Glue Dots
- Scor-Tape
- Zig Glue Pen
- Card Stock
Parts Sizes: (needed for importing into Design Space for Cricut. The sizing of the trees is random just as long as the files you cut for a single tree match. I am listing the first size I cut my trees at however, I resize them to give some variety to the village trees. Note: On some the file opens with the tree horizontal to allow for better fit on 8.5 x11 paper.
- Maple Tree: 4.5" w x 5.470" h
- Fir Tree Full sized: 6.430" w x 4.135"h (each tree, not the pair)
- Fir Tree pair: 6.513" w x 7.46"h
- Evergreen shrub: 3.545"w x 2.285" h
Options:
Trees can be constructed in various methods depending on your intended use. The steps for all options are included. Choose the option that best meets you plan.
Option 1: For ledge display. Finished tree will have a flat back to allow it to hug the wall. The wall is required for support. Cut 3 for each tree.
Option 2: Fir trees only. Fir trees can be assembled to work against a ledge or for a 3-D application.
Steps for completing the 3-D Ledge Village Tree • Option 1
This tree style works for a ledge display area. It will require a backing (like a wall or frame) for support. It is made by cutting any of the tree patterns 3 times.
1. Download the cutting files for your cutting machine.
2. Load the files into your cutting software following the steps for your cutting machine.
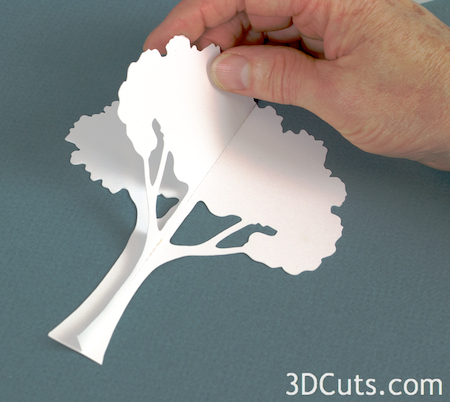
5. Fold on all dotted fold lines.
- All folds are in the same direction.
6 Glue one tree to left half.
- I use Scor-Tape and apply it to all available areas of one tree on just the left half. Other glues are appropriate.
- Match another tree and glue it right on top. Watch the base to keep it even.
7. Add the right half of the tree.
- Apply Scor-Tape or other glue to the right half of the back tree.
- Glue the 3rd tree on the right over that glue. Do not glue the front halves together.
9. Base view
- Leave the front halves separate and space as shown in the photo.
- Include this tree in your Ledge Village.
- It will require being attached to a back support (wall) to stand.
Option 2: Fir tree or Fir Bush
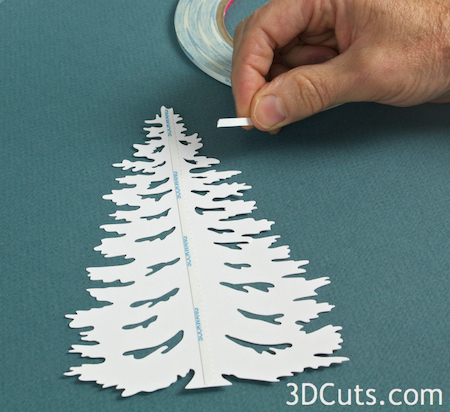
- Cut 2 identical trees.
Fold on both dotted lines.
- Each half has 2 dotted lines. Fold along each creating a U channel.
- Apply a line of thin score tape between the two dotted lines on the outside of the U.
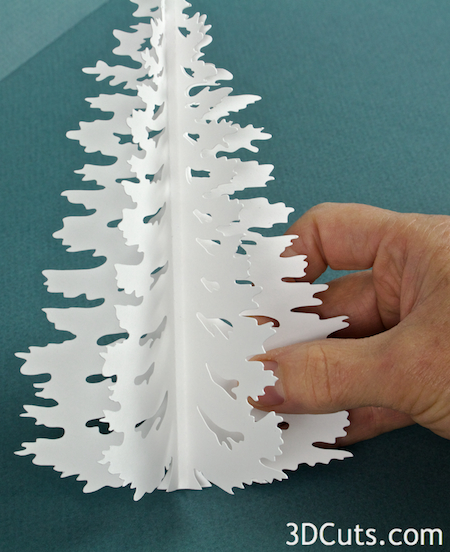
- Match up the centers of the 2 fir pieces.
- Be carefully to match the base so the tree will stand straight.
For Ledge Display:
- Keep the back tree flat and display tight against the wall.
For 3-D Display:
- Spread the 4 wings out to provide a base for standing.
This tutorial is available online at http://www.3dcuts.com/tutorial-ledge-village-trees
©2014 3DCuts.com, Marji Roy


