Tutorial - Graduation Cap Assembly
Project Description:
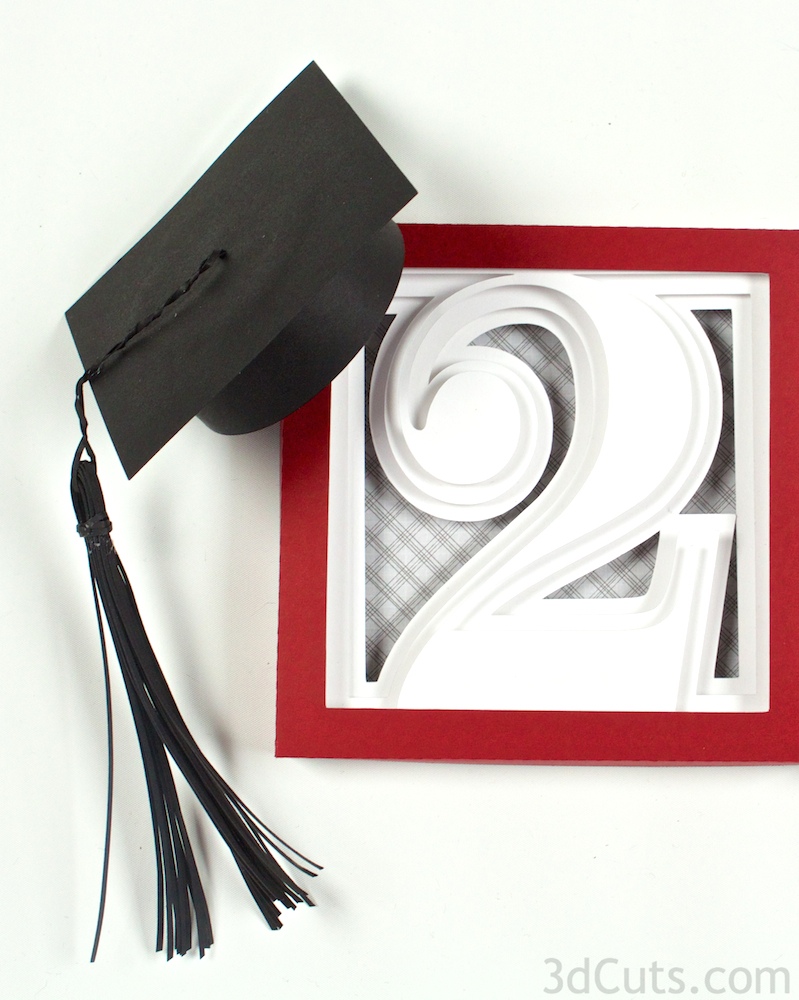
This little 3D Graduation Cap was designed to perch jauntily on the corner of the Alphabet Shadow boxes. The thought was to use it for embellishing a graduation date or sentiment. But that certainly isn't the only use. Use it for any project that works for you.The entire hat including the tassel is made from paper.
This hat is available here.
Graduation Cap Tutorial
Supplies Needed:
- Cutting File available here.
- Glue dots 3/16"
- 8.5 x 11" card stock - 1 pieces - I used the 65lb Cardstock
- Tacky Glue
- Tape
Size of pieces: ( for those importing into Design Space)
- Strip with zig zag edge 1.5 w x 8.5 H
- Circle 2.5” diameter
- Square 3.5”
- Holding strip .5 x 3.5”
- Tassel strips skinny and long about .05 space between and 10” long
Steps for completing the Graduation Cap:
1. Download the cutting files for your cutting machine. The files are available here.
2. Load the files into your cutting software following the steps for your cutting machine.
3. Prepare the files:.
Helpful Hint: For the Silhouette, the SVG files from this site will need to be turned into cutting files.
Click here for detailed steps on how to use SVG files on your Silhouette.
4. Cut the files:
- You can separate all parts from the sticky mat but leave the long strips connected to the background paper. All other pieces can be separated.
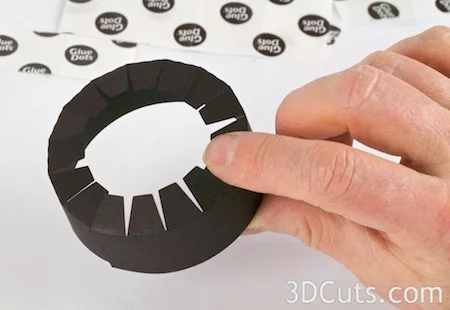
5. Curl the hat ring around on itself and stick together using glue dots. It overlaps 1/2"
6. Fold all tabs in toward the center of the ring on the dotted fold line.
7. Add glue to the edge of the circle (just the outer 1/2"). I used a quick drying tacky glue but would have preferred glue dots because I find white glue messy.
8. Put the circle inside the hat ring, glue side down.
9. Turn the ring over and add glue to the other side.
10. Both the circle and the square top have a little hole in the center. Align those and glue the square onto the top of the ring forming the cap. Allow to dry.
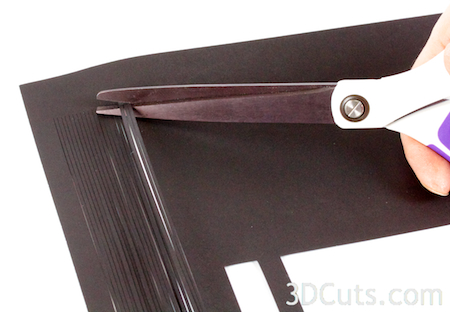
11.Cut two strands of the thin strips off and put to the side for later use.
12. Bend the remaining strips in half over your finger while they are still connected to the background paper.
13. Apply glue around the tassel about 3/4 inch down from the bend.
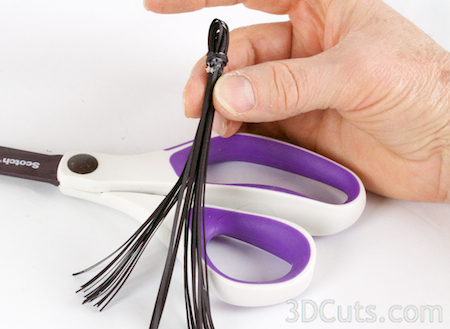
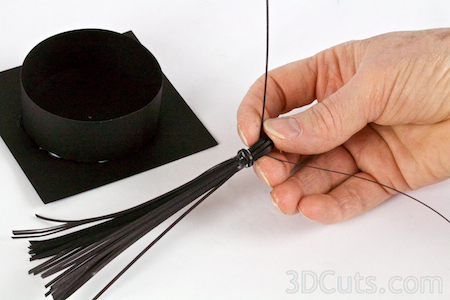
14. Take one of the thin paper strips you saved and wrap it around the tassel 3-4 times covering all the glue. Snip the extra paper length off.
15. Now snip all the tassel strands from the background paper. Trim them to be even.
Allow to dry.
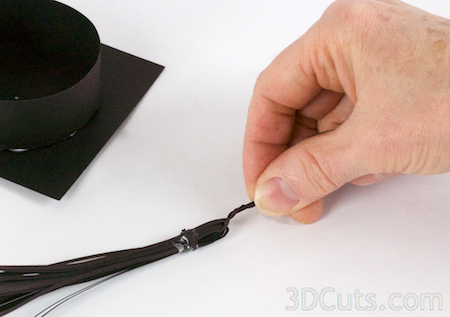
16. Take the remaining saved strand and thread it through the loop at the top of the tassel.....
17. Twist the two strands together making a paper cord.
18. Thread it through the hole in the center top of the cap.
Tape it in place inside the cap.
The cap is finished.
Now if your want to add it to a shadow box......
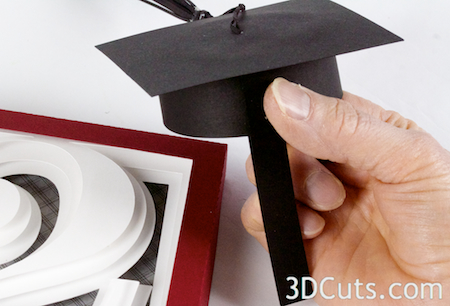
19. If you are using this cap perched on the corner of the shadow box, attach the holding strap to the inside of the hat rim. Position it near the seam because you will want the seam to be in the back. Use your adhesive of choice.
20. Attach this strap to the back of the upper corner of the shadow box. I used removable painters tape because I like reusing the shadow boxes for a variety of events. It is also fine to glue it permanently in place.
© 2014 3DCuts.com, Marji Roy
