
Stacked Hearts Valentine Card v2 - Tutorial
Project Description

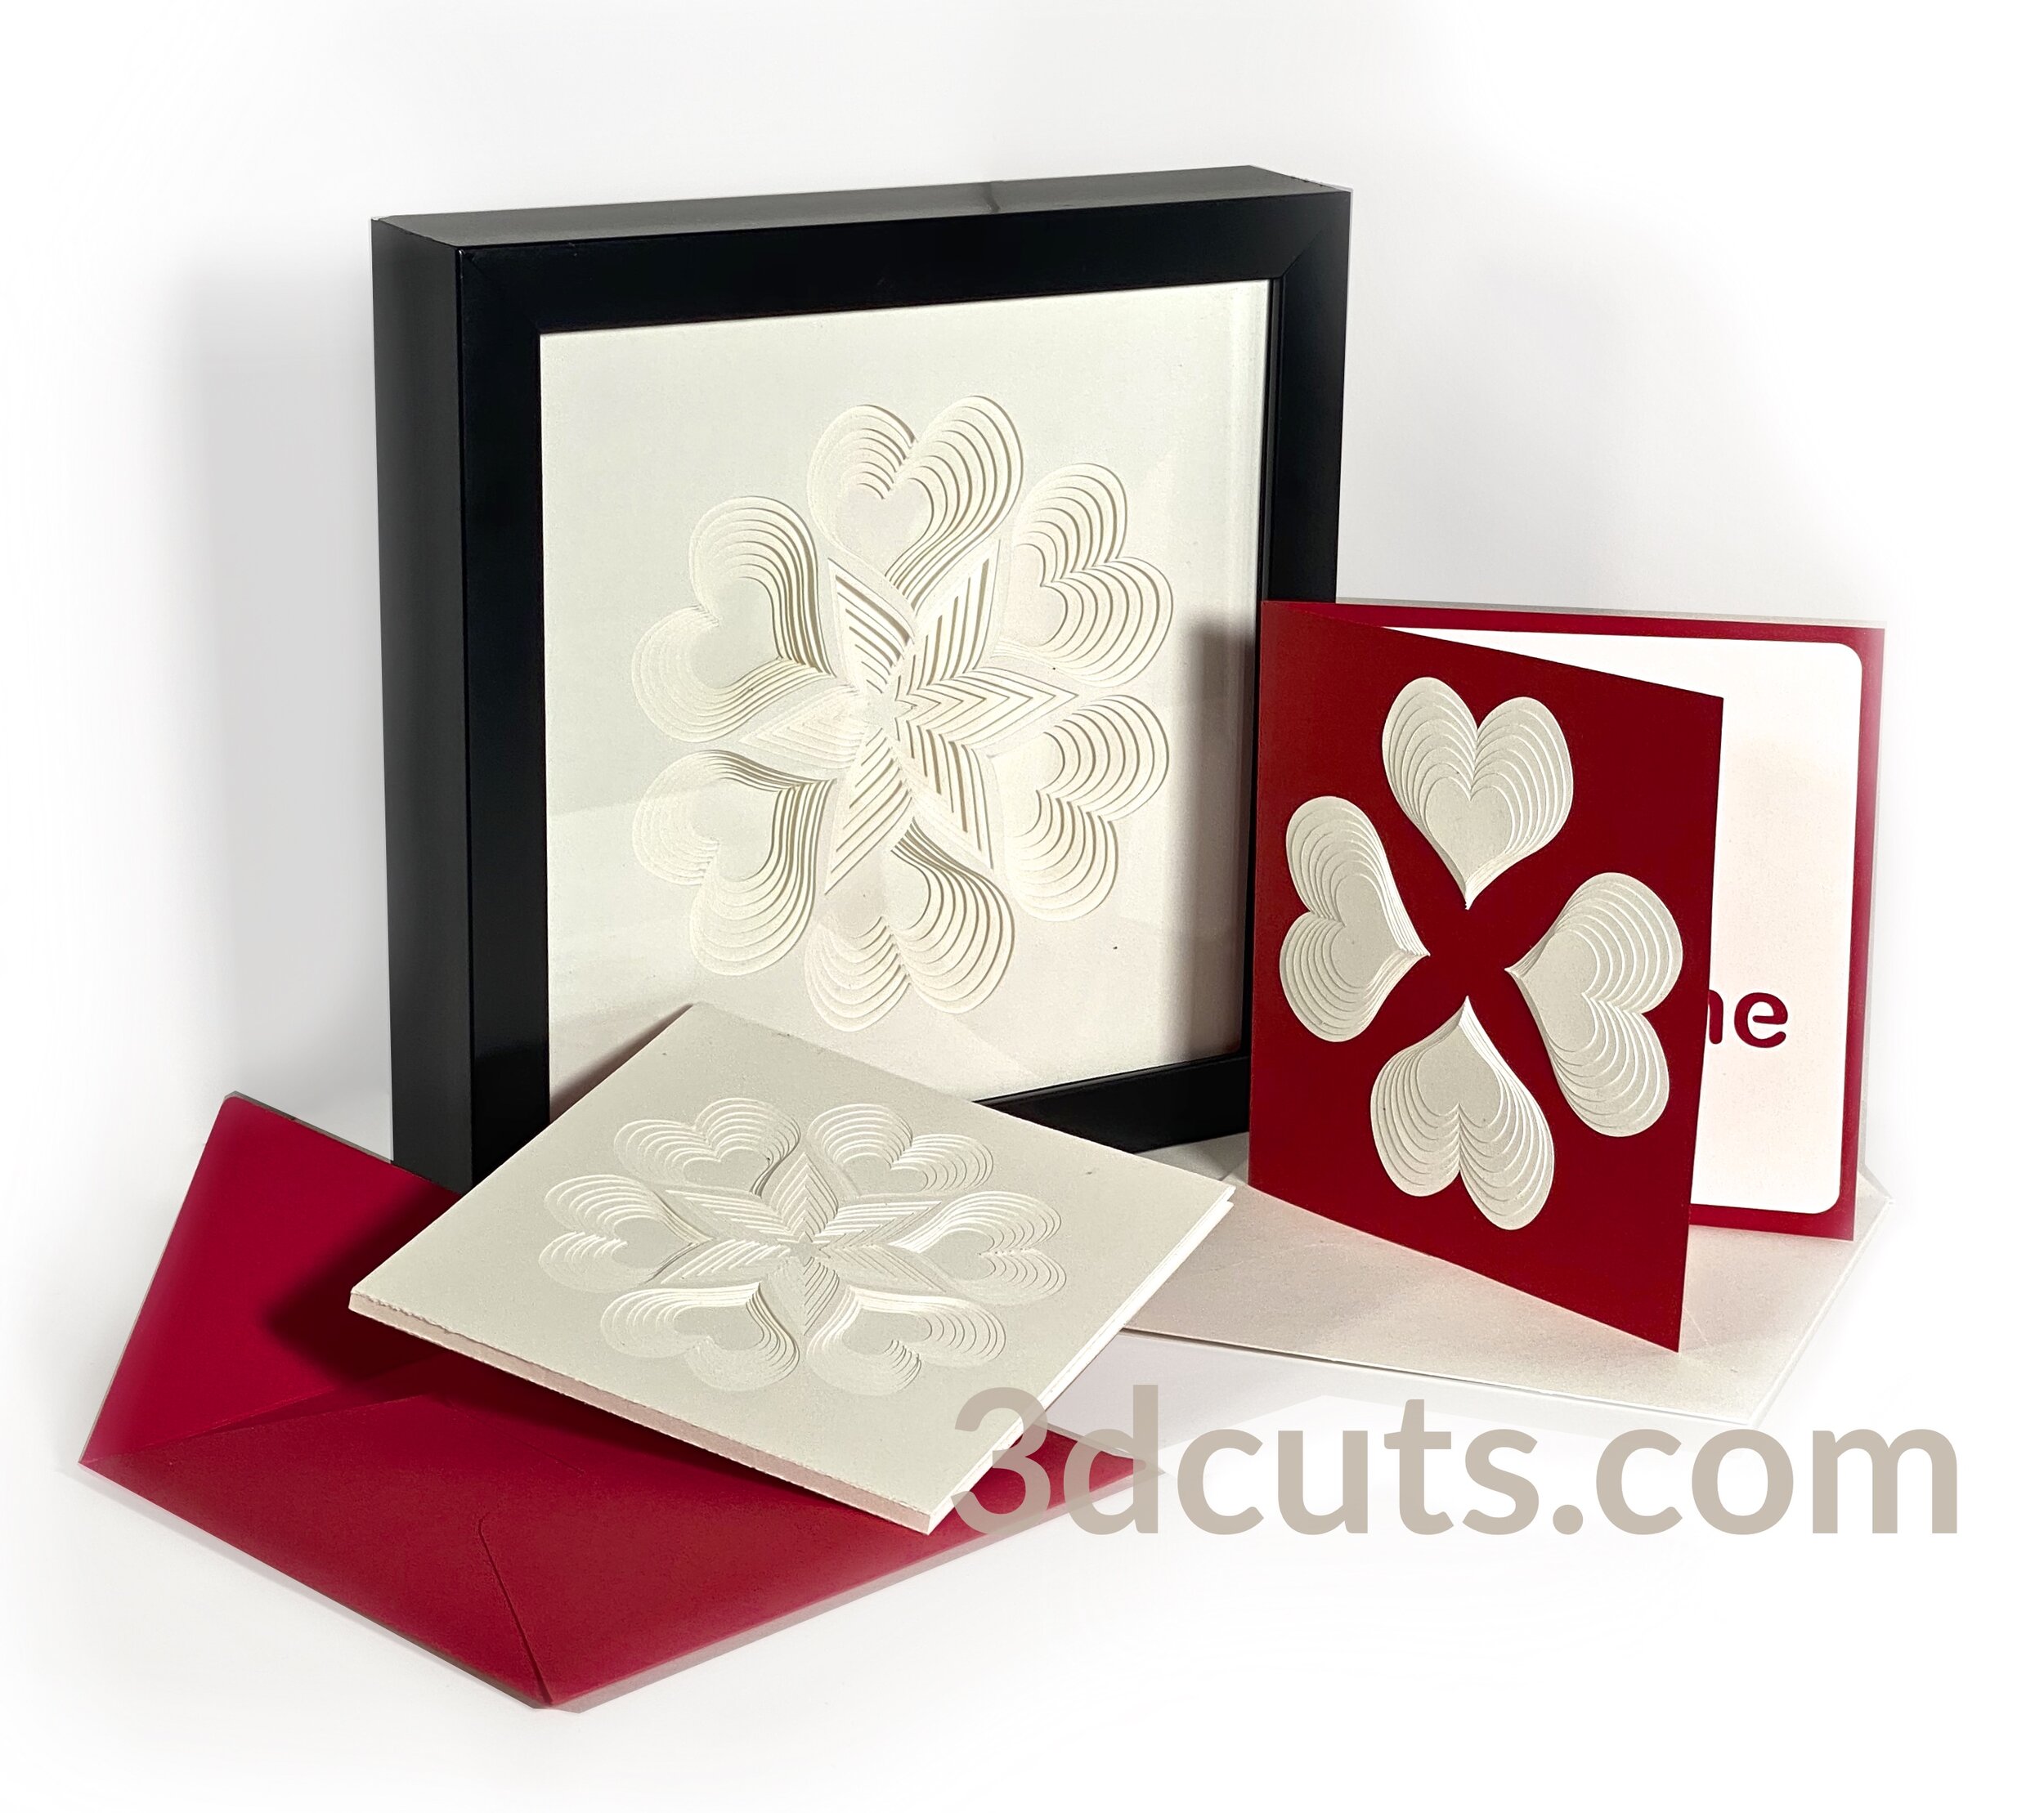
Here is a series of Valentine projects for you to complete in card stock all based on the stacked heart design element. The series includes two cards and a framed wall decor piece. This tutorial is for version 2 of the card shown at the right. There are additional tutorials for the other two projects listed below. There is also a cutting file for a matching envelope included in the download.
Cutting File available here from https://3dcuts.com/heart-valentine-projects/stacked-heart-set
Tutorial for the framed wall decor is here. https://3dcuts.com/stacked-heart-wall-decor-tutorial
Tutorial for the v1 Valentine is here. https://3dcuts.com/stacked-heart-card-v1-tutorial
Supplies needed:
Order supplies from Amazon:
(Affiliate links work for USA customers only. Other countries will need to search in their local Amazon for the products.)
Cutting File available here from 3dcuts.com.
Card stock - I used the 65lb Cardstock Neenah from Amazon - affiliate link below- for the white.
Card stock - colored I used Michael’s Recollections card Stock 1 piece 12 x 12 is needed for the envelope. 1 piece red 5.25 x 5.25 is needed for the card. 1 piece white 5.25 x 5.25” is needed.
Adhesive - Art Glitter Glue
Folding Board (optional)
Major Parts Sizes - as download.

Keep grouped for sizing: Measurements match the grouping and orientation in the diagram below. Measurements maybe needed if using dxf files. After re-sizing you can re-arrange for optimal cutting.
Card base with sentiment • 5.25” W x” 10.6306”H
Each of the 7 layers separated • 5.25” W X 5.25” H
Also on your paper cutter cut the following:
1 piece of red card stock 5.25 x 5.25”
1 piece white card stock 5.25 x 5.25 “ square.
Envelope • 11.353” W x 11.4006” H
The download will include the 7 layers of the card in one stack as shown to the right. You will need to separate those in 7 different files as shown below. You can arrange then 2 on each 8.5 x 11 sheet or 4 on a 12 x 12” sheet of card stock.

Steps for completing the Stacked Hearts Valentine v2:
Special Note: I update the instructions online. Check here for adjustments and additional information.
1. Download the cutting files for your cutting machine here from the 3dcuts.com store. https://3dcuts.com/heart-valentine-projects/stacked-heart-set . For those of you that are reading this as a pdf I recommend viewing it online at my tutorials page at this url. https://3dcuts.com/stacked-heart-card-v2-tutorial There all the links will be live.
2. Load the files into your cutting software following the steps for your cutting machine.
For the Silhouette:
SIL Files from uploaded SVG purchased from 3dcuts.com:
The SVG files may need to be turned into cutting files. Click here for detailed steps on how to use SVG files on your Silhouette. http://www.3dcuts.com/tutorial-upload-svg-silhouette
DXF files can be opened in the basic edition of Silhouette Design Studio but often require modifications. I recommend using the Designer Edition and using svg files. DXF files do not always maintain file sizes and you may need to adjust according to sizes noted above.
For Cricut Explore: Here is a guide for importing into Cricut Design Space. http://www.3dcuts.com/tutorial-adding-3dcuts-files-to-cricut. Remember to ATTACH files before cutting in Cricut. T
For Brother ScanNCut: The svg files will need to be transferred to files for your particular machine. You can change SVG files to FCM files at http://www.canvasworkspace.com/ or Google "How to import SVG files into a ScanNCut" for links to tutorials. Some models of Brother Scan N Cut can directly import the SVG files. Some files are on 12” mat so you may need to select 12 x 24” mat for correct sizing.
3. Cut the files.
It is best to have good quality card stock and a good blade and clean, sticky mat. I use the Premium blade and the Nicapa mat.
I use the dotted score line as a fold line. I do not have a cutter that can score.
4. Assembly
The assembly steps are detailed in the video below. Here is the YouTube url https://youtu.be/zoRg0ygwAn8.
5. Share
I love to see your finished projects. Please send photos to me at marji@3dcuts.com or share your photos on facebook, facebook crafting groups, pinterest and instagram.
6. Mail
Who will you send it to? This card will require extra postage in the USA because of its shape.
Other Valentine projects from 3dcuts.com:

Valentine Garden Zig Zag Card 3dcuts.com

Heart Apple Tree • 3d project by 3dcuts.com
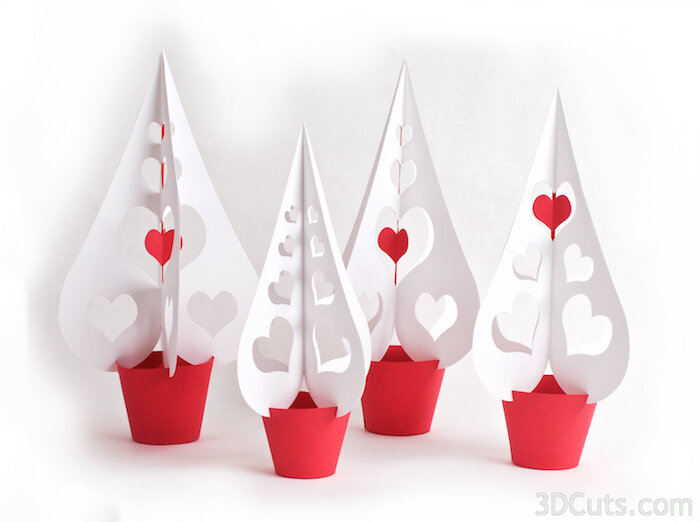
Valentine Trees for centerpieces

3D foldable Heart Cube Car by 3dcuts.com

Heart Wreath by 3dcuts.com
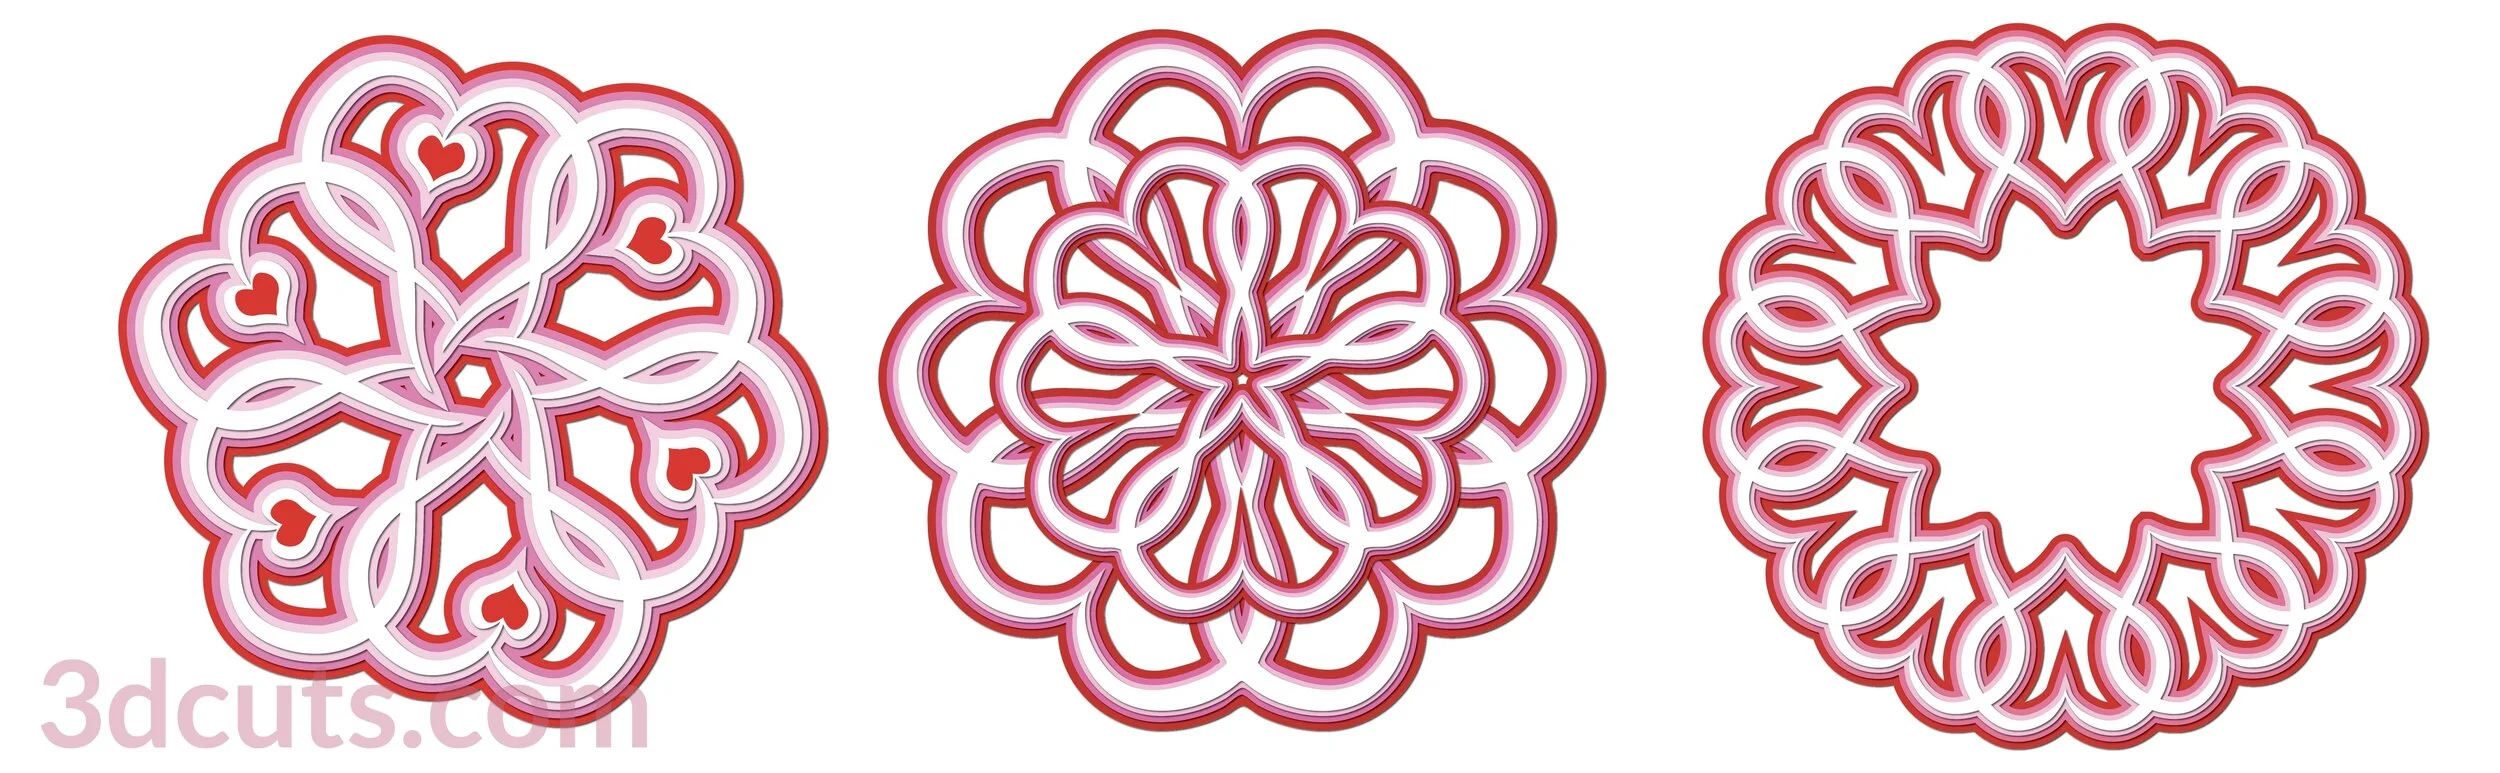
Heart Mandalas by 3dcuts.com
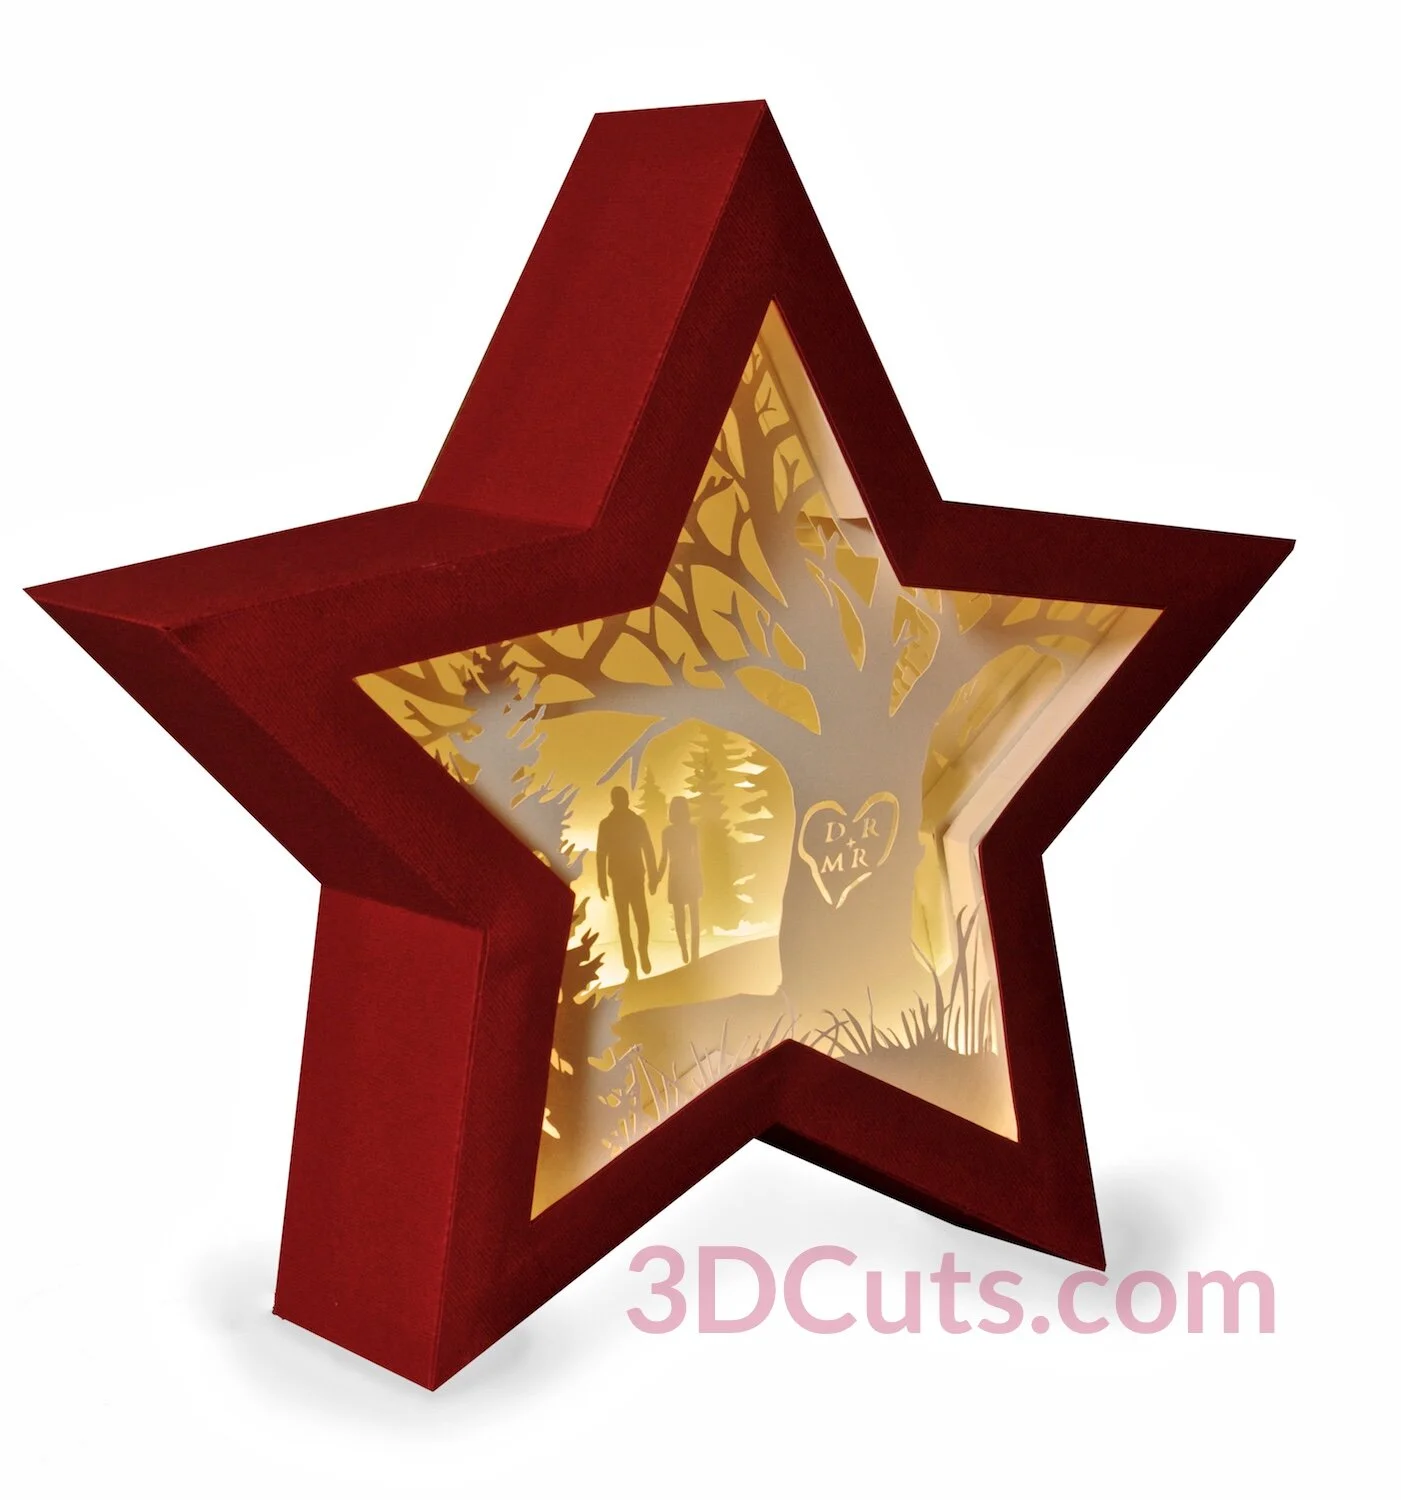
Heart Tree Shadow box Star Format by 3dcuts.com
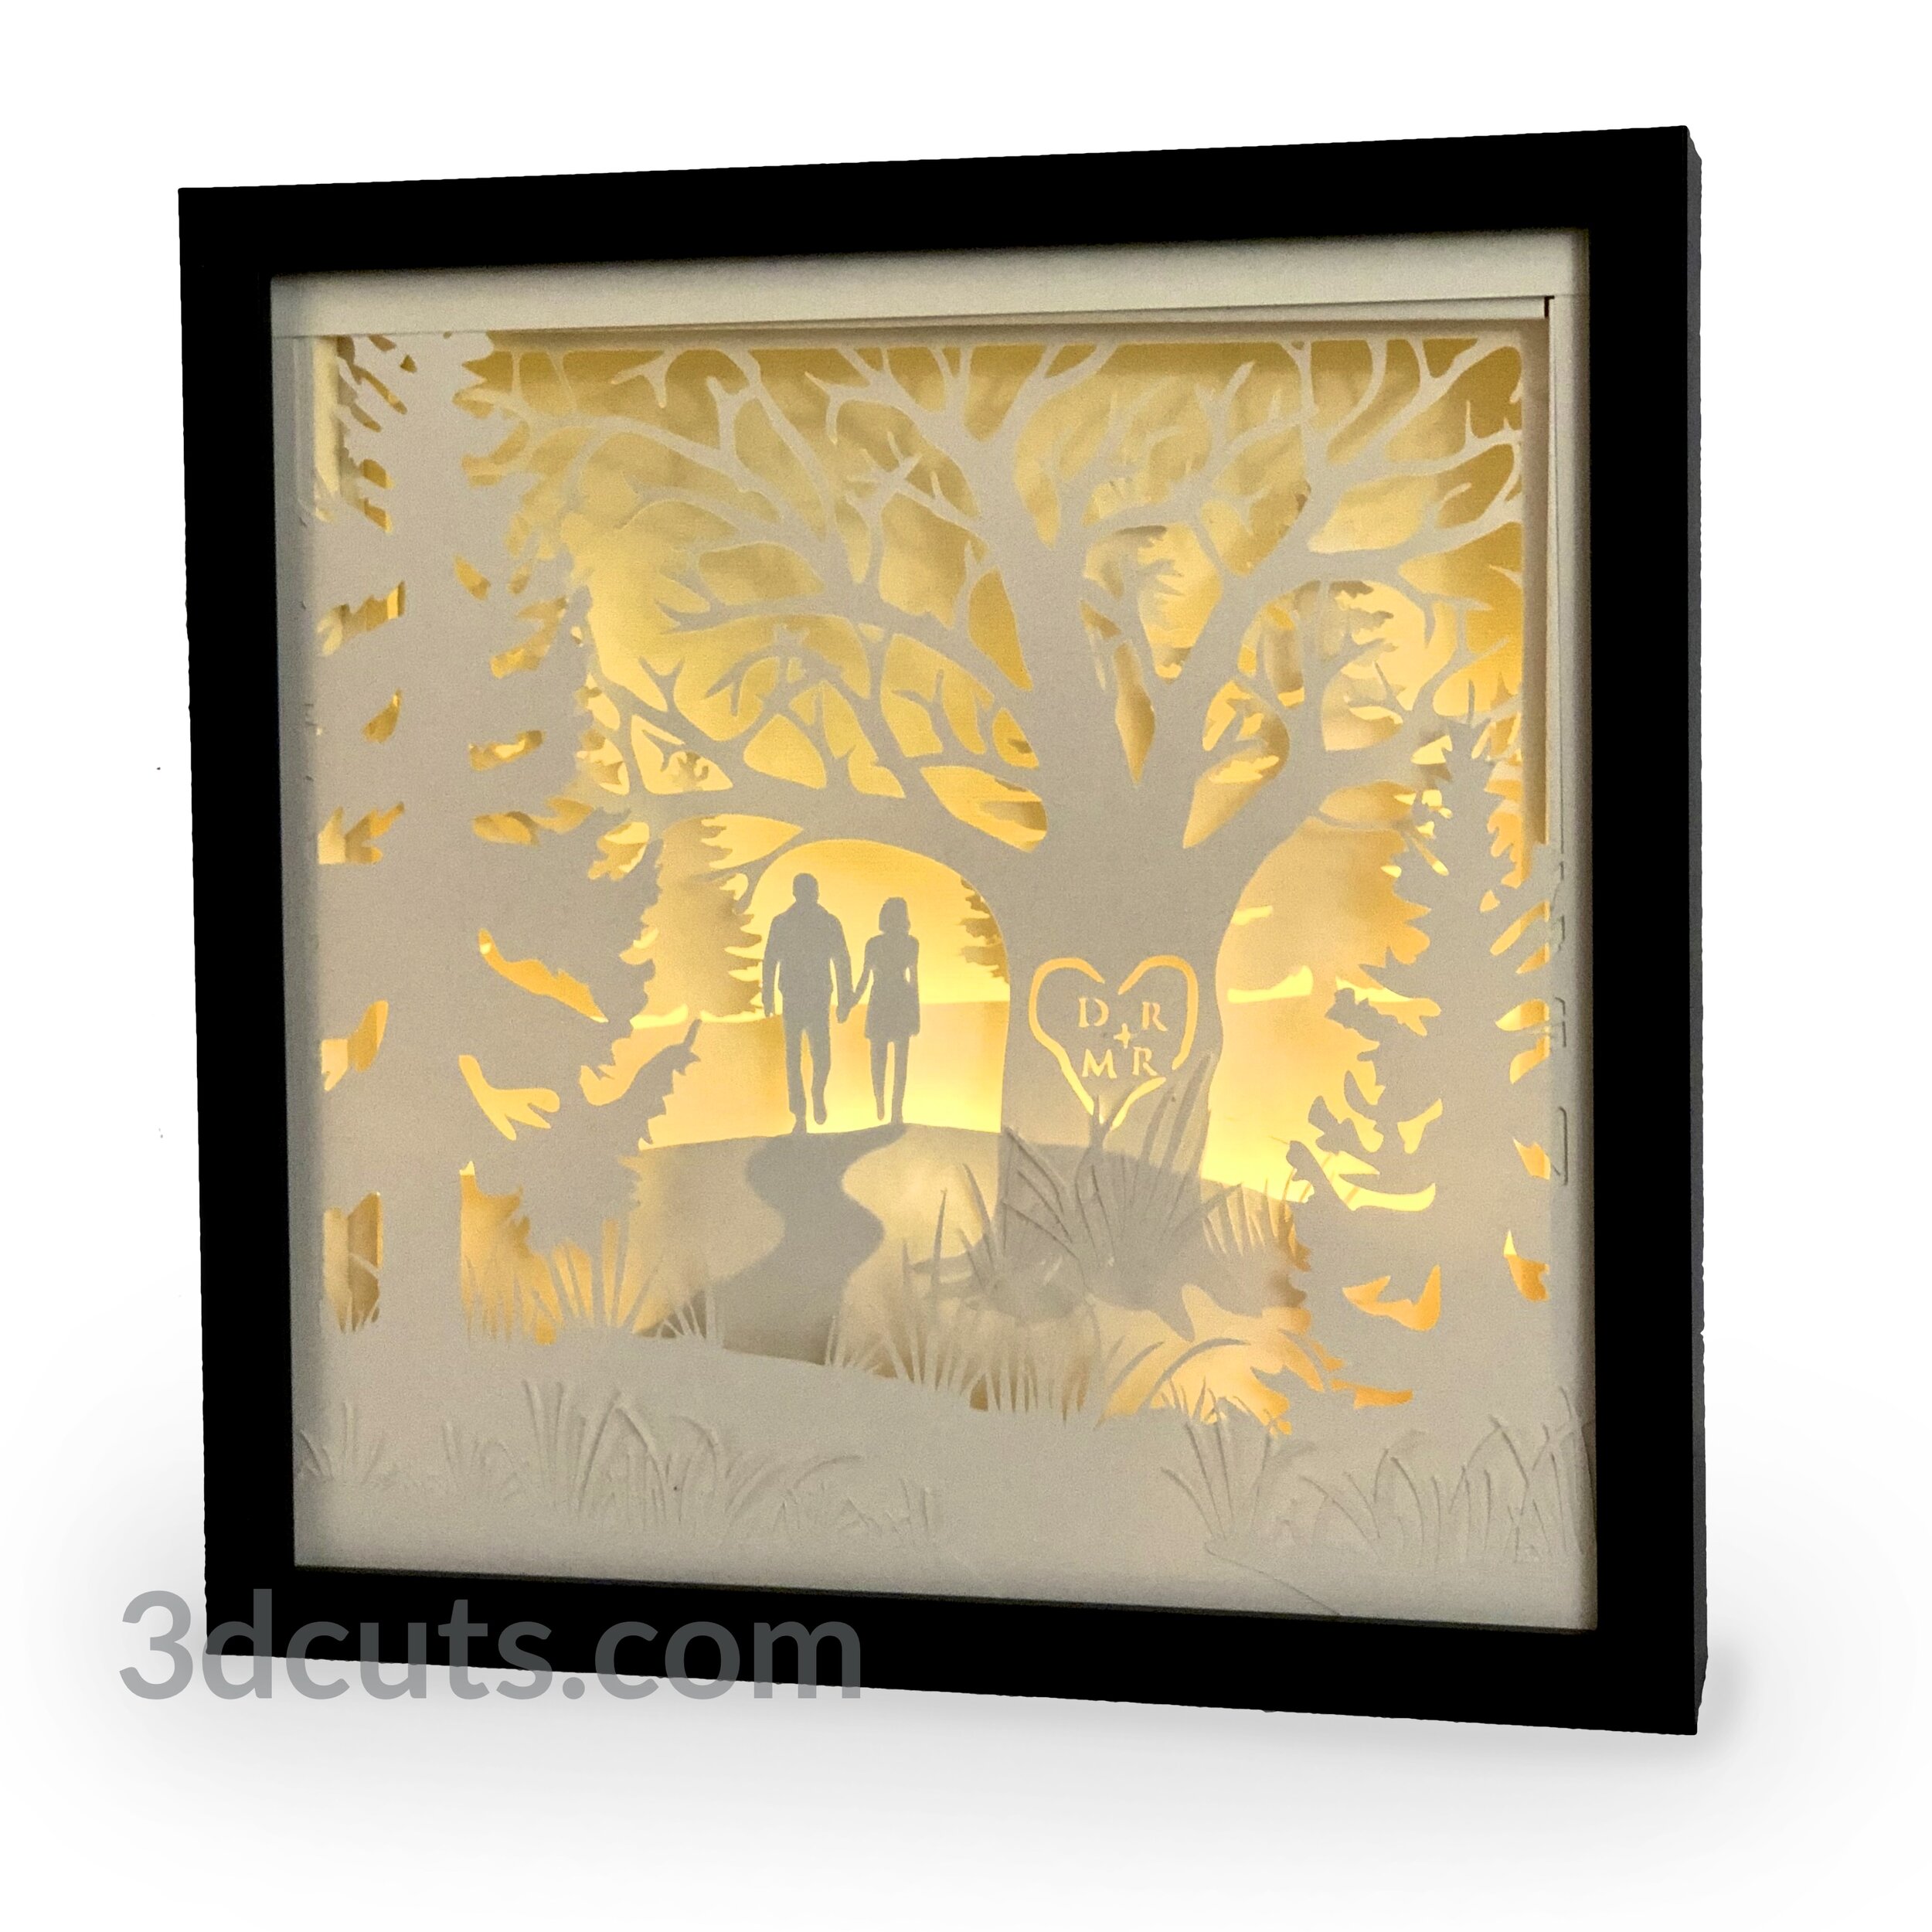
Heart Tree Shadow Box Square format by 3dcuts.com