3D Haunted Casket Tutorial
Project Description
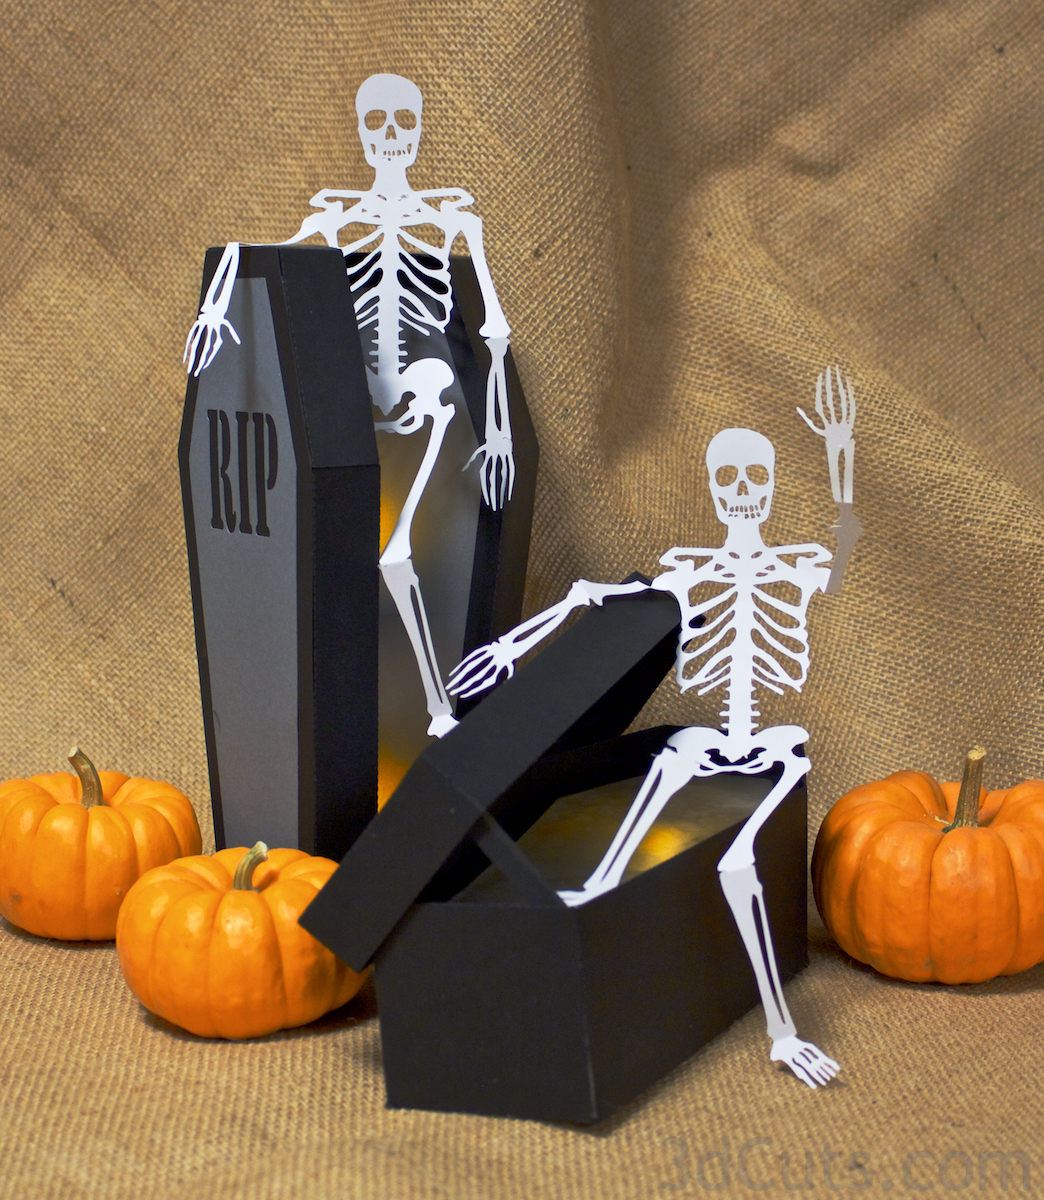
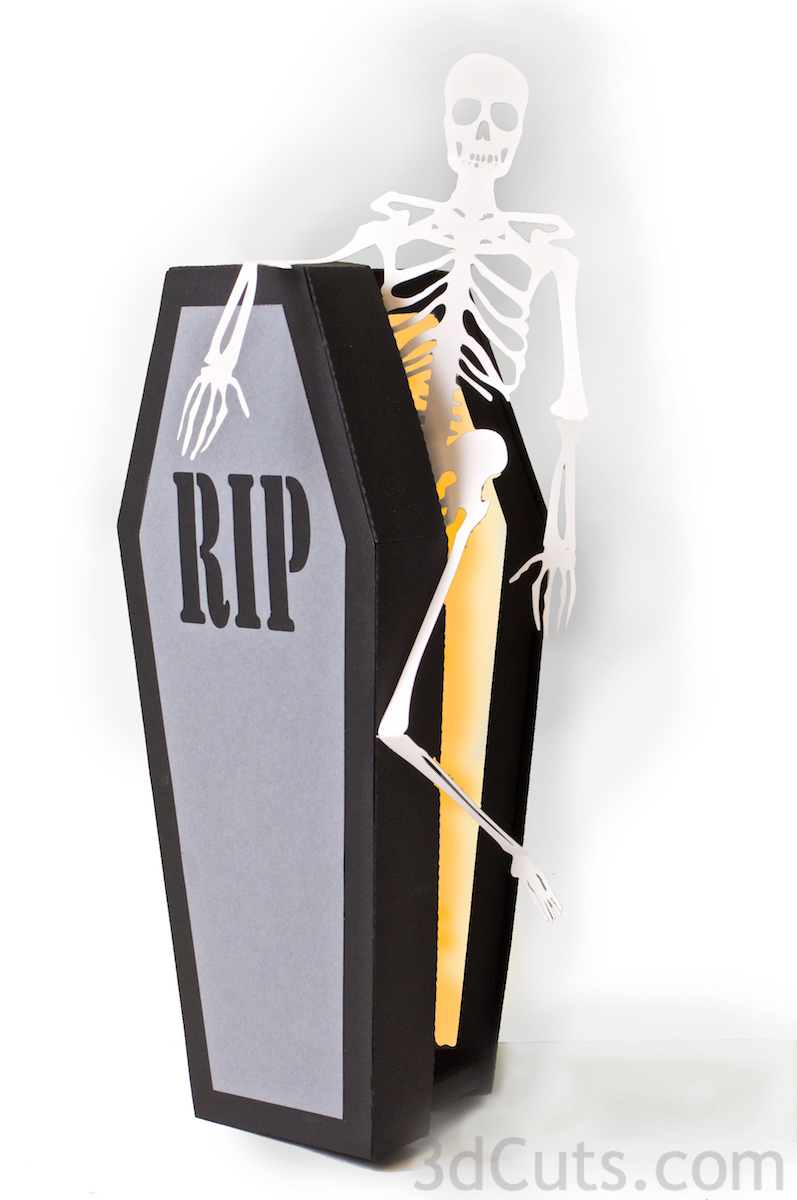
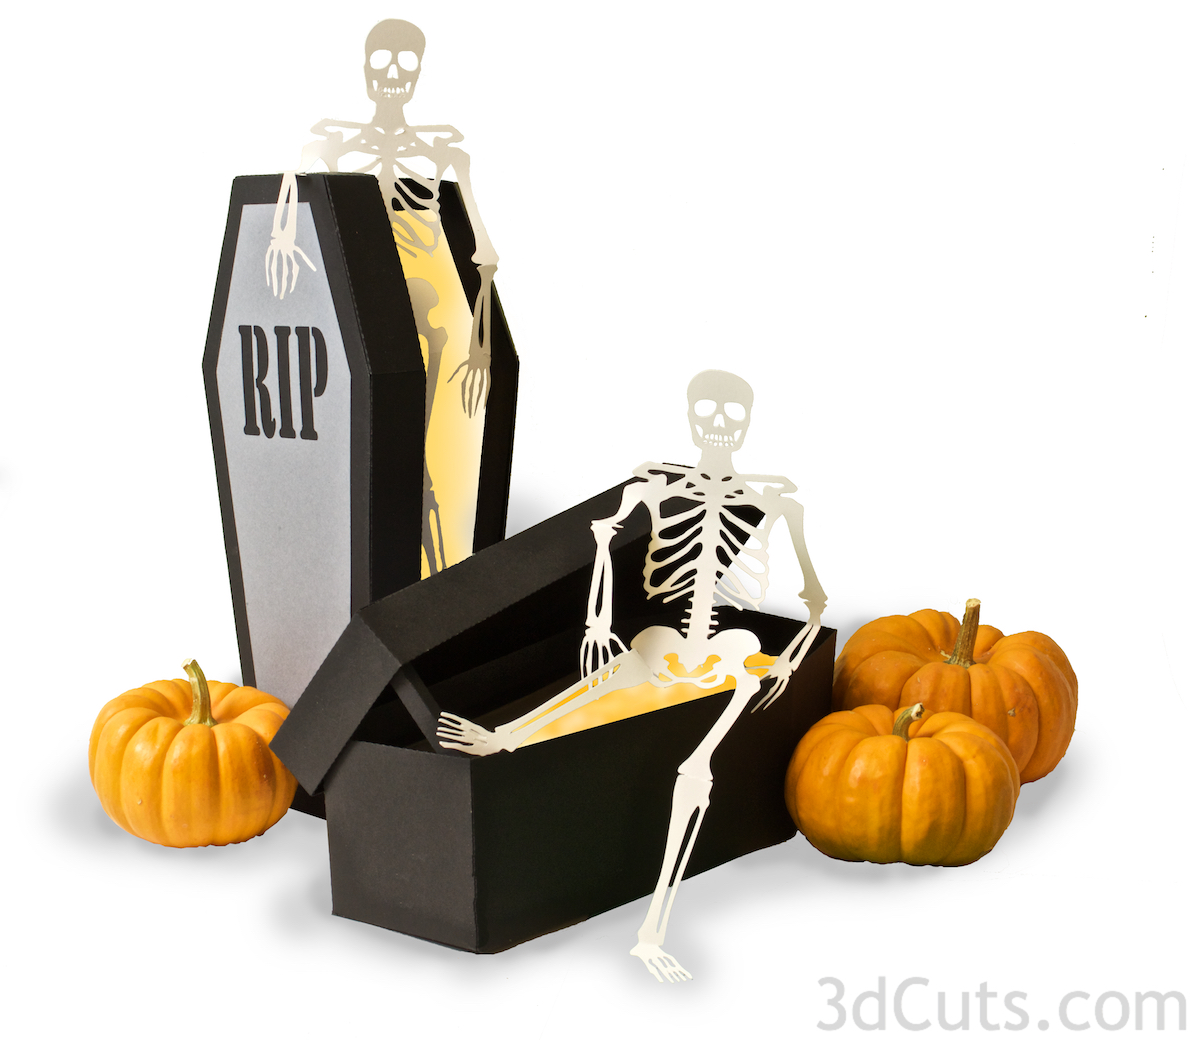
This tutorial is for the 3D casket with skeleton designed by Marji Roy of 3dcuts.com. The 3d Casket has an opened lid with an escaping skeleton that can be positioned in any number of ways. What better decor for your Halloween table or mantle? And this scary scene is subtly illuminated by two optional LED tea lights.
It is designed to be displayed either vertically or horizontally (or paired together with both). The casket stands 9.5" tall when complete.

Supplies Needed:
- Cutting File available here from 3dcuts.com here.
- 8.5 x 11" card stock - I used the 65lb Cardstock from Recollections. Each casket takes 8 sheets of black plus 1 sheet of gray. The skeleton requires 1 sheet of white card stock.
Vellum or wax paper (1 sheet)
Adhesive - I use Tomboy Permanent Tape Runner, Scor-Tape, Aileen's Tacky Spray, and glue dots although other adhesives would work.
- Scotch tape - both removable and permanent.
- Optional LED Tea Lights
Steps for completing the shadow box:
1. Download the cutting files for your cutting machine from the 3dcuts.com store. Link here.
2. Load the files into your cutting software following the steps for your cutting machine.
3. Prepare the files:.
- For the Silhouette: The SVG files from this site will need to be turned into cutting files. Click here for detailed steps on how to use SVG files on your Silhouette. http://www.3dcuts.com/tutorial-upload-svg-silhouette
- For Cricut Explore: Here is a guide for importing into Cricut Design Space. http://www.3dcuts.com/tutorial-adding-3dcuts-files-to-cricut
4. Cut the files.
- I used black card stock for the casket but you certainly can be creative with choices here.
- Each of the casket tops and bottoms (those pieces shaped like a casket) need to be cut twice. The RIP piece only once.
- The skeleton has fine lines. When cutting fine lines I find it best to have a good blade, and a good mat. I switched to the Silhouette Premium blade and had no trouble cutting the fine lines of this design. I also save mats at the perfect stickiness for fine cutting. A slightly seasoned mat will be too sticky and an over-used mat isn't sticky enough.
- Also when removing the skeleton from the mat, always turn it paper side down and curl the mat off the paper. Use a spatula to carefully separate the two. Fine lines can tear if you remove it with out care.
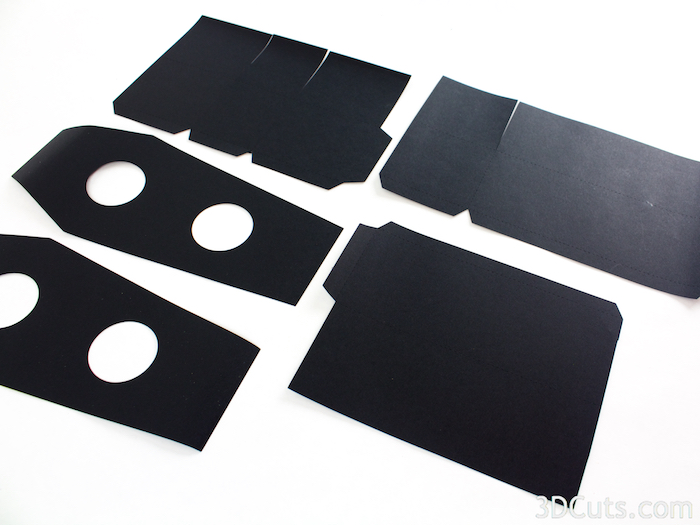
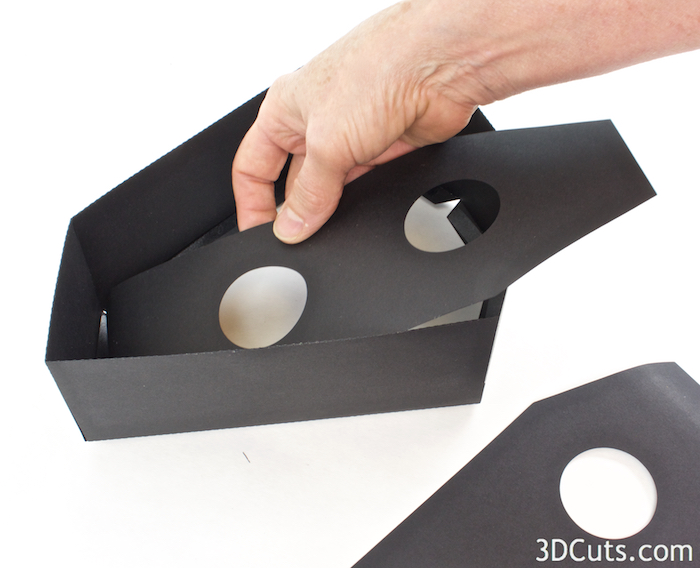
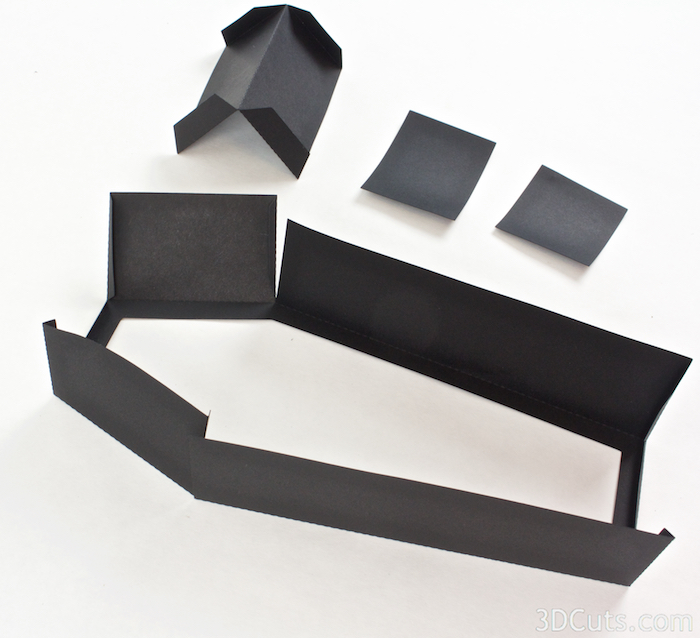
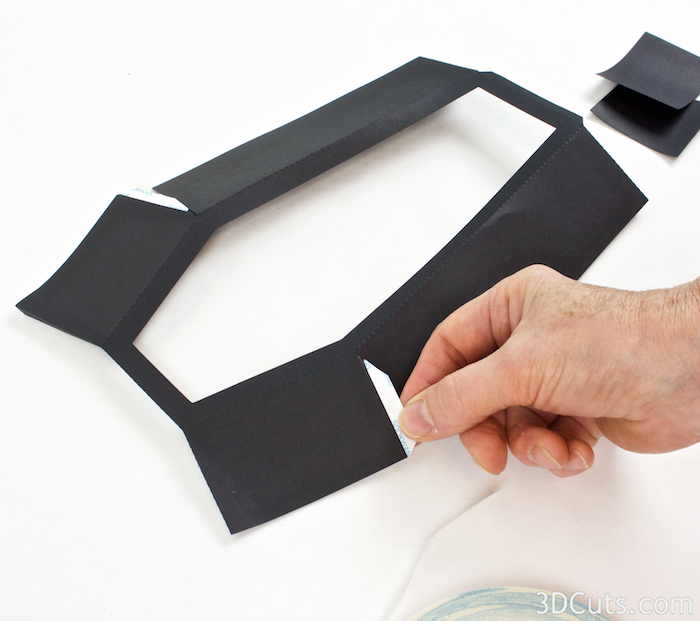
5. Assemble the casket base.
- The casket base is made up of the 5 pieces shown in the photo above. This includes 3 side pieces and two base pieces with the double holes.
- Make sure that you have them positioned correctly. If you flip one over, you will not have a tab in the correct location. Position them so each of the 3 pieces has a side tab out to the right and the bottom tabs toward you. The parts with angle sides are the tabs.
- Arrange the pieces with the long 2 tabbed piece on the left, the 3 tabbed piece in the middle and the single tabbed piece on the right.


- Fold all the of the base pieces on the dotted fold lines. All the folds go in the same direction toward what will be the inside.
- Again arrange them as shown above.
- Fold back each of the side tabs and place a strip of Scor-Tape or other permanent adhesive along the outside of the tab.
- Keep the pieces arrange with the long 2 tabbed piece on the left, the 3 tabbed piece in the middle and the single tabbed piece on the right.
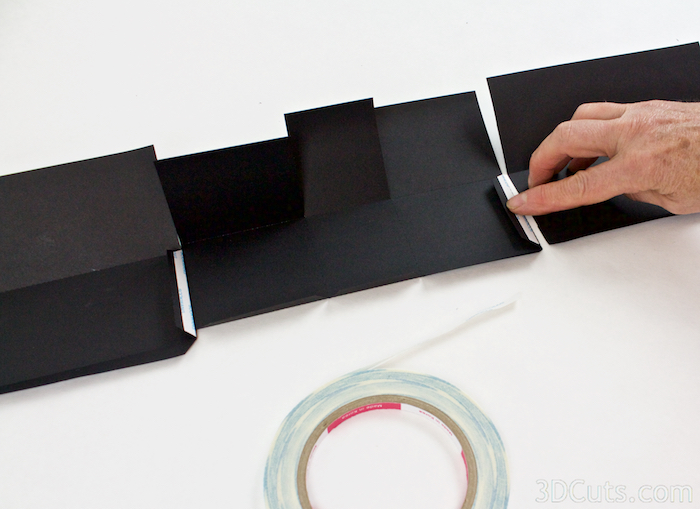

- Attach the sides to each other.
- Peel the backing tape off the Scor-Tape on the double tabbed piece and adhere that to the non-tabbed end of the triple tabbed piece. The tab is to stick to the inside of its neighbor aligning the edge of the non tabbed piece with the dotted line of the tab.
- Repeat this with the side tab on the right of the triple tab piece adhering it to the left of the short, single tabbed piece.
- Do not adhere the last tab yet.
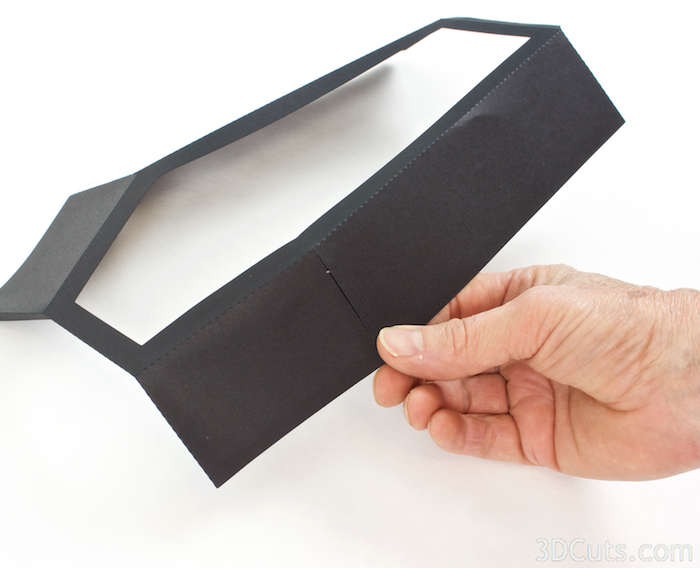
- Using a tape runner apply three strips of adhesive along the entire length of the middle portion of these connected pieces.
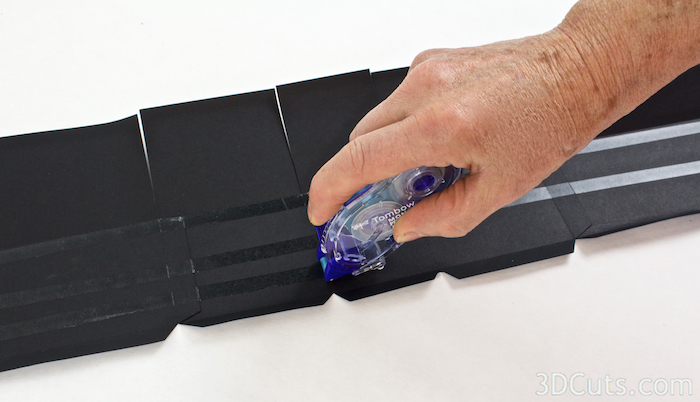
- NOTE: There are 6 upper rectangles. Do NOT fold the one on the left. Leave it open until you adhere the last tab in a following step.
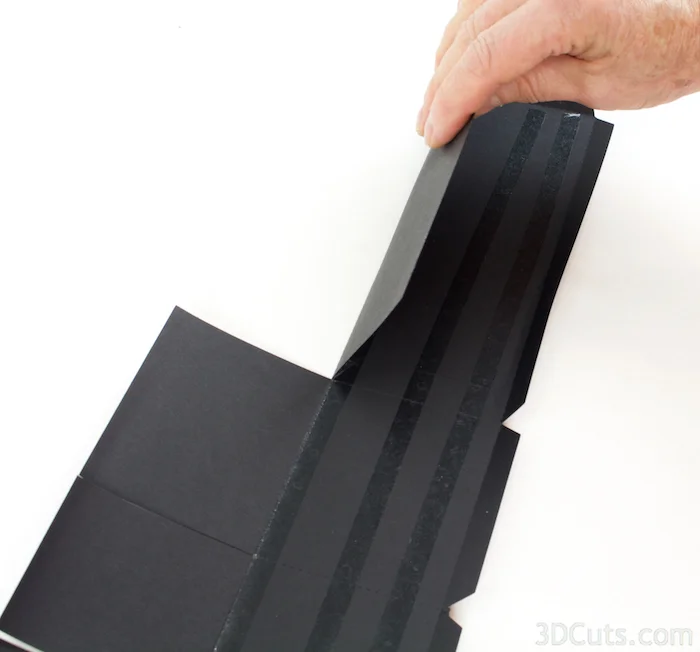
- Fold the large upper rectangle of each section down over the applied adhesive except for the first on the left mentioned above
- Press in place.
- This makes the walls of the casket double-sided for added strength.
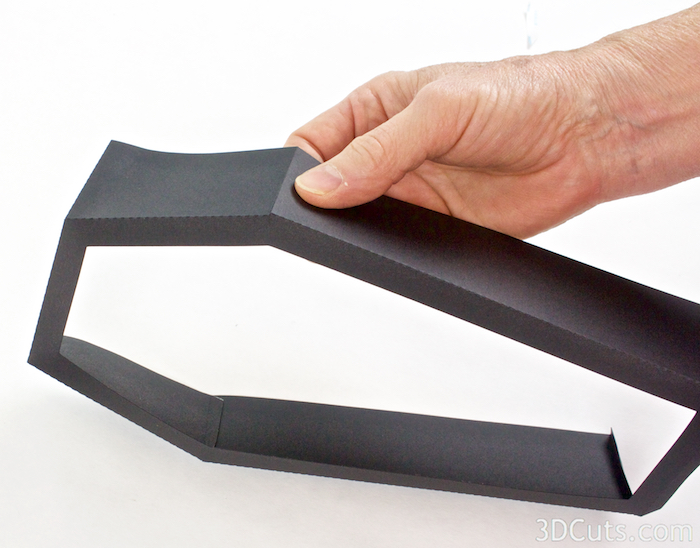
- Apply adhesive to the long tab along the bottom of each of the sections.

- Manipulate the piece with care now so that the tabs with adhesive don't stick to anything.
- Wrap the sides around so the tab on the right comes back and attaches to the beginning. Peel the backing off the Scor-Tape on this tab and adhere lining up edges to make the side walls of the casket. The end will align with the dotted fold seam.

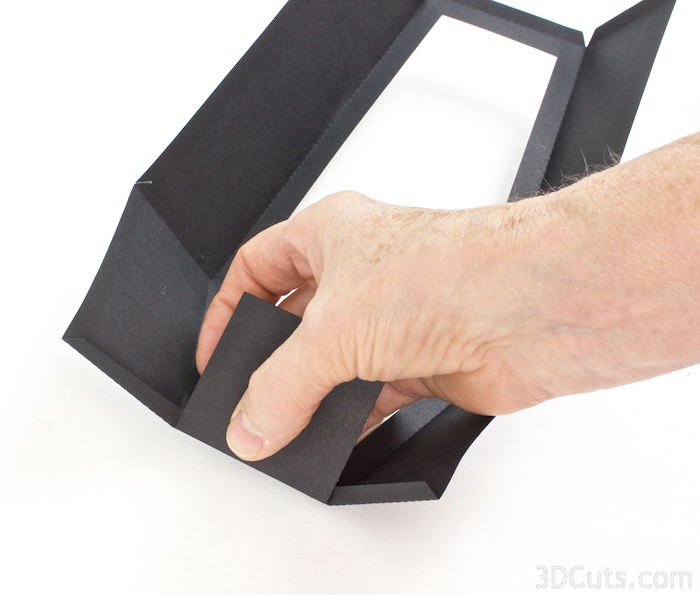
- Fold the last rectangle down inside and over the ta, finishing the sidewalls of the casket.

- Fold all the bottom tabs (which already have adhesive on them) in to the center.
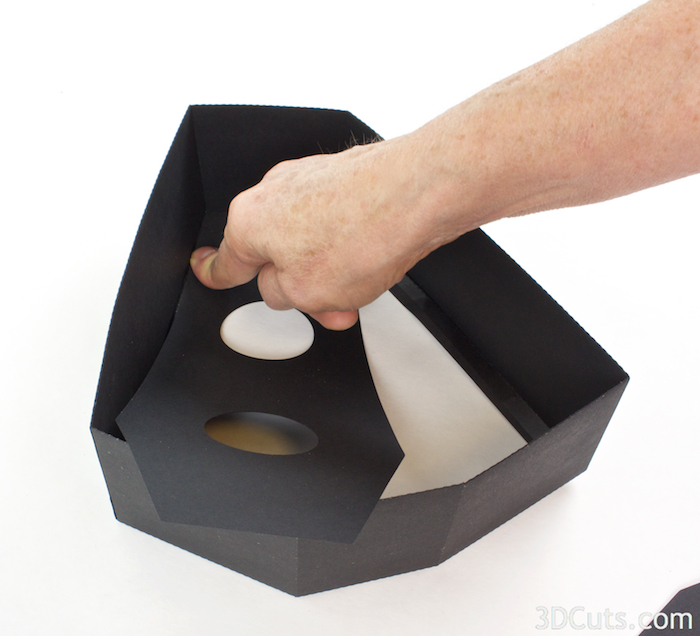
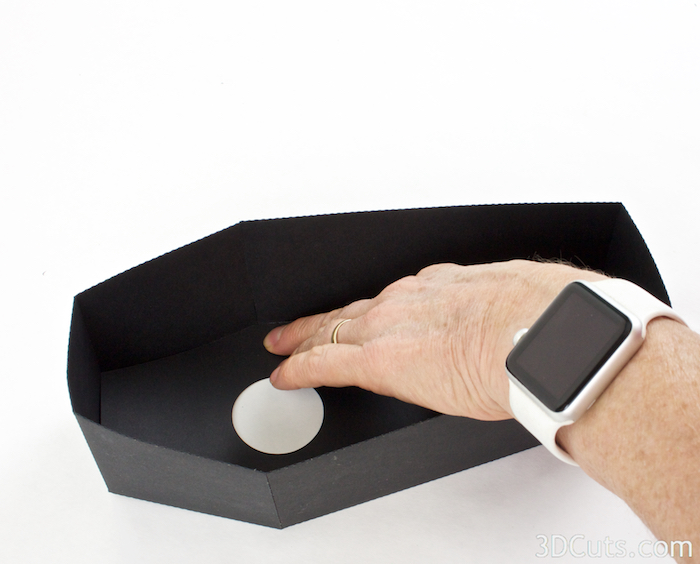
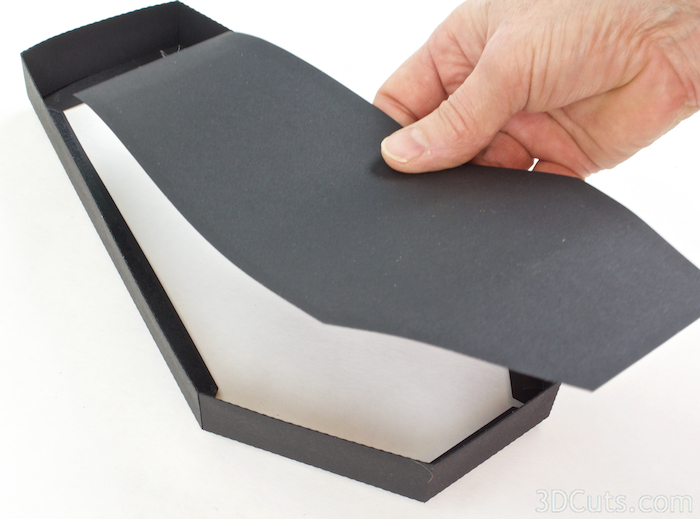
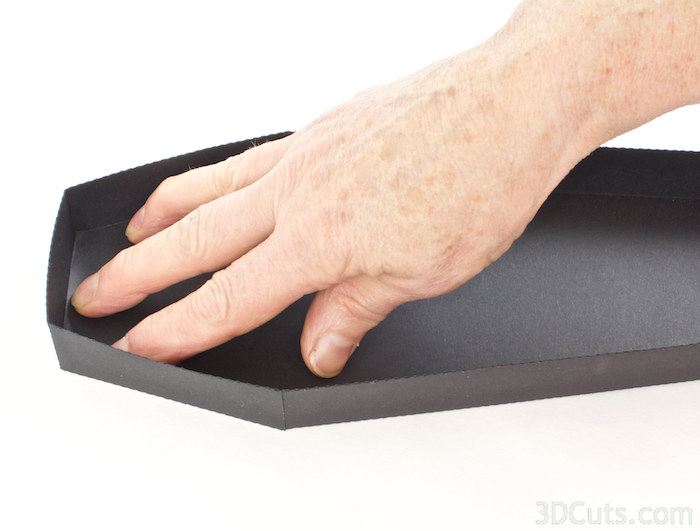
- Starting at the skinny base end place the bottom of the casket ( casket shape with 2 holes) onto of the inner tab. Align it perfectly with the folded seam and press the end in place. (View 1)
- Carefully press up along one of the long sides again lining it up with the folded seam. (View 2)
- Press up the opposite long side and then finish pressing the base in at the top. (View 3). It tends to want to flare right at the bend and you don't want that to happen. You want base to hold the sides in place.
View 1
View 2
View 3
- Press all the bottom seams well.
- Turn the casket over.
- Spray adhesive onto one side of the other base piece and adhere it to the bottom of the casket. Press in place.


- The bottom of the casket is complete.
6. Assemble the Casket Cover
- Make the top of the casket following the same procedure.
- The pieces needed are pictures on the right.

- Again, line up the pieces with the long one on the left. the 3 tabbed piece in the middle and the smallest on the right. Side tabs on each piece should be on the right side and bottom tabs all on the same edge toward you.

- Fold up toward the inside on all dotted fold lines.

- Apply Scor-Tape to the outside of all short end tabs (not long edge tabs).

- Again, verify the 3 pieces are in the correct position from left to right, and glue the first piece to the second, and the second to the third along the short edge.
- Keep things square and in a straight line.

- Run two strips of adhesive along the entire middle section of each portion.

- Fold over all larger rectangles EXCEPT the first on the left.
- Add adhesive to each of the bottom tabs.

- Fold the end tab back around to the beginning edge.
- Peel off the backing tape of the Scor-Tape and adhere being sure to keep things square.

- Fold down that last rectangle side wall into the center space and press in place.

- Fold all the bottom tabs with adhesive in toward the center.
- Place the lid base into the sides starting at the bottom edge and aligning that then working up the two sides and finishing at the top. Match the edges right up with the folded seam.

- Apply spray glue to the back of the RIP piece and center it on the top of the casket top. (View 1)
- Apply spray glue to the back of the lid top and attach that to the lid sides covering all the tabs. (View 2)
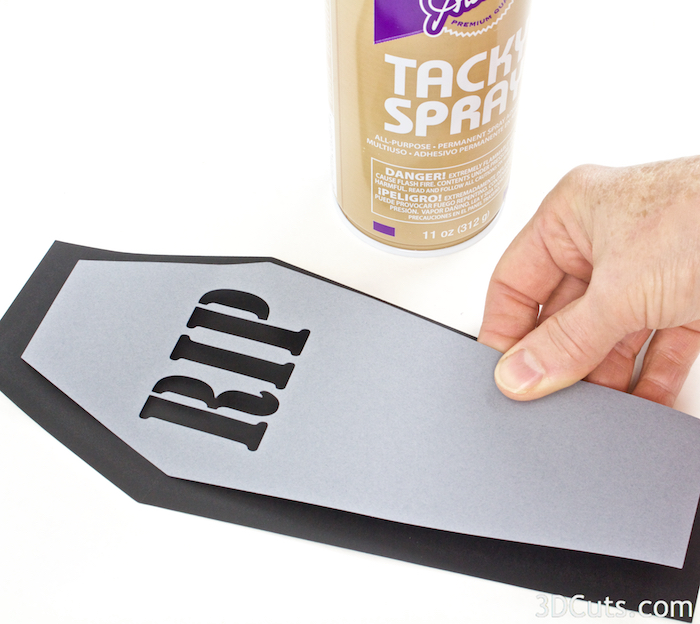
View 1

View 2
7. Build the casket insert.
- This piece creates a false floor in the casket under which you place LED tea lights to provide the inner glow.
- The four pieces of this are pictured.
- Folded all the dotted fold lines as shown.
- Apply Scor-Tape adhesive to each of the side tabs.
- Peel the backing off the Scor-Tape and glue the side seams together matching up the edge with the fold line.
- Apply Adhesive to the 2 short and 1 long side edges of the casket insert top. (View 1)
- Attach it to the three tabs on the top and two sides. (Views 2 and 3)

View 1
View 2

View 3
- Repeat the same with the insert base. Apply adhesive to three sides and attach to the tabs on the insert base.

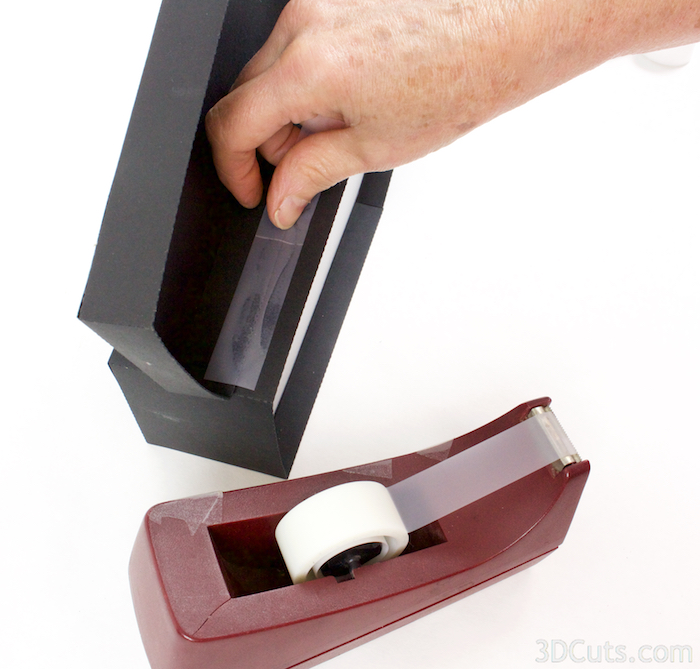
- Place the insert on a piece of vellum or wax paper and trace the edge.
- Cut this shape a little smaller than the tracing.
- Apply adhesive to the edges and glue it inside the insert.


- The last part of the insert is the inner shelf. This piece will hold one of the LED Tea lights if you are using the casket in a vertical position.
- Apply adhesive to the center (not the tabs) and fold in half.
- Fold the four tabs out.


- Put Scor-Tape on the 4 tabs leaving the backing in place.
- Position the shelf 4.5 inches up from the base inside the insert.
- Remove the backing of each tab and press in place.


8. Combine the insert, base and cover
- Place the insert inside the casket base and push it to the back.
- You can use a few glue dots to glue it in place.


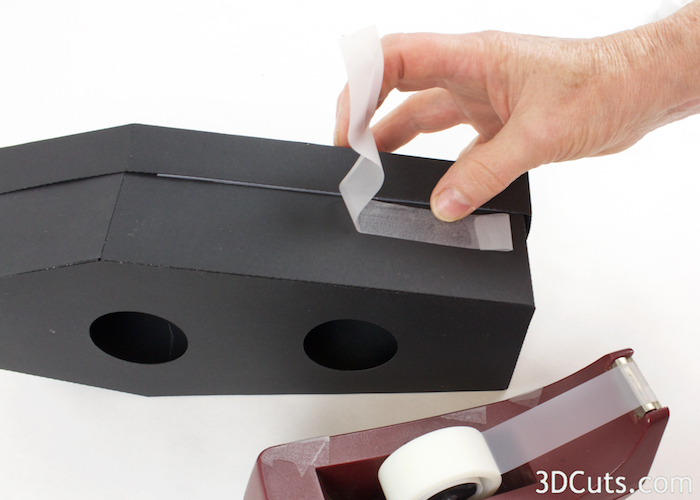
- Put the cover on the casket and using REMOVABLE temporary scotch tape, tape a temporary hinge along the long edge.
- This is just to provide placement for applying an internal tape hinge.

- Carefully open the casket along the temporary external hinge.
- Apply permanent scotch tape on the inside to be the internal hidden hinge.
- Remove the temporary tape on the outside of the casket.
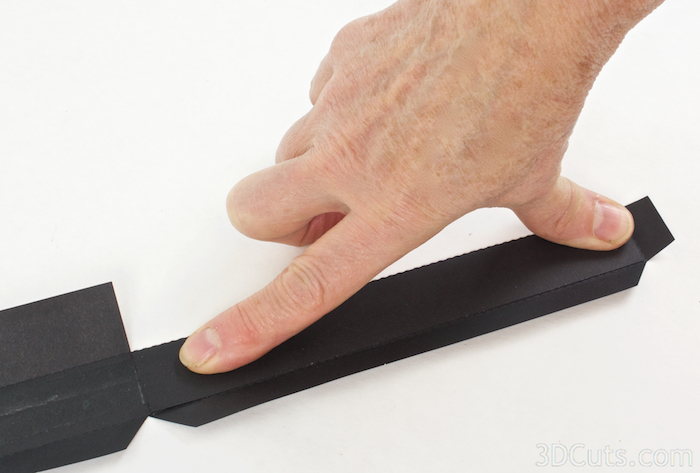
9. Insert the post.
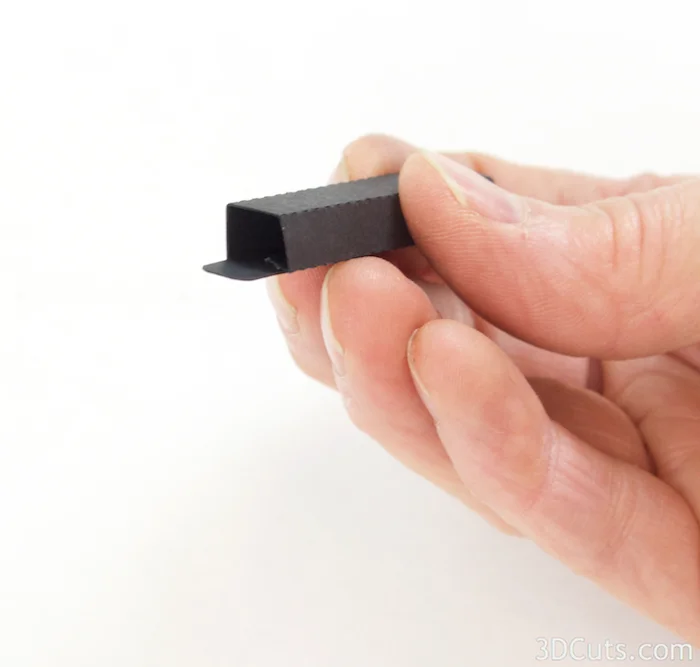
- The final casket piece is the optional post for holding the casket open.
- Fold it on all dotted fold lines. All folds go in the same direction.

- Apply adhesive to the long tab.
- Fold it around itself creating a square post and adhere.

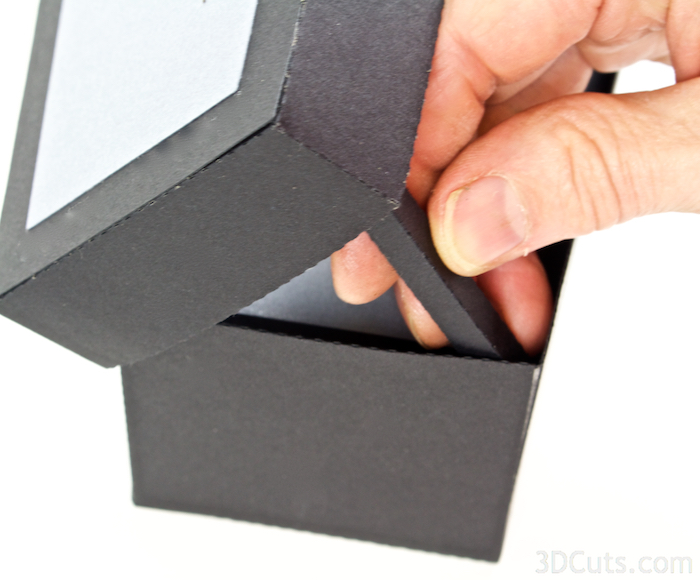
- Apply glue dots to the small tabs on the post and glue it into the lower corner propping the casket lid open.
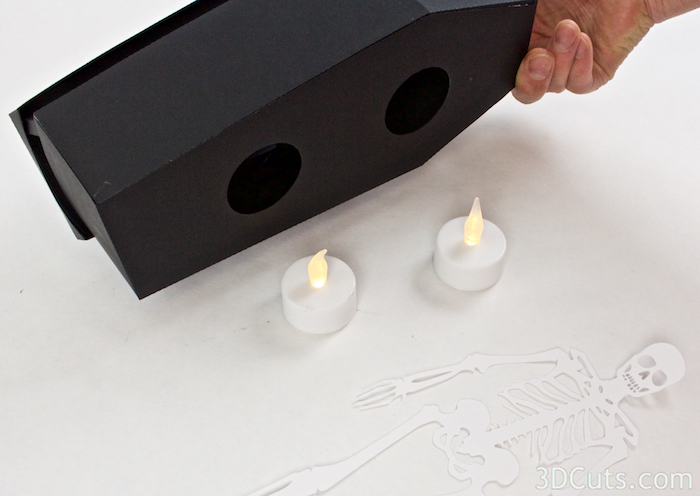
10. Add LED Tea Lights.
- f you will be displaying your casket in a horizontal position, just place the two LED Tea Lights (NO CANDLES) on the table and place the casket over them.
- If you are going to be displaying it vertically then insert the two LED tea lights into the holes and position them inside.

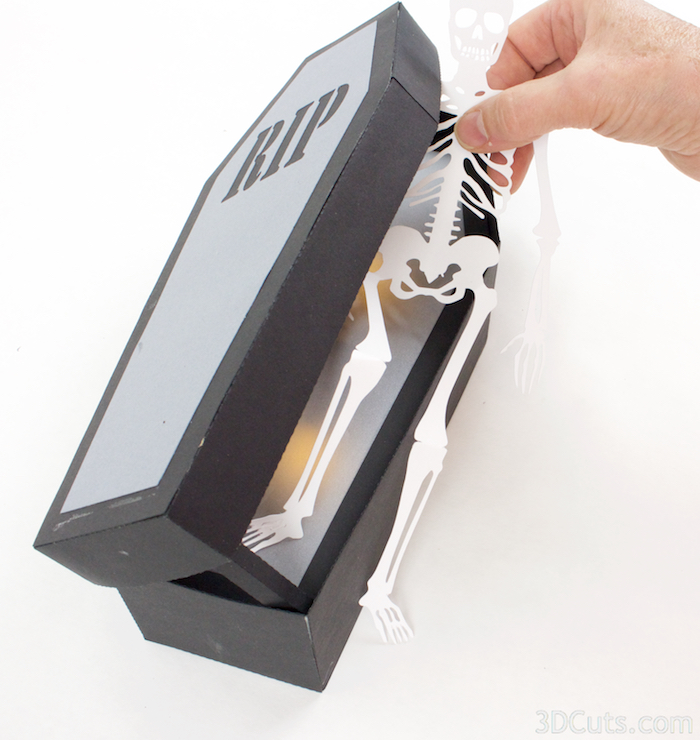
11. Add the skeleton.
- The casket is complete. Now the fun begins as you pose the skeleton emerging from the casket.
- Bend his arms and legs and manipulate him into different poses.
- Use glue dots to hold him in place once you have a pose that you like.
- It will be different for vertical or horizontal.