

Floppy Eared Bunny - Tutorial
Project Description
Here is a great beginner project. It is a simple and easy pattern to create adorable 3-D bunnies with floppy ears. Use print paper with a white backing to give a contrast to the design. The cutting file includes the grass accent file as well as the bunny in three sizes.
Construction techniques are basic beginner 3d techniques.
Cutting File available here from 3dcuts.com.
Supplies needed:
- Cutting File available here from 3dcuts.com.
- heavy patterned paper - not card stock
- green card stock for grass
- Adhesive - Glue Dots
Major Parts Sizes:
Sizes don't matter. Cut in a variety of sizes.


Steps for completing the Floppy Eared Bunnies:
1. Download the cutting files for your cutting machine here from the 3dcuts.com store.
2. Load the files into your cutting software following the steps for your cutting machine.
3. Prepare the files:.
- For the Silhouette: The SVG files from this site will need to be turned into cutting files. Click here for detailed steps on how to use SVG files on your Silhouette. http://www.3dcuts.com/tutorial-upload-svg-silhouette
- DXF files can be opened in the basic edition of Silhouette Design Studio but often require modifications. I recommend using the Designer Edition and using svg files.
- For Cricut Explore: Here is a guide for importing into Cricut Design Space. http://www.3dcuts.com/tutorial-adding-3dcuts-files-to-cricut
- For Brother ScanNCut: The svg files will need to be transferred to files for your particular machine. You can change SVG files to FCM files at http://www.canvasworkspace.com/ or Google "How to import SVG files into a ScanNCut" for links to tutorials.
4. Cut the files.
- The bunnies are cut from patterned paper and the grass is cut from card stock.

5. Assembly
- Each will fit on the 8 x 10 size mat. You can cut all three at once on a 12 x 12" mat.
- Cut the bunnies from heavy weight paper that can be curled. I purchased one of those big books of 12 x 12 papers for scrap booking. It had a perfect array of spring pastels in many prints and I went wild in the pink and purple section. From each sheet I could cut a family of bunnies.
- Once cut, I carefully peeled them off the mat.
- I then pulled each ear over the sharp edge of my craft table to curl the ears.
- You pull each ear over the edge with the print side of the paper down.


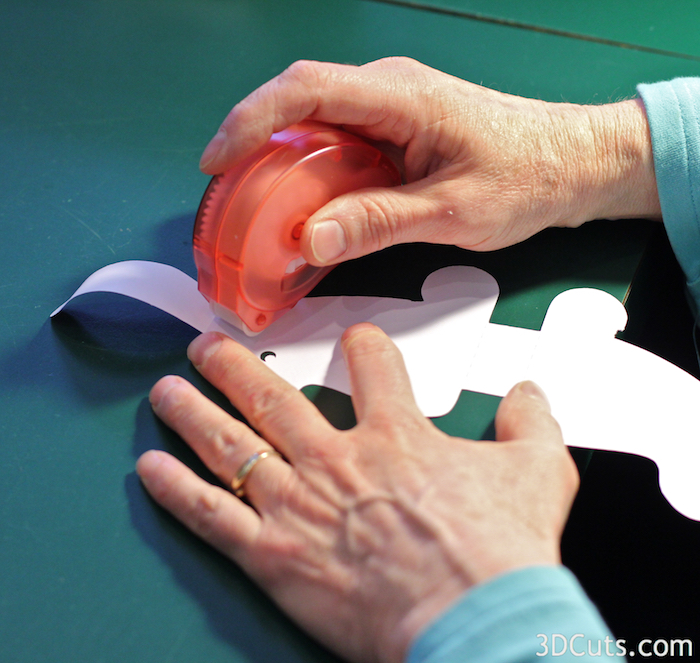
- Fold the bunny along its base on each side. The dotted lines are fold lines. This forms the spacer and support for the standing bunny.
- I then applied a glue dot in the center of the head right below the ears.
- And pressed the two halves together.

- And the bunny hops off to join the others.


- The grass requires a sharp blade and a good mat. But because the nature of grass, it really doesn't matter if a blade tears. Cut some grass to use with the bunnies.
Use your creativity to create a fun and colorful arrangement on your table or mantle. Pair with easter eggs.

