Decade Cascading Birthday Card - Tutorial
Project Description
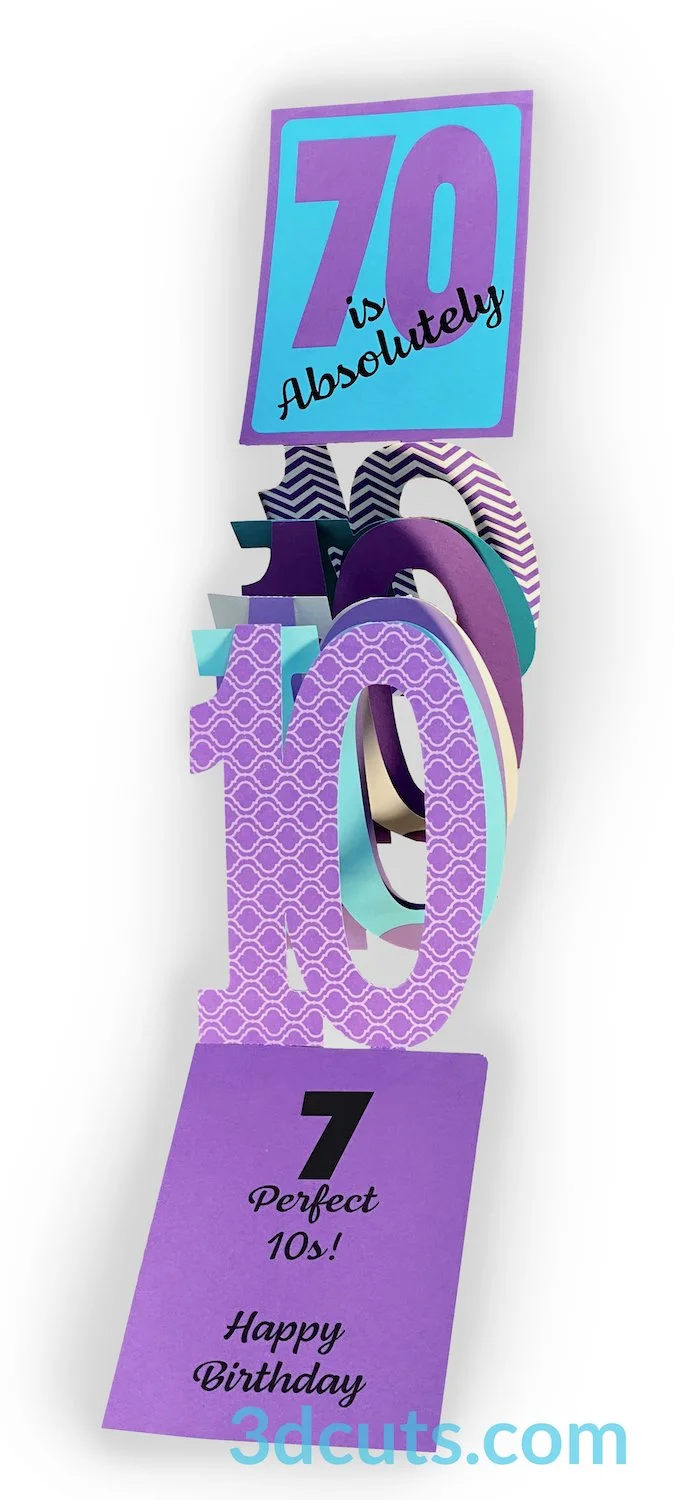
Need a special birthday card for that person turning one of the big decade birthdays? This one is easy to make yet it packs a punch.
The download comes with the cutting files to customize this card for 50, 60, 70, 80, 90 or 100! All you change is the front of the cover and the number on the last page.
You will cut the number of 10s needed to match the decades you are celebrating. This card was designed for my husband for his 70th birthday so there are 7 10s that cascade down when fully opened.
The download also includes the template for making a matching envelope although this design when folded would also fit into a standard 6 x 9” booklet envelope.
Cutting File available here from 3dcuts.com. https://3dcuts.com/birthday-celebrations/decade-birthday-card
Supplies needed:
Cutting File available here from 3dcuts.com.
Card stock- high quality - I used:
Recollections 8.5 x 11” card stock for all the solid pieces.
I used patterned card stock to match for number of the 10s. I just picked complimentary sheets from my stash.
1 12 x 12': and 1 matching 8.5 x 11” sheet for envelope p
Black Matte Vinyl for letters- about 3 x 6.5”
Adhesive - Art Glitter Glue
Links to supplies on Amazon: All are Affiliate links
Major Parts Sizes - as download.
There are discrepancies in how various software import files and keeps their sizing. Check these numbers before cutting. Keep grouped for sizing. Measurements maybe needed if using dxf files. Also check before cutting with Cricut.
Note: Files as downloaded have multiple pieces. Keep them grouped together for these sizes
Card Front and Back file - 10.1333” w X 7.5348”h
Card 10 plus black lettering - 10.5807” w x 7.8373” h
Decades Covers All - 14.101” w x 12.9673” h
Decades Cover each - 4.4708” w x 6.3806”h
Note: Not all software and cutting machine combinations can use the ALL svg file. Some resize files to fit in a smaller mat area. Import the individual files if your machine has size limitations. I create the ALL file in case you want to re-size everything. When resizing you want to group all parts together and re-size proportionally.
Decades Birthday Card ALL file - 21.201”w x 31.2943”h
Layout Notes:
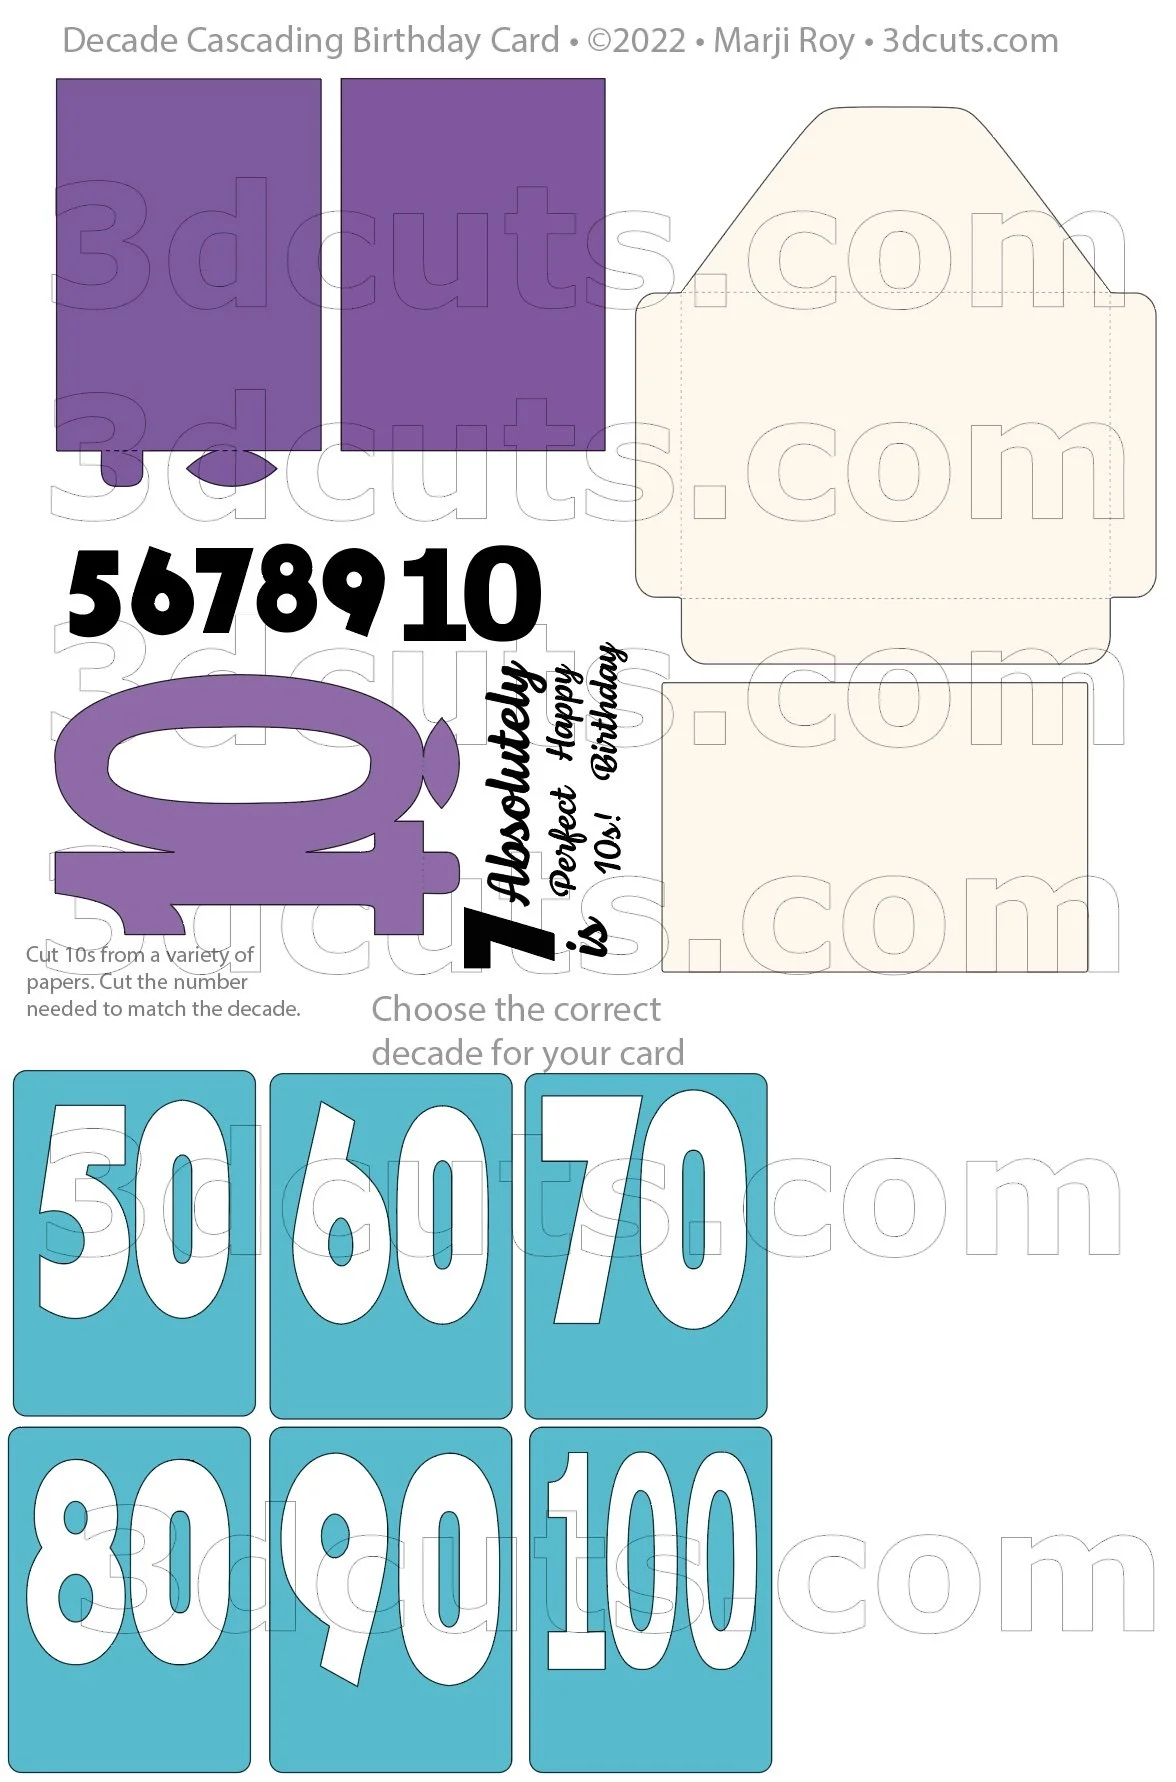
The layout below is here to show you how the files are organized. The above sizes match those groupings in the split files. There are a few important notes added to this view to help you with cutting.
Steps for completing the Decade Cascade Birthday Card:
Special Note: I update the instructions online. Check here for adjustments and additional information.
1. Download the cutting files for your cutting machine here from the 3dcuts.com store. . For those of you that are reading this as a pdf I recommend viewing it online at my tutorials page at this url. https://3dcuts.com/birthday-celebrations/decade-birthday-card . There all the links will be live.
2. Load the files into your cutting software following the steps for your cutting machine.
3. Prepare the files:.
For the Silhouette:
SIL Files from upload SVG purchased from 3dcuts.com:
The SVG files may need to be turned into cutting files. Click here for detailed steps on how to use SVG files on your Silhouette. http://www.3dcuts.com/tutorial-upload-svg-silhouette
DXF files can be opened in the basic edition of Silhouette Design Studio but often require modifications. I recommend using the Designer Edition and using svg files. DXF files do not always maintain file sizes and you may need to adjust according to sizes noted above.
For Cricut Explore: Here is a guide for importing into Cricut Design Space. http://www.3dcuts.com/tutorial-adding-3dcuts-files-to-cricut . Remember to ATTACH files before cutting in Cricut. You should check dimensions before you cut. Design Space occasionally has import issues and sizing gets mixed up.
For Brother ScanNCut: The svg files will need to be transferred to files for your particular machine. You can change SVG files to FCM files at http://www.canvasworkspace.com/ or Google "How to import SVG files into a ScanNCut" for links to tutorials. Some models of Brother Scan N Cut can directly import the SVG files.
Additional Help files: Go here https://3dcuts.com/help for additional help files on downloading and importing your files.
4. Cut the files:
Check the measurements above before separating parts and cutting the files.
You will need to eliminate all the decades covers you don’t need for this card. Just cut the one needed.
Also keep the black number that matches the decade. Delete the rest.
The large 10 is to get cut once for every decade for this card. If you are making a card for a 70 year old, then you cut 7 10s. Adjust depending on what decade card you are creating. The 10s should be of a variety of color coordinated patterns and solids. All should be card stock.
It is best to have good quality card stock and a good blade and clean, sticky mat. I use the Premium blade and the Nicapa mat.
The card sentiments get cut from matte vinyl.You will need a piece about 3 x 6.5”
5. Assembly
The assembly steps are detailed in the video below. Here is the YouTube url https://youtu.be/sFx8eHyXA6c
Creative Applications:
Send me your photos!
I will post photos of hoops other crafters have made. Send a good photo to marji@3dcuts.com if you have done something interesting with this file. And share in the crafting groups on facebook.
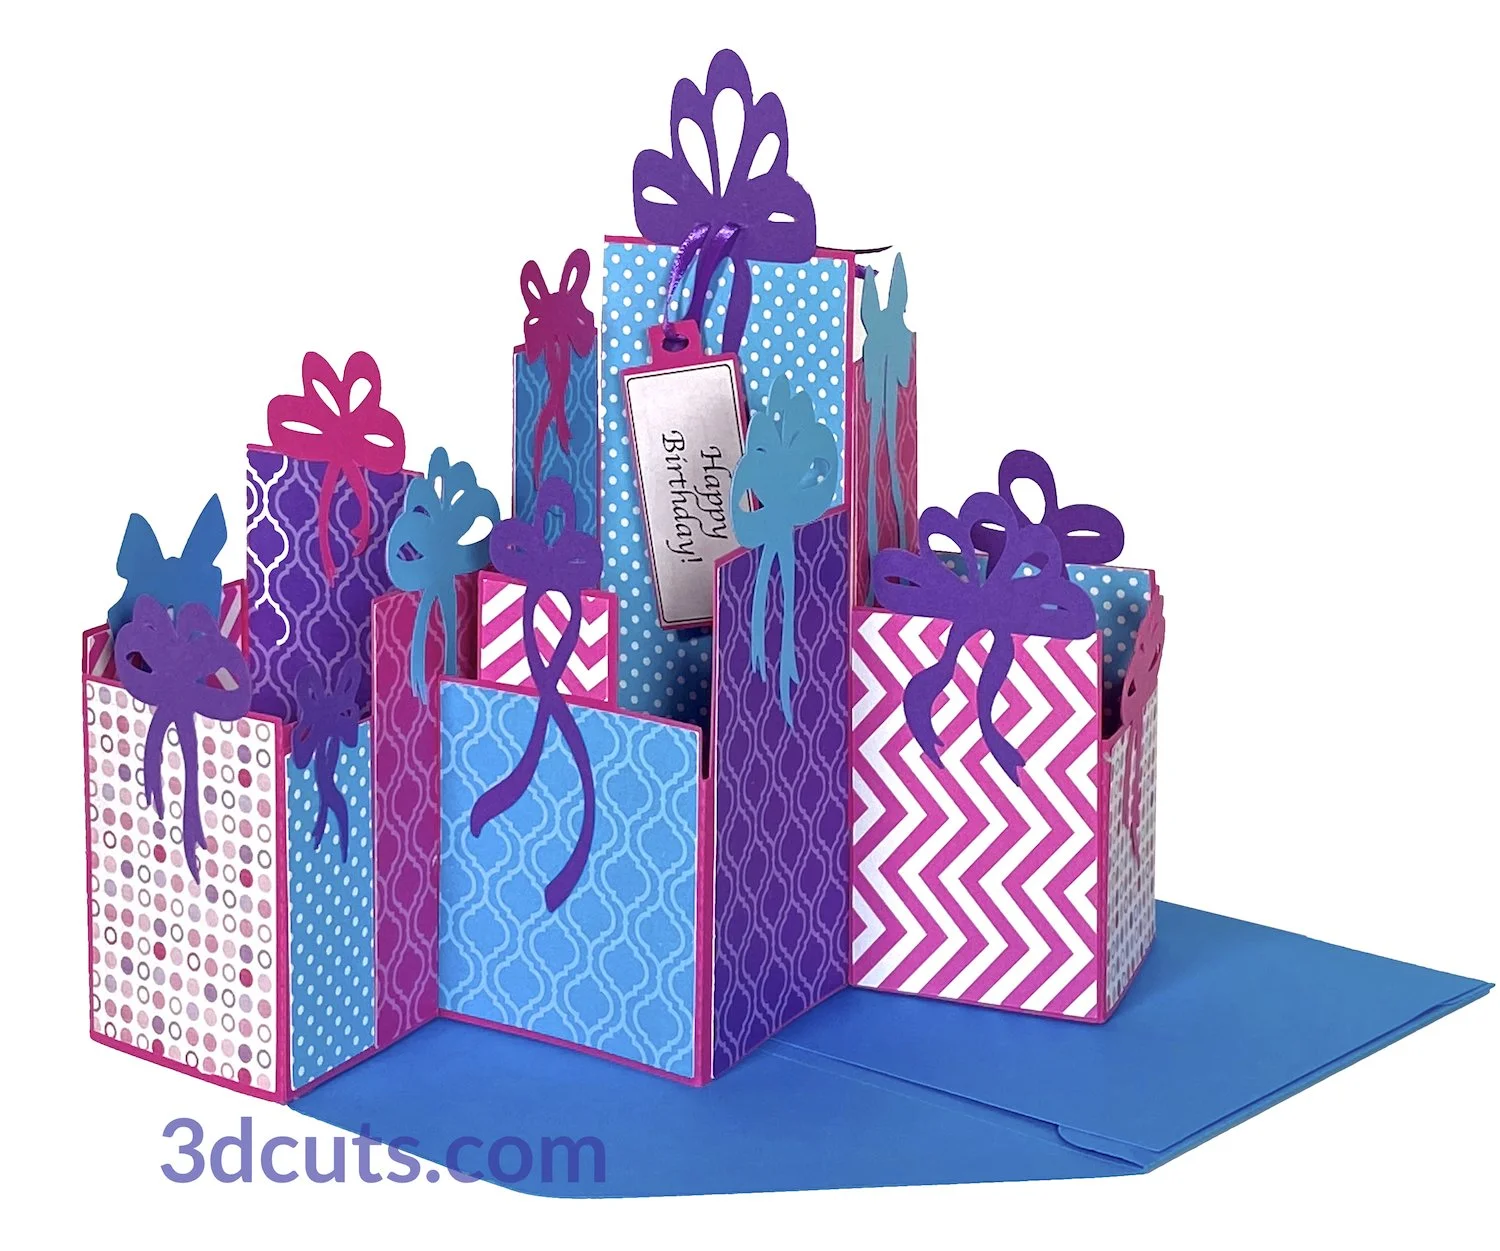
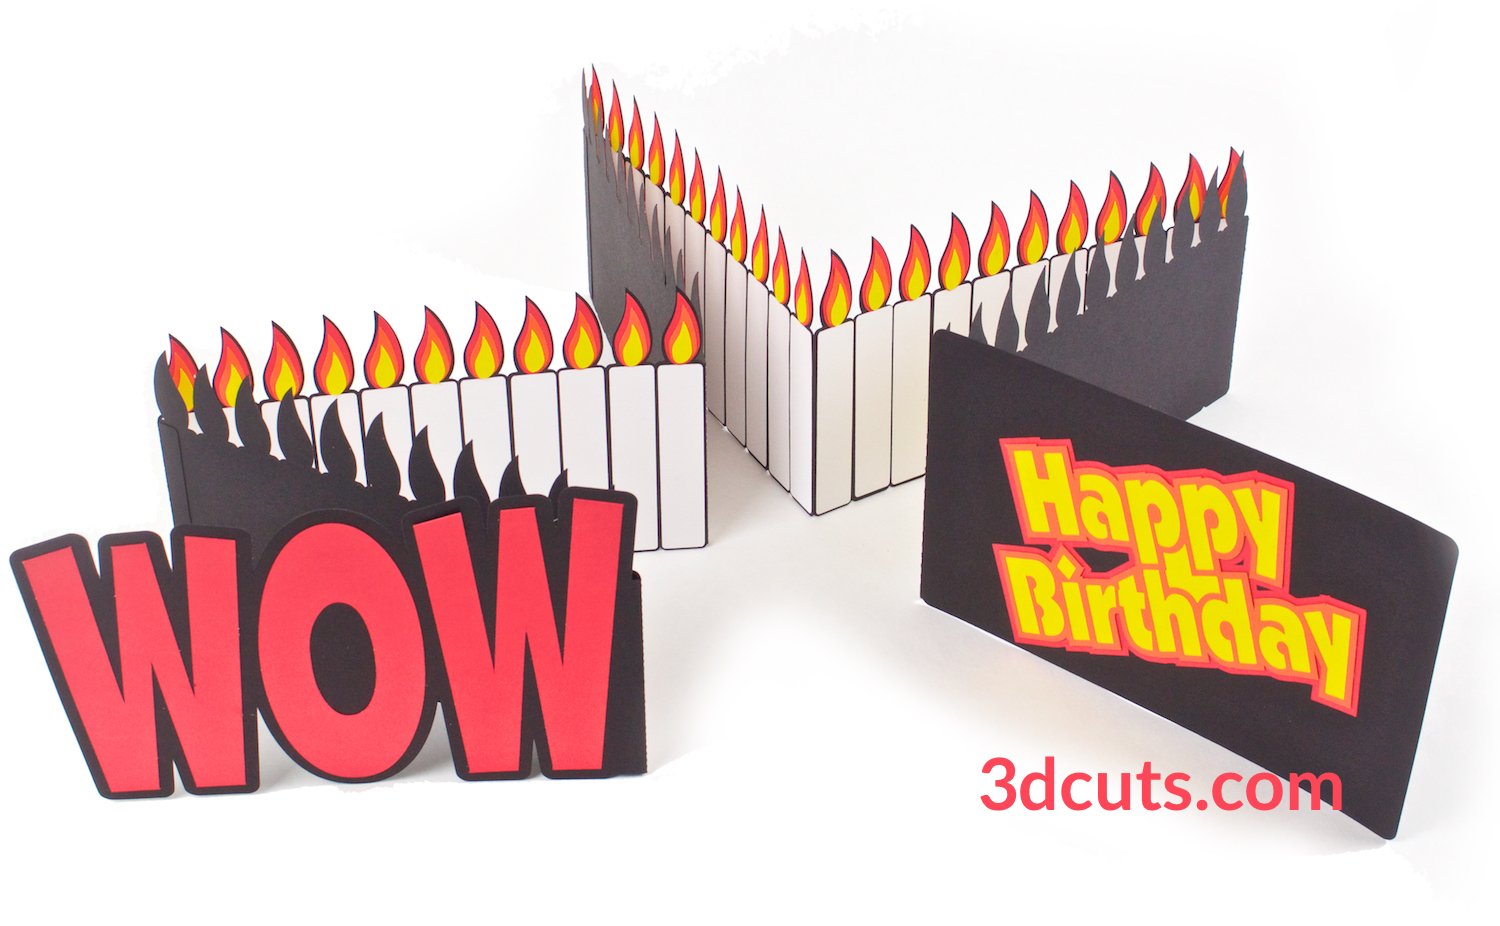
Here are some other birthday cards I have designed.


