Decorating for Christmas - Tutorial

Project Description
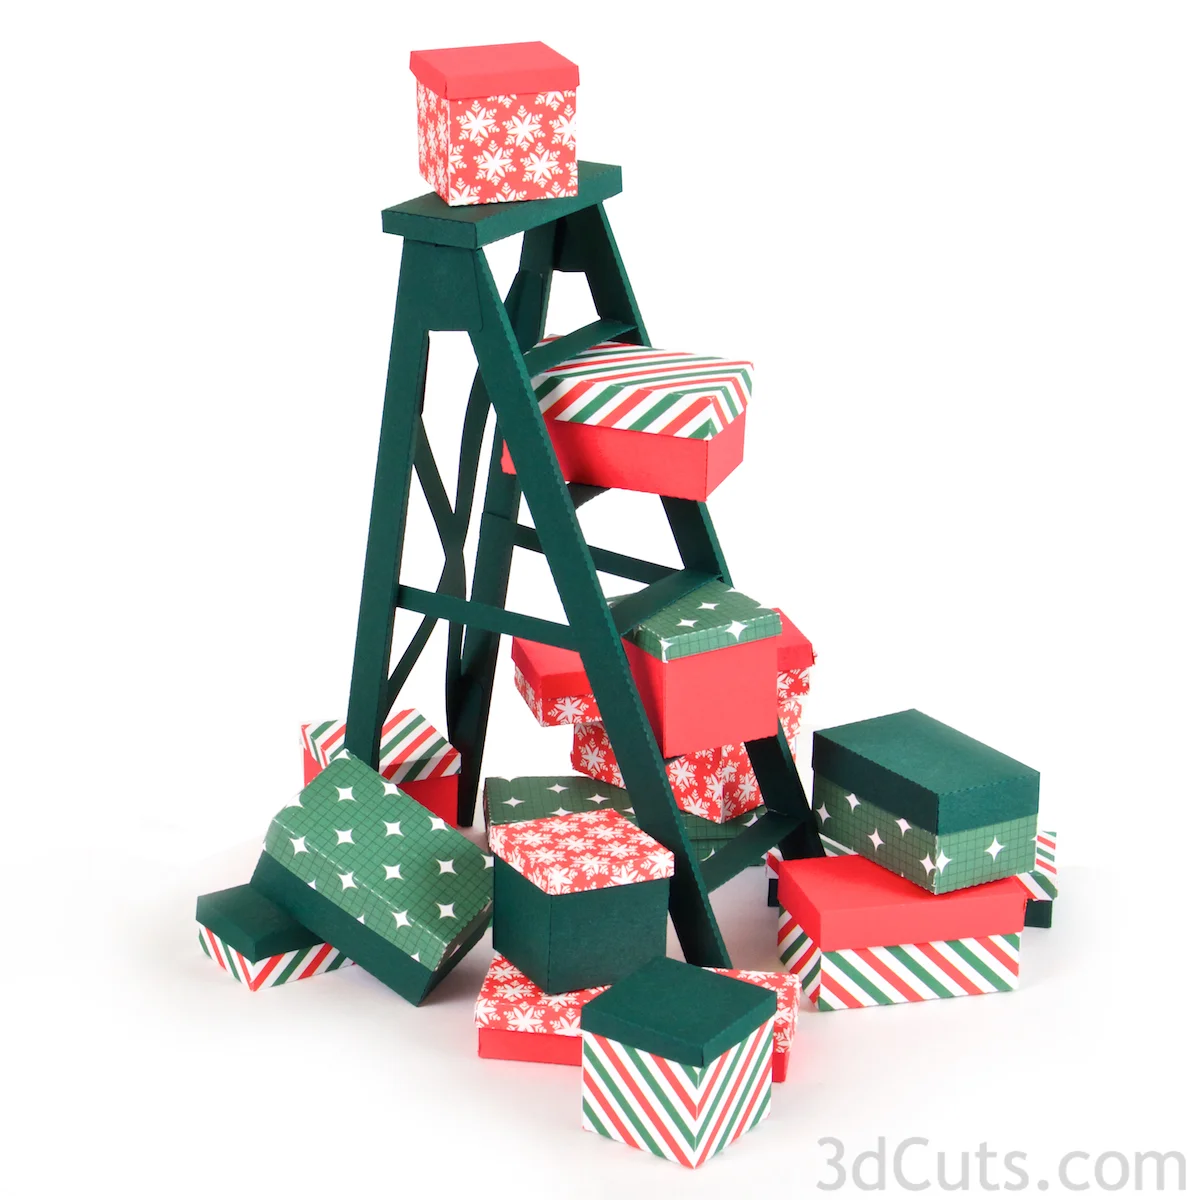
This tutorial is for the assembly of the Decorating for Christmas Ladder files designed by Marji Roy of 3DCuts.com. It includes the building of the ladders, tiny presents, lights and star. It is perfect as a mantle or shelf decoration or as a centerpiece. The ladder is about 9" tall.
Supplies Needed:

- Cutting File available here from 3dcuts.com here.
- 8.5 x 11" card stock - I used the 65lb Cardstock from Recollections. Each Ladder takes 2 sheets. For the presents I cut five sheets of card stock, 1 red, 1 green and 3 of tiny Christmas prints. The lights requires 1 sheet of black and colored scraps. Yellow for the star and kraft for the corrugated box.
Adhesive - I used Scor-Tape, Tombow tape runner, Aileen's Tacky Spray, and glue dots although other adhesives would work.
1 tooth pick for the star support
Steps for completing the Ladders :

Note: This ladder assembly is orange. I created it for Halloween but the assembly is the same. I would choose a different color for Christmas.
1. Download the cutting files for your cutting machine from the 3dcuts.com store. Link here.
2. Load the files into your cutting software following the steps for your cutting machine.
3. Prepare the files:.
- For the Silhouette: The SVG files from this site will need to be turned into cutting files. Click here for detailed steps on how to use SVG files on your Silhouette. http://www.3dcuts.com/tutorial-upload-svg-silhouette
- For the Silhouette files from the Silhouette online design store: This download comes in one long file with cut lines already enabled. You will need to ungroup the file and then copy and paste the parts into separate page sized files to cut. All the text instructions are non cutting items.
- For Cricut Explore: Here is a guide for importing into Cricut Design Space. http://www.3dcuts.com/tutorial-adding-3dcuts-files-to-cricut
4. Cut the files.
- Note to Silhouette users - The Silhouette sometimes has issues with vertical dotted lines and cuts them in a slow fashion. If you position the pieces so the major dotted lines are horizontal, it might cut much faster.
5. Build the ladder
- Locate the 5 matching ladder steps.
- Fold them all in half the long way along the dotted fold line.
- Apply a strip of Scor-Tape to one long edge between the tabs. If you look you will see additional score lines where the tabs will be folded back. Apply the Scor-Tape only between these lines.
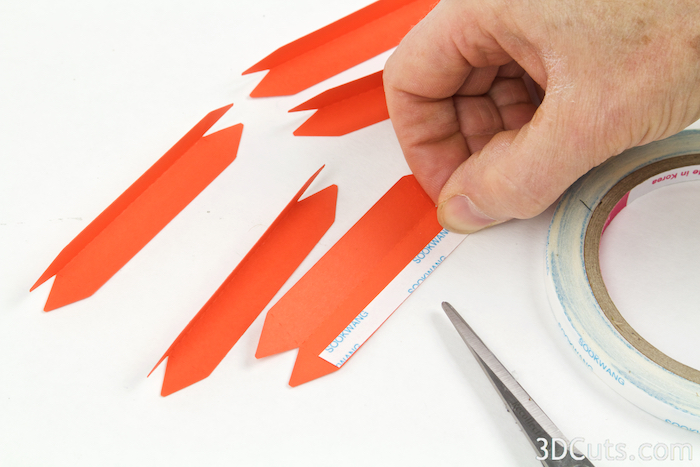
- Peel off the Scor-Tape backing and glue the two half together making a sturdier ladder step.
- Bend the 4 tabs on the end of each step back.
- Repeat for all five ladder steps.


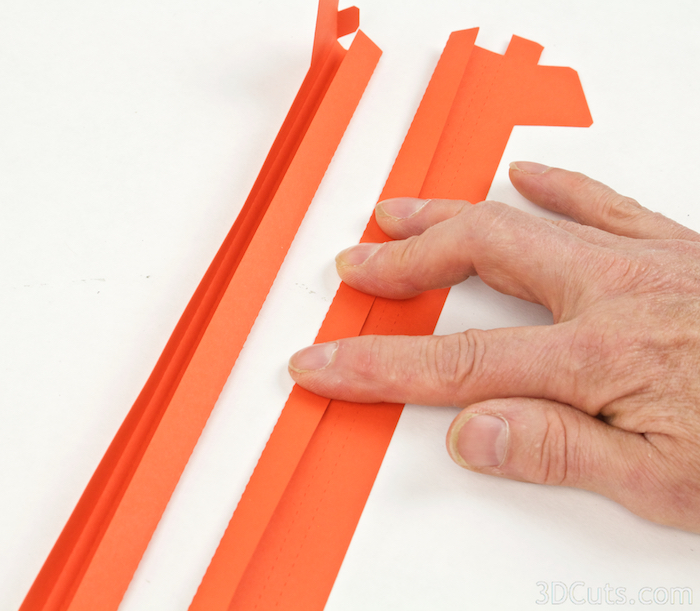
- Locate the 2 longer side rails. The should match but be a mirror reflection of each other.
- Fold all the dotted fold lines being sure to keep them mirror images. If you fold one the wrong way, they will match and you will have problems with assembly later.
- There are 3 long dotted lines and one long line along the six tabs. Fold them all on one in the same direction and crease well. Fold the others in the opposite direction and crease well.
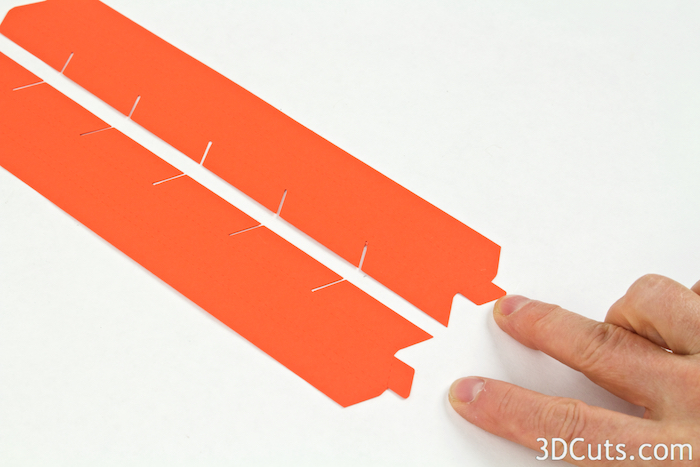
- Apply a 1 piece strip of Scor-Tape along the entire edge of the side rail that has the slits. Peel off the backing.
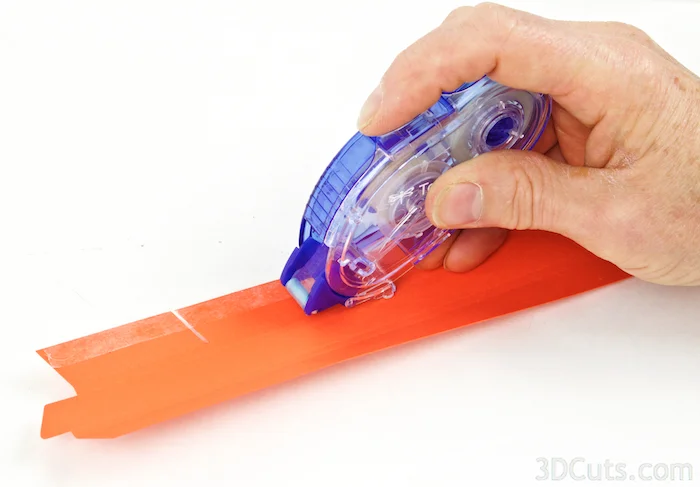
- Then apply additional adhesive 1/2" above and 1/2" below each slit near the inner fold. I used a Tombow tape runner here.
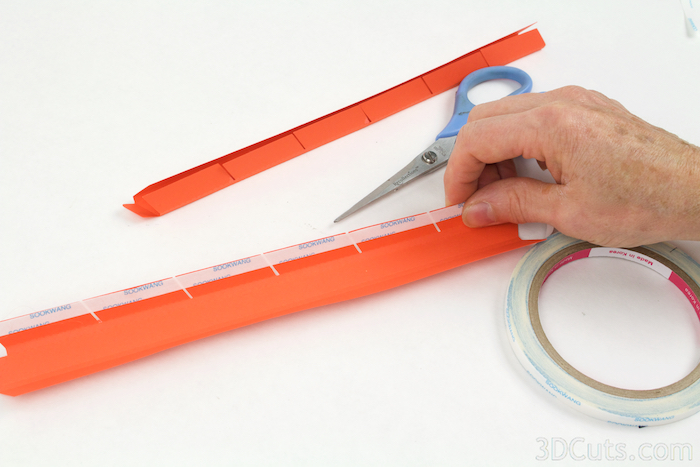
- Use scissors to cut each of the slits open again. Cut right to the end but no further.
- This will gum up your scissors so clean them with Goo Gone once you are done.

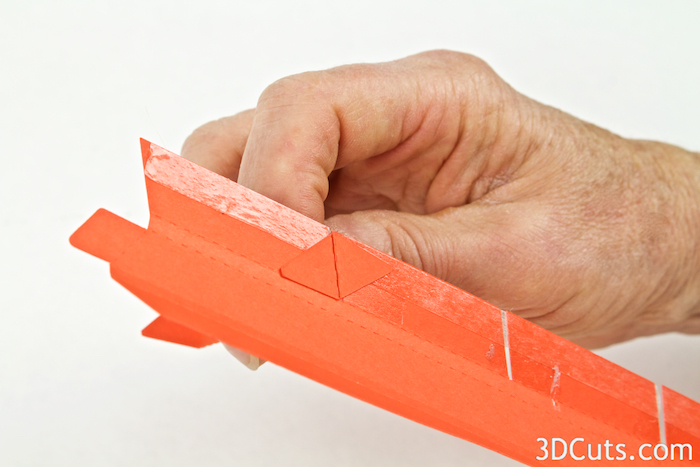
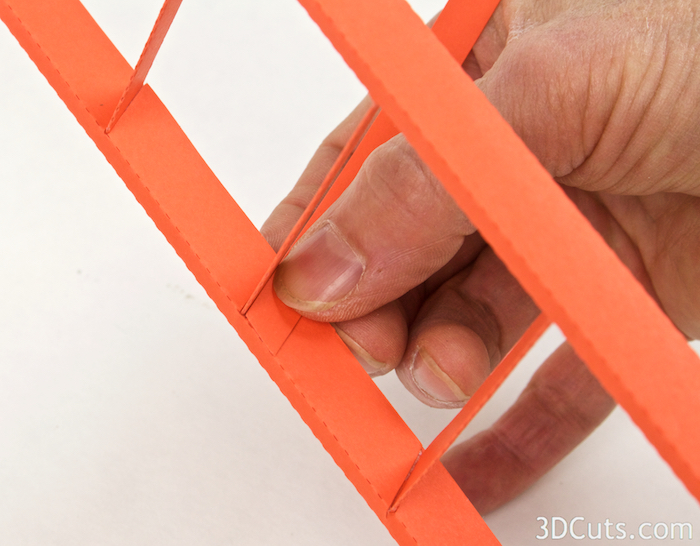
- Take the first ladder step and with the folded edge first, slide it into the first slot on the side rail that you have applied adhesive to.
- Slide it right to the end of the slit and fold open the two tabs of the step and press to adhere.
- The edge of one tab will line up with the dotted fold line of the rail.
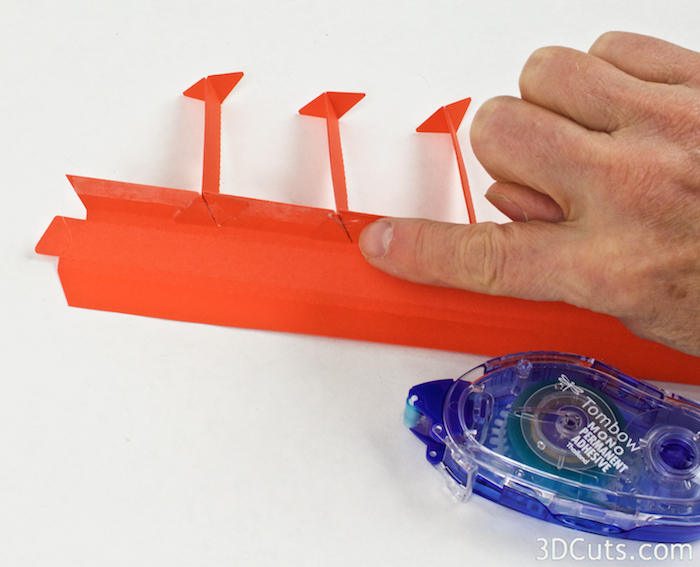
- Repeat with all 5 ladder steps, placing one in each slot. Be sure to always put the folded edge in first for visual consistency.

- Apply adhesive on the outside of the opened tabs right along the edge. I used a Tombow tape runner here. Do this to all 5 sets of tabs.
- The sides of the rail get folded around to form a rectangular hollow tube with the five steps hanging out from the side.
- Fold it around, tuck it in and press to adhere.
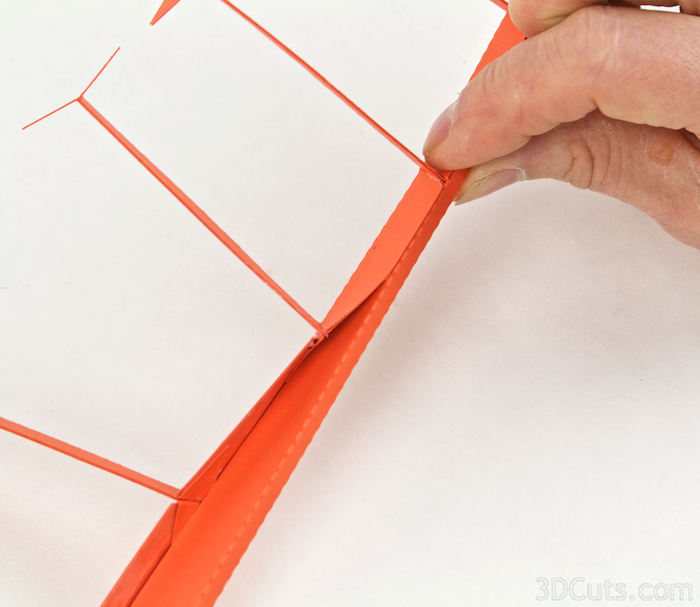
- This is an important seam so look for a long skinny object to slide up the rail inside to press against and make a better seal. I used a letter opener.

- Make sure you identify the correct side and prep the second ladder rail just like the first rail by applying a strip of Scor-Tape down the edge with the slits, peel off the backing, apply tape runner adhesive 1/2" above and below each of the slits in hear the center fold, and use scissors to cut the slits.
- Place the second ladder side rail, locate the tab and place it on top to match the first rail. Remember the are mirror images of each other.
- (I have missed this placement 3 times and had to re-do so pay attention to the tabs!)
- With the tabs on both rails at the same end, slide the end of the first ladder step into the tops slot on the second rail.
- Slide it all the way in, separate the tabs and adhere them in place.

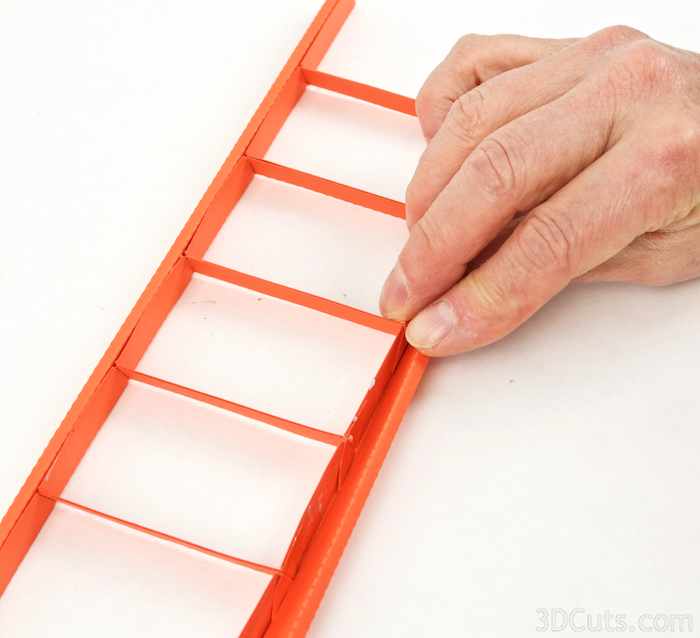
- Continue down the side rail adhering all 5 steps in place on the second side rail.

- Apply adhesive to the outside of the tabs.

- Roll the second rail in and adhere together forming the second ladder side.
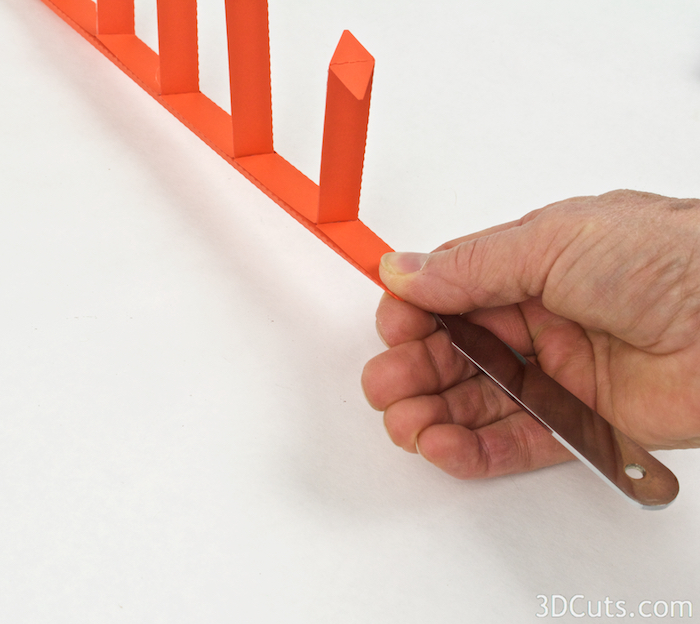
- Again slide a long tool up the rail to help with the pressing in place.
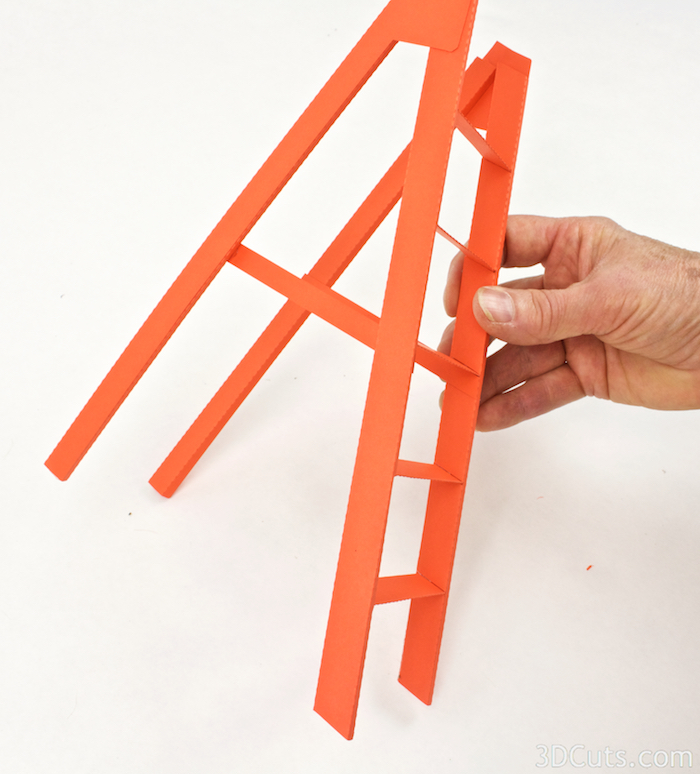
- The front half of the ladder is complete. Now make the back rails.

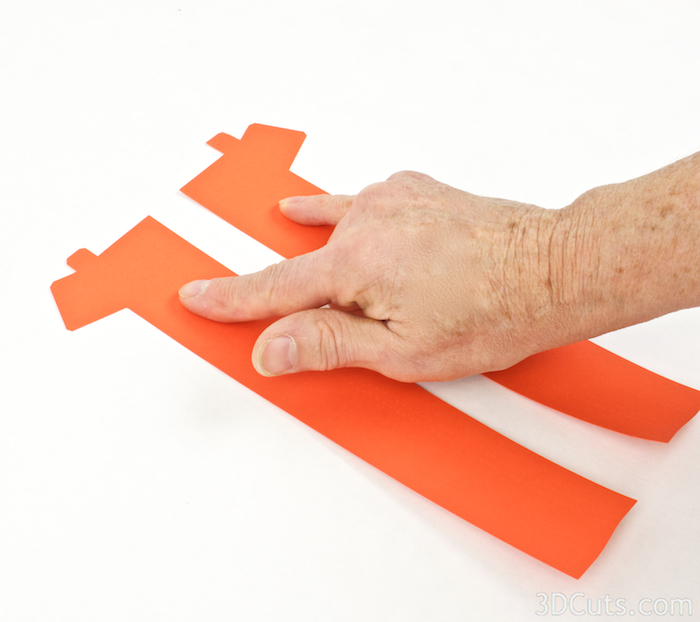
- Locate the two shorter side rails. They match but you need to work on them from opposite sides. One is the mirror image of the other. If you have paper that is the same color on both sides you will have to keep making sure you work on the mirror image.
- Place them as shown to help.
- Fold along all the dotted fold lines. Crease them well.
- Apply a strip of Scor-Tape the length the inside edge. Start just below the tab, and run it right along the edge.
- Add a second short strip along the outer edge of the angle tab. Leave the backing on this shorter strip.

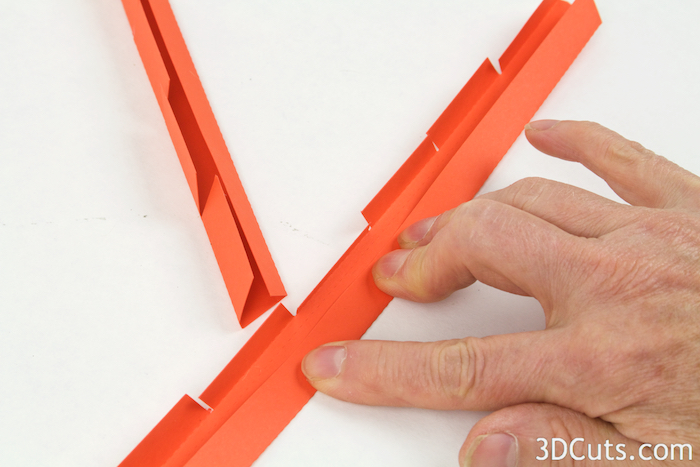
- Peel the backing off the long strip of Scor-Tape and roll the side of the rail into to adhere together. You are creating a rectangular tube as shown in the image.
- Repeat for both side rails.


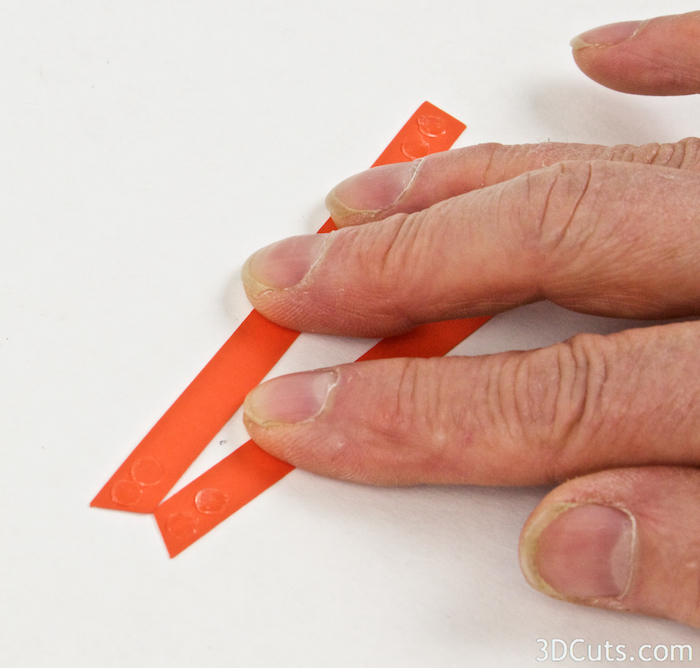
- Locate the two side supports. They are about 3.5 inches long with angled ends. Notice one end has a sharper angle than the other. The sharper angle attaches to the front ladder piece and the end with the lesser angle will attach to the back.
- Place these pieces as mirror images and put two mini glue dots on each end of both pieces.

- The side supports get attached to the ladder front, directly under the third step, on the inside. The front angle lines up exactly with the front of the ladder side rail. The top of the side support lines up with the bottom of the step.
- Press in place.
- Repeat with the second side support on the opposite side. Place them carefully. You want them to match each other.

- The back rails will be attached at both the top and to the side supports. They will be wobbly until the cross piece is added in a later step. Positioning is important. The top of the rails (not the tabs) meet at the top with the angle tab being placed over the outside of the front ladder side rail. The Side support will be adhered to the inside of the back side rail with its end lining up exactly with the back edge of the side rail.
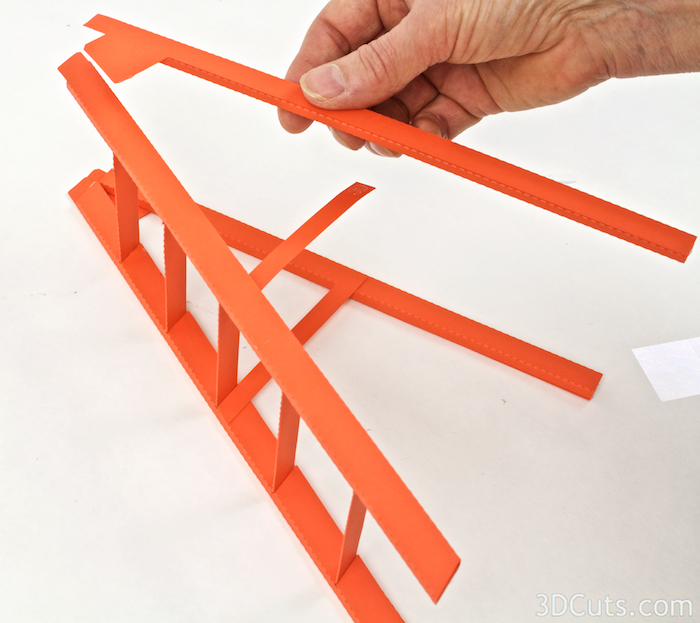
- First, peel the backing off the the short Scor-Tape on the angle tab and gently place the tops together meeting in that corner. Don't press until......

- Position the side support and adhere that. It should line up with the edge of the back rail on the inside. Press that in place.
- Check the top angle tab again and then press that in place.

- Repeat on the second side taking care to match the angle of the first side.

You now have a wobbly topless ladder....
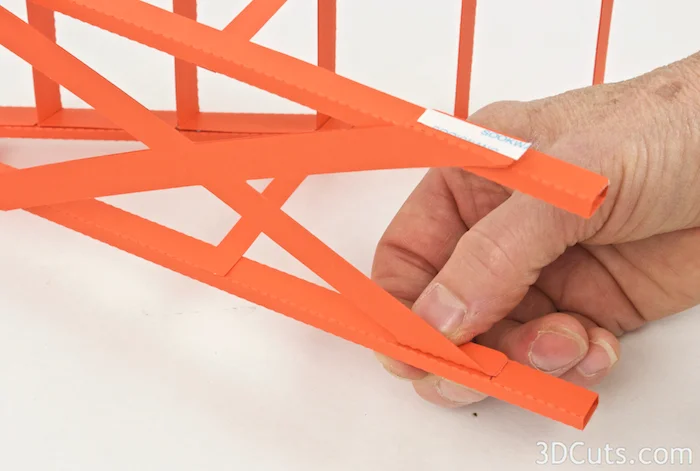
- Adhere the 2 X supports together. I used Aileen's Tacky spray. Byron would work here as well.
- You are just doubling up the layers here to create thicker card stock.

- Apply Scor-Tape to each of the four tabs leaving the backing on.

- Fold back all 4 tabs in the same direction.

- Measure up 1" on the inside of both back side rail and make a small mark.
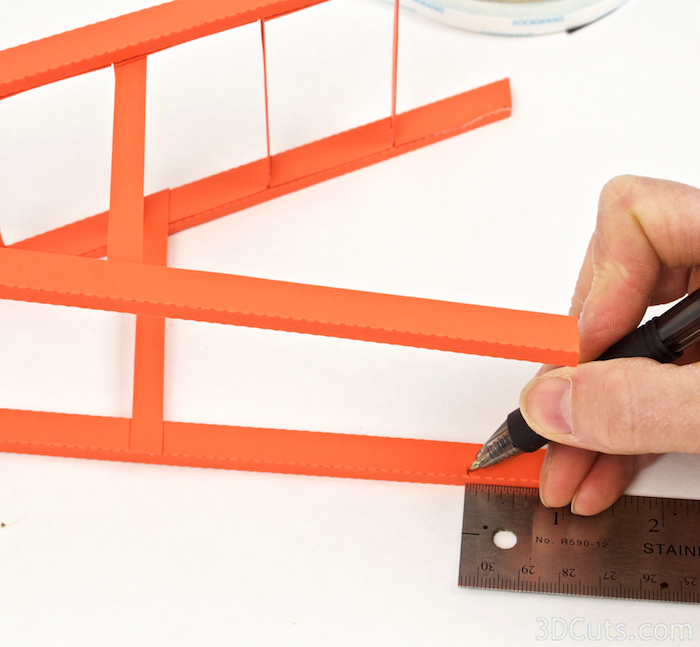
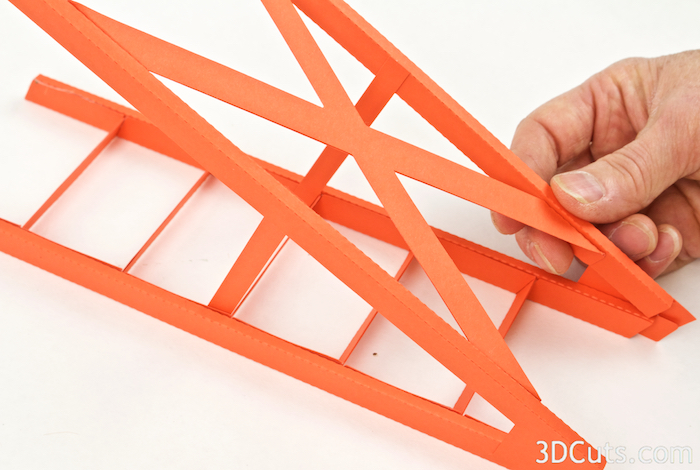
- The X support will go between the back side rails.
- Peel the backing off the Scor-Tape on one tab and position it so it is above the 1" mark and aligned with the inside edge of the back side rail.
- Peel the backing from the second lower tab and glue it in place at the other 1" mark on the other back side rail work to adjust so the ladder stands square.

- Attach the upper tabs as well. The ladder will become more stable with this addition.
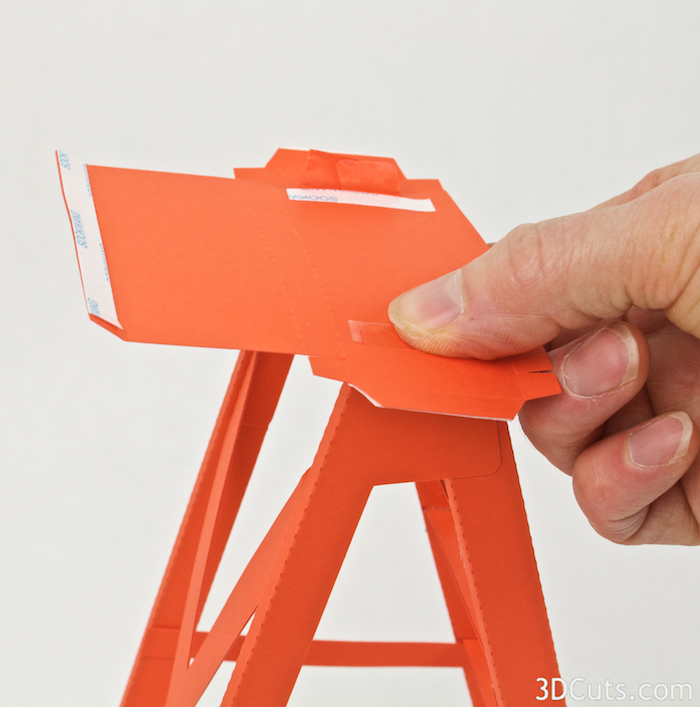
- Next - the ladder top gets added.
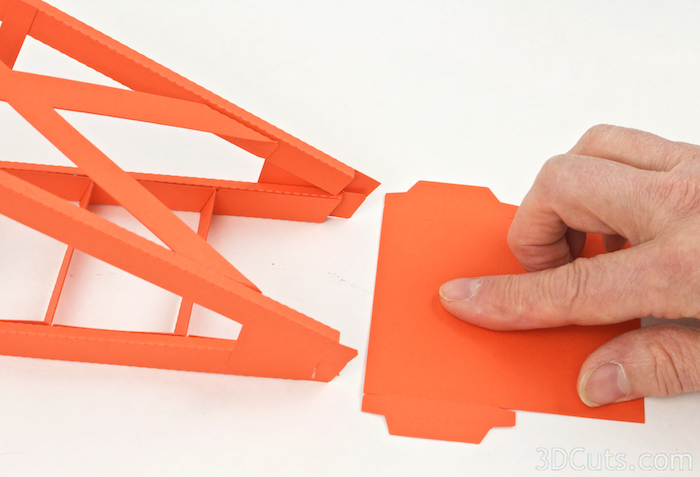
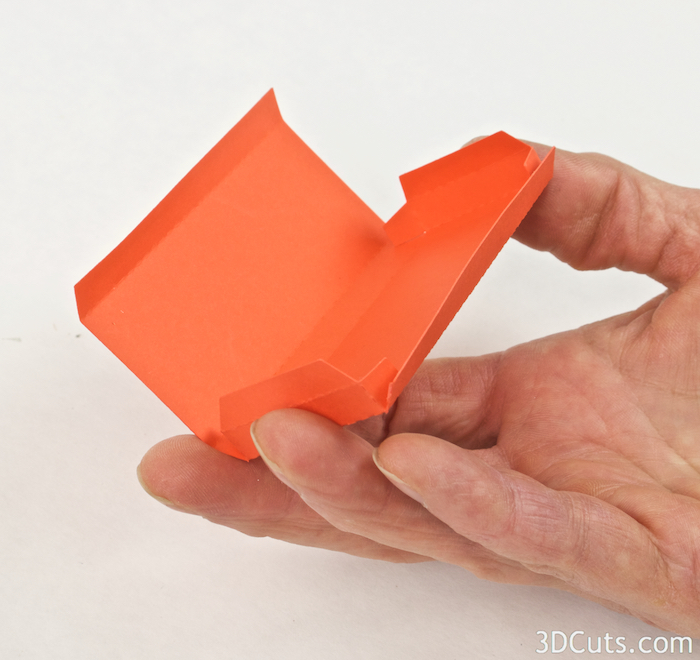
- Fold on all the dotted fold lines.
- On the inside of the folded box apply two 1" strips of Scor-Tape along the inside of the the two slits in the bottom of the box.
- Also apply one long strip to the long end tab. Leave the Backing on.
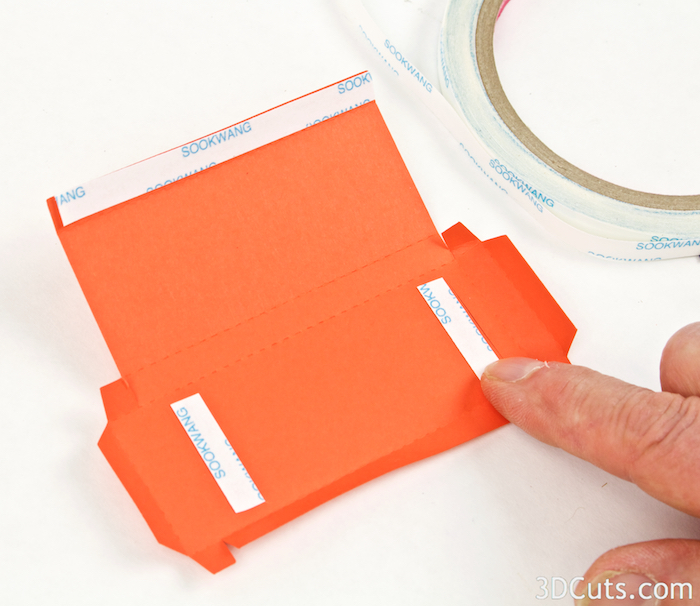
- On the outside of the box apply a mini glue dot to each of the 4 tiny corner tabs.
- Apply a strip of Scor-Tape to the outside of the two shorter side tabs.
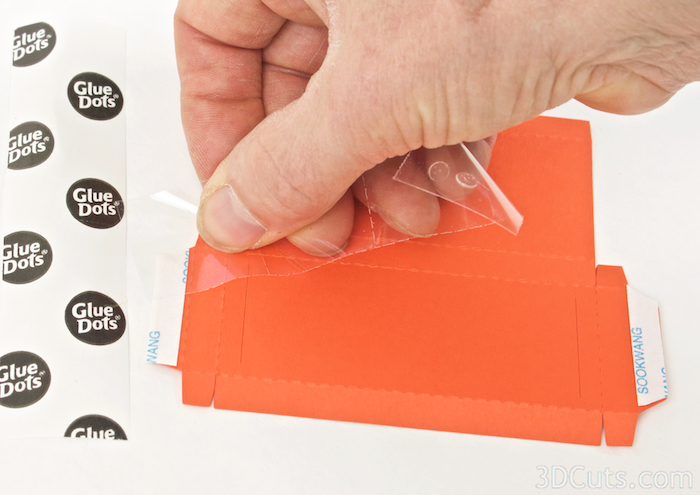
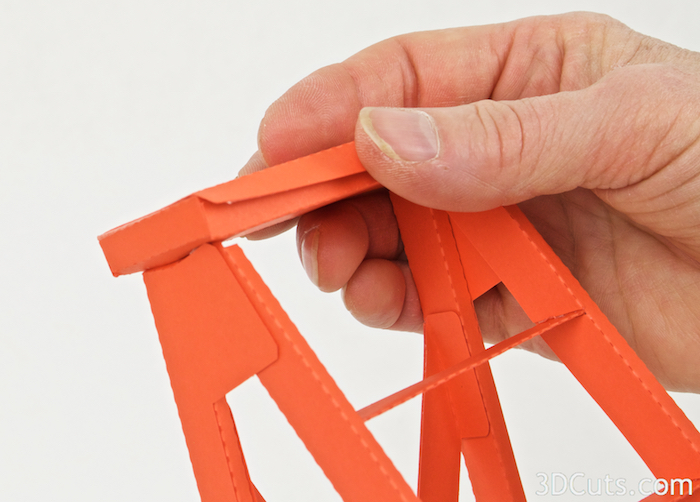
- Slide the tabs on the top of the ladder up through the slots on the ladder top box. There are two on each ladder side.
- Slide them up until the box bottom is resting down on the ladder legs.
- Peel off the backing tape on the Scor-Tape and fold the tabs in and on top of the tape adhering them in place.
- Bend up the 4 sides of the box, folding the corner tabs to the inside and adhering in place.

- Fold in the side tabs, peel the backing off, and fold the cover down and seal in place.

- Peel the backing tape off the last tab and fold down in front and adhere in place completing the ladder.
- The ladder is now complete. It can be used for many creative projects - not just this one.

6. Add details- the cardboard box on top.
Which of the details you include is up to you. The download includes presents, lights, card board box and star.
- I like the idea of the box on top looking like the storage box so I cut it out of kraft colored card stock.
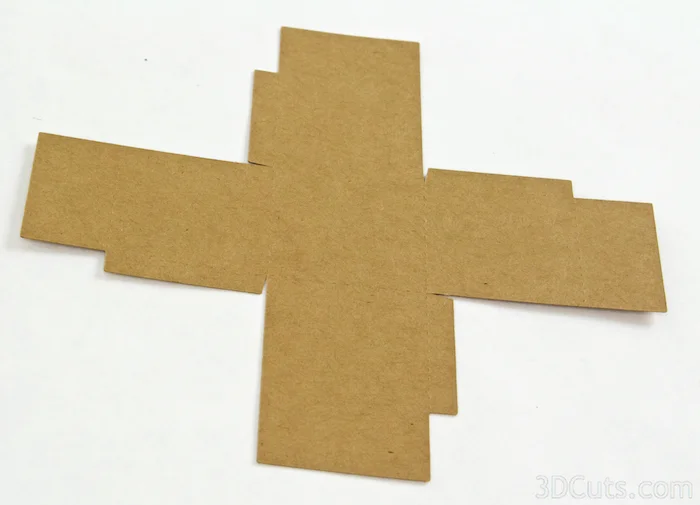
- Fold on all the dotted fold lines. The 4 fold lines around the bottom and the 4 tabs all get folded in toward the inside.
- The 4 top folds all get folded out - in the opposite direction.
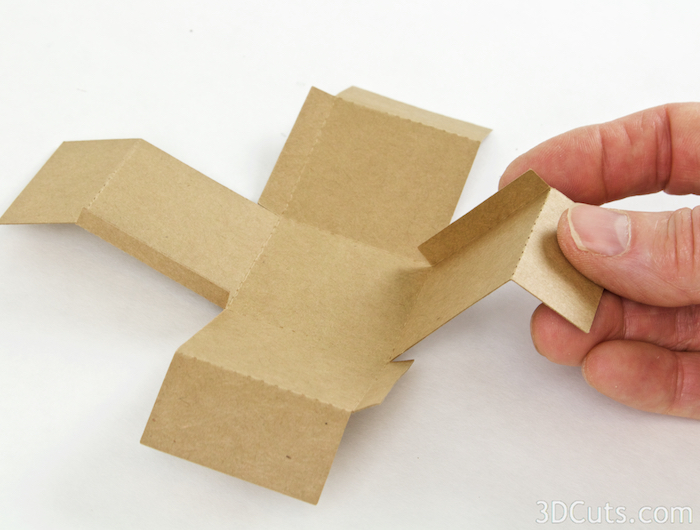
- Apply a strip of Sor-Tape adhesive to the out side of each of the 4 corner tabs.
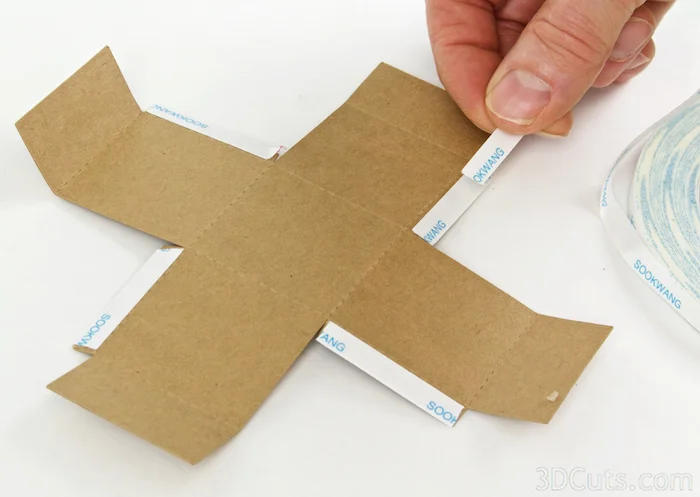
- Peel the backing from the Scor-Tape on each corner and press in place.
- Repeat for all 4 corners.
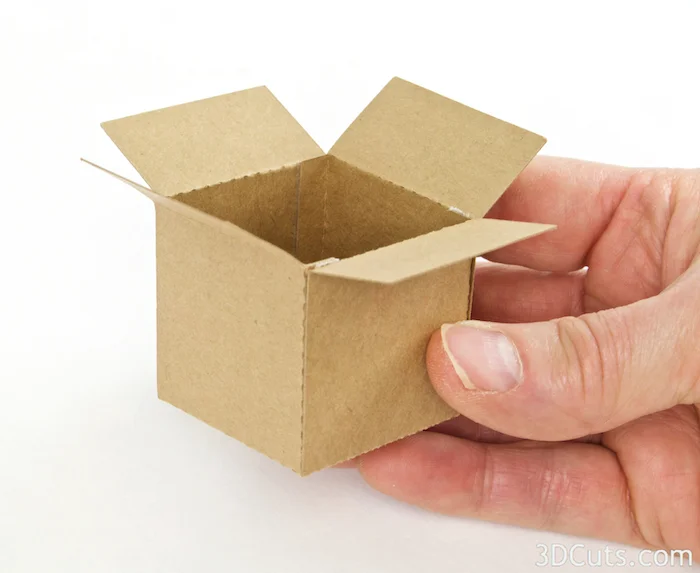
- The cardboard box is complete.

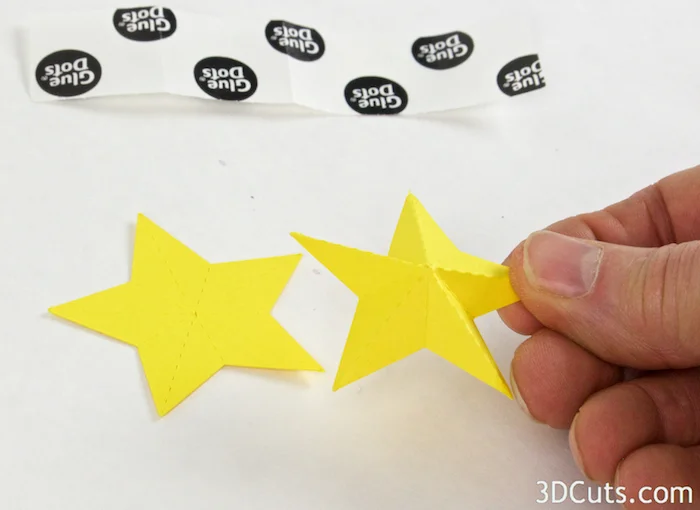
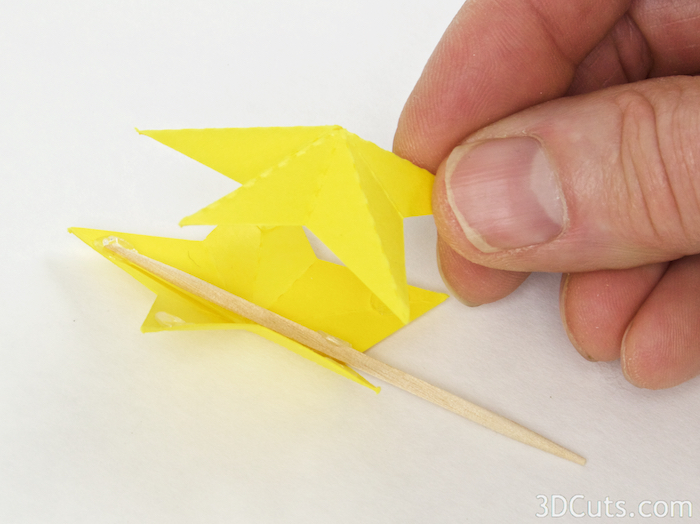
- Fold both of the Stars on the dotted fold lines.
- The short lines will be valley folds and the longer lines will be mountain folds but first just fold everything.
- Once it is folded you can are arrange the mountain and valley folds to make it a star with relief.
- Do this to both the two star pieces.
- Put a glue dot at the top and bottom of the star and glue a toothpick as shown on the inside of the star.
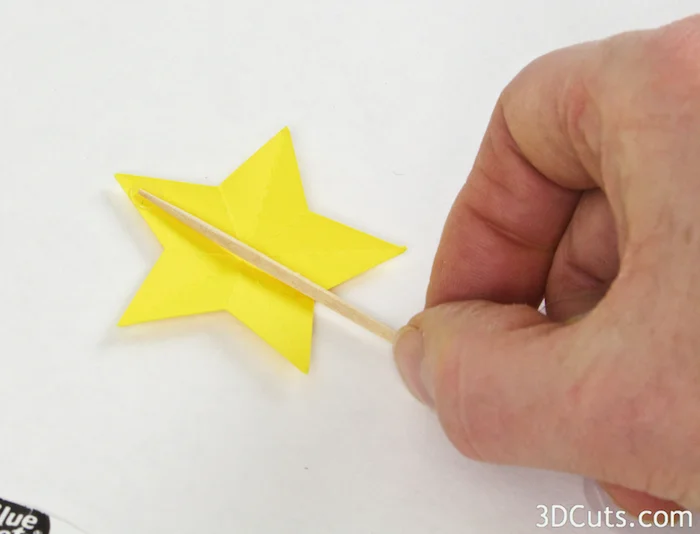
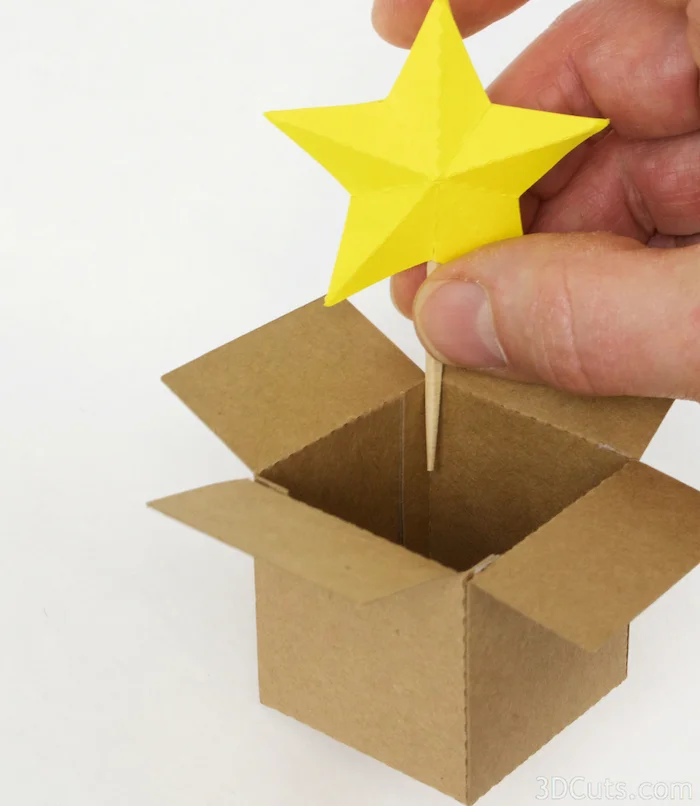
- Place a glue on each of the five tips including on top on the toothpick, plus one on top of the toothpick where it crossed the bottom of the star.

- Adhere the second star over the first matching tips but working to keep some 3d puffiness to the star.
- Adhere the str into the corner of the corrugated box using either hot glue or glue dots.
7. Add details- Make the presents.
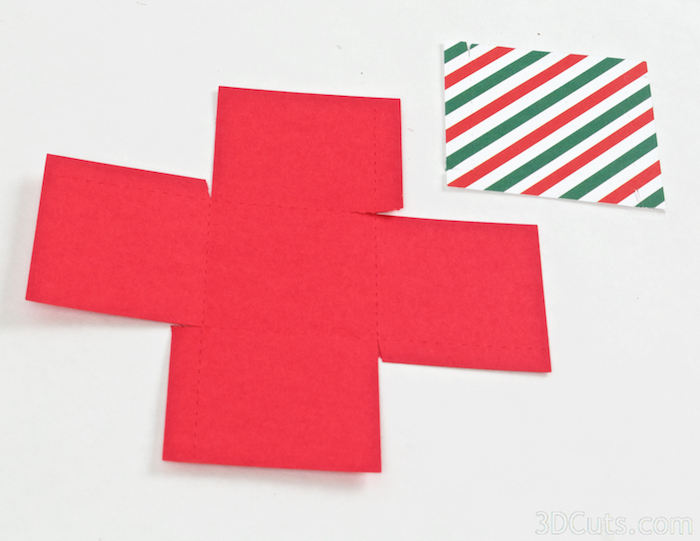
- Identify the top and bottom that match. There are 3 sizes included in the download.
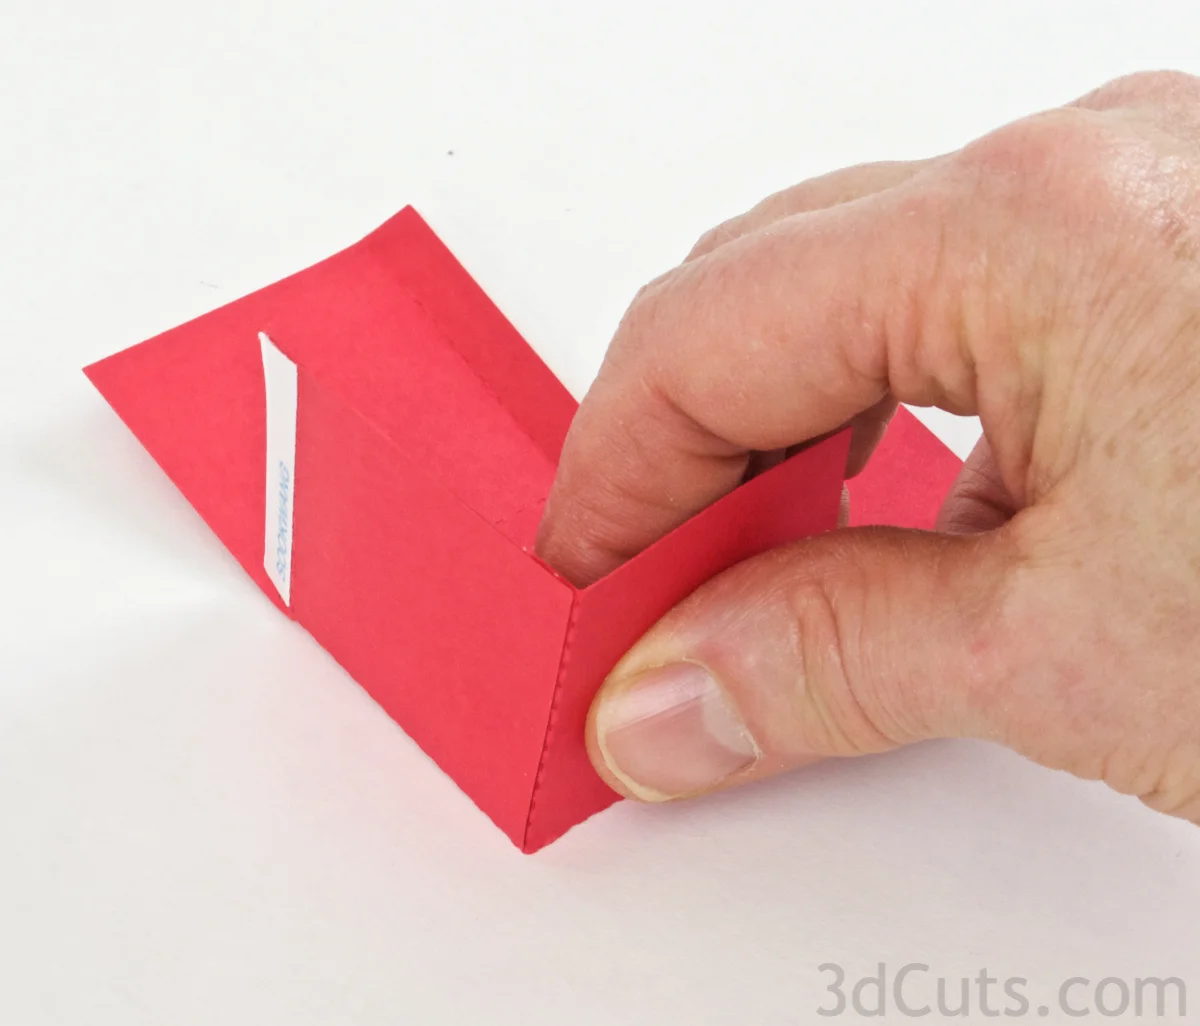
- Fold inward on all dotted line on both the top and bottom.
- Apply Scor-Tape to the outside of all the 1/4" side tabs.
- Peel the backing off the Scor-Tape are carefully adhere each corner.

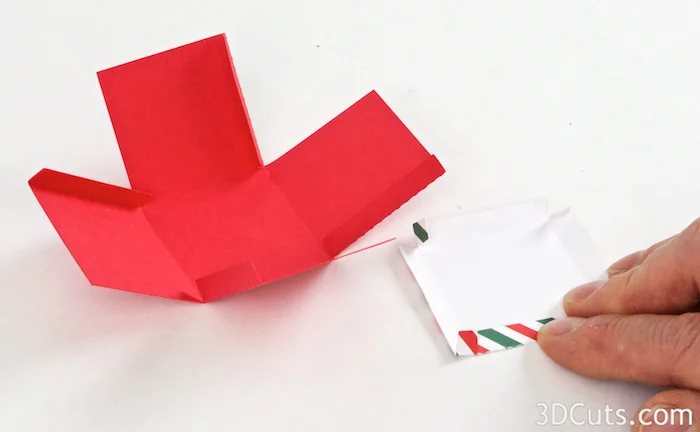
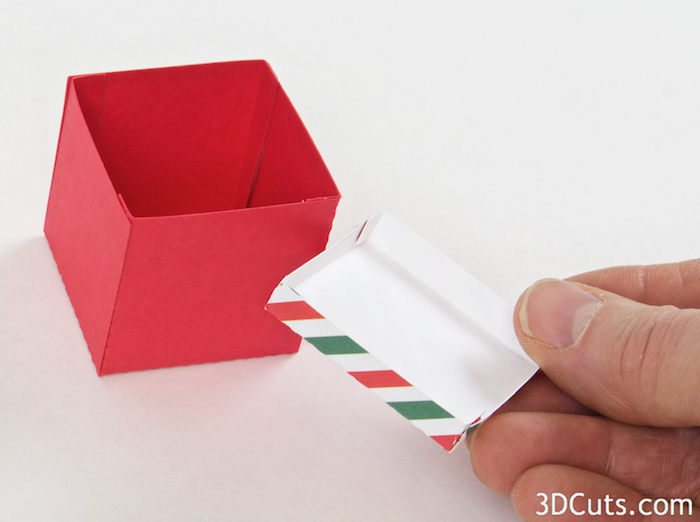
- Glue dots work well as an adhesive on the covers.
- Apply a glue dot to the tab on the outside of each of the 4 corners.
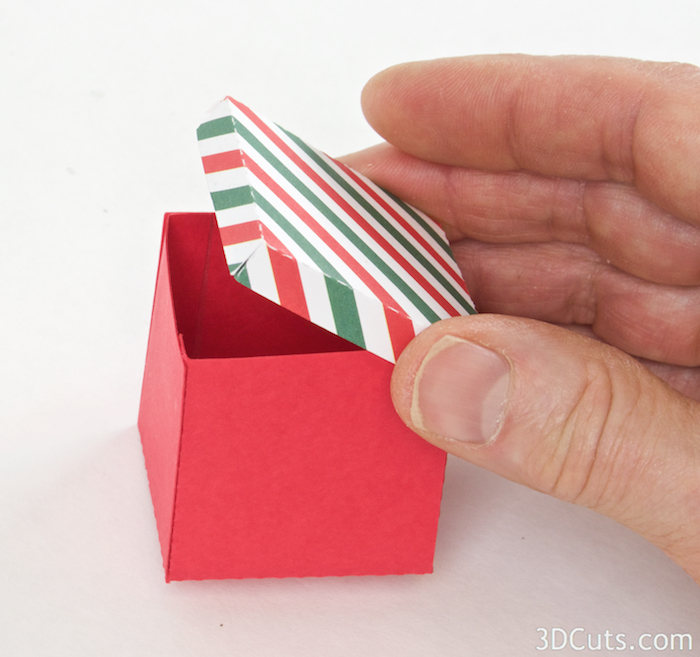
- Fold the corners together and adhere to make the box lid.

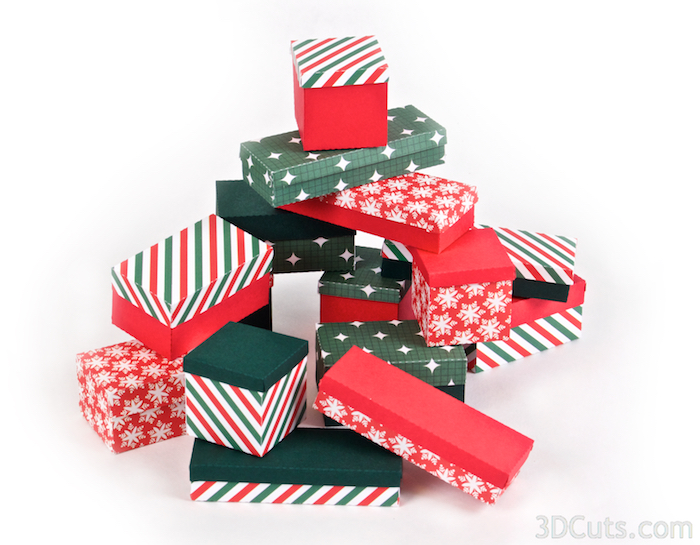
- Using the same steps, assemble all the other boxes. I mixed the top and bottom card stock prints to create variety.
- The number you create depends or your display.
- If adding the lights, I used fewer boxes. If creating the ladder with just the presents I made 15 boxes.
8. Add Details - Makes the lights.
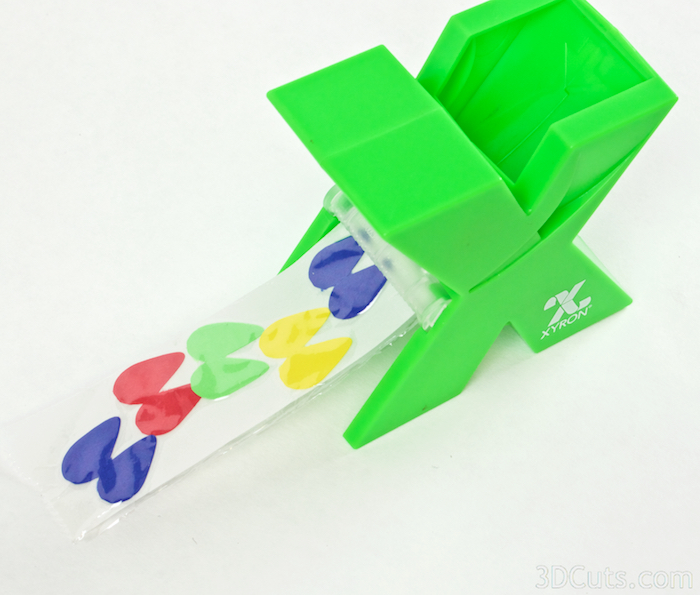
- Cut the light bulbs from at least four different bright colors.
- This is a perfect project for the Xyron for applying adhesive although other adhesives works as well.
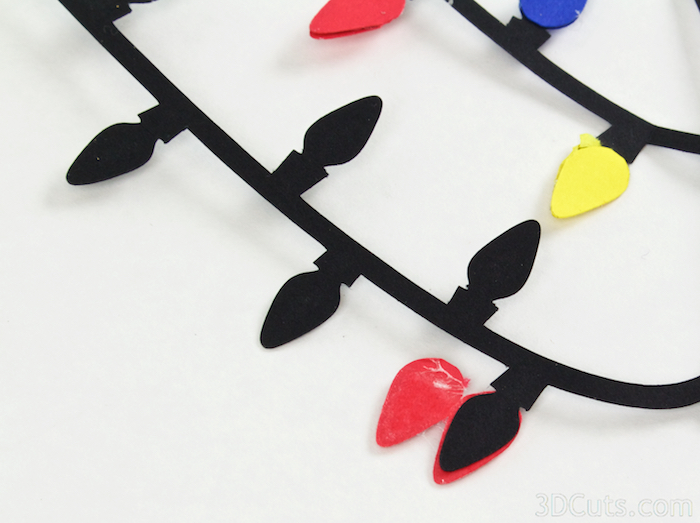
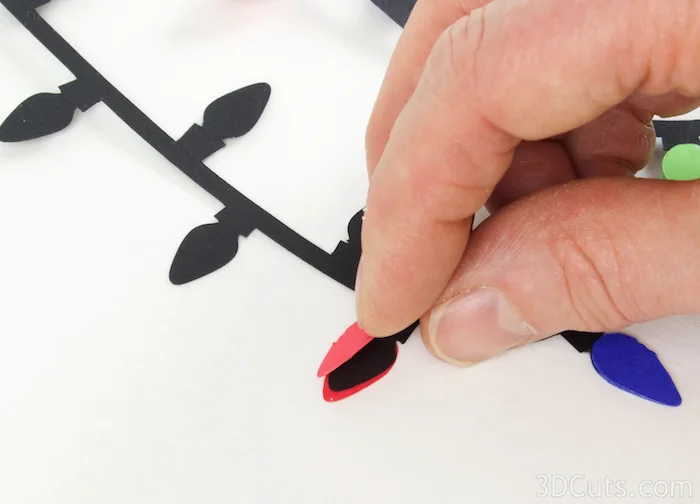
- The double colored lights are designed to be folded around the black bulbs on the string of lights.
- Place it so none of the black bulb shows.
- Fold it over and adhere it in place.
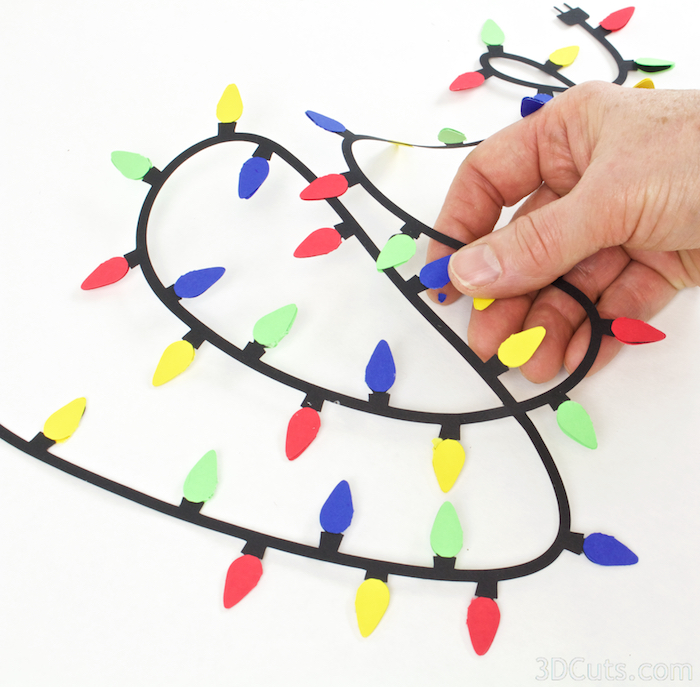
- I applied them in a pattern of red, blue, green, yellow.
- Cover all the lights on the strings.
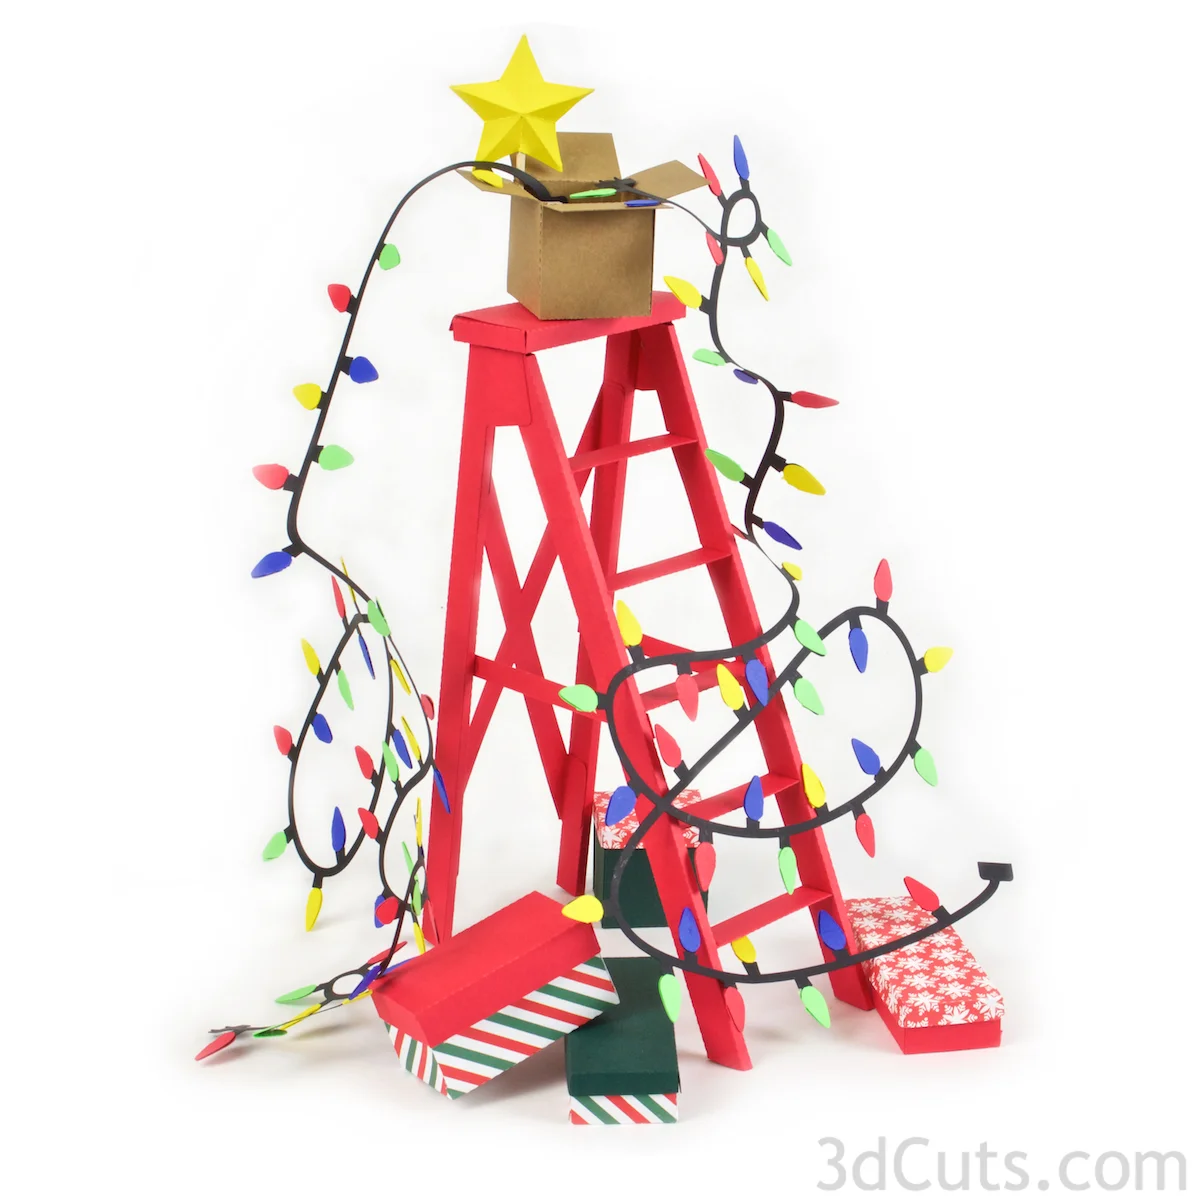
9. Assemble the parts.
- Adhere the corrugated box to the top of the ladder.
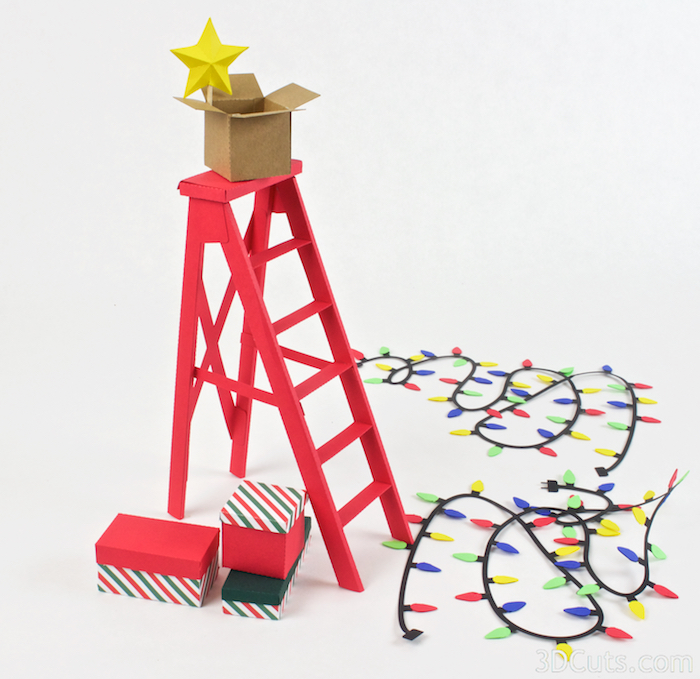
- Adhere the strings of lights so they are coming out of the corrugated box and cascading down the ladder. Use a couple of glue dots to hold in place.
- Arrange a few gifts around the base.
OR
- Make and arrangement with just the ladder and presents. Be creative and use the pieces in your own arrangement.
Have fun preparing for Christmas!